


This post may contain affiliate links. Please read our disclosure policy.
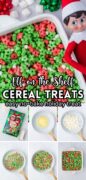
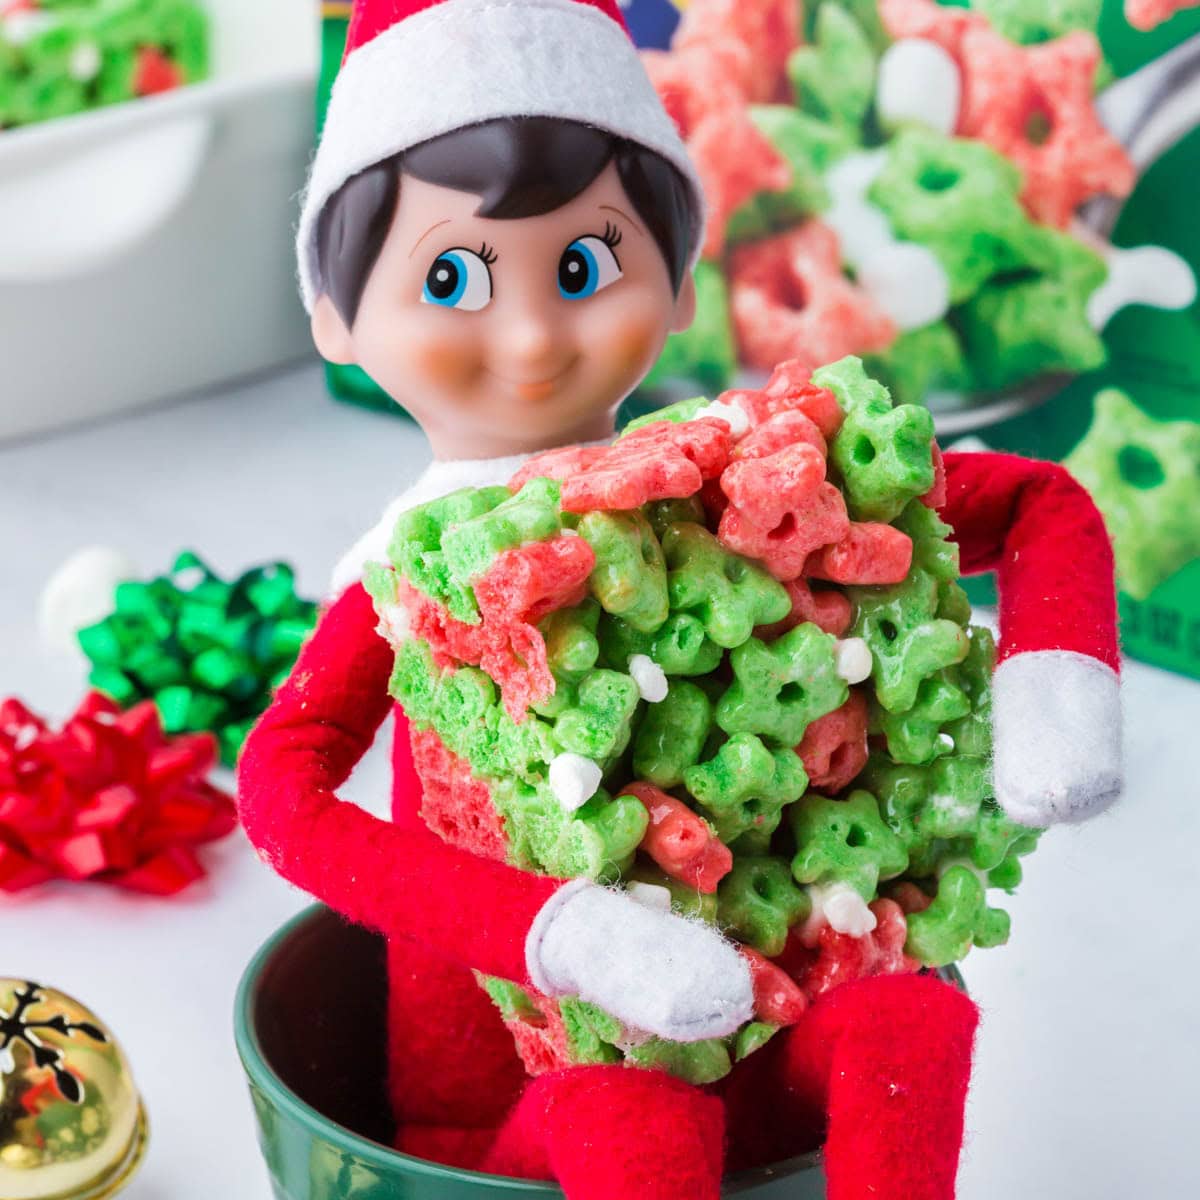
These Elf on the Shelf Cereal Bar Treats should honestly come with a tiny holiday disclaimer: once you make them, your elf will take credit. They’re sweet, festive, ridiculously easy, and the kind of treat that disappears fast!
Why you’ll love these Elf on a Shelf Cereal Treats

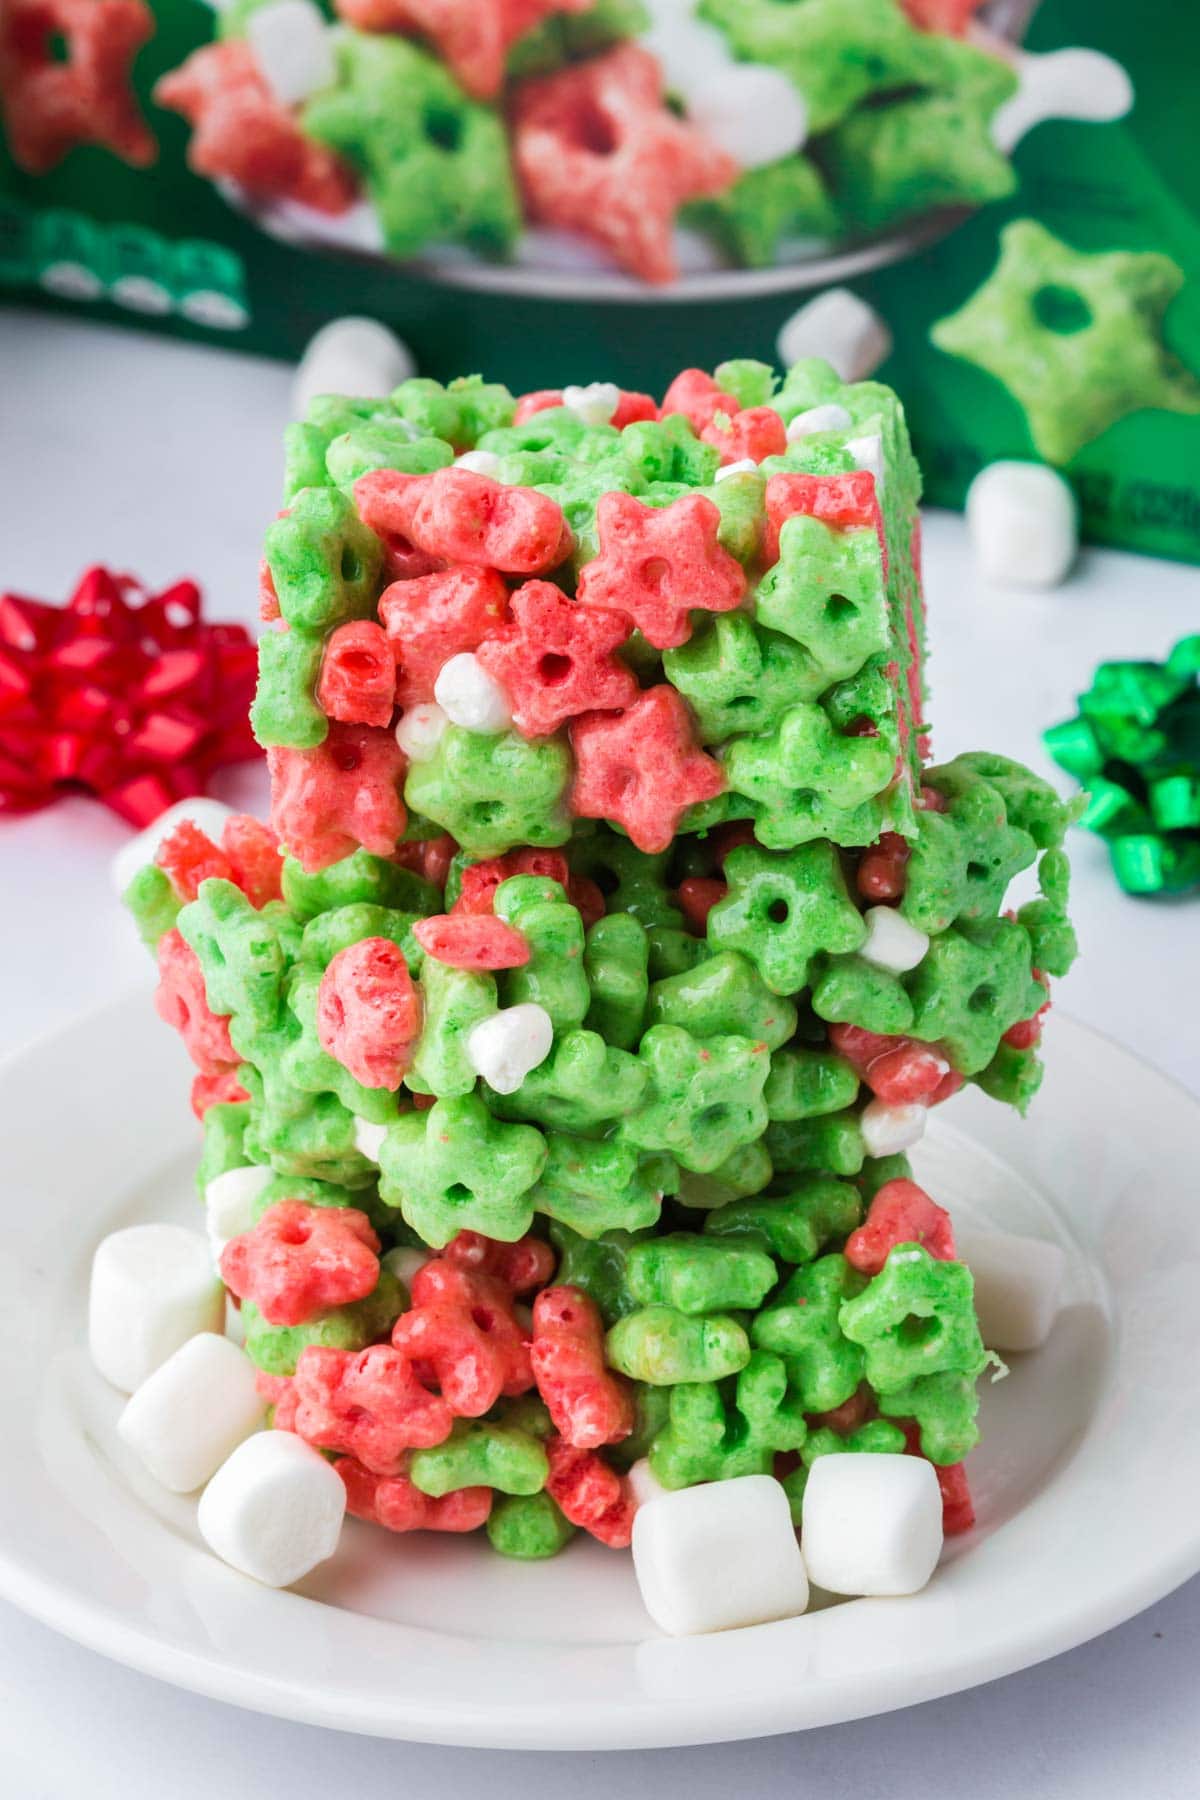
These bars are basically Rice Krispies Treats in a festive disguise, using Elf on the Shelf Sugar Cookie cereal so you can ride the wave of holiday excitement every kid is currently obsessed with (especially my granddaughter)! They’re soft, chewy, and crackly-crispy all at once, the kind of treat that feels nostalgic without taking more than 15 minutes of effort.
And since these Christmas treats come together with just three ingredients and zero baking, it’s a perfect recipe to let the kids stir, press, and decorate, with their elf “supervising,” of course! You can even have the elf “make” them overnight and leave a messy marshmallow spatula behind. Holiday magic = achieved.
Here’s what makes these Elf on the Shelf Cereal Treats so special:
❥ Festive & Fun: Sweet, chewy, and loaded that crunchy cereal that kids are obsessed with during Elf season!
❥ No-Bake Ease: Just three ingredients and a few simple steps, making this the easiest holiday treat you’ll whip up all month.
❥ Perfect for Kids (and Elves!): Quick enough for little helpers to join in, and cute enough for your elf to “make” overnight.
❥ Endlessly Customizable: You can add sprinkles, drizzle with melted chocolate, mix in candies, or swap the cereal! It’s all up to you.
Elf on a Shelf Cereal Bar Ingredients
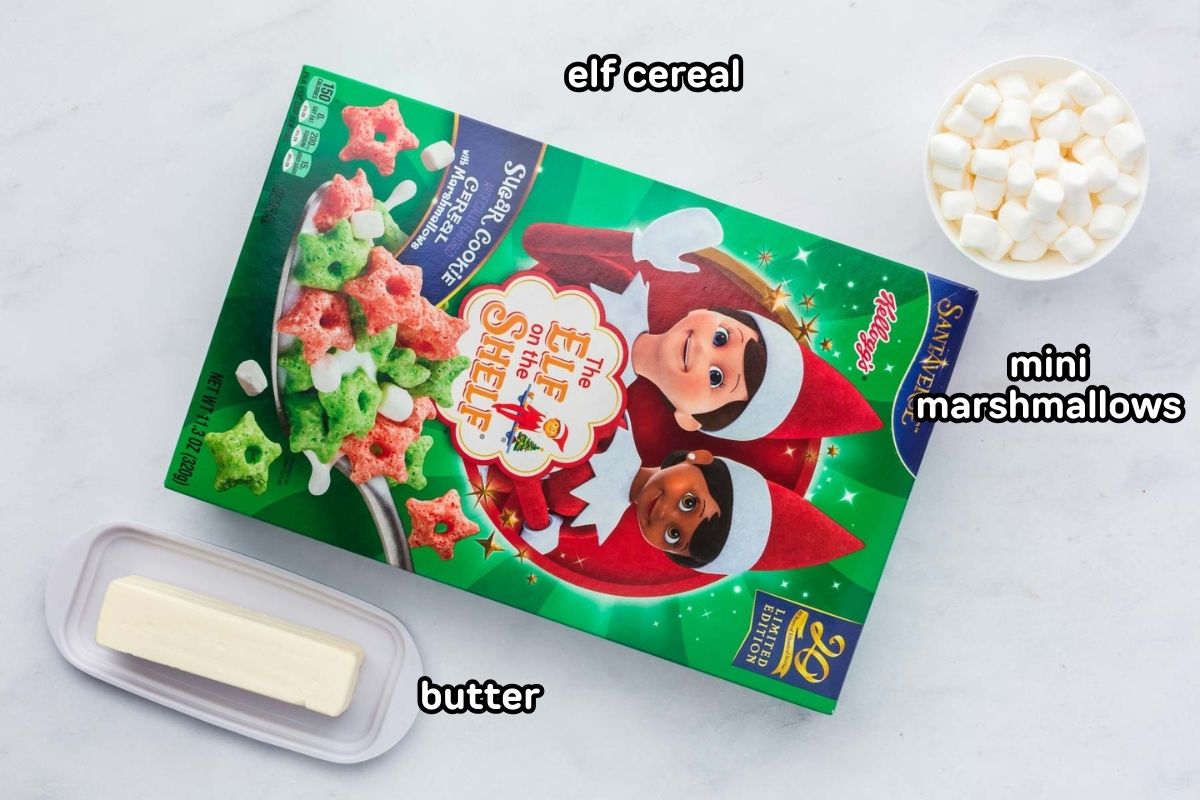
- Salted Butter: Adds richness and balances the sweetness of the marshmallows. Salted is best here for flavor.
- Mini Marshmallows: They melt faster and more smoothly than large ones, giving the bars that classic soft, chewy texture!
- Elf on the Shelf Sugar Cookie Cereal: Sweet, crispy, and lightly cookie-flavored. This is the festive twist that makes these cereal bars extra fun!
How To Make Easy Elf on a Shelf Cereal Treats
✱ Be sure to see the recipe card below for exact ingredients and full recipe instructions!
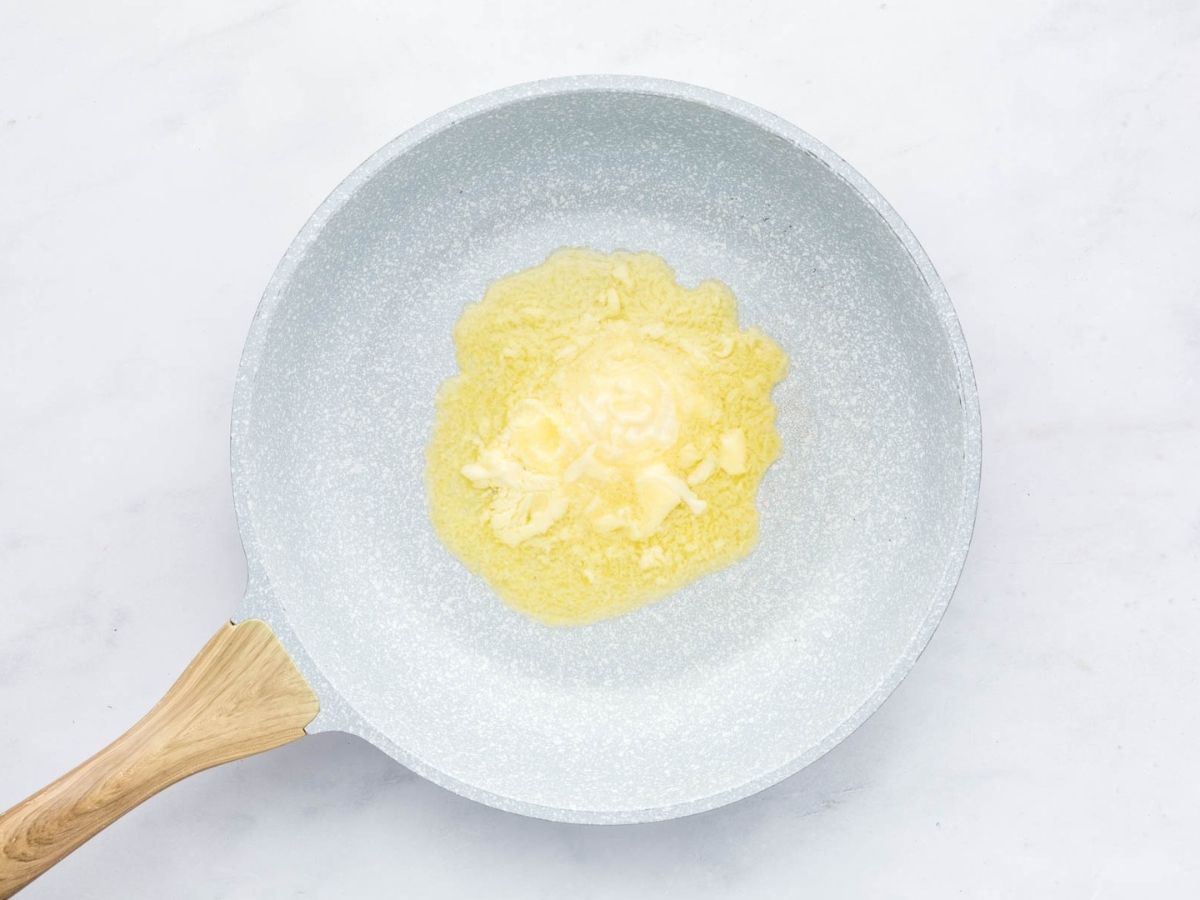
Step 1 | Melt the Marshmallow Base
Prepare an 8×8-inch baking pan by spraying it with non-stick cooking spray or greasing it with a thin layer of butter.
In a large saucepan over low- medium heat, add the butter and melt completely.
Add the mini marshmallows to the melted butter and stir continuously until melted and well combined with the butter.

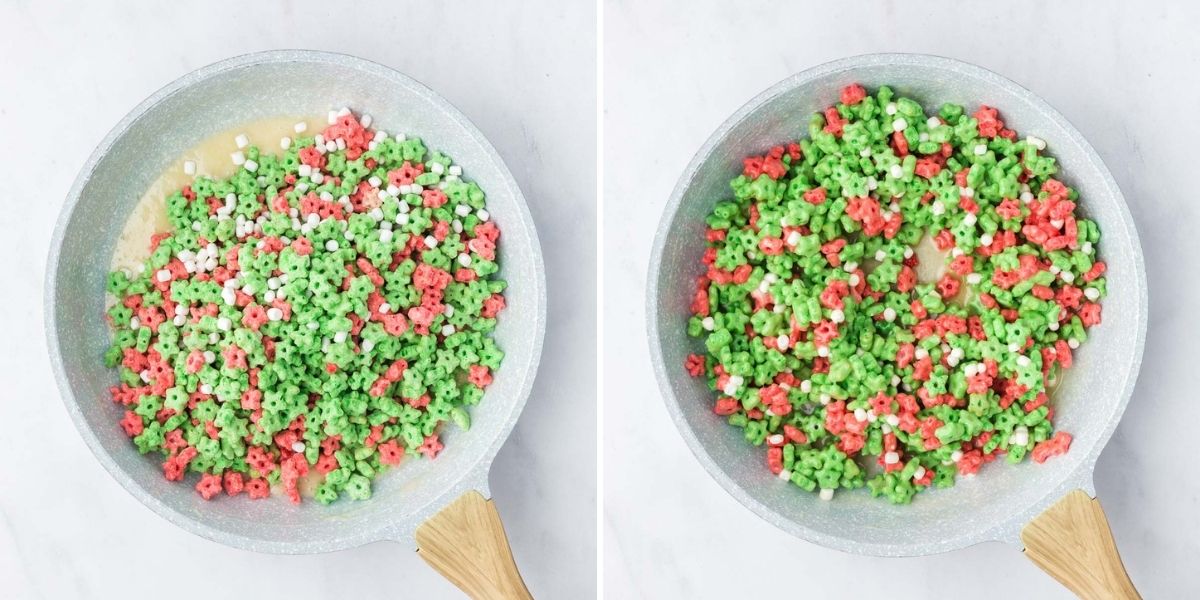
Step 2 | Add the Cereal
Remove the skillet from the heat and stir in the cereal. Stir and fold the cereal into the marshmallow mixture until all of the cereal is coated. Work quickly, it becomes really sticky quickly.
Want to Save this Recipe?
By submitting this form, you consent to receive emails from Soulfully Made.
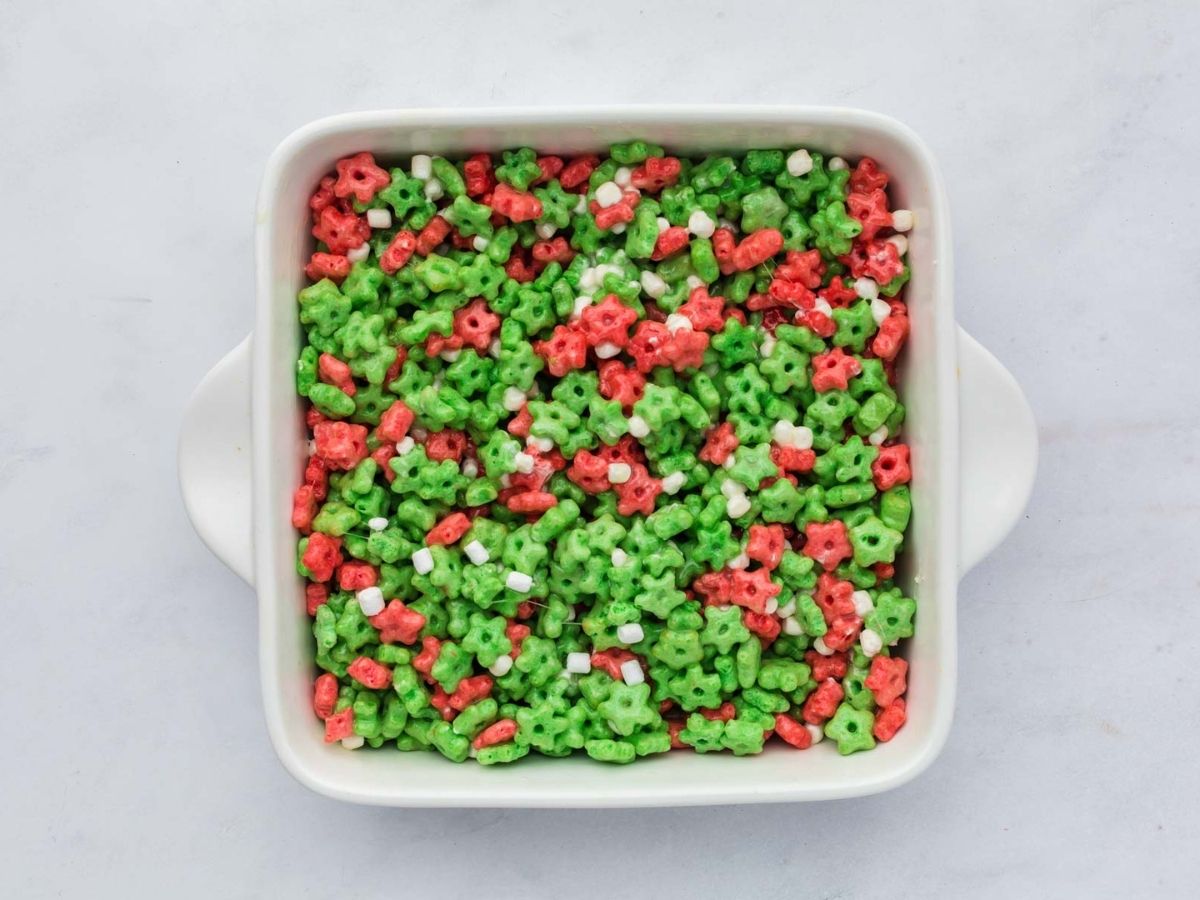
Step 3 | Chill, Slice, & Enjoy!
Pour the mixture into the prepared baking dish and use a piece of parchment paper or a buttered rubber spatula to firmly pack it into an even layer. Use the paper or butter so it doesn’t stick to the spatula.
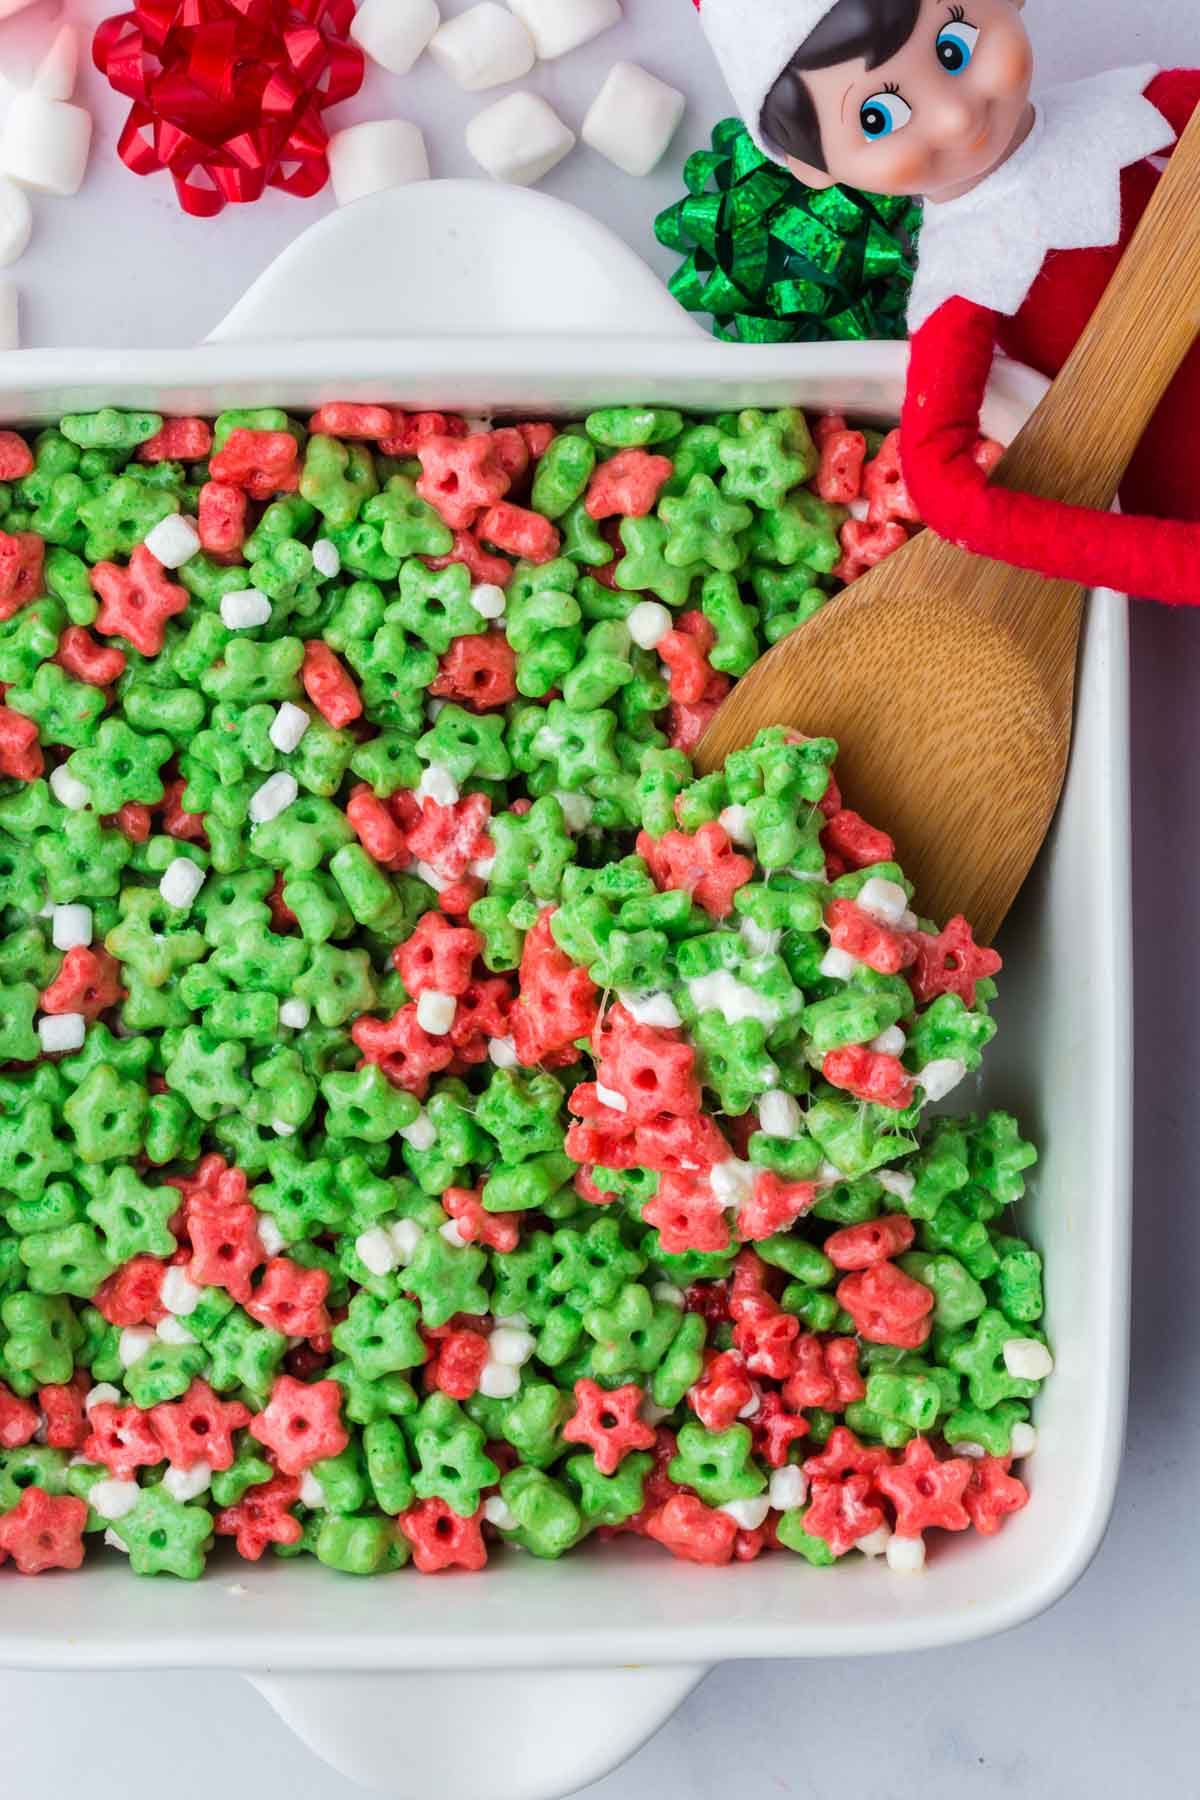
Set aside to allow it to cool to room temperature for 1 hour or if you are short on time, you can stick in the fridge for 15 minutes. Once it’s cooled, cut the treats into 9 squares. Serve and enjoy!
Variations and Substitutions
- No Elf cereal? Use Rice Krispies, cornflakes, or any holiday-themed cereal. You could also opt to make my gingerbread rice krispie treats, snowman rice krispies, or reindeer rice krispie treats if you prefer!
- Add-ins: Mini holiday M&M’s, crushed candy canes, or chopped white chocolate would all make amazing additions here.
- Drizzle: Melt white chocolate or red/green candy melts and drizzle over the top!
- Allergy-friendly: Swap butter for vegan butter and use a dairy-free marshmallow brand if needed.
Elf on a Shelf Cereal Treats FAQs
Elf on the Shelf is a popular holiday tradition where a small toy elf “visits” each night and reappears in a new spot every morning to watch over the kids before reporting back to Santa. It’s playful, imaginative, and usually leads to lots of giggles (and a little holiday mischief). The themed cereal is just one of many fun spinoffs!
Absolutely, any crunchy cereal works! Rice Krispies, Corn Flakes, or another seasonal holiday cereal make great substitutes. Just keep the same cereal-to-marshmallow ratio to keep the bars from falling apart.
Store them in an airtight container at room temperature so they don’t dry out. Press them gently into the pan so they don’t become dense or hard. And avoid refrigerating them too long since the cold can firm them up more than you want.
What to Serve with Elf on a Shelf Cereal Bars
These Elf on the Shelf cereal bars go well with holiday drinks like gingerbread hot chocolate or peppermint hot chocolate, piled high with plenty of marshmallows (or my marshmallow whipped cream!). If you need a quick addition to a Christmas cookie spread, these are an amazing option!
If you’re serving these as a snack for the kids, balance them out with fresh fruit like strawberries, grapes, or clementines.
More Festive Holiday Recipes to Try
Hungry for more easy, home-cooked, delicious recipes?
Sign up for my free recipe club to get family-friendly recipes in your inbox each week! Find me sharing daily meal-time inspiration on Pinterest, Facebook, and Instagram.
Elf on a Shelf Cereal Bars Recipe
Click Stars To Rate
Ingredients
- ¼ cup salted butter
- 4 cups mini marshmallows
- 5 cups of the Elf on the Shelf Sugar Cookie cereal
Instructions
- Prepare your pan. Prepare an 8×8-inch baking pan by spraying it with non-stick cooking spray or greasing it with a thin layer of butter.
- Melt the butter. In a large saucepan over low- medium heat, add the butter and melt completely.
- Add marshmallows. Add the mini marshmallows to the melted butter and stir continuously until melted and well combined with the butter.
- Add the cereal. Remove the skillet from the heat and stir in the cereal. Stir and fold the cereal into the marshmallow mixture until all of the cereal is coated. Work quickly, it becomes really sticky quickly.
- Transfer to the dish. Pour the mixture into the prepared baking dish and use a piece of parchment paper or a buttered rubber spatula to firmly pack it into an even layer. Use the paper or butter so it doesn’t stick to the spatula.
- Cool. Set aside to allow it to cool to room temperature for 1 hour or if you are short on time, you can stick in the fridge for 15 minutes.
- Cut. Once it’s cooled, cut the treats into 9 squares. Serve and enjoy!
Notes
Want to Save this Recipe?
By submitting this form, you consent to receive emails from Soulfully Made.