
This post may contain affiliate links. Please read our disclosure policy.
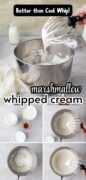
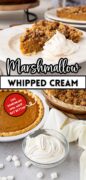
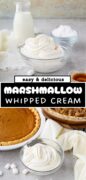
Sweet, fluffy, and full of that classic marshmallow flavor, this Marshmallow Whipped Cream is the easiest way to take your desserts up a notch. Whether you’re topping pie, spooning over hot cocoa, or serving it as a fruit dip, it’s a quick, crowd-pleasing favorite that tastes like you spent way more time on it than you actually did.
why you’ll love this Marshmallow Fluff Whipped Cream

Let’s be honest, there’s no shame in reaching for the canned stuff or Cool Whip when you’re in a pinch. But when I have an extra five minutes, I love whipping up a fresh batch of homemade whipped cream. It’s a simple step that adds a big dose of wow to any dessert.
This marshmallow whipped cream actually started out as a fruit dip I’d bring to potlucks, but one day I thought, “Why not try this on pie?” And let me tell you — it’s next-level on sweet potato pie (or any pie, really). It’s really like a homemade cool whip, but better!
What makes it a keeper!
❥ It’s light, fluffy, and holds its shape. Thanks to the marshmallow fluff, it’s more stable than your average whipped cream.
❥ Takes just minutes to make. Quick enough for busy days, special enough for holidays.
❥ Doubles as a dip or topping. Super versatile — from fruit trays to layered desserts.
❥ Make-ahead friendly. Pipe into individual servings and freeze, or whip it up a day ahead for stress-free prep.
NikkiIngredients Needed for Homemade Cool Whip
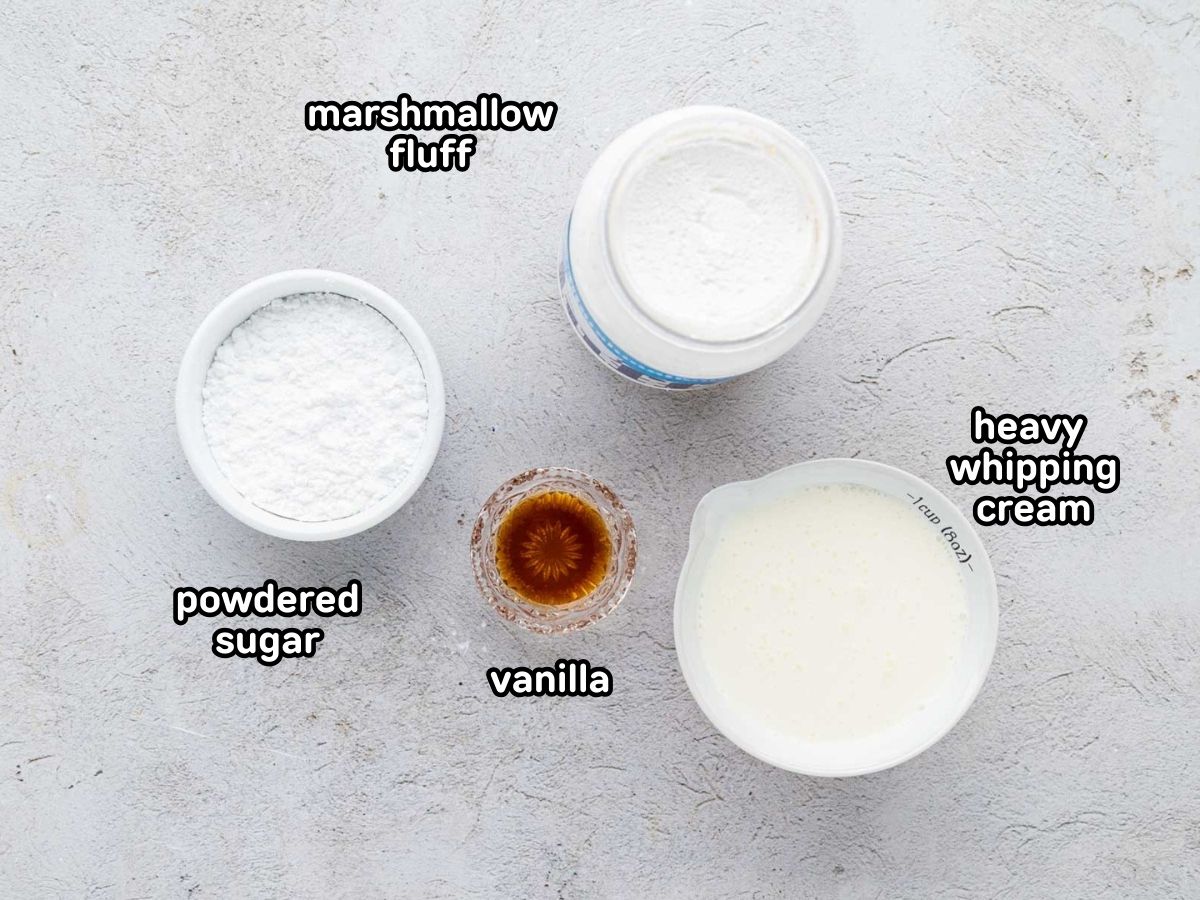
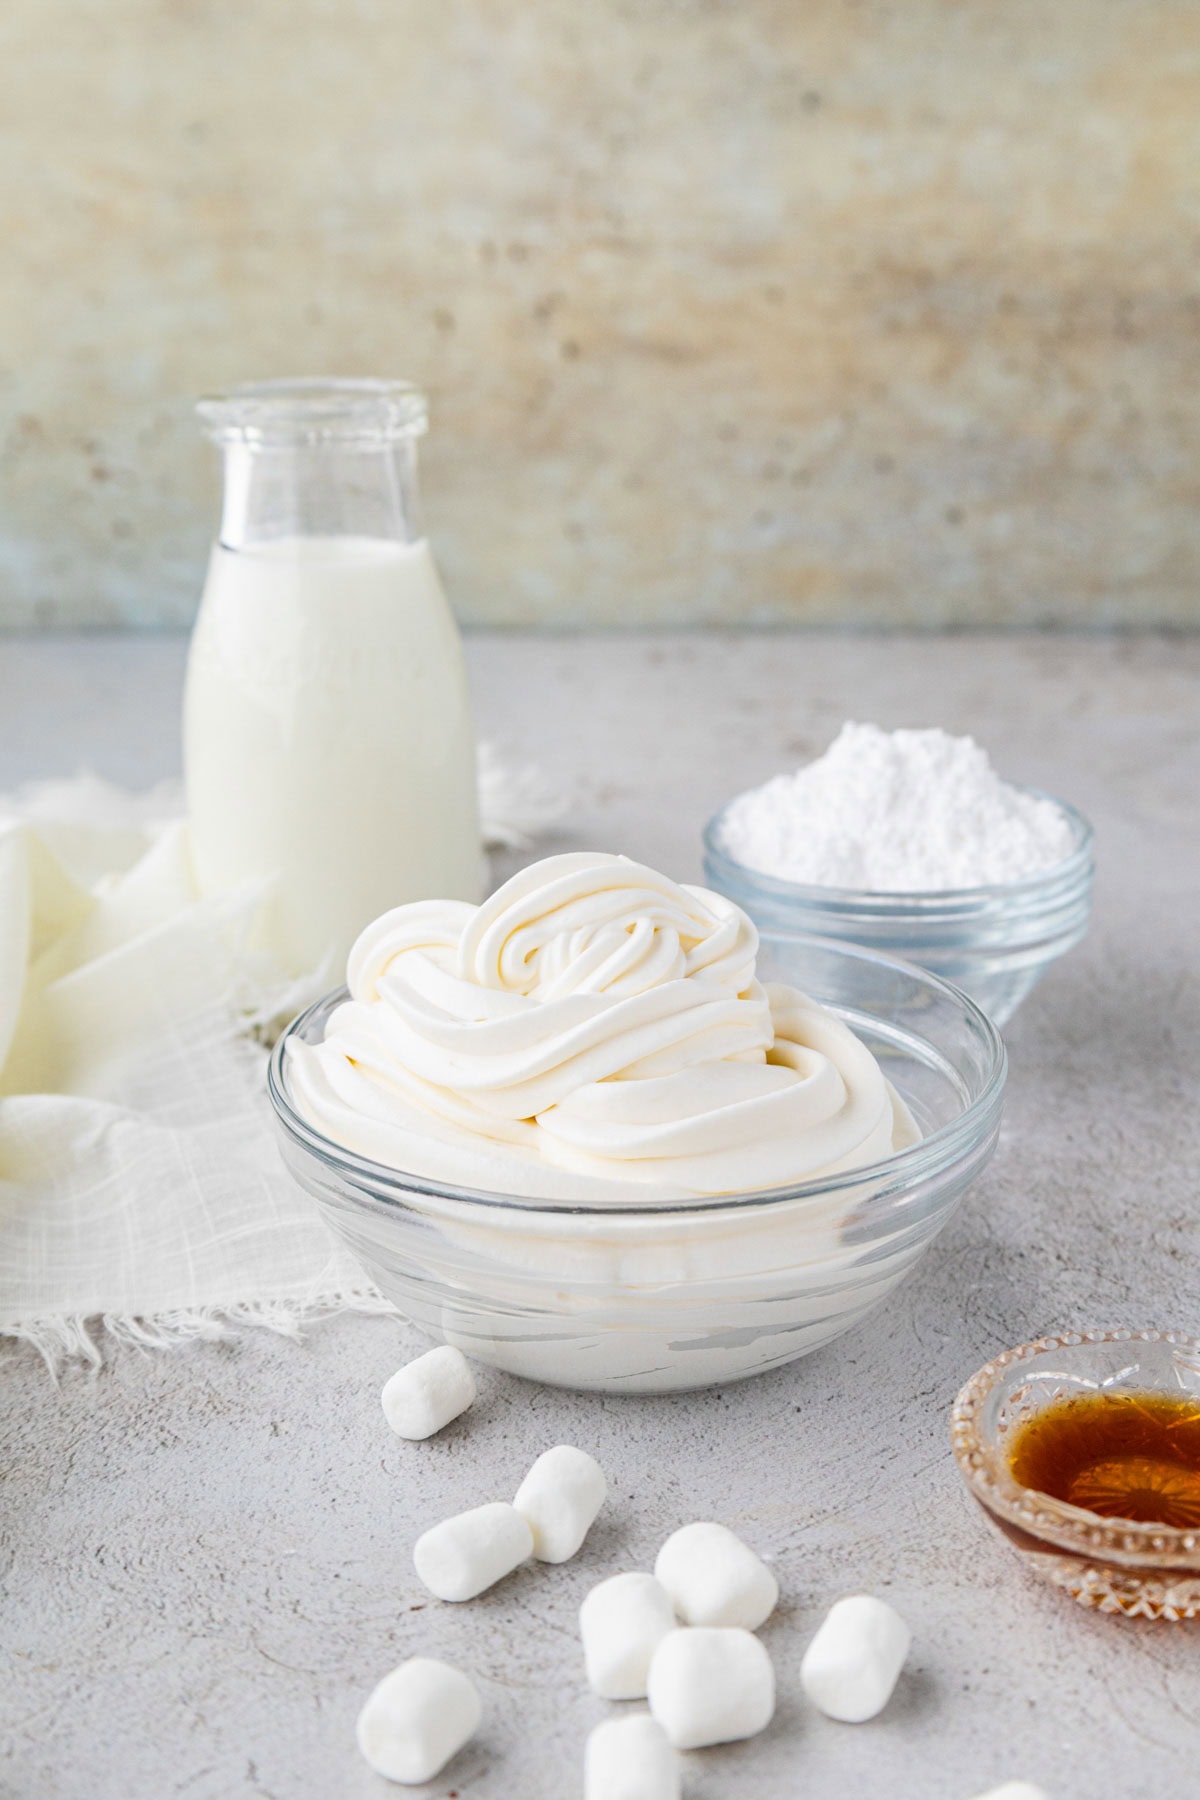
- Heavy Cream: Make sure it’s labeled as heavy cream or heavy whipping cream. It needs at least 36% fat to whip properly and hold its shape. Keep it cold right up until whipping.
- Powdered Sugar or Confectioners’ Sugar: Optional, but adds a little extra sweetness and helps with stability. You can skip it if you prefer a less sweet cream since the fluff brings plenty of sugar.
- Marshmallow Fluff: This is the star of the show. It gives the whipped cream structure and a smooth, glossy texture. Look for it in a tub, usually near the baking or dessert toppings.
- Vanilla Extract: Pure vanilla gives the best flavor, but use what you have. You can even try almond or hazelnut extract for a flavor twist.
How To Make Marshmallow Whipped Cream
✱ Be sure to see the recipe card below for exact ingredients and full recipe instructions!
Step 1: Chill your tools
Pop your mixing bowl and beaters or whisk attachment in the fridge or freezer for about 15-30 minutes. Cold equipment helps the cream whip up fluffier and more stable.
Step 2: Whip the cream
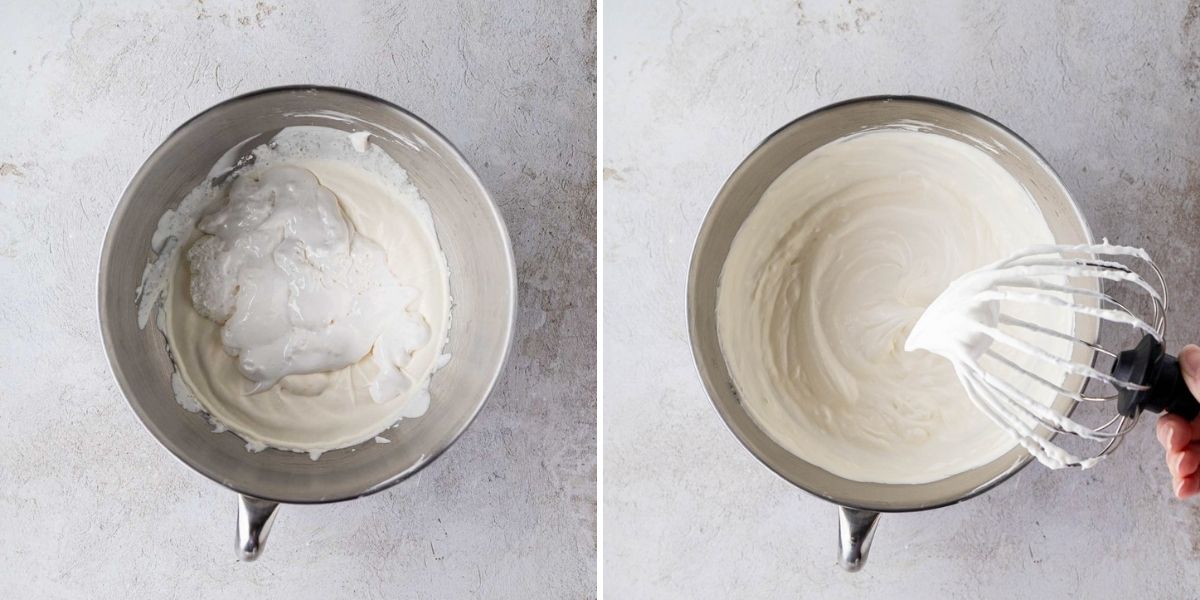
Pour cold heavy cream into the chilled bowl. Using a stand mixer with the whisk attachment (or a hand mixer), beat on medium speed until soft peaks form. This means the cream will hold its shape but the peaks will gently fall over when the beaters are lifted.
Step 3: Sweeten and flavor
Add the confectioners’ sugar and vanilla extract to the whipped cream. Continue mixing on medium-high until stiff peaks form. The peaks should stand tall without drooping.

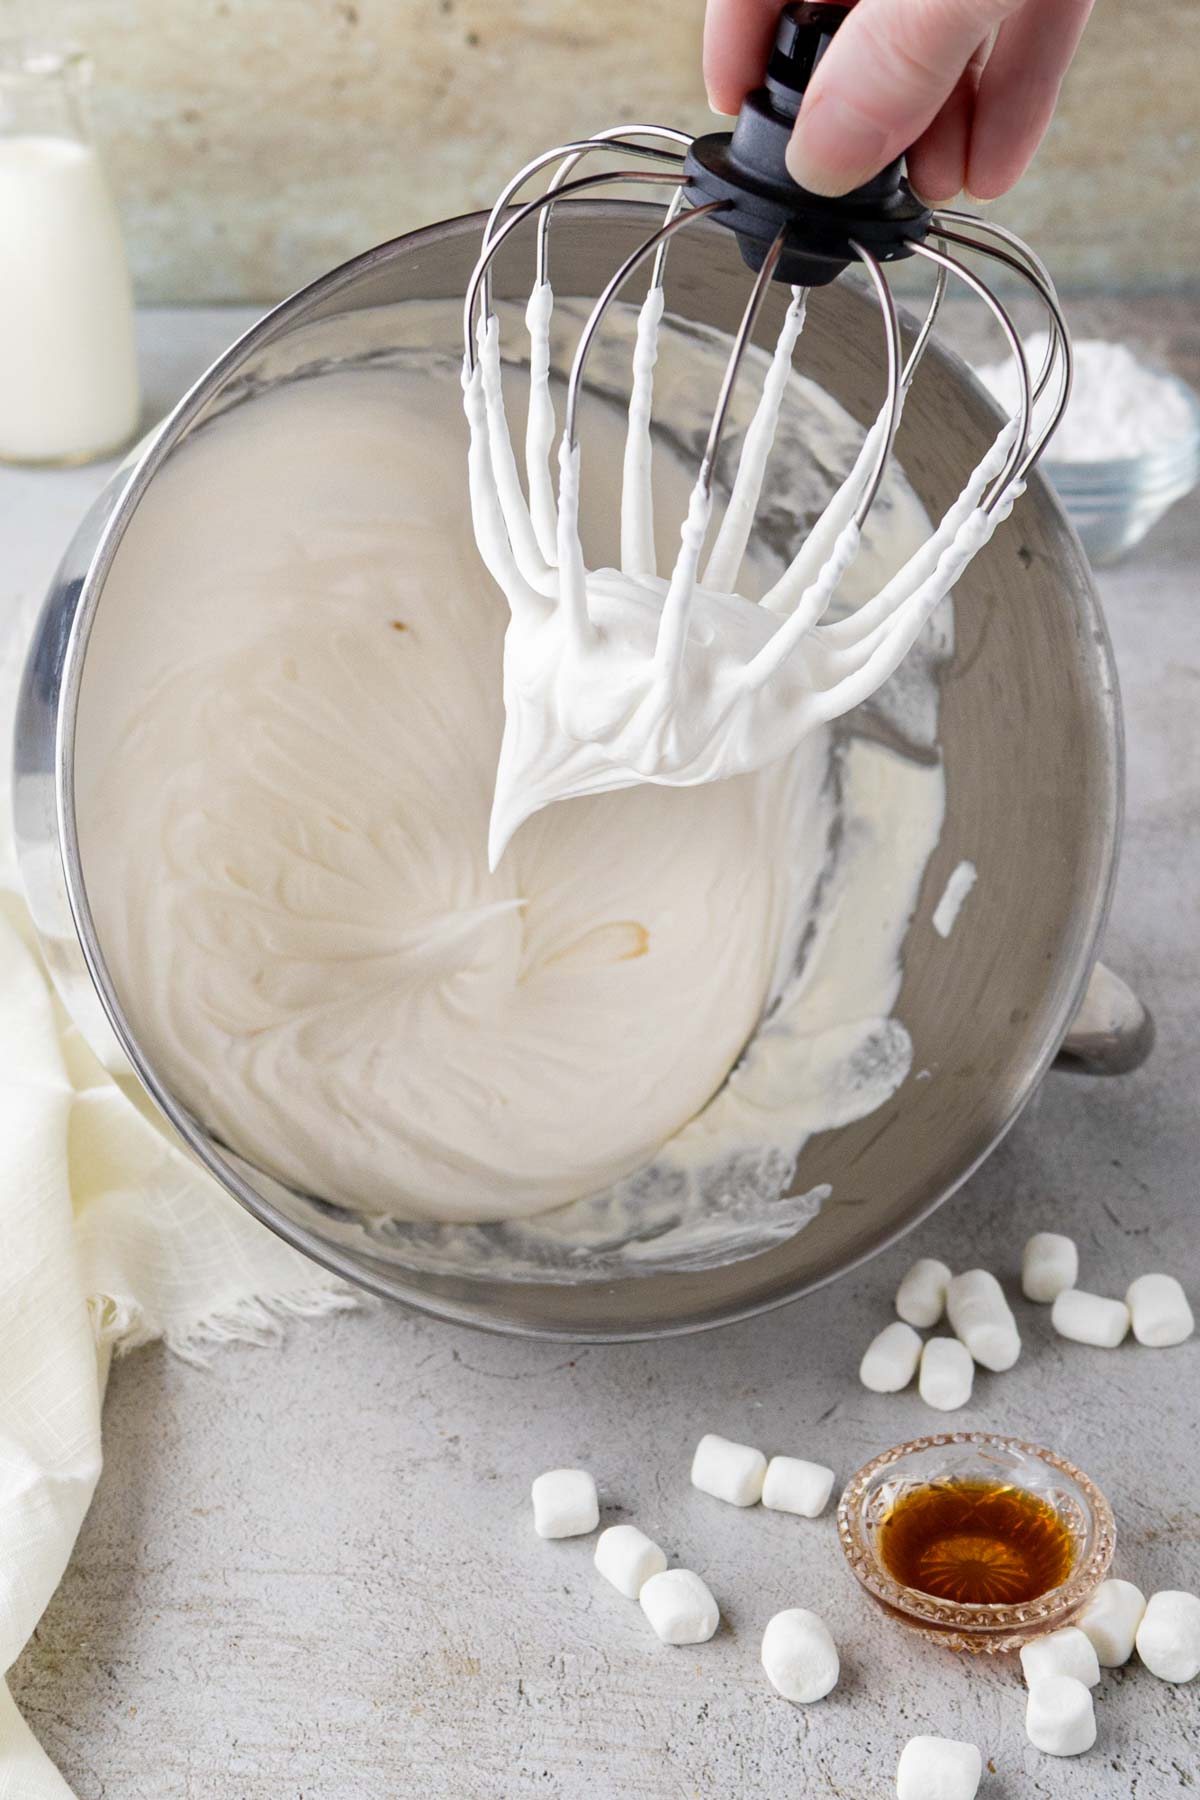
Step 4: Add marshmallow fluff
Spoon in the marshmallow fluff and beat on low just until combined. Be careful not to overmix at this point. You want the whipped cream to stay fluffy and light.
Step 5: Chill until ready to use
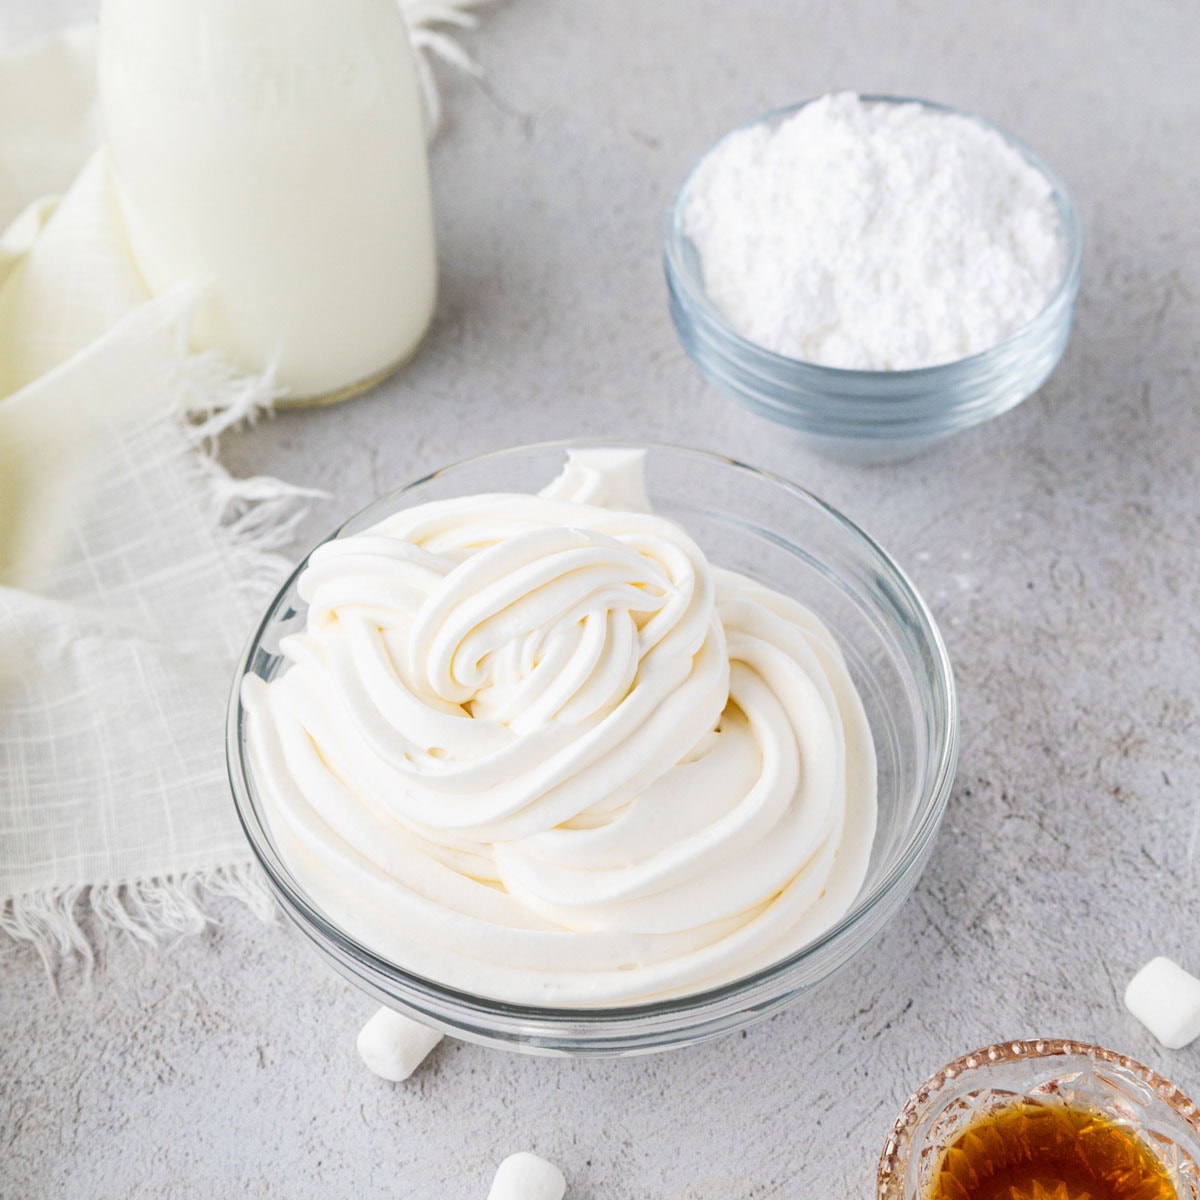
Cover and refrigerate until ready to serve.
Want to Save this Recipe?
By submitting this form, you consent to receive emails from Soulfully Made.
Variations and Substitutions
- Flavor twist: Swap vanilla extract for almond extract or hazelnut (any extract you like) for a different note. I love using almond extract or a little amaretto liqueur for fruit dips.
- Chocolate marshmallow: Add 1‑2 tablespoons unsweetened cocoa powder (sifted) with the powdered sugar for a chocolate version.
- Less sweetness: Omit the powdered sugar and you can use less marshmallow fluff if you like.
Recipe FAQs
Marshmallow fluff is what gives this whipped cream its signature sweetness and texture. You make my homemade whipped cream instead.
Yes. The marshmallow fluff adds plenty of sweetness on its own. The sugar is optional and can be adjusted to taste.
It was likely overwhipped after adding the fluff. Mix just until everything is combined to keep the texture light and airy.
Make-Ahead Tips
Individual Servings for Cocoa Toppers
Want to prep ahead for hot cocoa nights? Just pipe little dollops of whipped cream onto a parchment-lined baking sheet and freeze until solid (a couple of hours should do it). Once frozen, transfer them to an airtight container or freezer bag. They’ll keep their shape and are ready to go whenever you need one. Just pop a frozen dollop right onto a warm mug of hot chocolate or coffee.
For Cakes
If you’re using this to frost or fill a cake, aim for soft peaks when whipping. That’s when the cream stands up but gently folds over at the top when you lift your beaters. This texture is perfect — smooth, spreadable, and won’t tear your cake.
Tip: Don’t try to frost a warm cake. Make sure your cake layers are completely cooled (or even slightly chilled) before spreading on the whipped cream. You can also chill the frosted cake for 15–20 minutes to help it firm up before serving.
What to Use Marshallow Whipped Topping
- As a topping for pies (pumpkin, sweet potato, chocolate pecan), cakes, or cupcakes
- On pancakes, waffles, hot chocolate, or even milkshakes
- As a fruit dip (fresh berries, pineapple, sliced apples)
- As frosting/filling for quick cakes or no‑bake desserts.
Hungry for more easy, home-cooked, delicious recipes?
Sign up for my free recipe club to get family-friendly recipes in your inbox each week! Find me sharing daily meal-time inspiration on Pinterest, Facebook, and Instagram.
Marshmallow Whipped Cream (Homemade Cool Whip)
Click Stars To Rate
Ingredients
- 1 cup cold heavy cream
- ¼ cup confectioners sugar
- 1 teaspoon vanilla extract
- 7 ounces marshmallow fluff
Instructions
- Chill your mixing bowl and whisk (if possible) for best results.
- Whip the Cream: To the bowl of a stand mixer (or use an electric hand mixer), add cold heavy cream and vanilla. Start mixing at the lowest speed and gradually increase the speed to medium as the cream thickens and soft peaks form. Scrape down the sides as needed.Soft peaks mean the whipped cream holds its shape, but the tips (peaks) gently fold over when you lift the beater. This will take about 2 minutes in a stand mixer.
- Add Sugar & Vanilla: Add the powdered sugar and vanilla extract. Continue to beat on medium-high speed until stiff peaks form.Stiff peaks mean the cream will stand up firmly when you lift the beater.
- Add Marshmallow Fluff: Spoon in the marshmallow fluff and beat just until combined. Gently scrape down the sides as needed.Important: Don’t overbeat; overmixing at this stage can make the whipped cream too loose or grainy.
- Chill Until Ready to Use: Cover or place in an airtight container and refrigerate for up to 7 days.
- Serve: Use it on cakes, cheesecakes, or pies, or try it swirled into hot chocolate or served as a sweet dip for fruit and cookies.Optional – Pipe It: For a more decorative finish, transfer the whipped cream to a piping bag with your favorite tip
Notes
Want to Save this Recipe?
By submitting this form, you consent to receive emails from Soulfully Made.