


This post may contain affiliate links. Please read our disclosure policy.
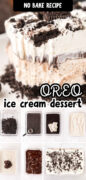
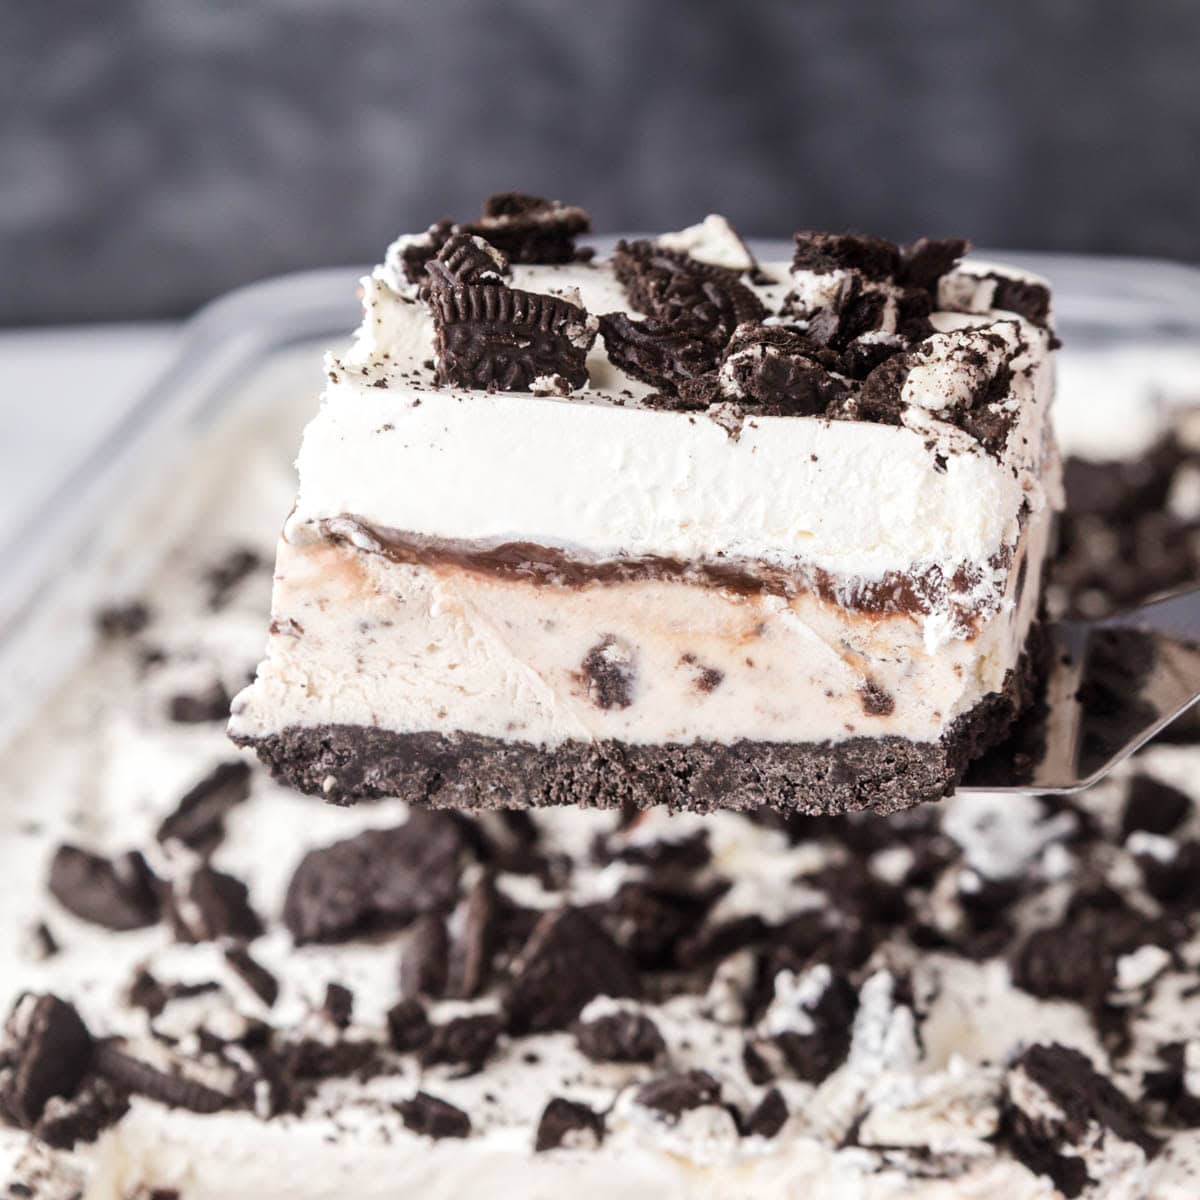
This Oreo Ice Cream Dessert is one of those go-to recipes that checks all the boxes—easy to make, loved by everyone, and perfect for just about any occasion. With only five ingredients and no baking required, it’s all about layering cookies, creamy ice cream, and rich fudge into a showstopping dessert. And the best part? It’s incredibly easy!
Let’s Talk Ice Cream Cake Confidence
Making an ice cream cake might sound a little tricky, but let me tell you—it’s actually one of the easiest desserts you can throw together. There’s no baking, no fancy equipment, and no complicated steps. It’s all about layering a few simple, store-bought ingredients and letting the freezer do the hard work.
Oreo Dessert Ingredients

- Buttery Oreo Crust: Just crushed cookies and melted butter pressed into a pan. That’s it!
- Cookies and Cream Ice Cream Layer: I like to stir in whipped topping for an ultra-creamy texture, but you can skip it if you prefer a firmer ice cream layer. Want to switch it up? Any flavor that pairs well with Oreos—think peanut butter, mint, or coffee—works beautifully.
- Chocolate Fudge Sauce: Store-bought fudge makes this so simple. Warm it slightly so it spreads easily over the cold ice cream.
- Whipped Topping or Whipped Cream: Light, fluffy, and the perfect finish.
- Crushed Oreo Topping: Because there’s no such thing as too many Oreos, right?
You don’t need to be a pro to make something show-stopping. If you can spread and layer, you can make this dessert—and your family will be asking for it all summer long.
How to Make Oreo Dessert (No Bake)
1. Make the Cookie Crust
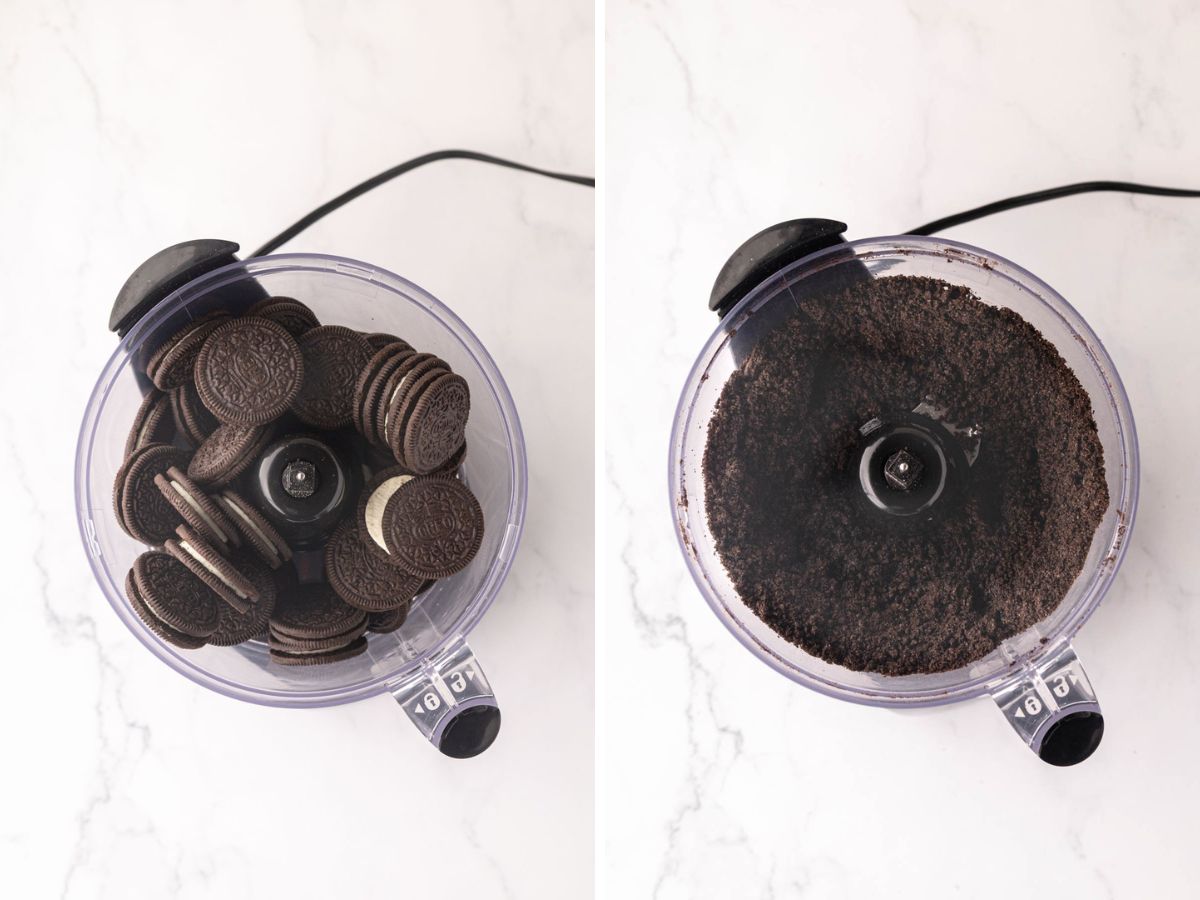
Make the Cookie Crust: Crush about 36 cookies into large crumbs using a food processor. Add the melted butter and continue to pulse until well combined and you have a fine crumb.
You can also place them in a zip-top bag and crush them with a rolling pin or meat mallet, then mix them in a bowl with butter to combine.
Use 7-8 cookies or the desired amount to make large crumbs for topping.
2. Cookie Crust Layer
Press the mixture into a greased 9×13-inch dish. This becomes the sweet, buttery base of your cake.

3. Ice Cream Layer
Let your ice cream soften for about 30 minutes so it’s easy to work with.
Mix it with 4 ounces of whipped topping for an extra creamy texture.

Then spread it over the crust. Pop it in the freezer for about 1 to 2 hours to firm up.

4. Fudge Sauce Layer
Pour the fudge sauce into a microwave-safe bowl and heat in 15-second increments until it’s warm enough to spread easily (it should not be hot). (You can also follow the heating instructions on your brand’s label.) Warming it slightly helps it glide over the ice cream without clumping.
Once the ice cream layer is set, pour the sauce and spread it evenly over the ice cream layer. Cover and return to the freezer until set, about 1 hour.

5. Add Whipped Topping Layer, Freeze, & Enjoy
Top with the remaining whipped topping.

Then, sprinkle the remaining crushed Oreos on top.

Cover and freeze for at least 2 hours—overnight is even better.
Slice, serve, and watch it disappear!

Variations & Holiday Decorating
Flavor Swaps:
This dessert is so easy to customize! Swap the cookies and cream ice cream for your favorite flavors—chocolate, mint chip, peanut butter cup, or even coffee all pair beautifully with Oreos.
Different Cookies:
Don’t have Oreos? Use chocolate graham crackers, vanilla wafers, or even chocolate chip cookies for a fun twist.
Fudge Alternatives:
Instead of chocolate fudge, try caramel sauce, peanut butter sauce, or Nutella for a whole new flavor combo.
Holiday Ideas:
Dress this dessert up for any occasion!
- Christmas: Use red and green sprinkles, crushed peppermint candies, or holiday Oreos.
- Fourth of July: Add red, white, and blue sprinkles and top with mini American flags.
- Halloween: Mix in Halloween Oreos and top with candy eyes or candy corn.
- Valentine’s Day: Drizzle with pink icing or white chocolate and add heart sprinkles or crushed strawberry candies.
- Birthday Bash: Add rainbow sprinkles, a drizzle of colorful syrup, or even stick in a few candles to celebrate!
No matter the occasion, a little decoration goes a long way in making this ice cream cake extra festive and fun!
Flavor Combo Ideas
This dessert is endlessly customizable, so don’t be afraid to mix things up! Here are some of my favorite flavor combos to try:
- Golden Oreos + Strawberry Ice Cream: Light, fruity, and perfect for spring or summer gatherings. Top with fresh berries or a strawberry drizzle!
- Lemon Oreos + Vanilla or Cheesecake Ice Cream: A zesty, creamy combo that’s both refreshing and rich—ideal for brunches or baby showers.
- Mint Oreos + Mint Chocolate Chip Ice Cream: Double the minty goodness with a cool, crisp finish. Great with chocolate drizzle and a few crushed mints or Andes Candies on top.
- Peanut Butter Oreos + Chocolate Ice Cream: This one’s for the peanut butter cup lovers—top with a peanut butter swirl or chopped Reese’s for extra fun.
- Birthday Cake Oreos + Cake Batter Ice Cream: A party in every bite! Add rainbow sprinkles and whipped topping to take it over the top.
- Chocolate Oreos + Coffee Ice Cream: Rich, mocha-inspired flavor that’s perfect for adults. Drizzle with mocha sauce and sprinkle with chocolate shavings.
The beauty of this dessert is that you can tailor it to whatever flavors your family loves—or what you have in the freezer! Let your imagination lead the way.
Oreo Dessert Recipe Tips
Soften the Ice Cream: Let the ice cream sit out until it’s soft enough to spread easily—think soft serve, not melted. About 30 minutes at room temperature usually does the trick, but keep an eye on it. You want it creamy, not soupy.
Make It Easy to Lift from Pan: Line your pan with parchment paper or plastic wrap before building your layers. When it’s time to serve, you can lift the whole cake out to slice and serve neatly, especially handy if you’re making this for a party or gathering!
Crushing the Oreos: Crush the Oreos your way—either pulse them in a food processor or pop them in a zip-top bag and roll with a pin. Make them finer or in chunkier bits. Both work great—it just depends on your texture preference!
Clean Slice Tip: A long, sharp chef’s knife or serrated knife works best for cutting through those delicious layers. For neat slices, dip the knife in hot water, wipe it dry, and cut. Repeat between slices for a clean finish every time.
Serving Tip: Before serving, let the cake thaw for 10-15 minutes on the counter or 30 in the fridge. This helps it soften just enough to slice and enjoy without turning into a melty mess.

How to Store Oreo Ice Cream Dessert
Storing the Dessert: Keep the dessert tightly covered with plastic wrap or foil and store it in the freezer. It’ll stay fresh and delicious for up to 1 week.
For easy grab-and-go servings, you can also slice it into portions and store them in airtight containers or freezer-safe bags.
Transporting Tips:
Taking this to a party or gathering? Here’s how to make it mess-free:
- Freeze Solid: Make sure the dessert is fully frozen before transporting. Overnight freezing works best.
- Use a Cooler: For longer trips, pop the pan into a cooler to keep it frozen and firm. Add ice packs or even dry ice if it’s a hot day (this may require more thawing time.) Here’s a little tip from experience: if you’re using regular ice, tuck it into sealed zip-top bags. This keeps any melting water safely contained and far away from your dessert, so there’s no risk of soggy mishaps!
- Serving Tip: Once you arrive, pop it in the freezer until ready to serve, or if it’s being served soon, it should be just about ready to go after transporting.
Hungry for more easy, home-cooked, delicious recipes?
Sign up for my free recipe club to get family-friendly recipes in your inbox each week! Find me sharing daily meal-time inspiration on Pinterest, Facebook, and Instagram.
Frozen Oreo Dessert (Ice Cream Cake)
Click Stars To Rate
Ingredients
- 1 family sized package Oreo cookies - crushed, divided
- 6 tablespoons butter - melted
- ½ gallon cookies and cream ice cream - softened (you can substitute vanilla or chocolate ice cream)
- 16 ounces hot fudge - see note*
- 16 ounces frozen whipped topping - thawed and divided, see note*
Instructions
- Soften the Ice Cream: Remove the ice cream from the freezer and let it sit at room temperature for about 30 minutes until soft.
- Make the Cookie Crust: Crush about 36 cookies into large crumbs using a food processor. Add the melted butter and continue to pulse until well combined and you have a fine crumb. Use 7-8 cookies or the desired amount to make large crumbs for topping.If you don't have a food processor, you can add the cookies to a zip-top bag and crush them with a rolling pin. Then, mix the crumbs with melted butter in a bowl.
- Oreo Crust Layer: Press the Oreo mixture into a greased 9×13-inch dish.
- Mix Ice Cream Layer: In a large bowl, stir together the softened ice cream and 4 ounces of thawed whipped topping until well combined. Spread this mixture evenly over the cookie crust. Cover and freeze for 1 hour or until firm.
- Add Fudge Layer: Pour the fudge sauce into a microwave-safe bowl and heat in 15-second increments until it’s warm enough to spread easily- it should not be hot. (You can also follow the heating instructions on your brand’s label.) Pour the sauce on top of the ice cream layer and gently spread it out evenly. Cover and return to the freezer until set, about 1 hour.
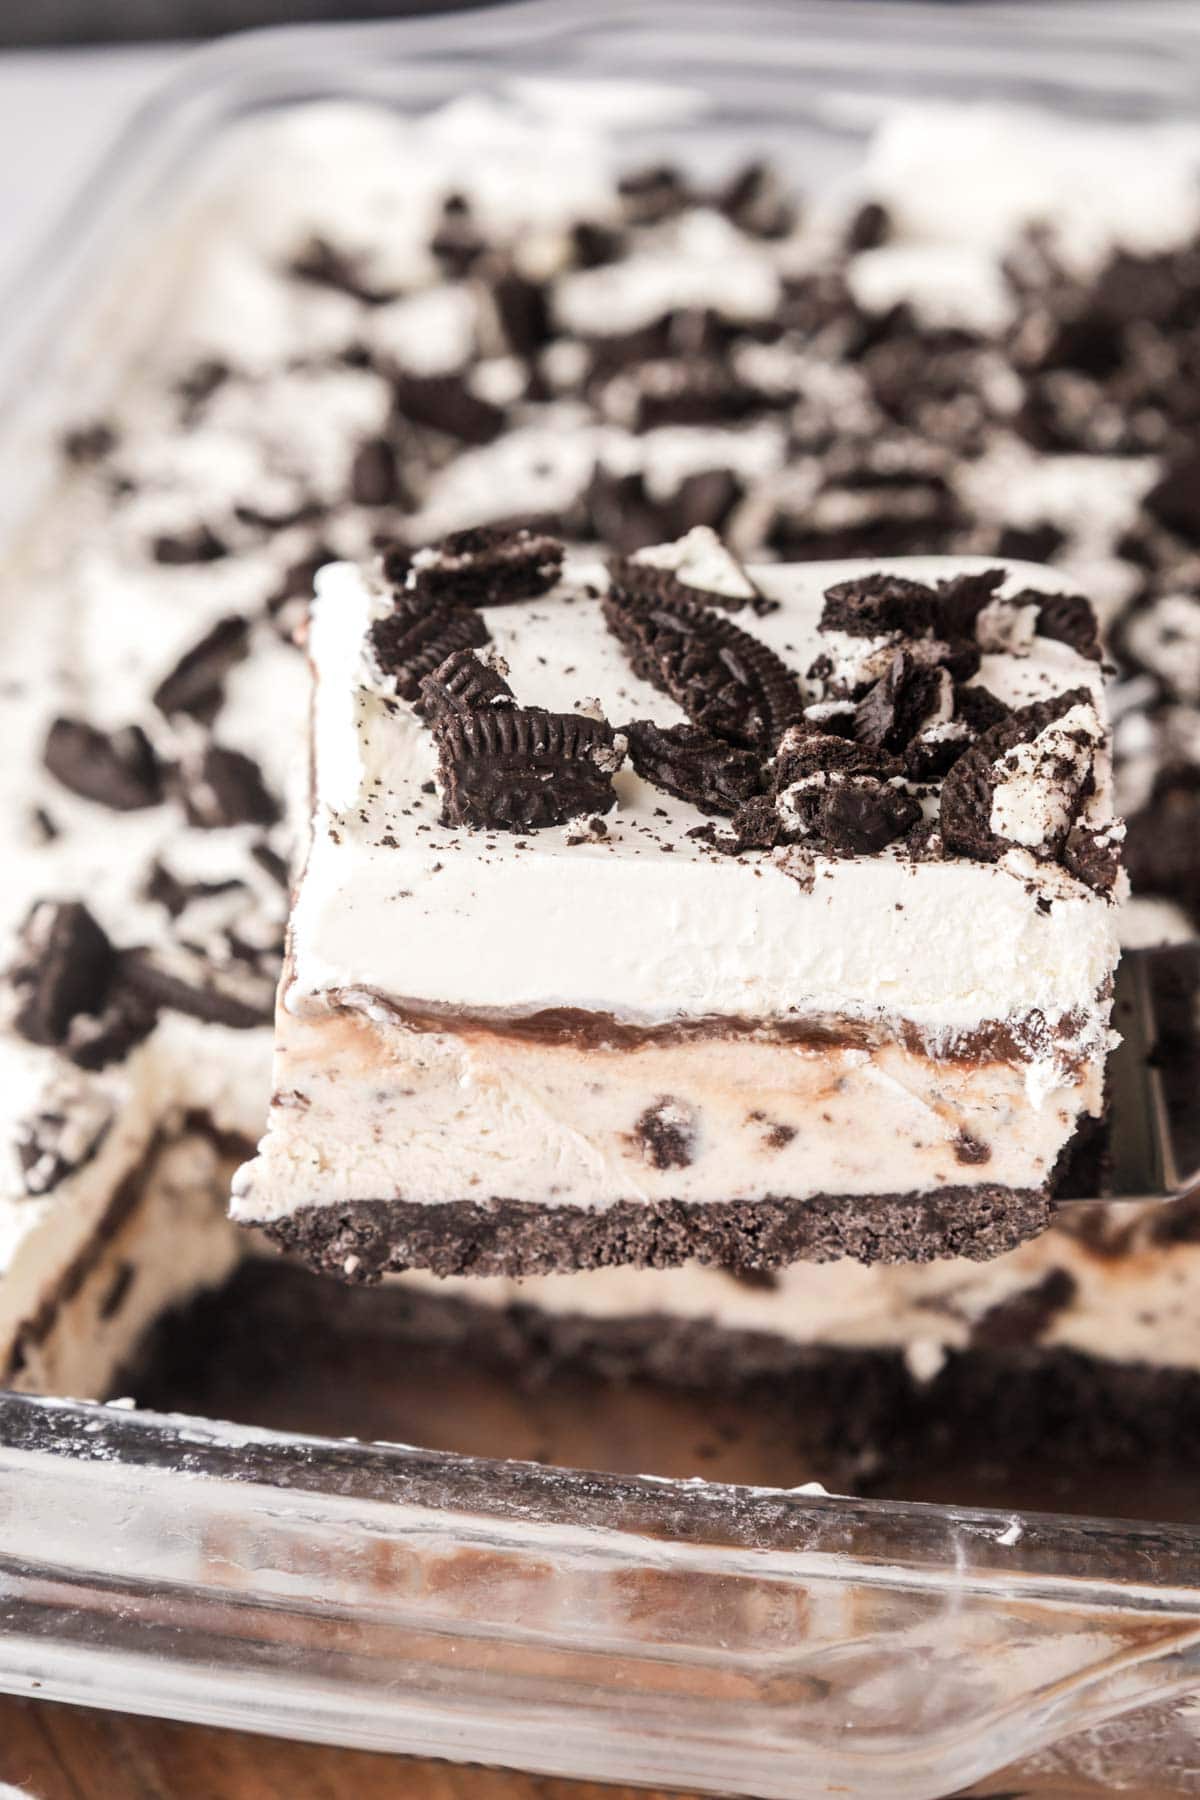
- Final Layer: Spread the remaining whipped topping on top of the fudge layer and sprinkle with the coarsely crushed Oreo crumbs. Cover and freeze for at least 2 hours or until completely set.
- Slice and drizzle with additional hot fudge, if desired, for serving.
Notes
Want to Save this Recipe?
By submitting this form, you consent to receive emails from Soulfully Made.
AMAZING!
Thank you, Chelsea. I am so happy you loved it!
Add some dry roasted peanuts sprinkled over the ice cream layer. Drizzle caramel topping and hot fudge topping. Yum!
Sounds delicious! I love your add ins!
This looks amazing! And even easier than the version my family makes. Will have to try it this summer!
Thank you Liz! It’s very easy and delicious! Let me know how it goes 🙂
This looks amazing. I tweeted and pinned it, then sent a text to my husband to pick up the ingredients we need to make this TODAY, haha. Thanks for linking up at the Home Matters Link Party! We hope to see you again next week:) #HomeMattersParty
Thank you! It is pretty delicious! I enjoy participating in the #HomeMattersParty – Such great recipes and ideas!
This looks like the perfect dessert for our ice cream loving family! Yum!!!
I just don’t think I will have the patience to wait very long, either. I know my 11 year old is going to love this dessert!
We can relate at our house! Hope you enjoy! Thank you!