

This post may contain affiliate links. Please read our disclosure policy.
If your family reaches for the can of cranberry sauce every holiday, this jellied cranberry sauce recipe is the one to make. It’s just fresh cranberries, sugar, and cranberry juice, and it slides out of a jelly jar in that same familiar shape. You get clean slices that sit right next to the turkey and dressing, and a homemade jellied cranberry sauce you can make up to a week ahead. That’s one less thing on your list for the big day.
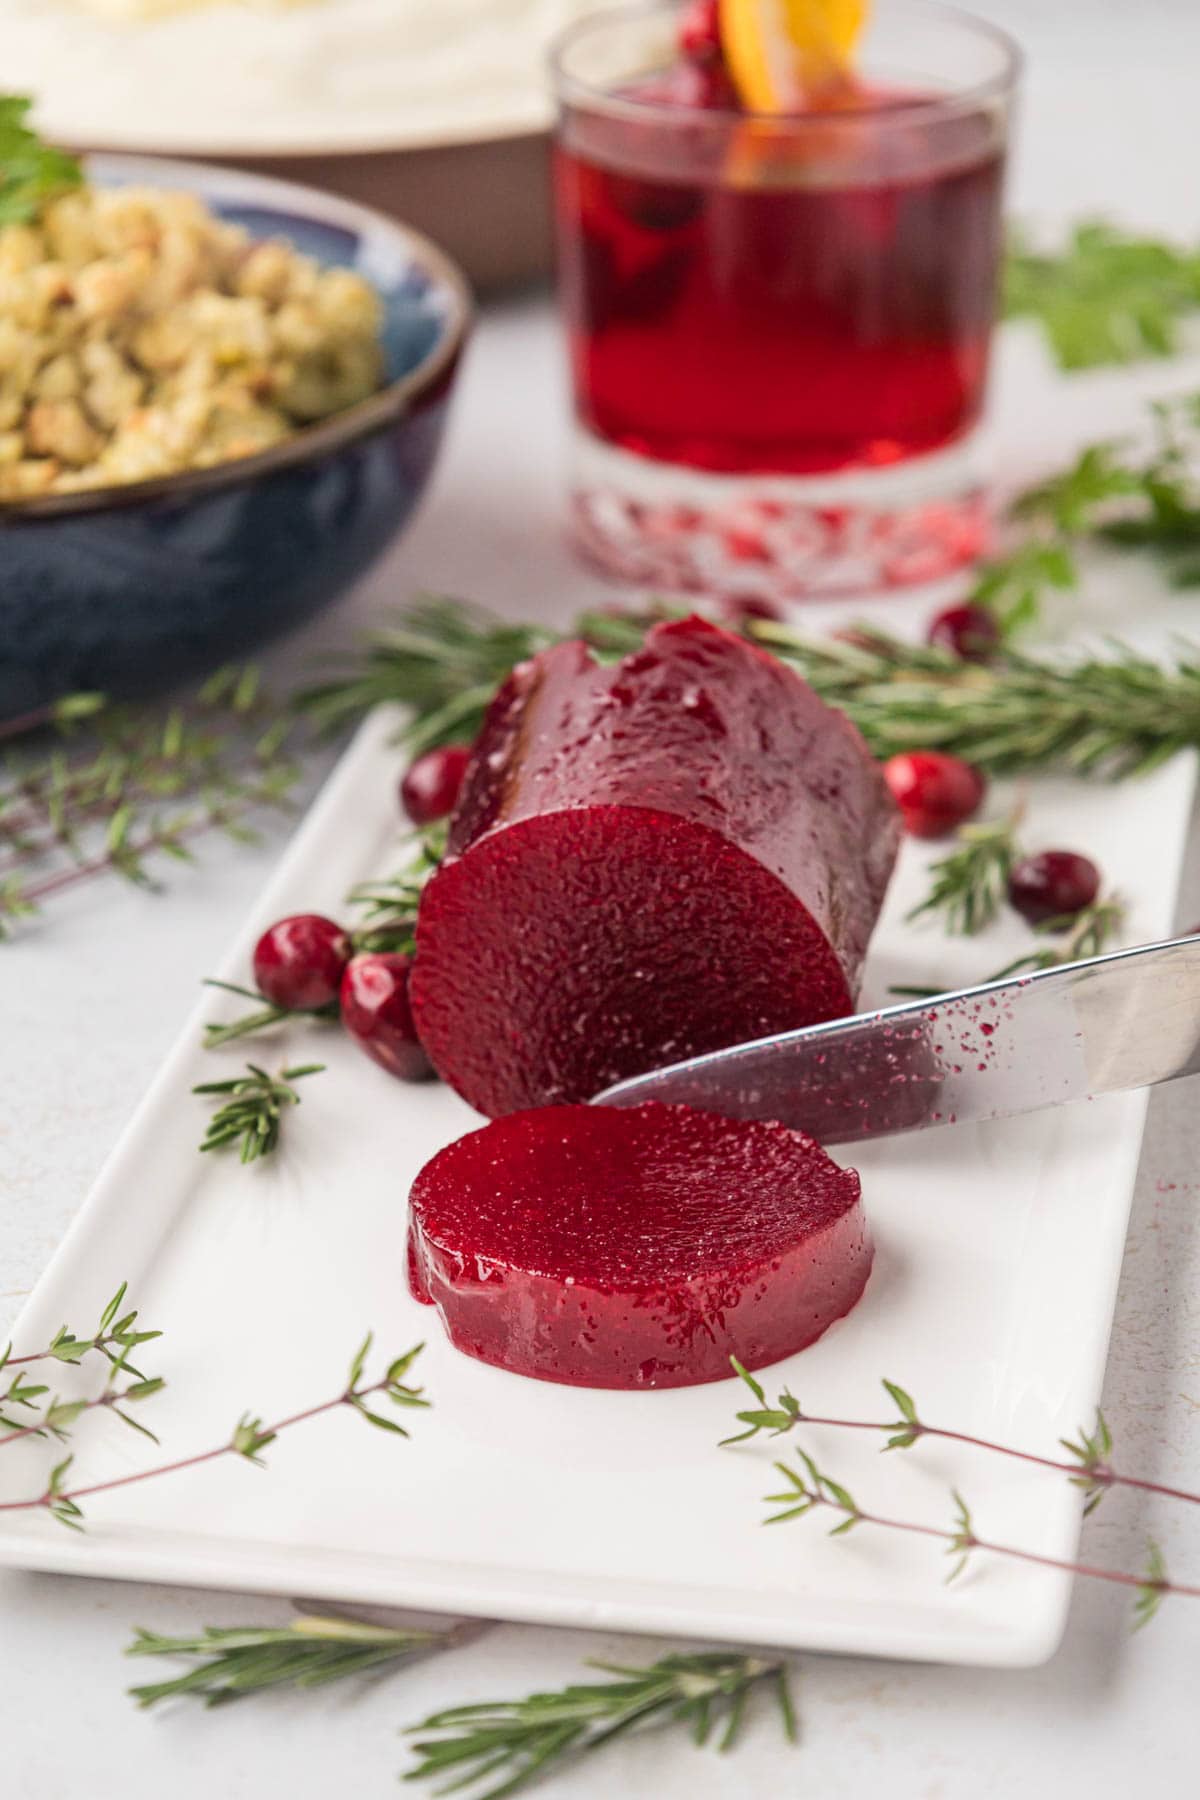
My mom has always served cranberry sauce from the can, and she always preferred the jellied kind. I have always liked both, and I love a whole berry sauce too (my Crock Pot Cranberry Sauce is my go-to). But I wanted to make a homemade version just for her to enjoy.
When I first tried this years ago, I made the Ocean Spray recipe, but it was designed for a whole sauce and didn’t gel up. So I tested reducing the amount of liquid, and ½ cup was the magic number to get the consistency for slicing!
Why This Homemade Cranberry Sauce Jellied Style Is a Keeper

❥ Just three ingredients. Fresh cranberries, sugar, and 100% cranberry juice. That’s the whole list.
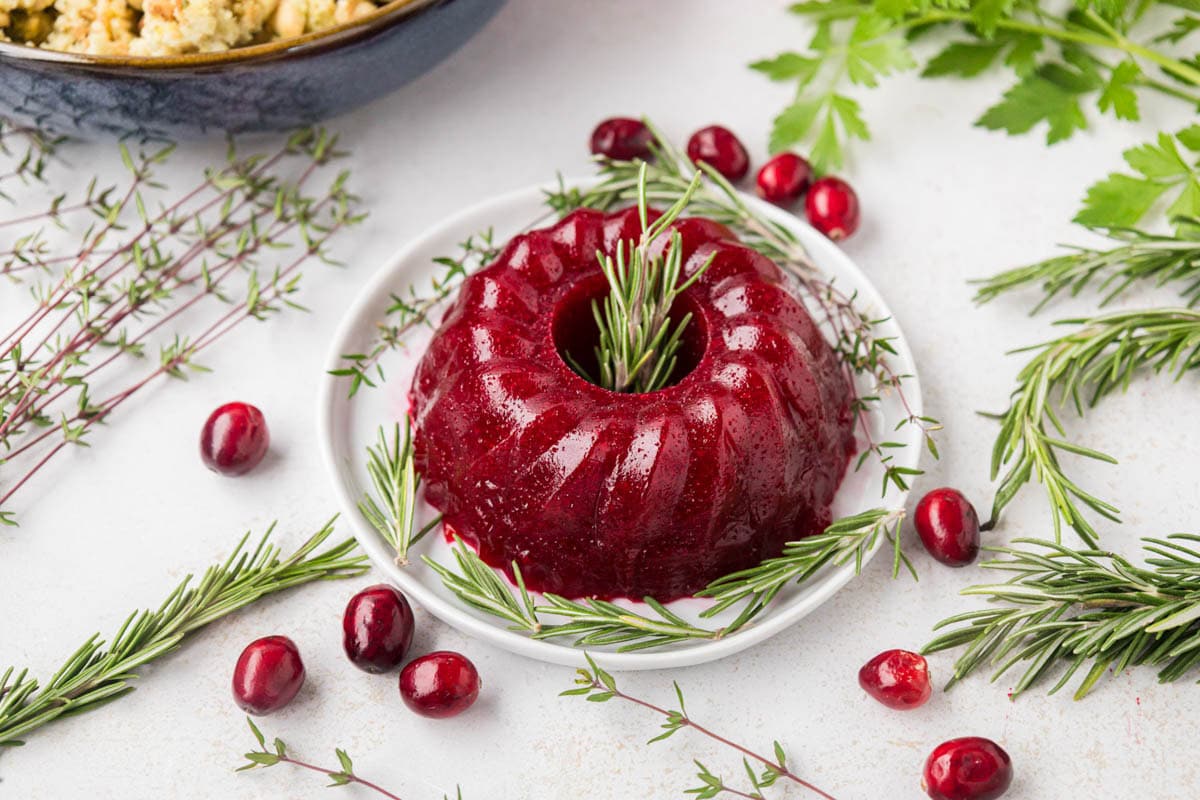
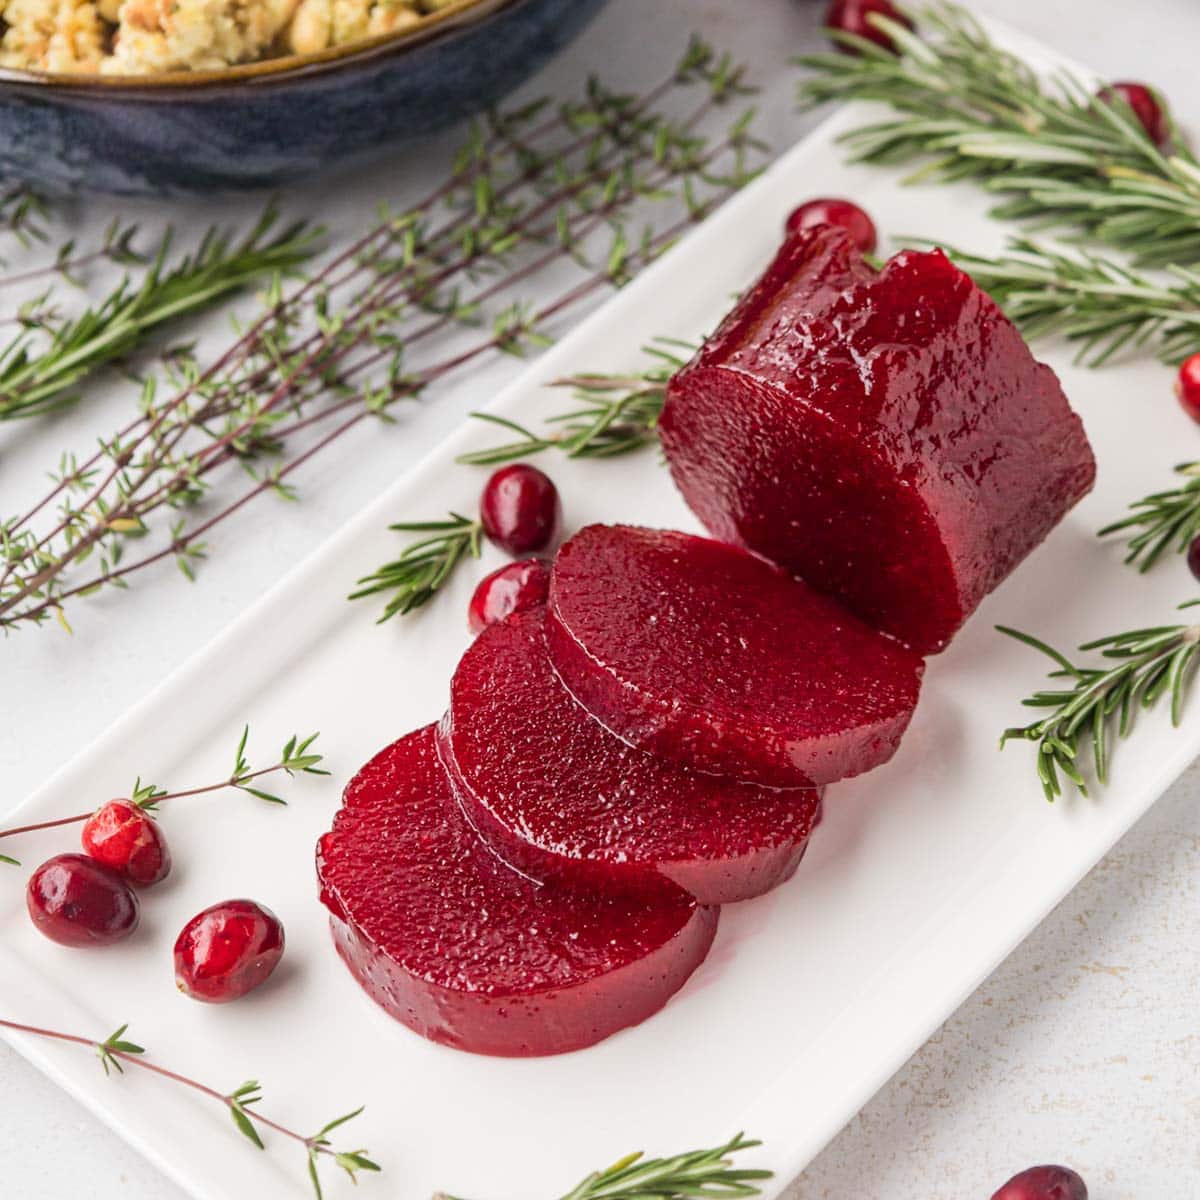
❥ It slices like the can. Smooth and firm, and it comes out of the jar in that classic cylinder shape. You can also make it in a beautiful mold, which looks amazing on the holiday table.
❥ No seeds or skins. Straining gives you a silky sauce for the folks at your table who only eat jellied.
❥ Leftovers don’t go to waste. Turkey sandwiches, a holiday platter, or a jam-style spread.
Nikki
My Signature Fall Dinner Dishes!
FREE EMAIL BONUS: My greatest hits: bold, cozy, and brag-worthy.n
Ingredient Notes
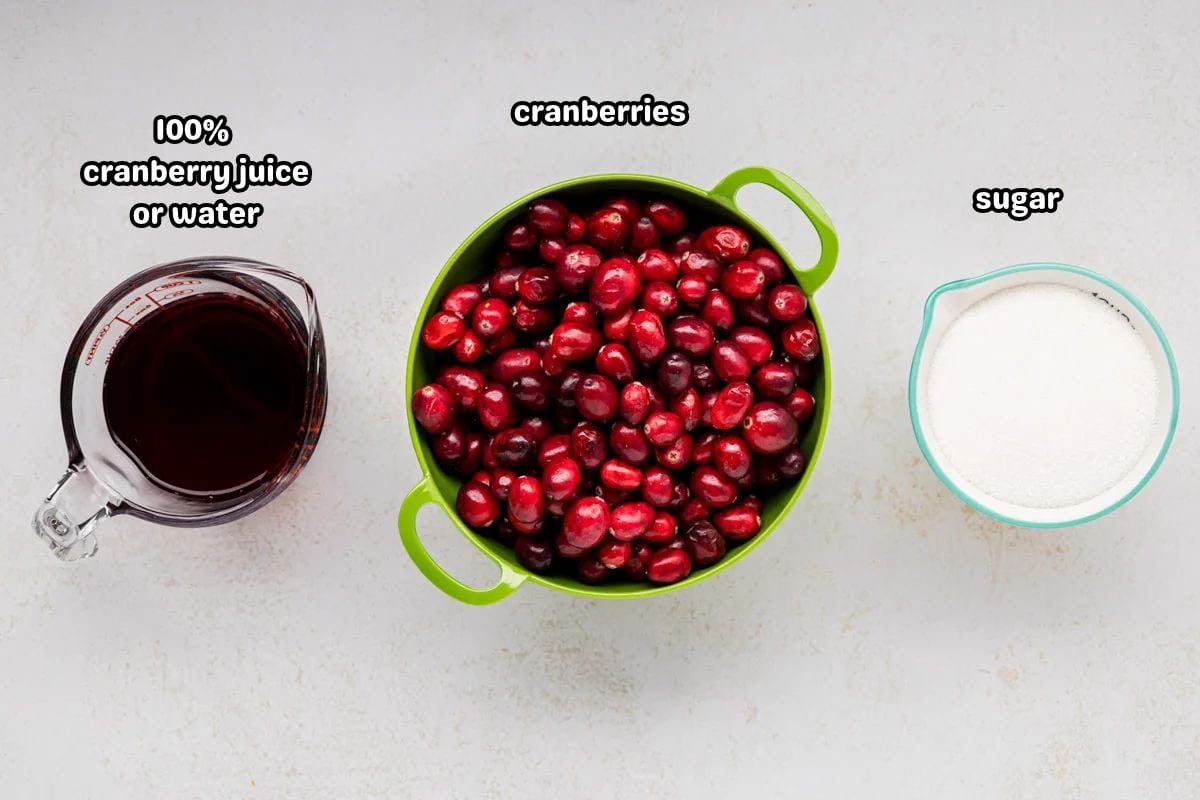
- Fresh cranberries: They bring the natural pectin that helps the sauce set, so sort out any shriveled or brown berries before they go in the pot.
- Sugar: It balances the tart berries and helps the sauce thicken as it boils.
- 100% cranberry juice: Use 100% juice so it will set up. Cranberry juice is the only one I’ve tested, and it keeps the cranberry flavor front and center.
How to Make Jellied Cranberry Sauce
✱ Below are step-by-step photos and instructions. For the complete recipe, along with ingredient amounts, scroll down to the recipe card.
Step 1 | Sort the Cranberries
Wash the cranberries and discard any that are shriveled or brown.
Step 2 | Cook the Berries
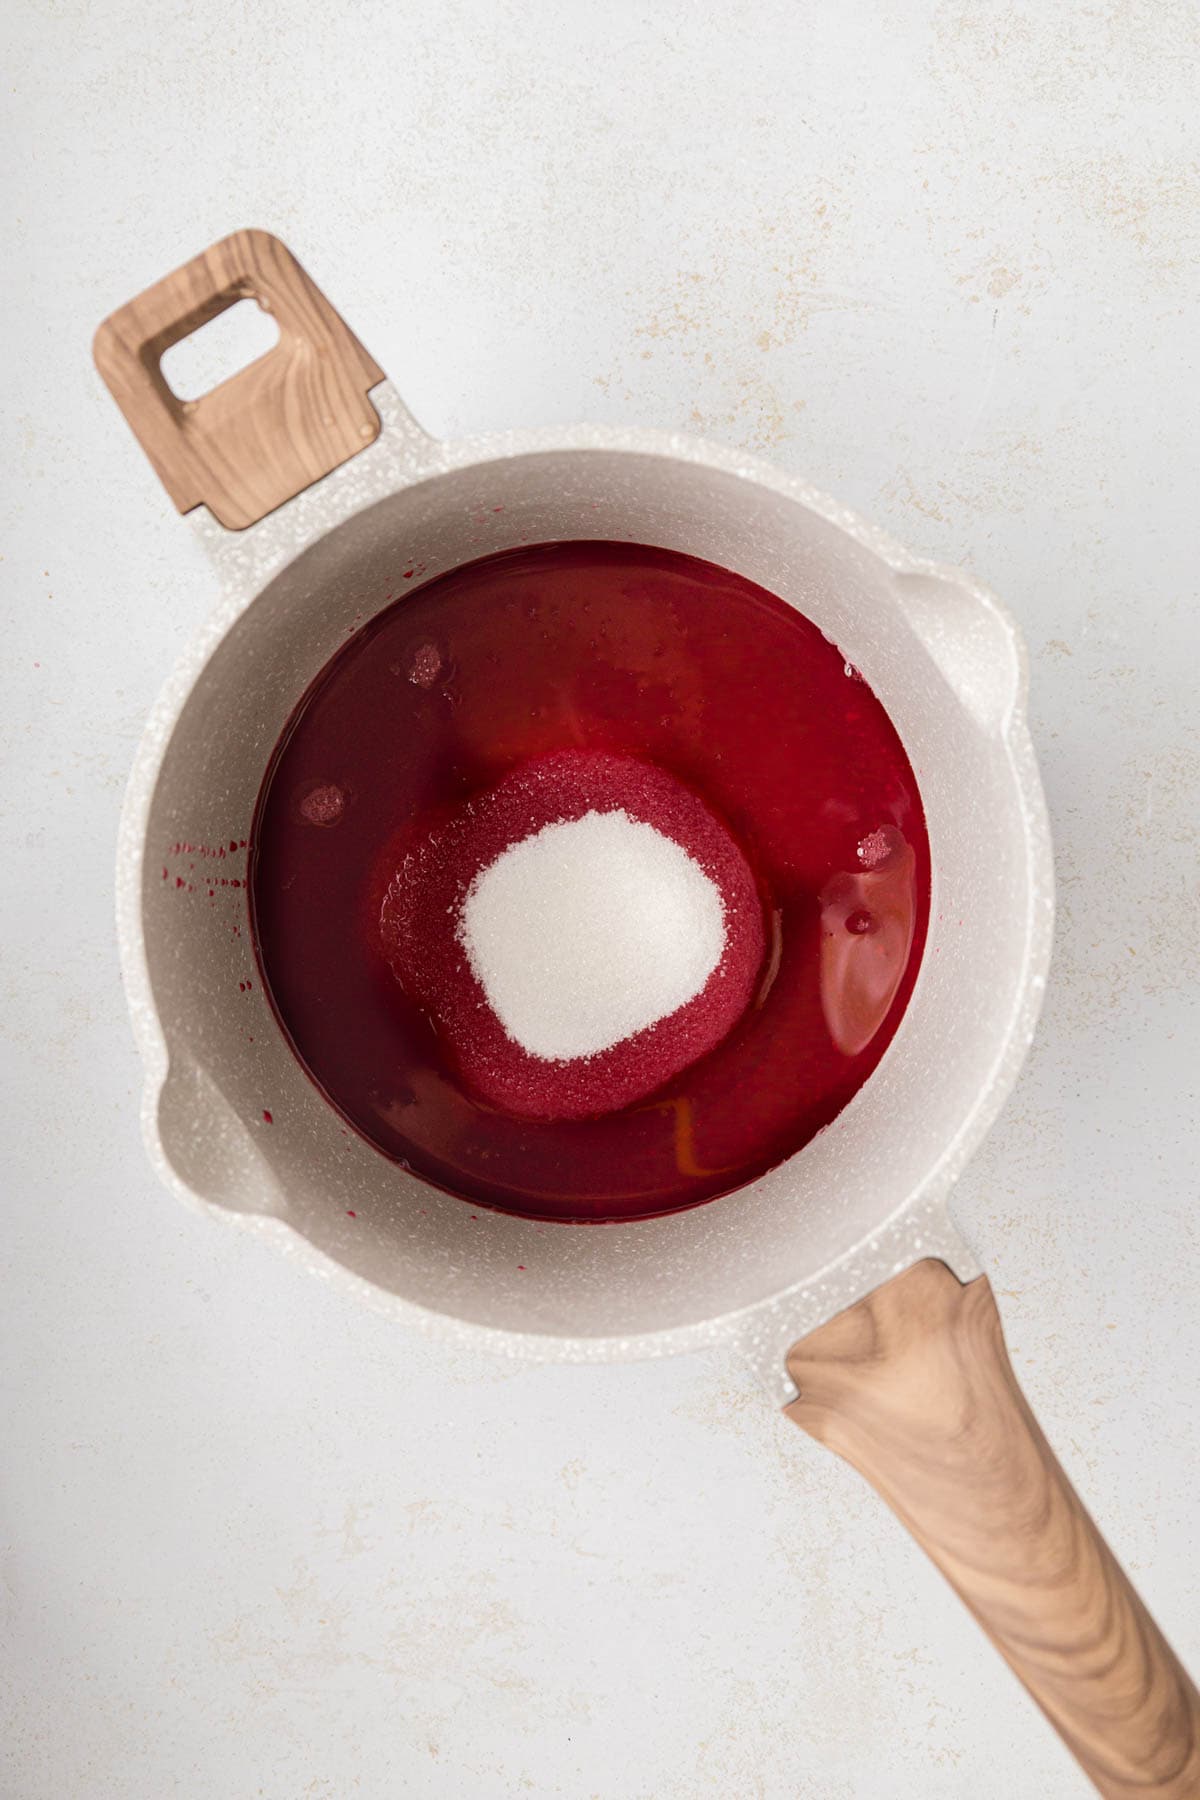
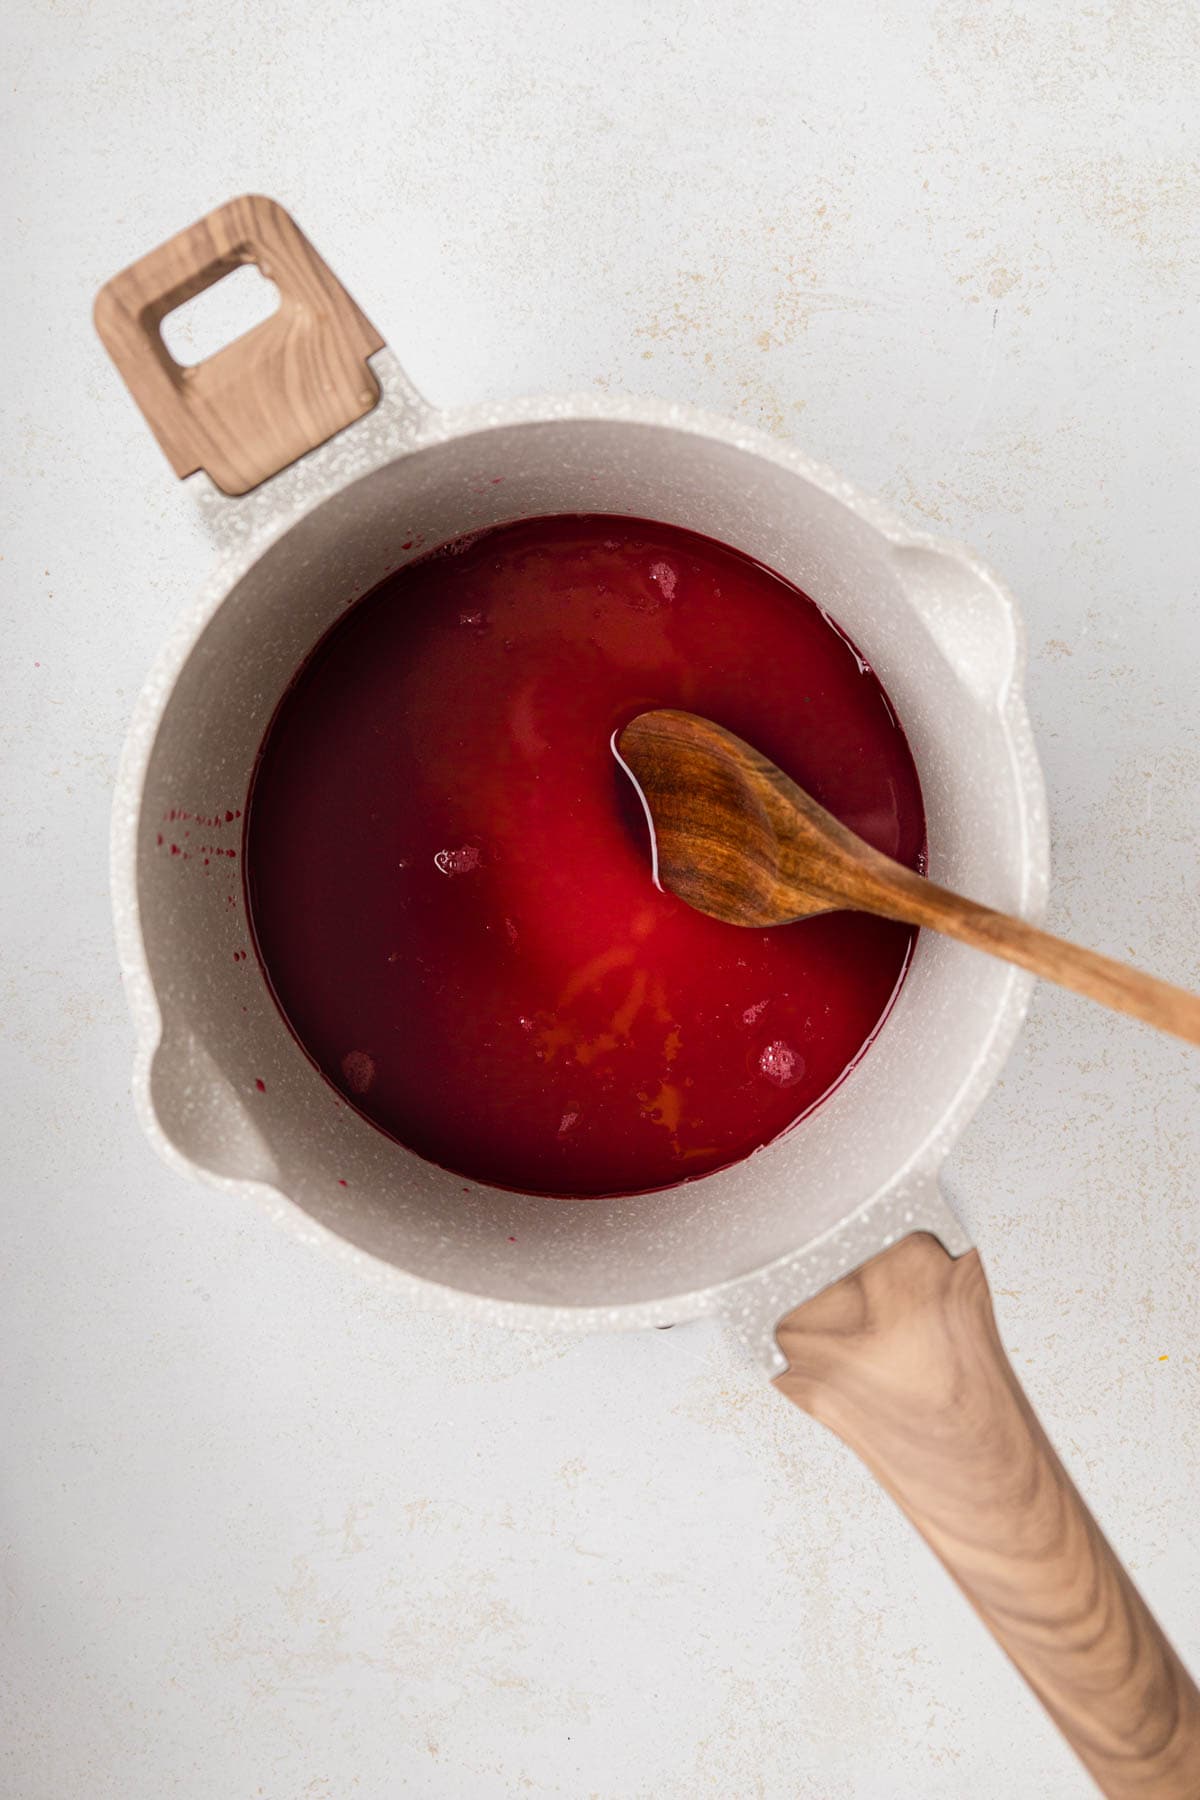
In a medium saucepan over medium-low heat, combine the sugar and cranberry juice.
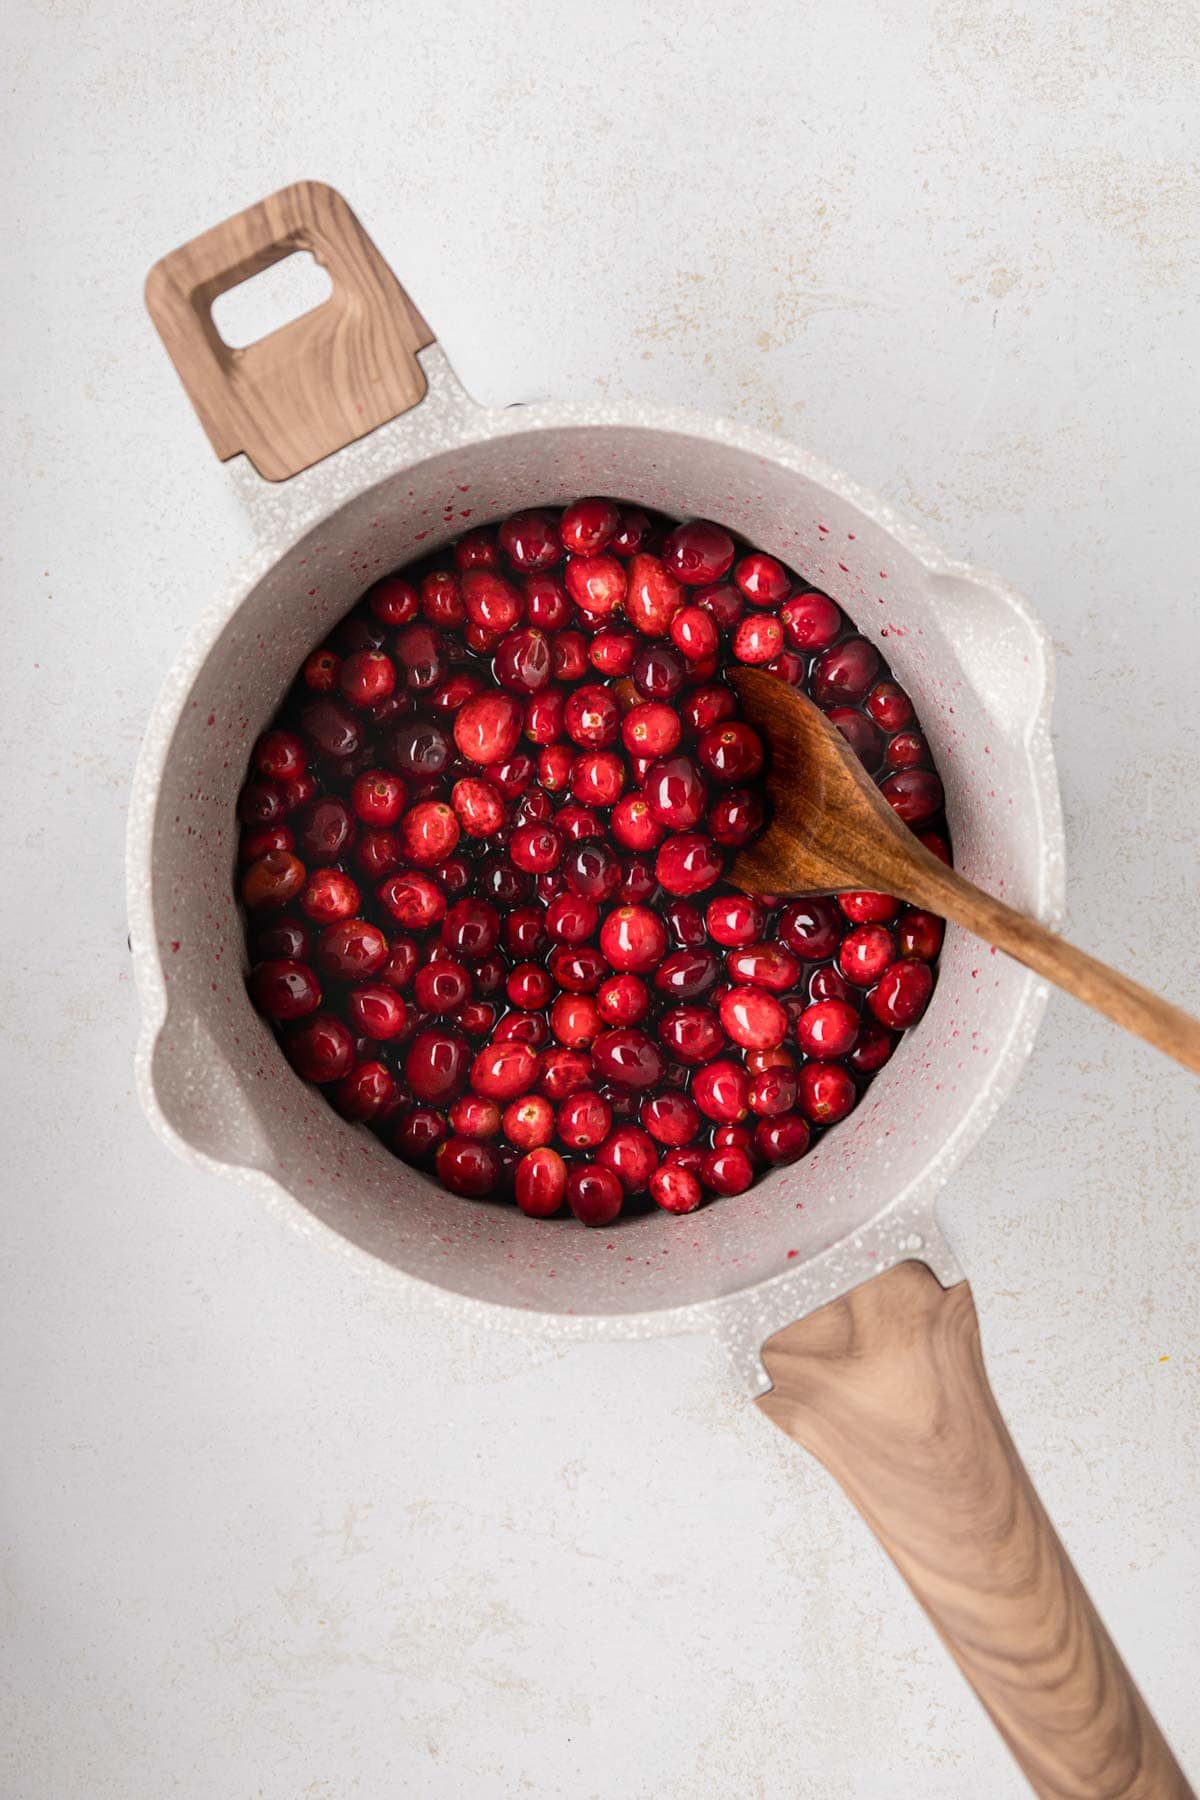
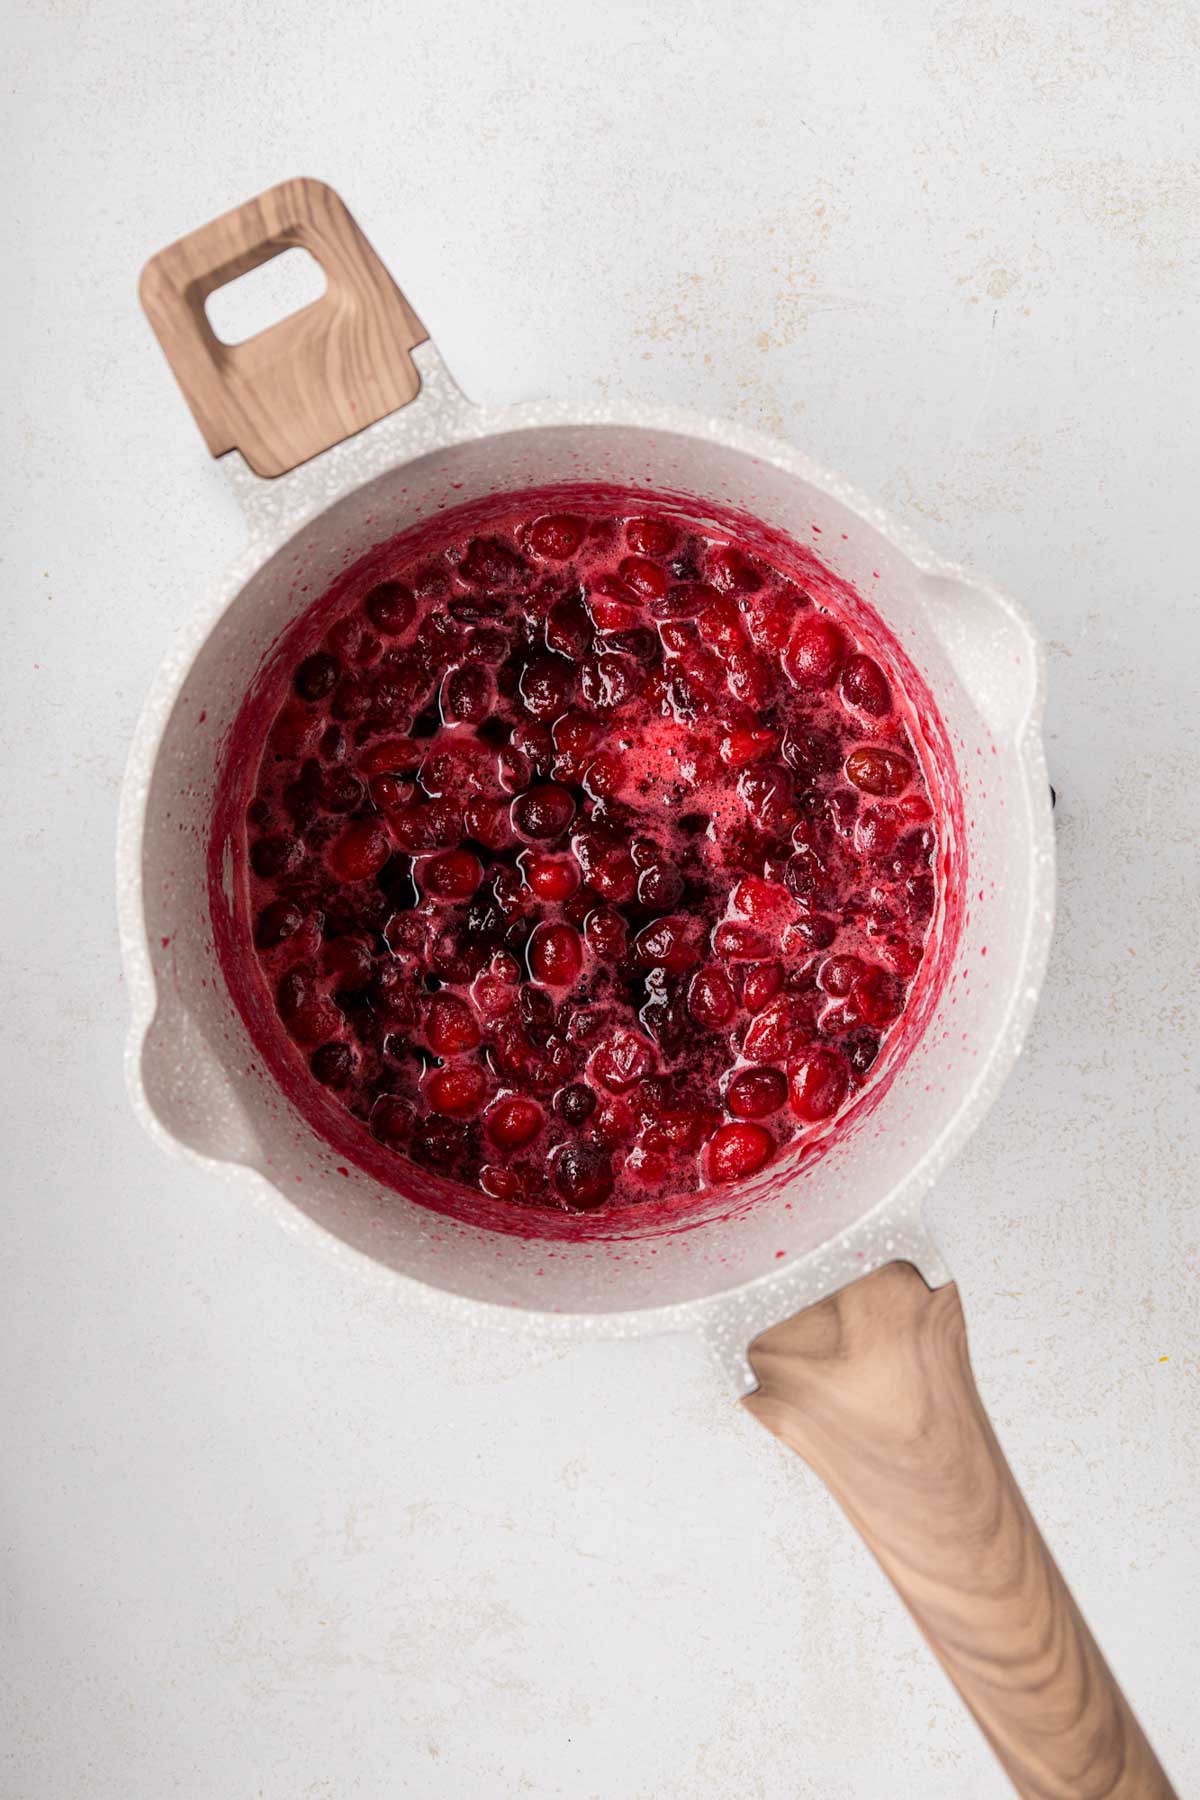
Once the sugar and juice combine, turn the heat to medium, bring it to a boil, and add the cranberries. Let them boil for 1 minute, stirring constantly.
Reduce the heat slightly and keep it at a gentle boil, stirring every few minutes, until the berries pop and the sauce thickens, about 10 minutes.
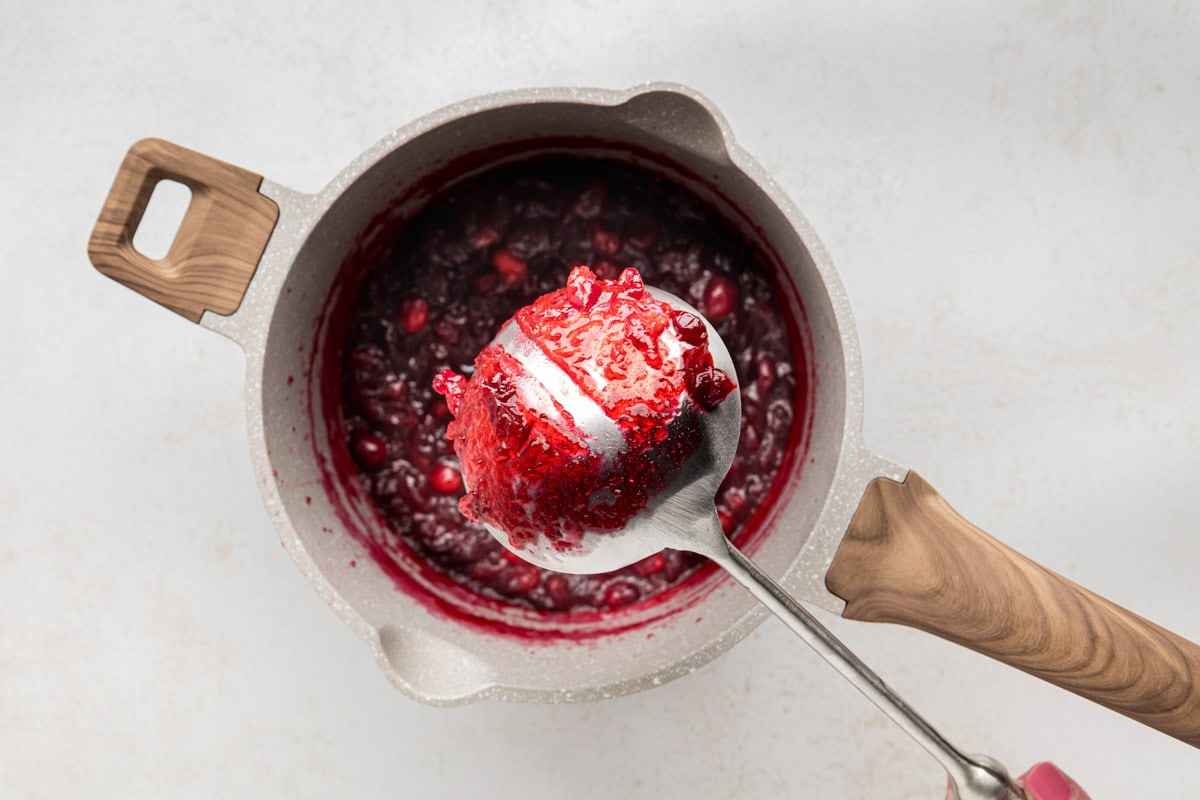
To check, coat the back of a spoon and run your finger through the sauce. If the line stays open, it’s done.
Step 3 | Strain
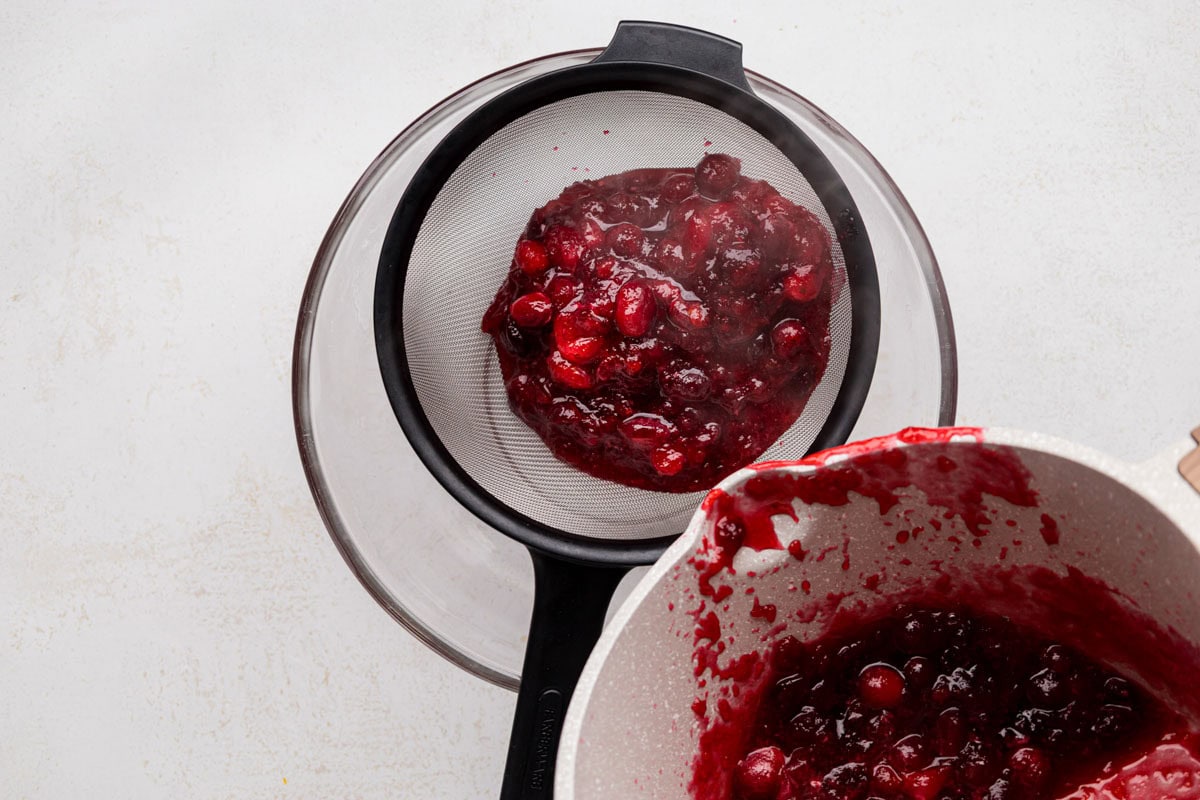
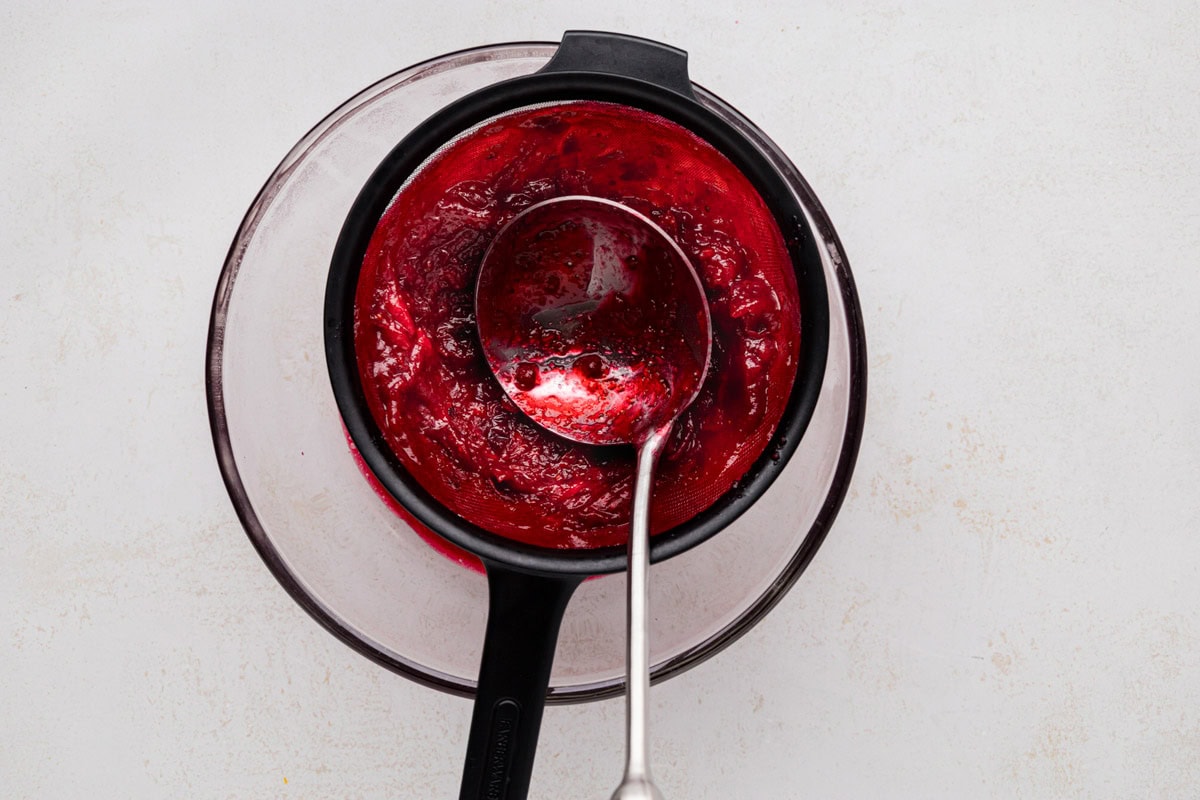
Pour the sauce through a fine-mesh sieve or food mill and press it through. This takes a few minutes.
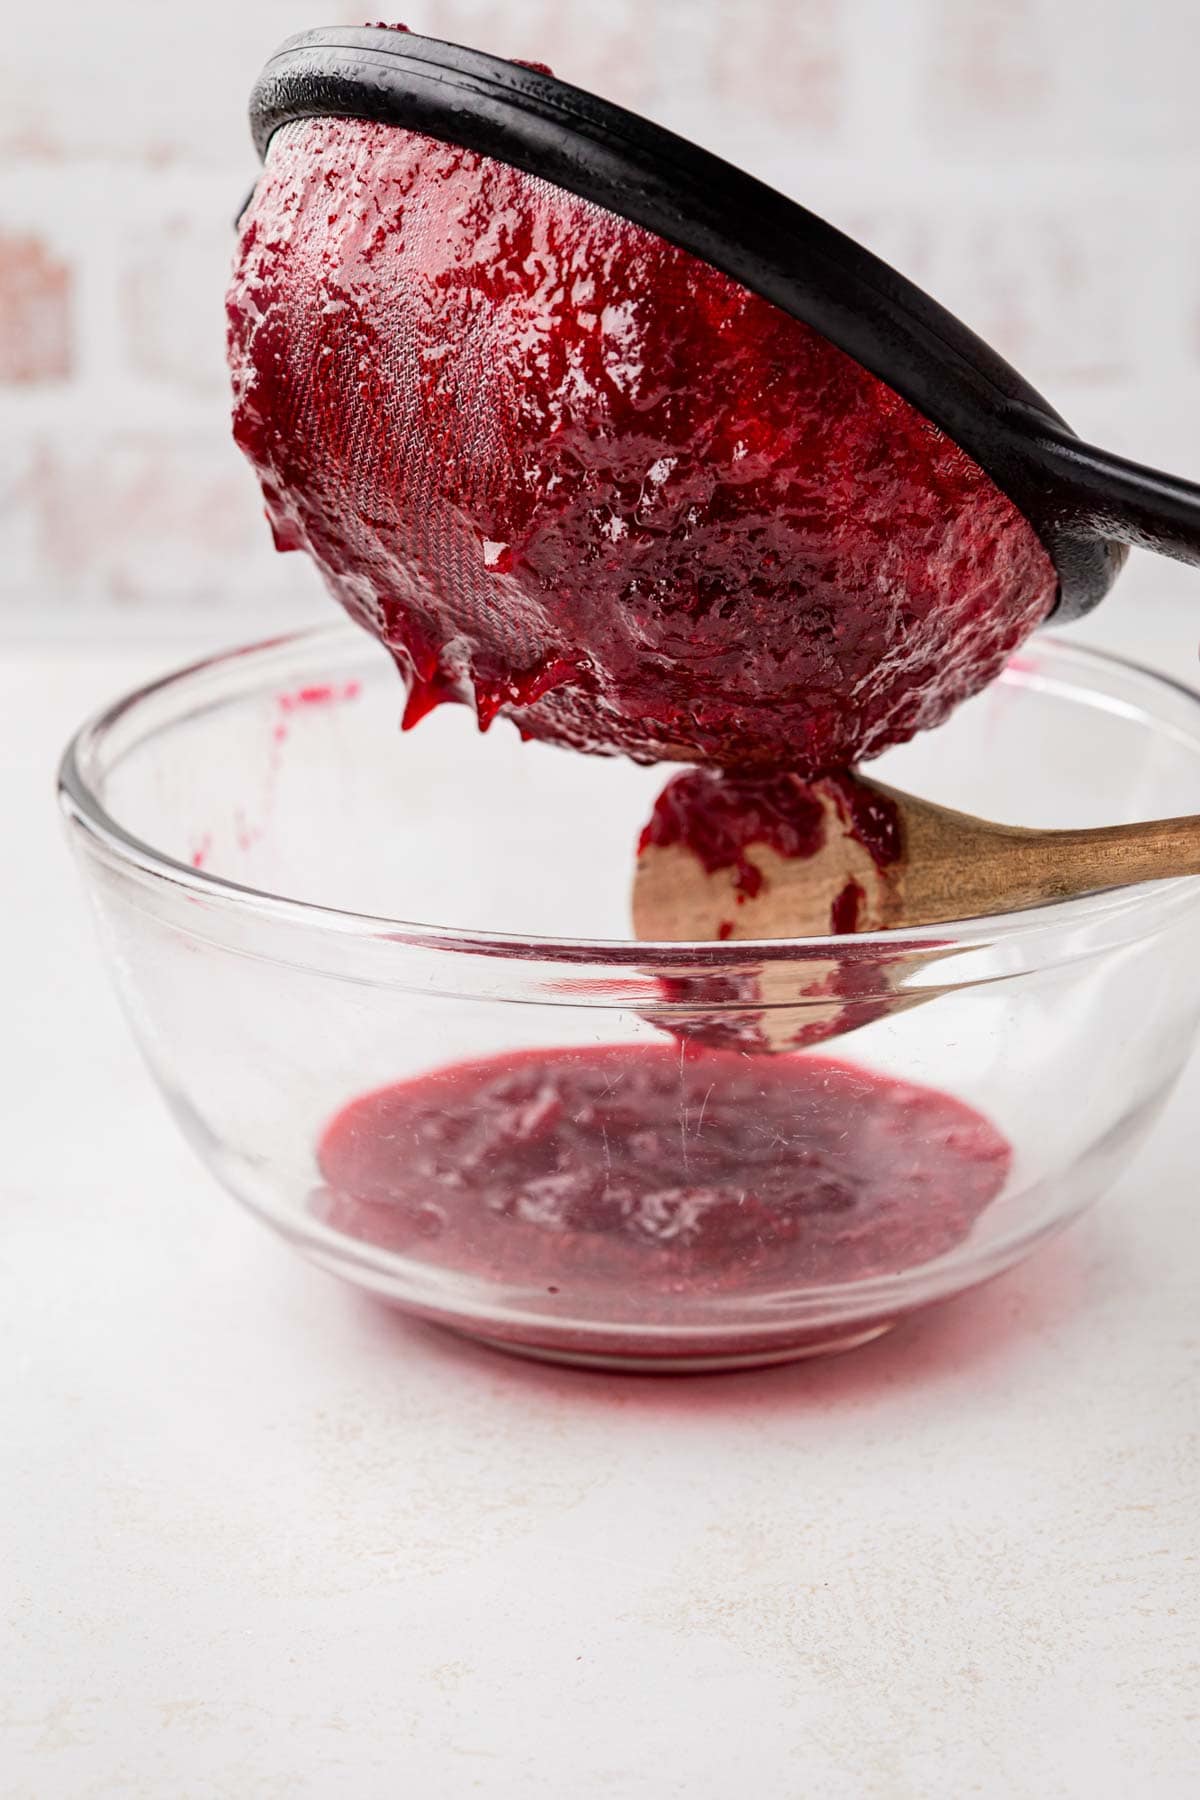
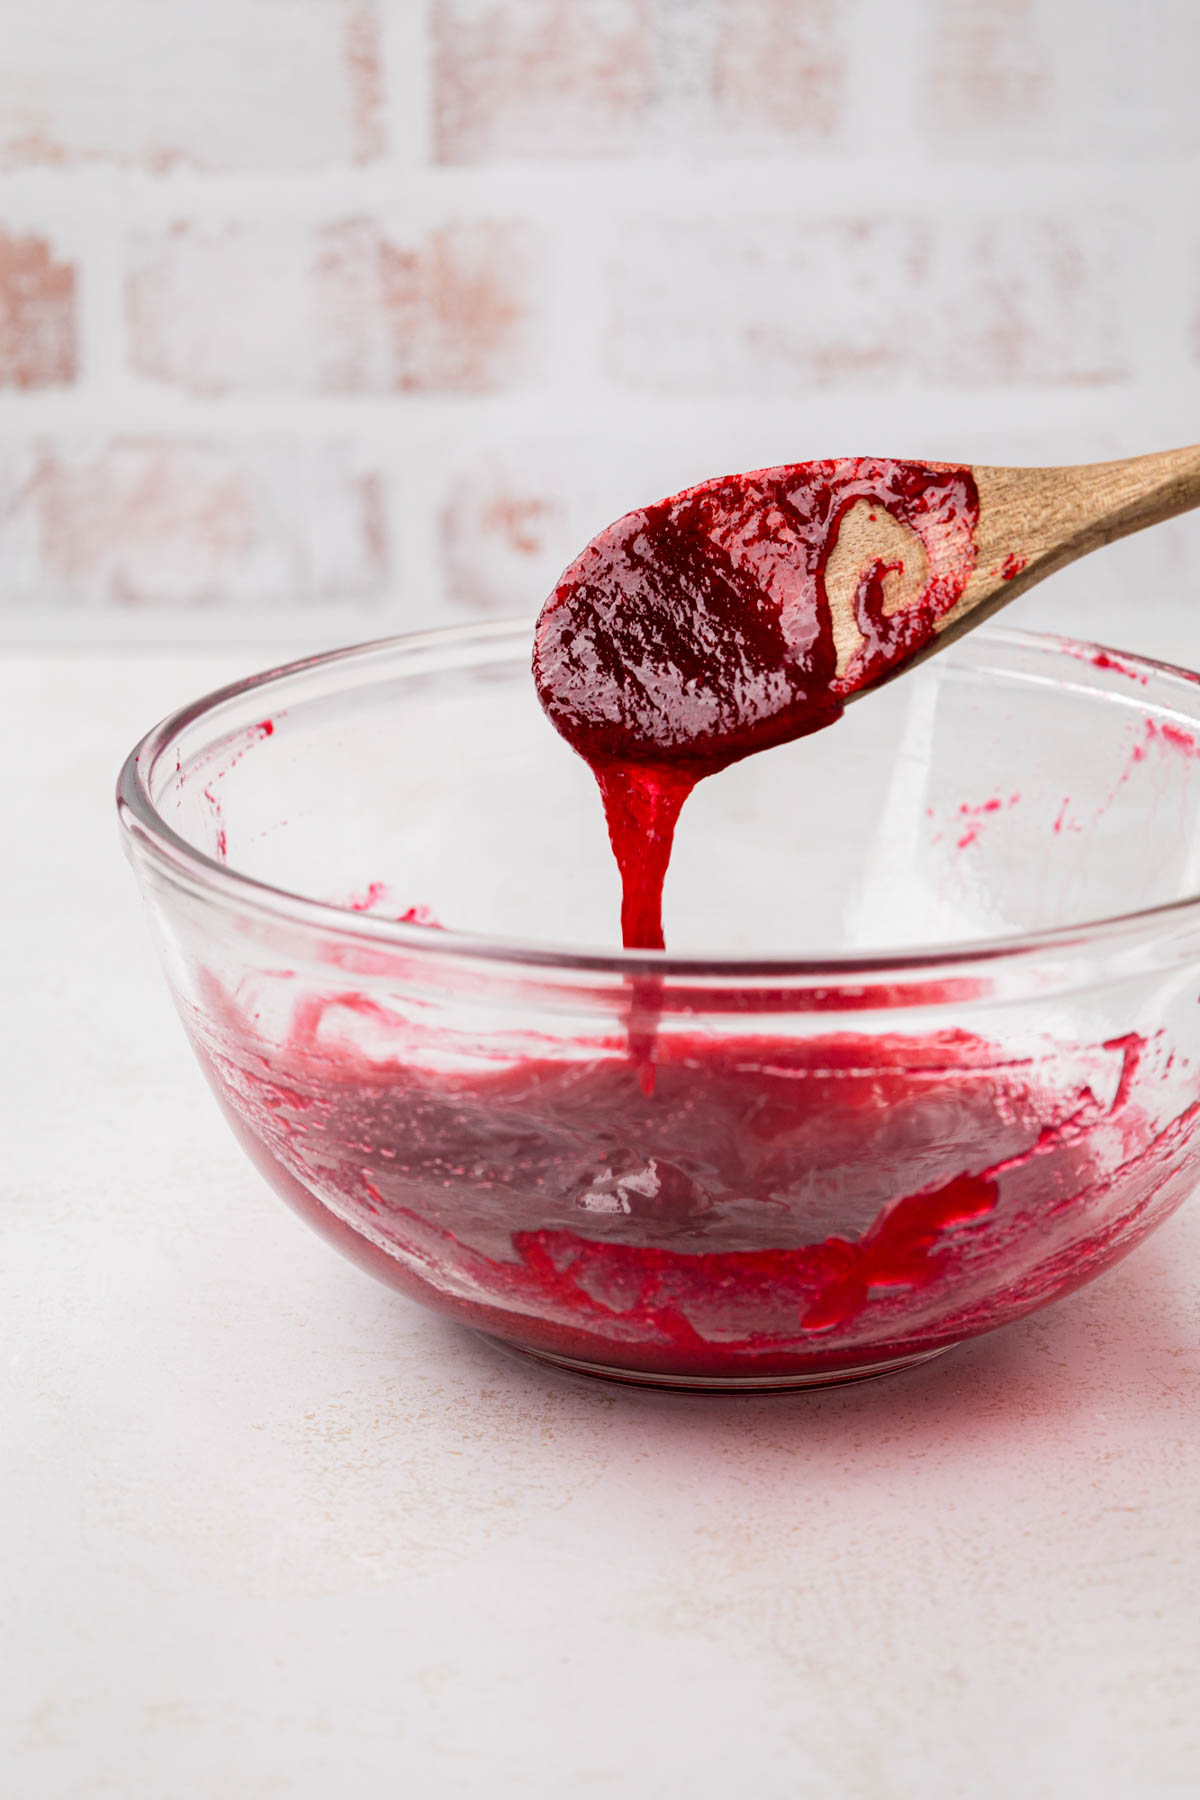
A lot of pulp clings to the bottom and outside of the sieve, so don’t forget to scrape all that off too.
Discard the pulp left inside, or you can use it as a spread if you like.
Step 4 | Fill the Jar or Mold
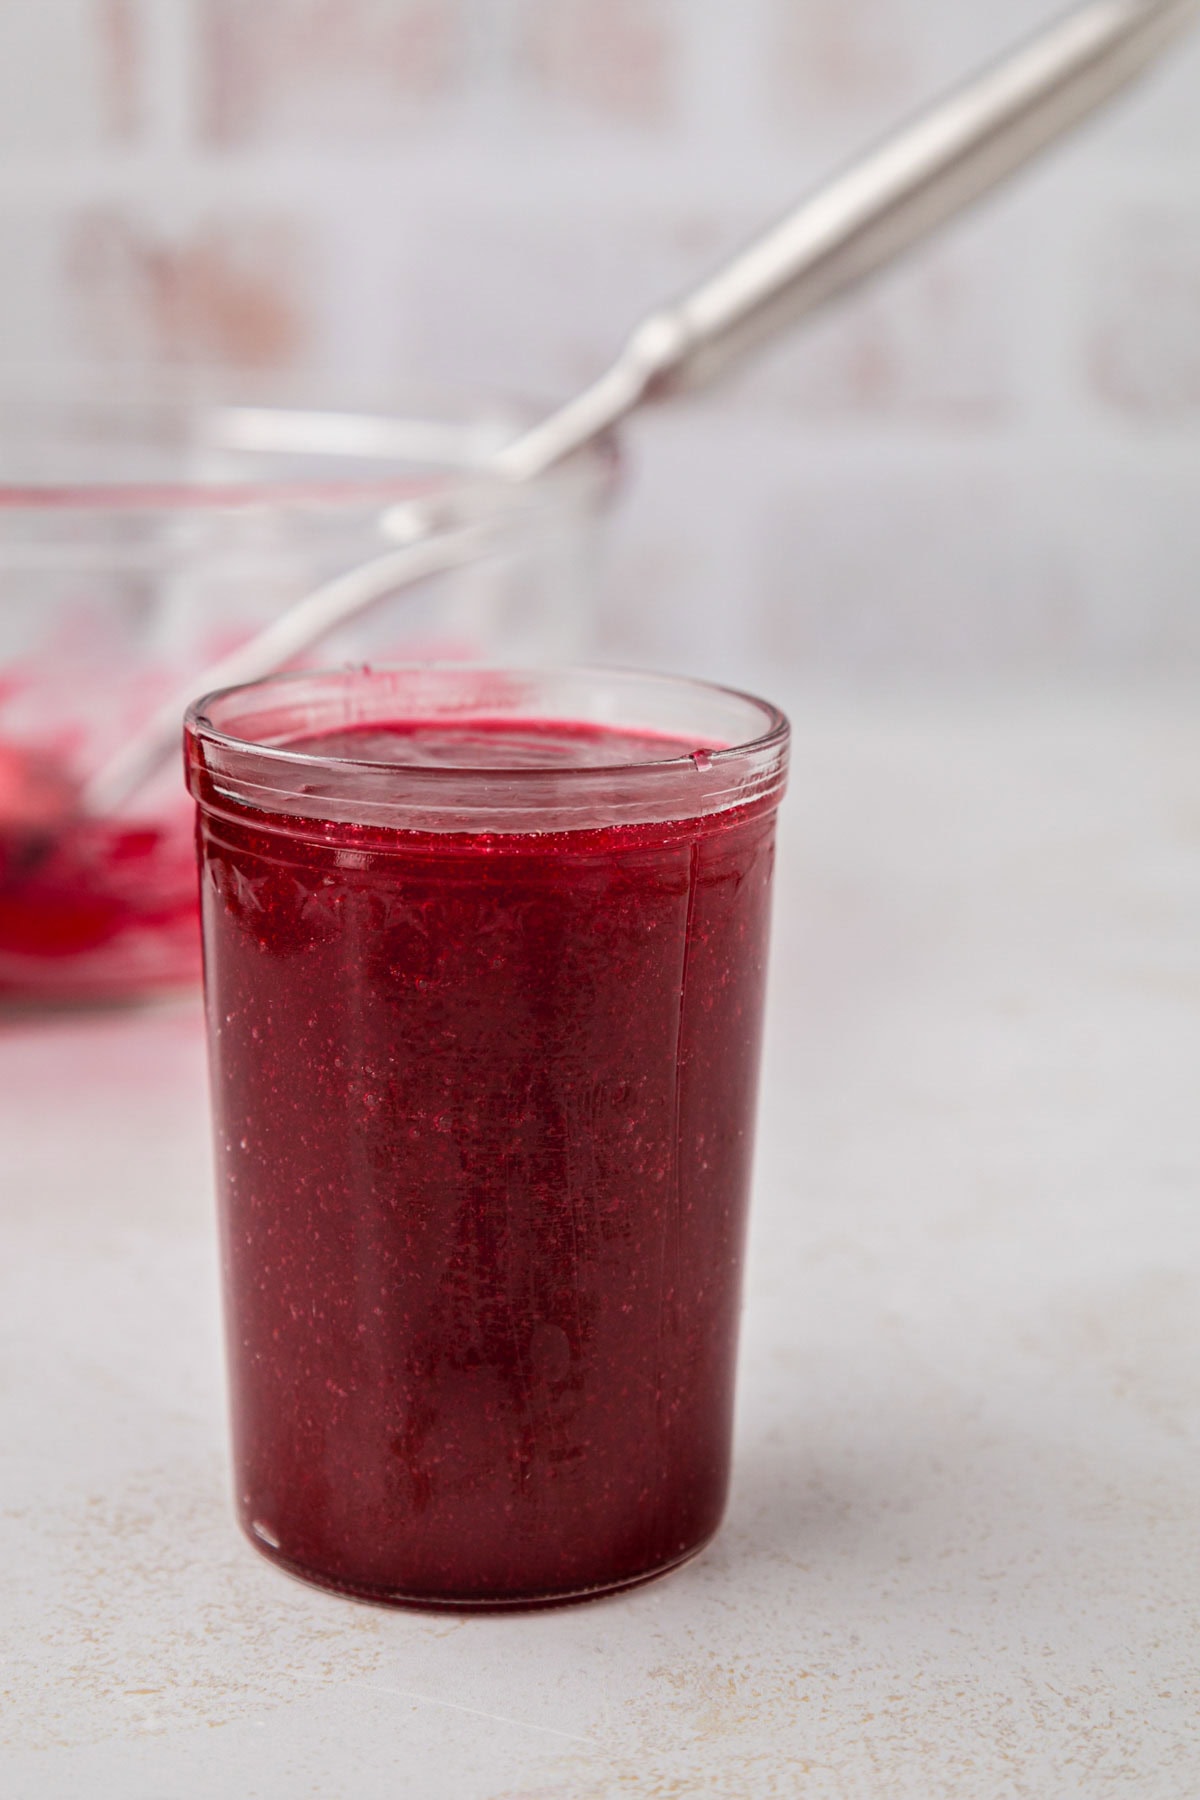
Pour the strained sauce into a jelly jar without a lip, so it can slide out in one piece later.
You could also use a mold if for an even prettier presentation.
Step 5 | Chill
Refrigerate for 3 hours or until set.
Step 6 | Unmold and Slice
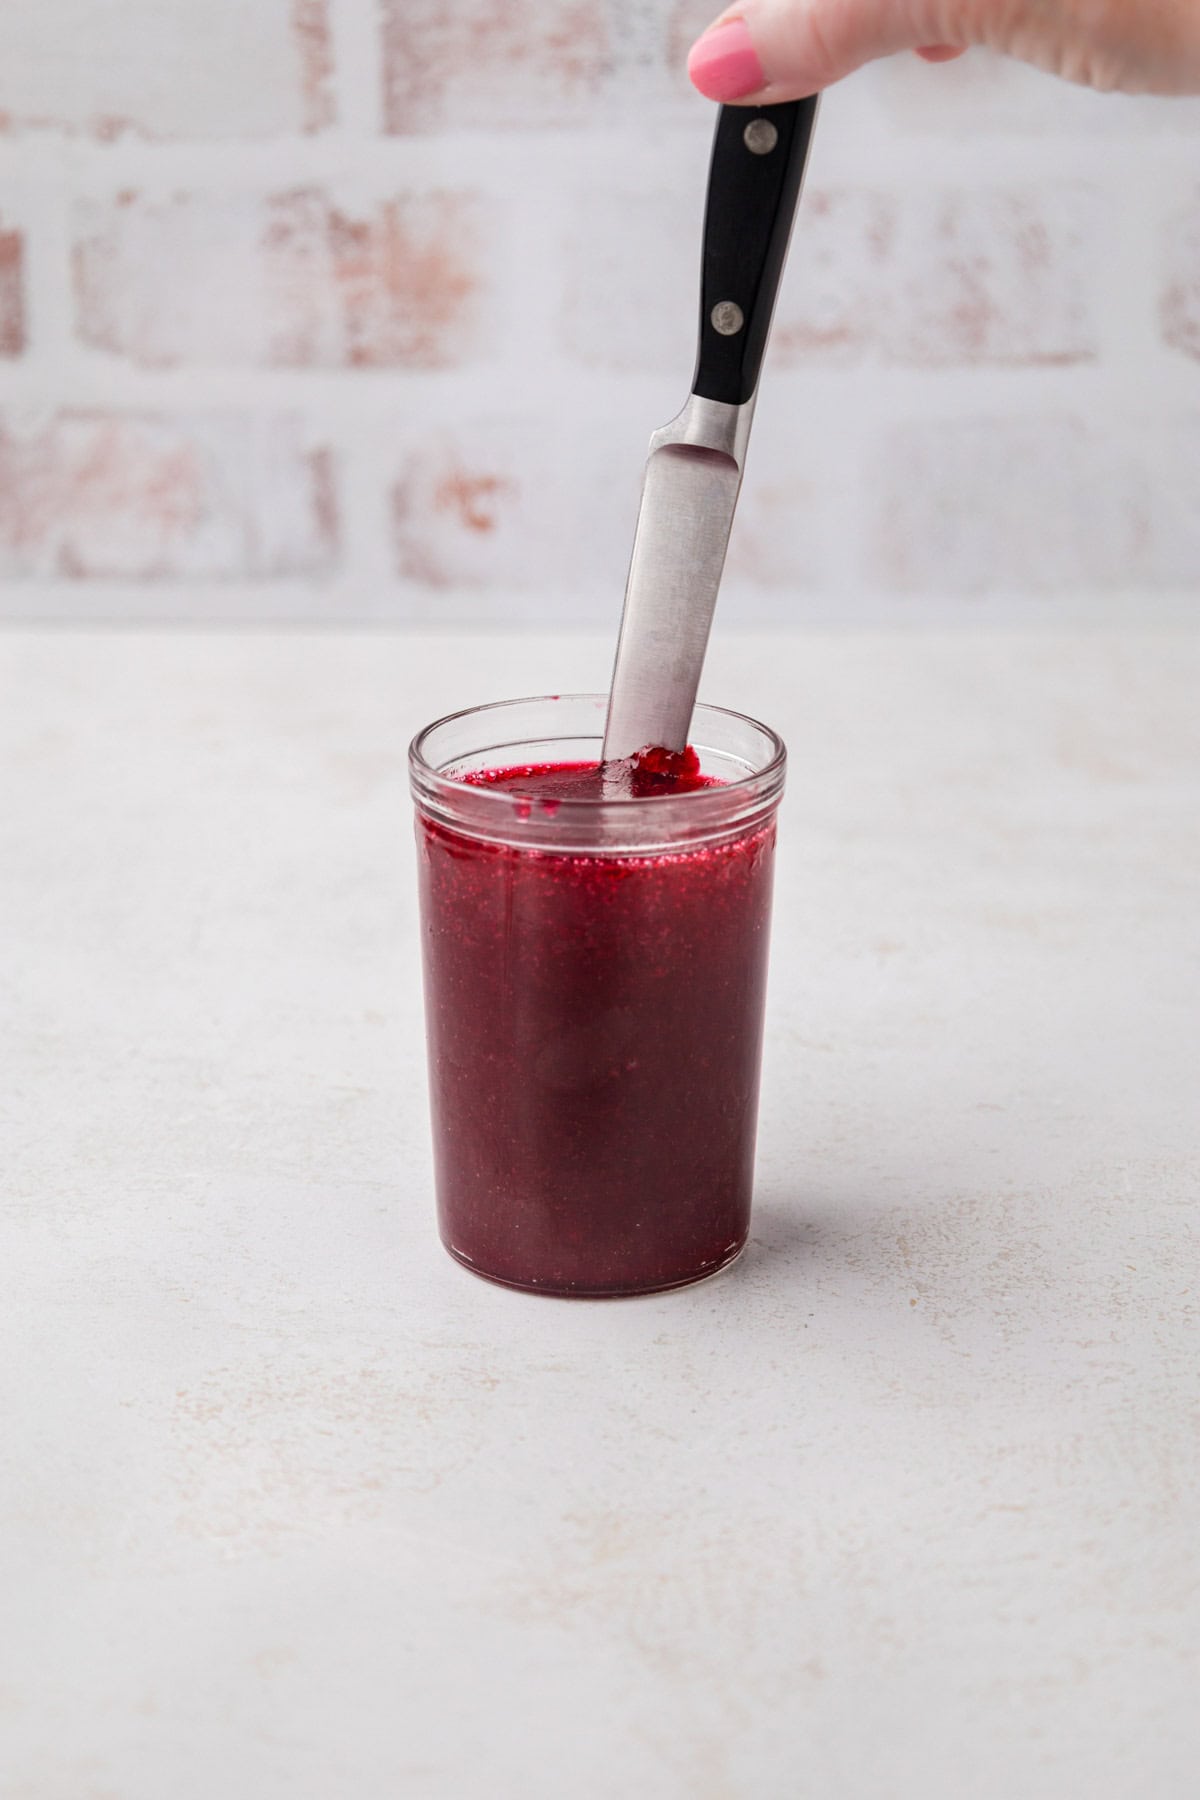
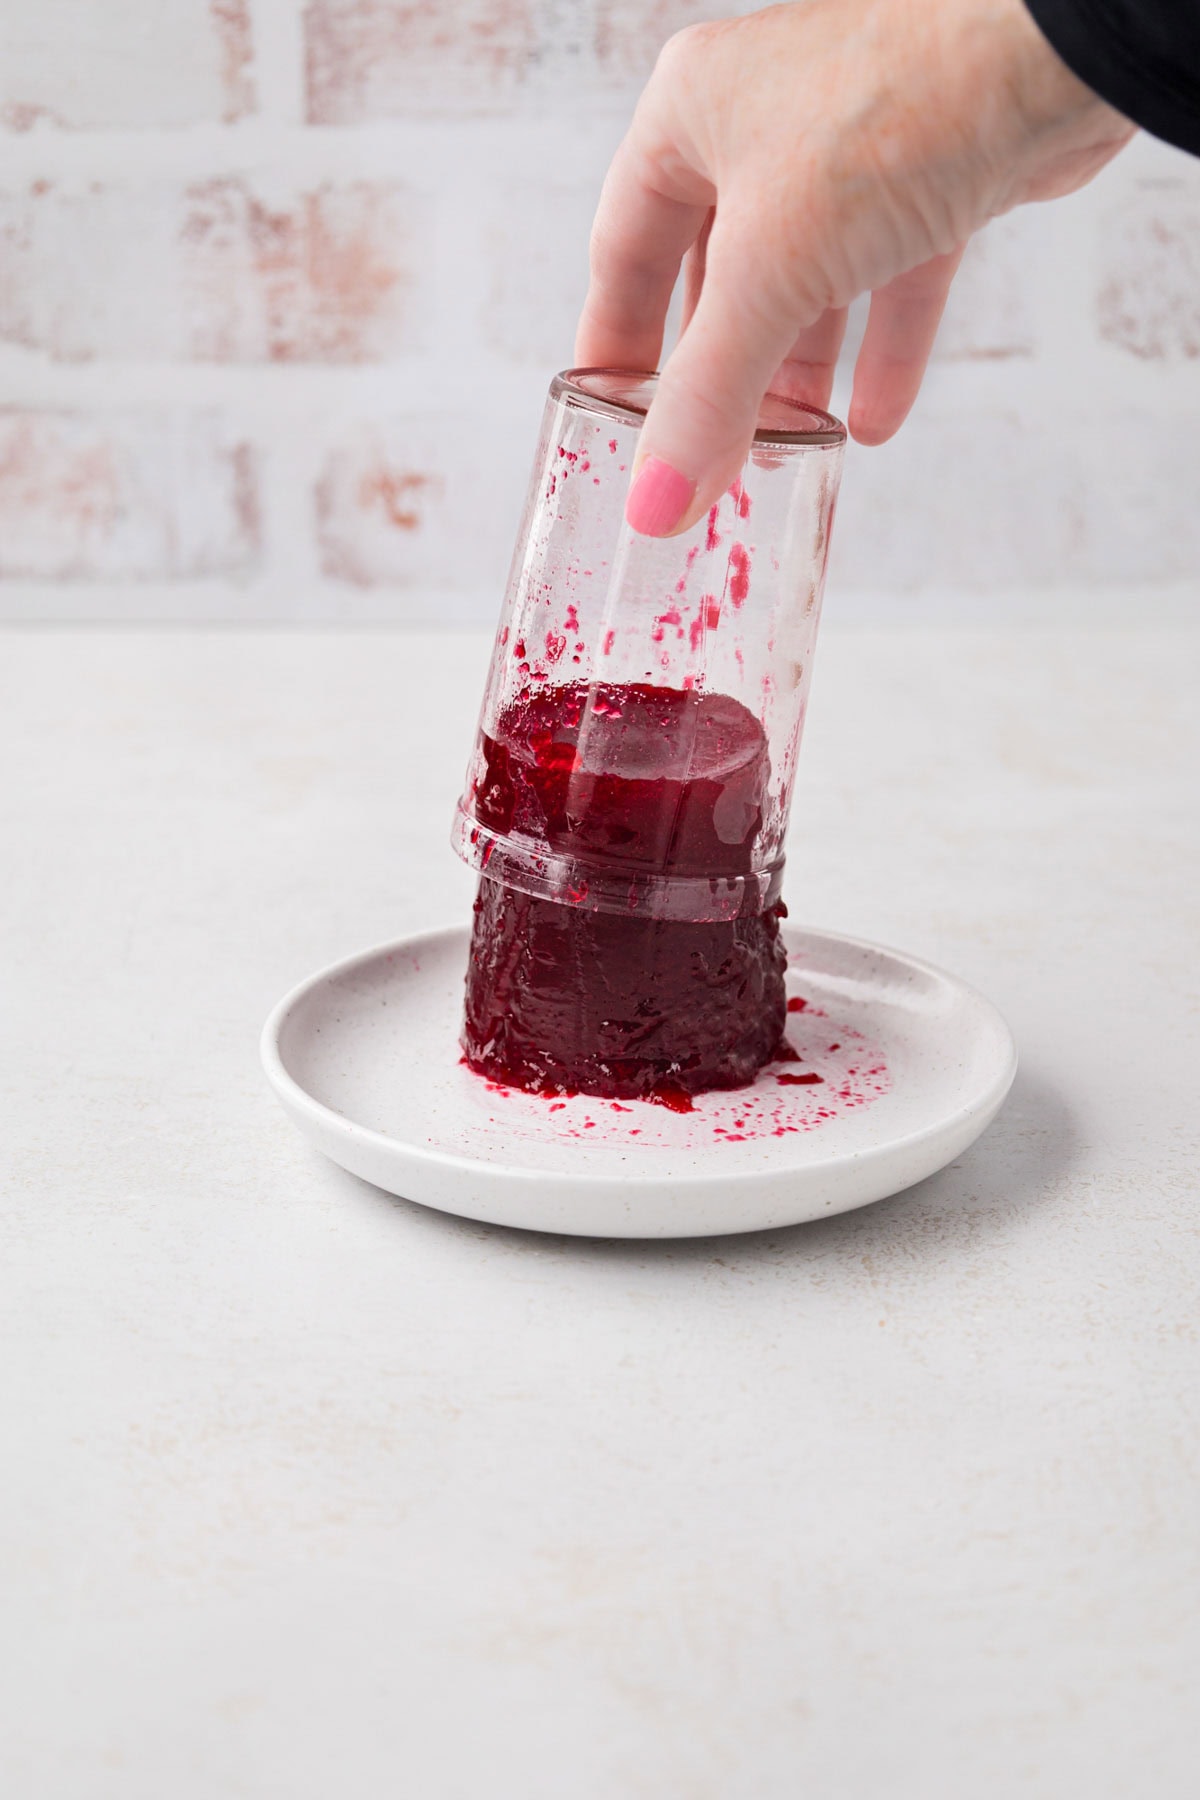
Slide a butter knife around the inside of the jar, or dip the bottom of the jar in hot tap water for 30 seconds.
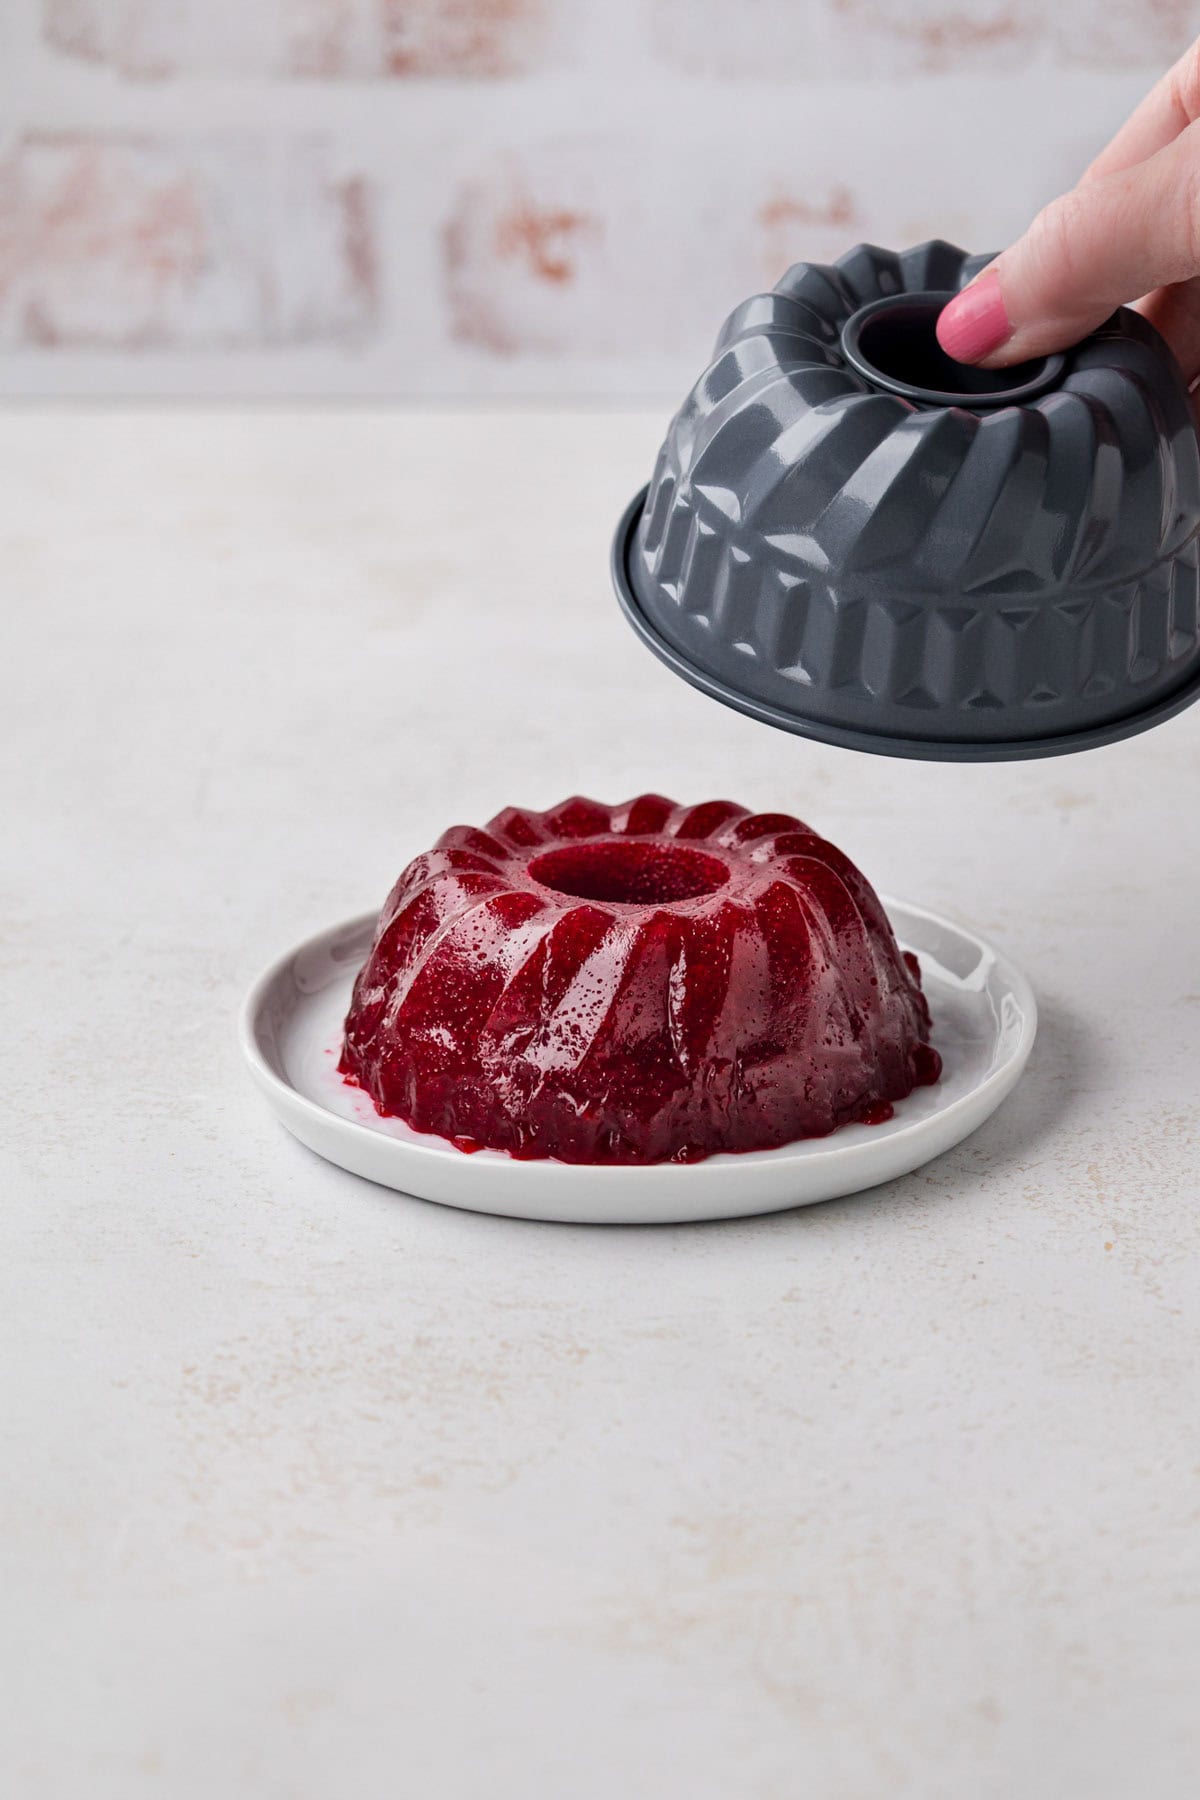
Turn it out onto a plate and slice.
Variations & Substitutions
- Other 100% juices: Another 100% juice should work in place of the cranberry juice. I’ve only tested it with cranberry juice.
- A mold instead of a jar: If you would like to use a mold, just adjust the recipe to the cup size of your mold. A larger mold may need more time to set.
Gluten-Free Jellied Cranberry Sauce
This jellied cranberry sauce is naturally gluten-free as written. It’s just cranberries, sugar, and juice, with no flour or thickeners. Check the labels on your juice and sugar to be sure.
If you or someone you’re serving has celiac disease, check every label carefully, since formulations can change without notice.
Recipe Tips
- Jellied vs. whole berry cranberry sauce: The difference comes down to liquid and straining. Cutting the juice to ½ cup and straining out the skins lets it set firm enough to slice, giving you a jellied version like Ocean Spray Jellied Cranberry Sauce.
- Watch the heat: Keep it at medium-low to medium, depending on your stovetop, so the sugar doesn’t scorch. Stir often.
- Use a small ladle to strain: I like the curve of a small ladle. A heavy spoon or spatula also works but takes a bit longer.
- Chill it all the way: Chill it completely before you take it out of the jar.
What to Serve With Jellied Cranberry Sauce
Turkey is the classic match, and my Easy Oven Roasted Turkey with Homemade Turkey Gravy is a good place to start. Add Homemade Mashed Potatoes and Easy Cornbread Dressing, because I love a bite of dressing, turkey, and the sauce together.
From there, round out the holiday table with Green Bean Casserole, Sweet Potato Casserole, or Broccoli Casserole. For the whole spread, my Best Thanksgiving Side Dishes has you covered.
How to Serve Jellied Cranberry Sauce
- Holiday platter: Slice it into rounds and fan them out next to the turkey or on a beautiful serving plate. It’s even more beautiful when chilled in a decorative mold.
- Turkey sandwiches: A slice of leftover jellied sauce on a turkey sandwich is hard to beat. If you have leftover turkey, try my Turkey and Cranberry Sliders. That recipe calls for whole berry sauce, but it’s also delicious with jellied cranberry sauce.
- Jam-style spread: Spread it like jam wherever you’d use one.
Make Ahead and Storage
Make Ahead: I usually make this up to a week ahead. Keep it covered in the jar in the refrigerator, and unmold it when you’re ready to serve.
Storage: Store leftovers covered in the refrigerator
Frequently Asked Questions
A jar without a lip is the key, since it lets the sauce slide out in one piece. Chill it completely first, so it holds its shape. If it’s being a little stubborn, set it in warm water for 30 seconds. This works for a mold as well.
If it doesn’t gel, it likely needs to cook longer. But just know it isn’t going to look set right after cooking. It needs to cool and chill to set, and I haven’t had it fail when I follow these directions.
No, a bowl or mold works too. A jelly jar gives you the cylinder shape, similar to the canned version.
More Thanksgiving Recipes
Hungry for more easy, home-cooked, delicious recipes?
Sign up for my free recipe club to get family-friendly recipes in your inbox each week! Find me sharing daily meal-time inspiration on Pinterest, Facebook, and Instagram.
Homemade Jellied Cranberry Sauce

Click Stars To Rate
Ingredients
- 12 ounces fresh cranberries - 1 bag, can also use frozen
- 1 cup sugar
- ½ cup 100% cranberry juice - or water
Instructions
- Prep cranberries: Wash cranberries and discard any that are shriveled or brown.
- Cook the berries: In a medium saucepan over medium-low heat, combine sugar and cranberry juice. Once the sugar and juice combine turn to medium heat, bring to a boil and add in the cranberries and let boil for 1 minute, stirring constantly. Reduce heat slightly and gently boil, stirring every few minutes until the berries pop and the sauce thickens, for 10 minutes. To check, coat the back of a spoon and run your finger through the sauce. If the line stays open, it's done.
- Strain: Set a fine-mesh sieve (you can also use a food mill) over a bowl and pour in the sauce. Mash the cranberries with the back of a spoon or ladle and push the sauce through, leaving the seeds and skins in the strainer (pulp). Scrape around the outside of the strainer to get all of the sauce off. Discard the pulp.
- Chill: Stir the strained sauce in the bowl. Pour it into a jelly jar (one without a lip) or serving container. Cover and refrigerate for 4 hours to overnight, or until fully cooled.
Notes
- Heat: Keep it at low to medium to medium-low (depending on your stovetop) so the sugar doesn’t scorch. Stir often.
- Straining: This takes a few minutes. I like the curve of a small ladle. A heavy spoon or spatula also works but takes a bit longer.
- Scrape the sieve: A lot of pulp clings to the bottom and outside of the sieve; don’t forget to scrape all that off too.
- The jar: A jelly jar gives you the cylinder shape, similar to the canned version. A bowl or mold works too.
- If you want to use a mold, adjust the recipe to your mold’s cup size.
- Unmolding: Chill it completely before you take it out of the jar.
Want to Save this Recipe?
By submitting this form, you consent to receive emails from Soulfully Made.
Nutrition
Soulfully Made is not a dietician or nutritionist, and any nutritional information shared is an estimate. If calorie count and other nutritional values are important to you, we recommend running the ingredients through whichever online nutritional calculator you prefer. Calories and other nutritional values can vary quite a bit depending on which brands were used.
