



This post may contain affiliate links. Please read our disclosure policy.
There’s something about a tin of buttery, iconic cookies at Christmas that just feels like the holidays, and these Danish Butter Cookies bring that same nostalgic, melt-in-your-mouth flavor home without the store-bought price tag. They come together with five simple ingredients, and they’re the first cookie to disappear off any holiday dessert table.

Every holiday season, my grandmother always had a tin of Royal Dansk butter cookies sitting out on the counter. It was one of those small traditions that just meant Christmas had arrived, and I loved them so much I knew I had to figure out how to make my own version at home.
After a few batches of testing, I landed on this recipe, and honestly, it tastes even better than the ones from the tin. It’s simple enough to make with your kids or whip up for a cookie exchange, and once you taste that buttery, melt-in-your-mouth bite, you’ll understand why I make a double batch every year.
Why You’ll Love This Danish Butter Cookie Recipe (Just Like the Blue Tin)

❥ Buttery and Nostalgic. Two extracts and a good amount of butter give these cookies that deep, buttery flavor with the same melt-in-your-mouth bite as the classic blue tin cookies.
❥ Surprisingly Easy You only need one bowl, a handful of pantry staples, and a piping bag, no mixer attachments or special equipment required.
❥ Make Ahead & Freezer Friendly. Freeze the dough ahead of time or freeze the baked cookies, so you can get a head start on holiday baking whenever it fits your schedule
❥ Makes a Big Batch. This recipe makes over 40 cookies, plenty for a cookie exchange, a dessert tray, or sharing with neighbors.
❥ Customizable for Any Occasion – Dip in chocolate, add sprinkles, or change up the extract to match your holiday vibe.
Nikki
My Signature Fall Dinner Dishes!
FREE EMAIL BONUS: My greatest hits: bold, cozy, and brag-worthy.n
Ingredients
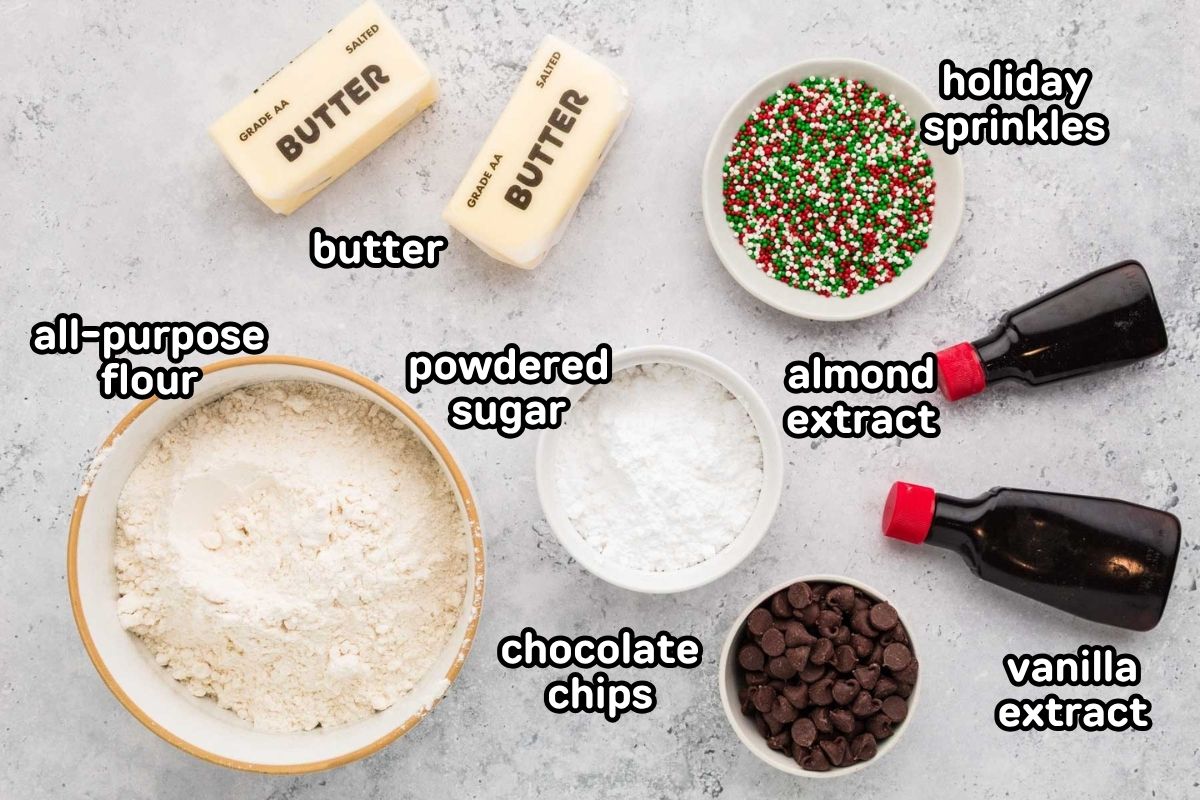
- Salted butter: This is what gives these cookies their rich, buttery flavor. If you only have unsalted butter on hand, add a small pinch of salt to keep that balance.
- Powdered sugar: Powdered sugar dissolves right into the butter instead of leaving behind a grainy texture, which is exactly what gives these cookies that melt-in-your-mouth bite.
- Vanilla extract: Adds a warm, familiar sweetness that rounds out the almond flavor.
- Almond extract: This is what gives these cookies their signature nutty flavor, just a little goes a long way.
- All-purpose flour: Provides the structure that holds the piped shape while keeping the inside tender.
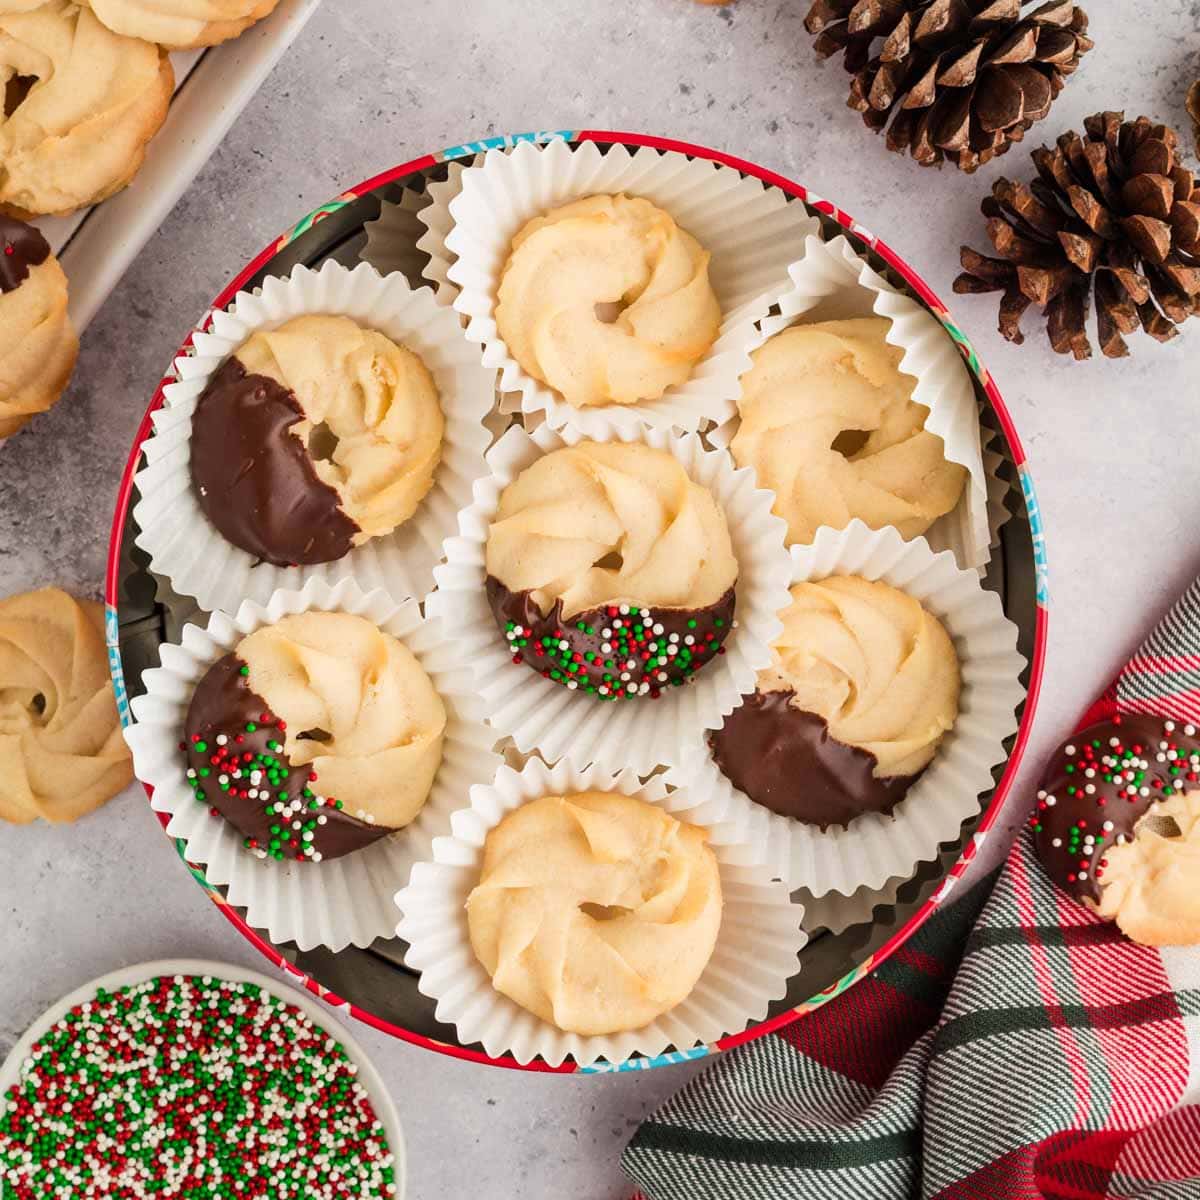
- Semisweet or dark chocolate chips and sprinkles: Both are optional, but dipping half of each cookie adds a nice contrast to the buttery sweetness, and the sprinkles make them feel extra festive
How To Make The Best Danish Butter Cookies
✱ Below shows step-by-step photos and instructions. For the complete recipe, along with ingredient amounts, scroll down to the recipe card.
Step 1 | Cream the Butter & Sugar
Preheat your oven to 350°F and line 2 baking sheets with parchment paper.
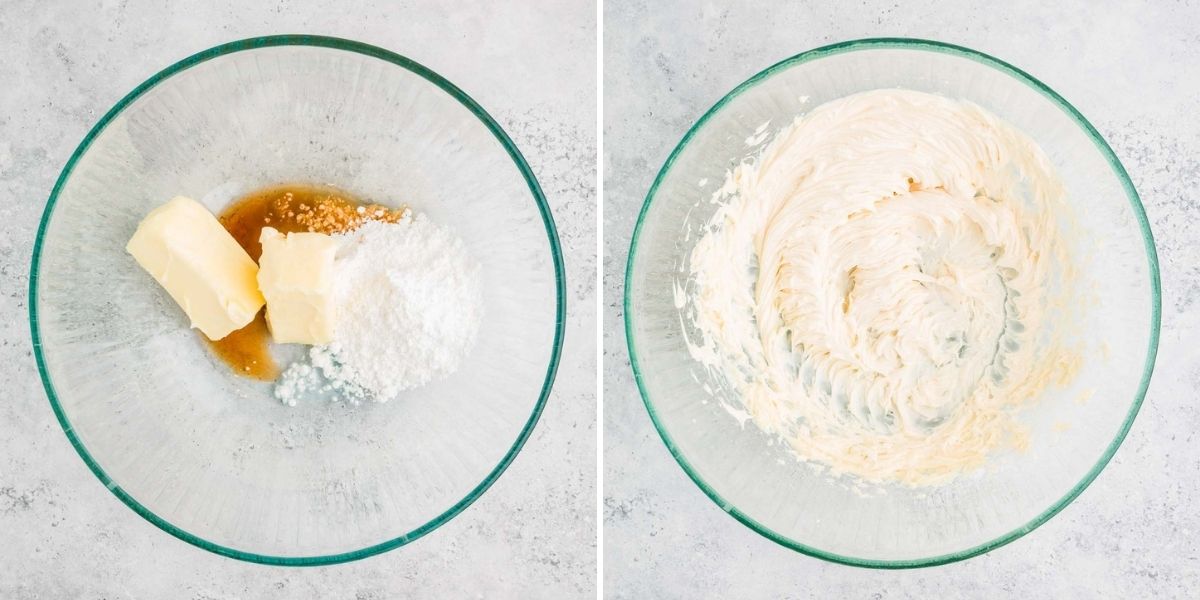
In a large bowl, using an electric hand mixer, beat the butter, powdered sugar, vanilla extract, and almond extract together for 1-2 minutes until fluffy and pale (almost white). This is the step that sets up that melt-in-your-mouth texture, so don’t rush it.
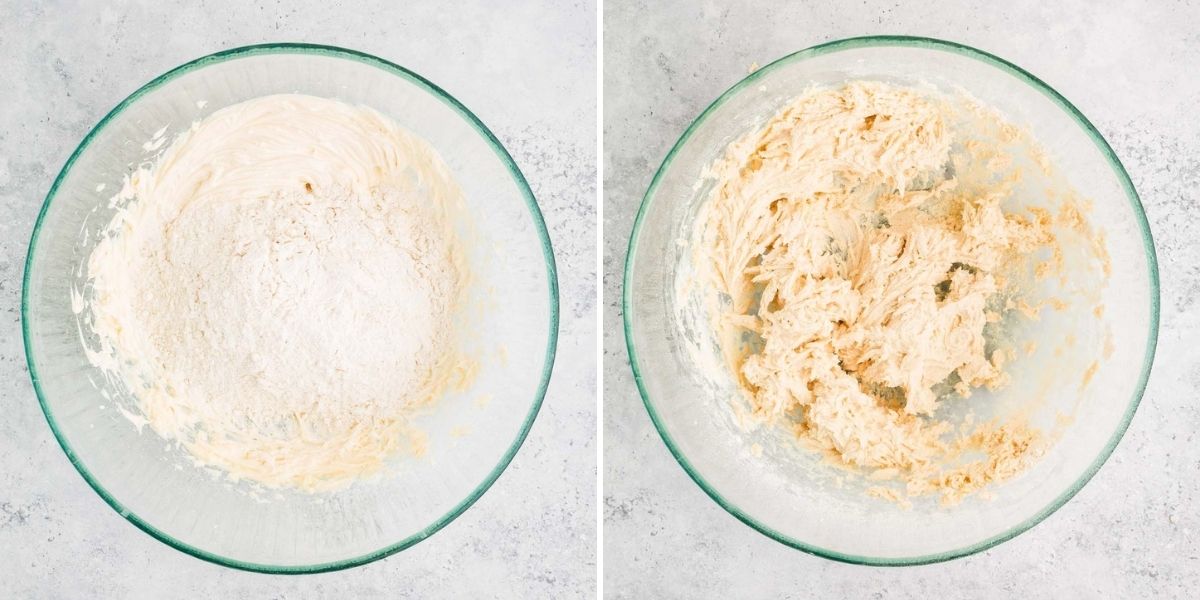
Step 2 | Add the Flour
Add the flour and stir it in with a rubber spatula until there are no dry spots left. The dough will be thick, almost like a soft frosting, and that’s exactly what you wan
Step 3 | Pipe and Chill
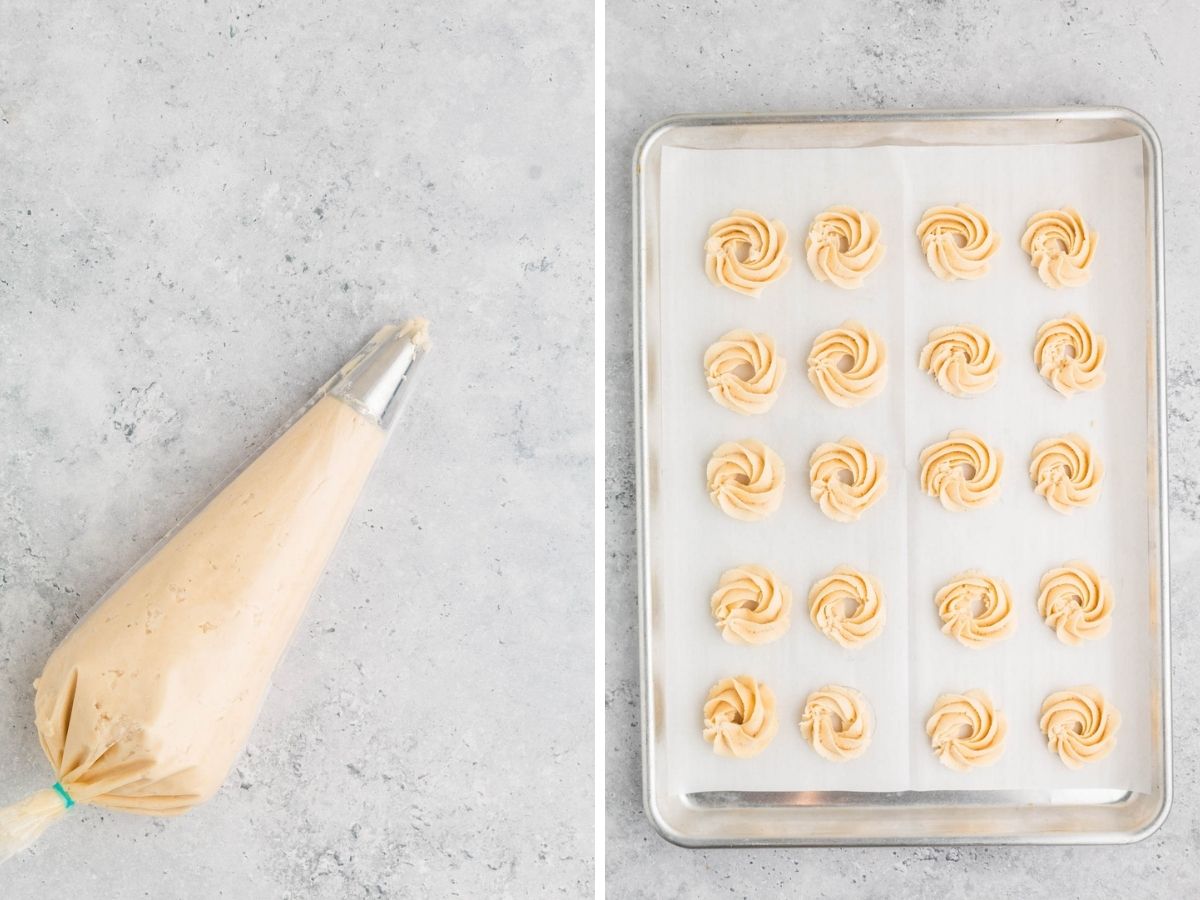
Transfer the mixture to a piping bag fitted with a large, open star tip (I used a Wilton 1M) and pipe circles onto the parchment paper. Each circle should be about 1 inch across.
You can eyeball it, or if you want them to be perfect, use a pencil to draw circles on the parchment paper using a circular cookie cutter or shot glass. Flip the paper over and trace your circles with the cookie dough, working around the inside of the circle rather than the outside to avoid a large hole in the middle.
Freeze the cookies for at least 20 minutes. This will help them keep their shape while they bake.
Step 4 | Bake & Decorate
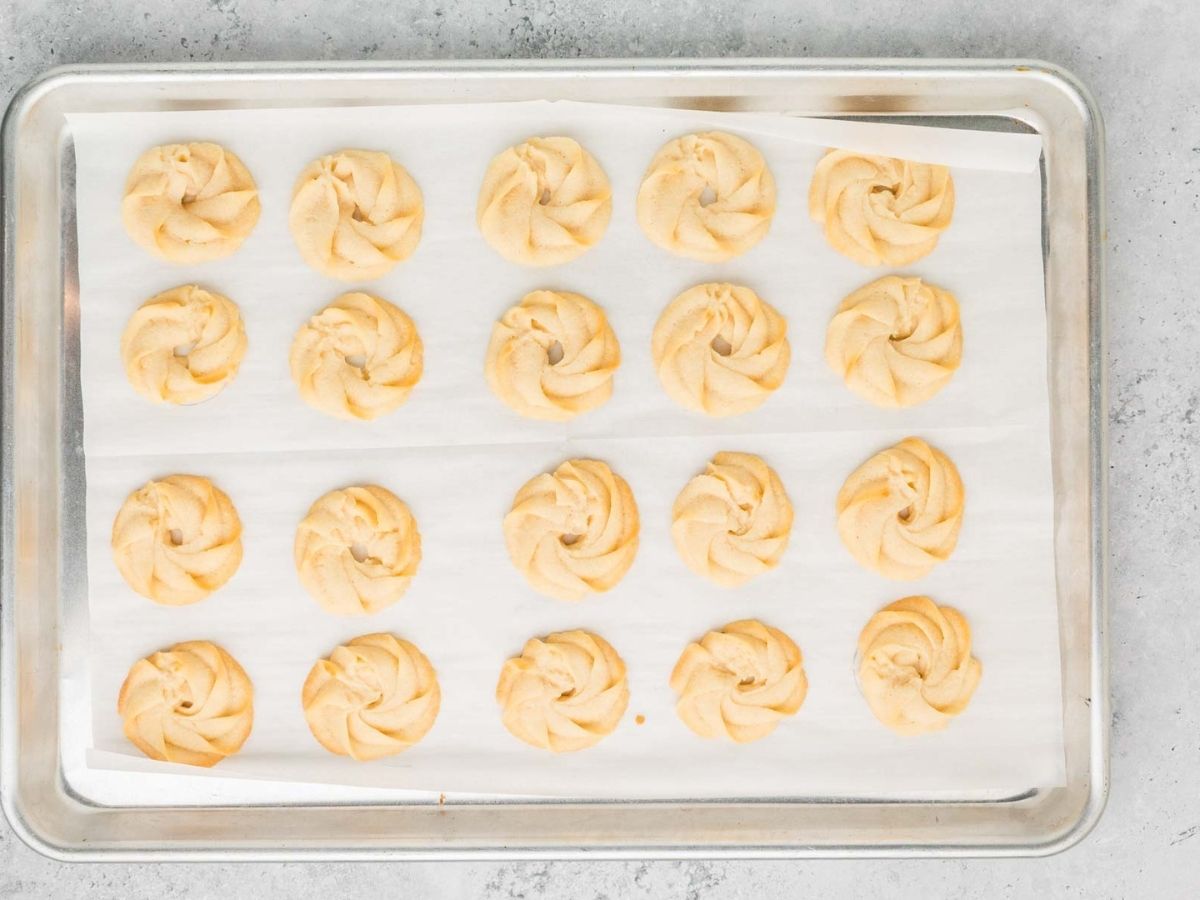
Bake for 10-12 minutes or until the ridges are just starting to turn golden. Keep an eye on them the last couple of minutes, they go from perfect to overdone fast
Let them cool and set on the pan for a few minutes before moving them to a wire rack to cool completely.
Step 5 | Dip and Decorate (optional)
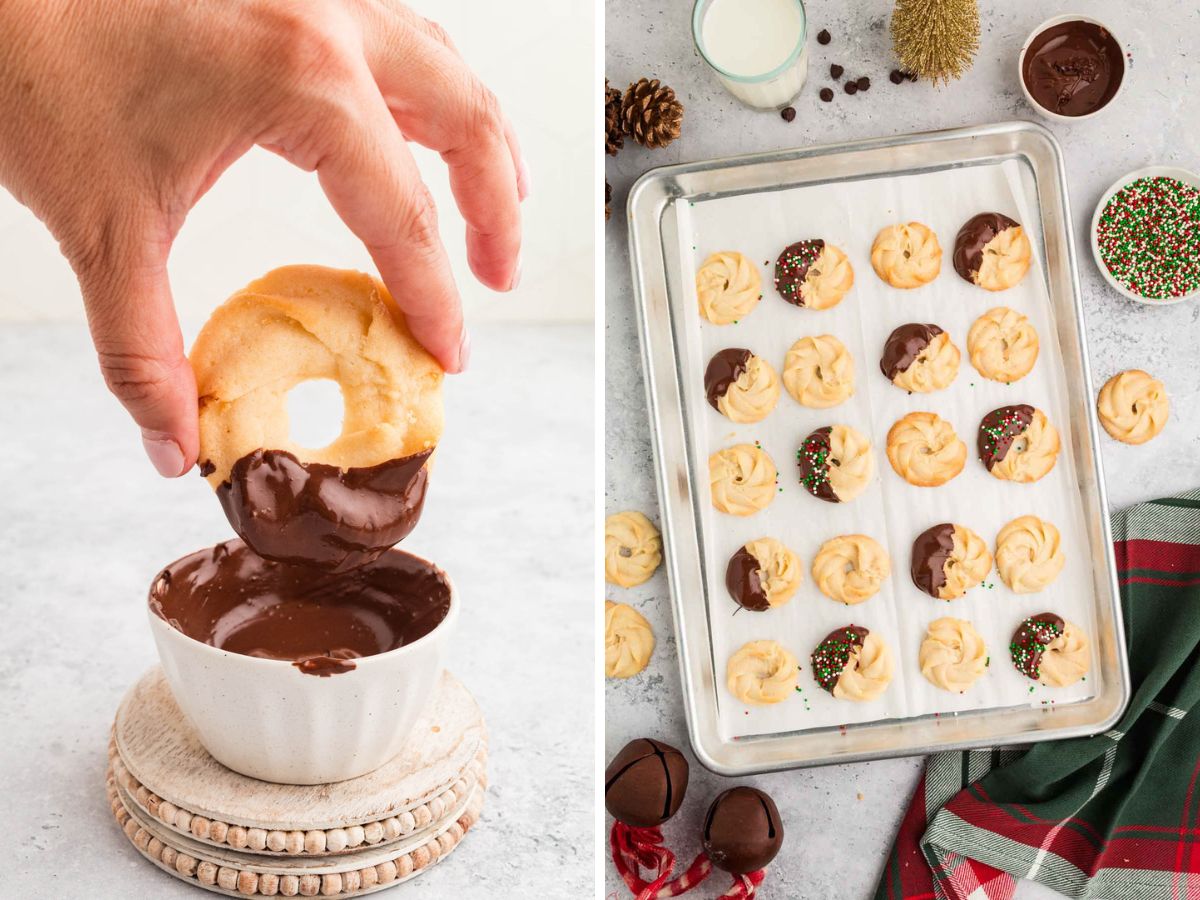
Melt your chocolate in the microwave in 20-second bursts, stirring in between, until it’s smooth. If it feels too thick to work with, a teaspoon of coconut oil will loosen it right up.
Once your cookies are completely cool, that’s your cue they’re ready, dip half of each one in the chocolate and set it back on the parchment. Add sprinkles while the chocolate is still wet so they actually stick, then let everything harden before you dig in.
Variations and Substitutions
- Flavor Additions: Swap almond extract for lemon or orange extract for a citrusy twist.
- Gluten-Free Option: Replace the all-purpose flour with a 1:1 gluten-free baking flour blend. The texture will be slightly different, but it will still be delicious.
- Add-ins: Fold in finely chopped toasted almonds or pecans for added texture and flavor.
- Decorations: Drizzle with white chocolate or use colored sprinkles for different holidays or celebrations.
Recipe Tips
- Soften your butter properly. Make sure it’s soft to the touch but not melted; this is what lets it whip up light and fluffy with the sugar. If your butter’s too warm, the dough turns greasy and hard to pipe.
- Don’t overfill your piping bag. Fill it about halfway so you can control the pressure with the heel of your hand. An overstuffed bag makes for messy, uneven cookies and a much harder time piping.
- Don’t skip the freeze. Freezing the piped cookies for at least 20 minutes before baking is what keeps those pretty ridges defined. Skip it, and the butter melts too fast in the oven, turning your cookies into shapeless blobs. They’ll still taste good, just not as pretty.
- Watch the clock, not just the color. These cookies bake fast, so keep an eye on them during the last couple of minutes. Pull them the moment the edges and ridges turn light golden, not when the whole cookie looks golden, or you’ll lose that tender bite.
- Let them cool completely before dipping. If the cookies are even a little warm when they hit the melted chocolate, you’ll end up with streaky, white-spotted chocolate instead of a smooth, clean dip.
Danish Butter Cookie FAQs
Butter cookies are a broad category of cookies made primarily with butter, sugar, and flour, and they can vary in texture. Danish butter cookies are a specific style of butter cookie piped into decorative shapes and sometimes dipped in chocolate or topped with sprinkles. They’re usually richer in butter and lighter in texture than a typical homemade butter cookie.
Danish butter cookies are famous for their rich, buttery flavor. They became widely popular worldwide thanks to the iconic blue tins exported from Denmark, which turned them into a recognizable and nostalgic holiday treat!
Danish butter cookies are piped into decorative shapes and often dipped in chocolate, giving them a lighter, richer bite than traditional shortbread. Shortbread is typically rolled and cut, with a simpler, more crumbly texture that comes from fewer ingredients and no piping.
What to Serve with Danish Butter Cookies
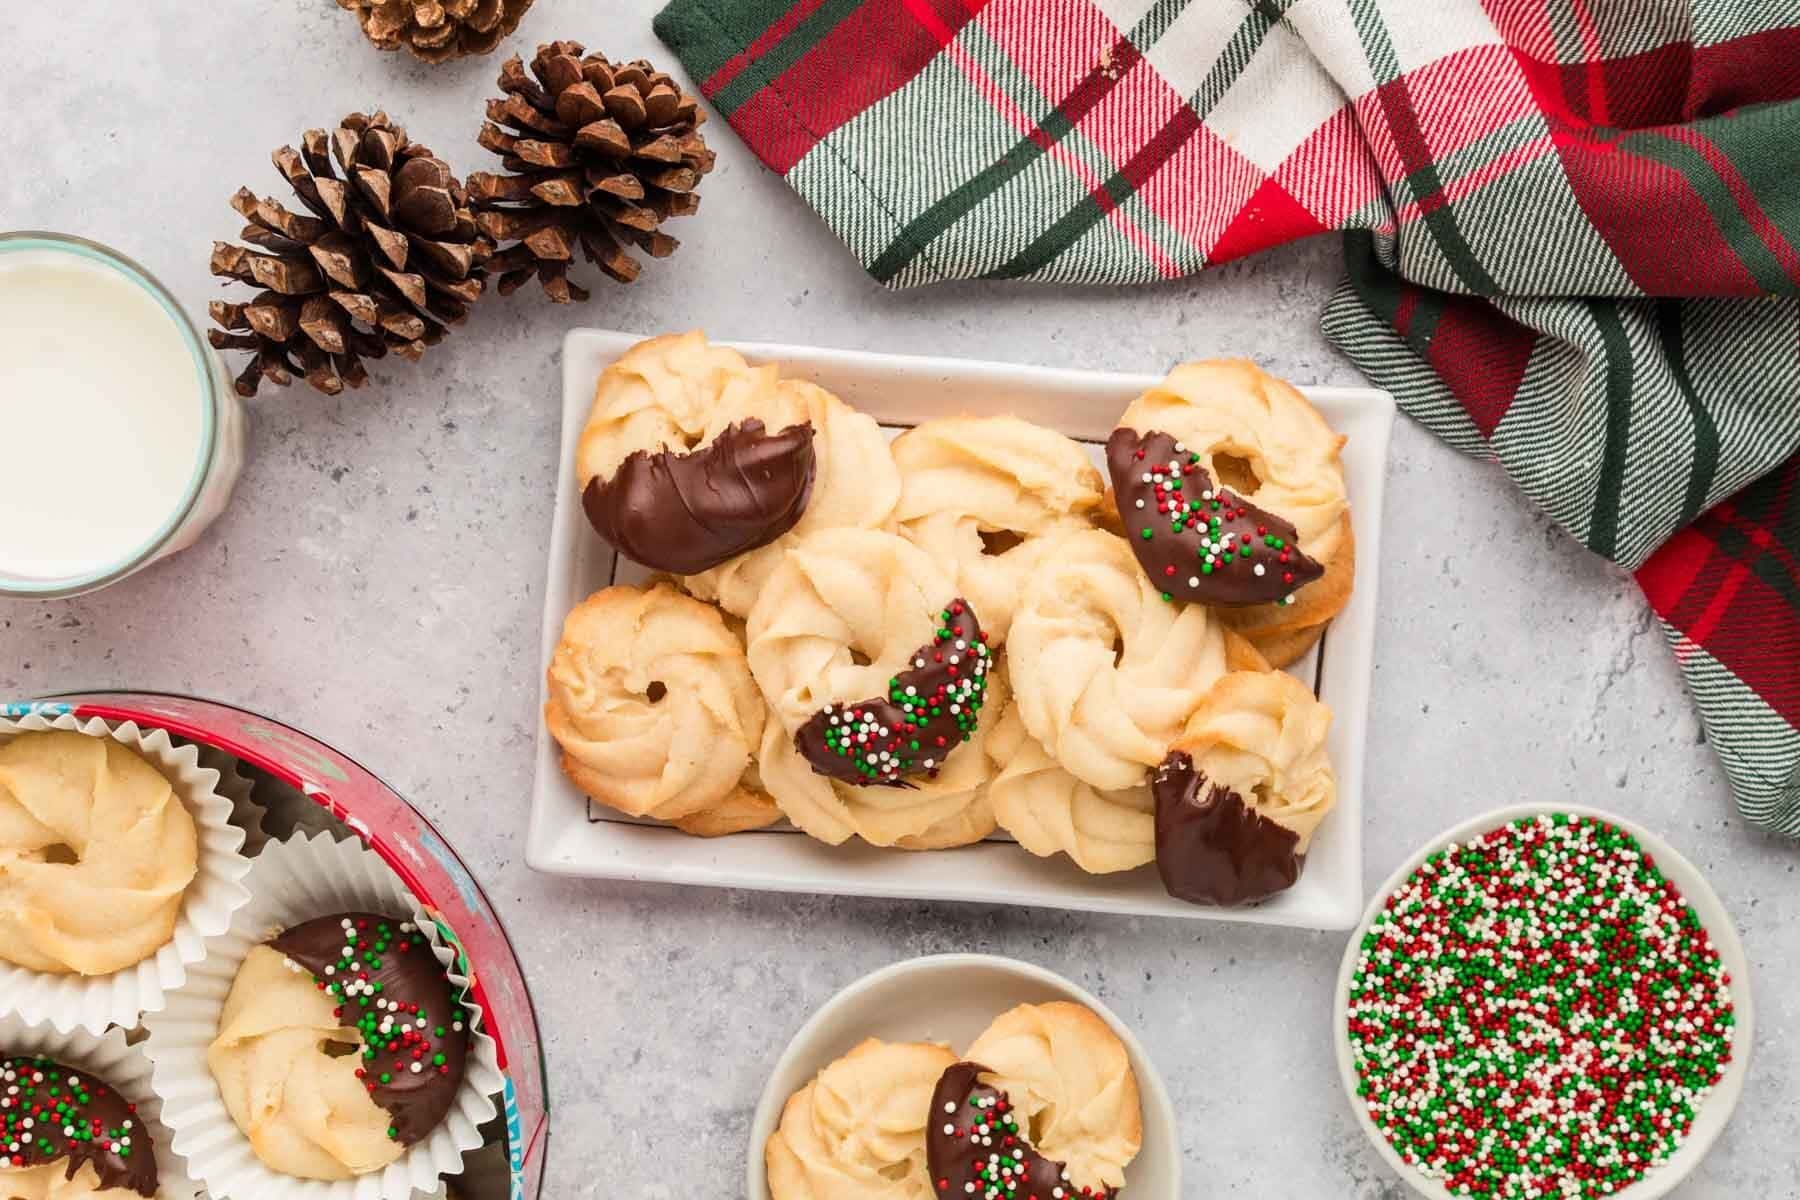
These Danish butter cookies are perfect with a hot drink like a gingerbread hot chocolate or an eggnog latte! They would also be a sweet addition to a holiday charcuterie board. If you’re hosting a cookie exchange or holiday party, they make a wonderful addition to any dessert table, with other cookies like Santa’s chocolate chip cookies or peppermint meltaway cookies!
More Holiday Dessert Recipes to Try
- Candied Pecans
- Hot Chocolate Brownies
- Christmas Pretzels with Rolos
- Christmas Tree Cake Trifle
- Gingerbread Swirl Fudge
If you are looking for more Christmas Cookie ideas, check out the sweetest season holiday cookie exchange! It’s a fun virtual cookie exchange with some of my favorite food bloggers, and there are so many great holiday cookies to choose from.
Hungry for more easy, home-cooked, delicious recipes?
Sign up for my free recipe club to get family-friendly recipes in your inbox each week! Find me sharing daily meal-time inspiration on Pinterest, Facebook, and Instagram.
Danish Butter Cookies Recipe

Click Stars To Rate
Equipment
Ingredients
- 1 cup salted butter - 2 sticks, softened
- ½ cup powdered sugar
- 1 teaspoon vanilla extract
- ½ teaspoon almond extract
- 2 cups all-purpose flour
- 1 cup semisweet or dark chocolate chips
- Holiday sprinkles
Instructions
- Preheat your oven to 350°F and line 2 baking sheets with parchment paper.
- In a large bowl, using an electric hand mixer, beat the butter, powdered sugar, vanilla extract, and almond extract together for 1-2 minutes until fluffy and pale (almost white).
- Add the flour and use a rubber spatula to combine everything until there are no more dry spots. The mixture will be thick.
- Transfer the mixture to a piping bag fitted with a large, open star tip (I used a Wilton 1M) and pipe circles onto the parchment paper. Each circle should be about 1 inch across. You can eyeball it, or if you want them to be perfect, use a pencil to draw circles on the parchment paper using a circular cookie cutter or shot glass. Flip the paper over and trace your circles with the cookie dough, working around the inside of the circle rather than the outside to avoid a large hole in the middle.
- Freeze the cookies for at least 20 minutes. This will help them keep their shape while they bake.
- Bake for 10-12 minutes or until the ridges are just starting to turn golden.
- Allow them to cool and set for a few minutes on the pan before transferring to a wire cooling rack to cool completely.
- Optional: Melt the chocolate in a microwave-safe bowl in 20-second increments, stirring frequently, until the chocolate is fully melted. If it feels too thick, you can add 1 teaspoon of coconut oil to thin it out.
- Dip half of the completely cooled cookie into the melted chocolate and place it back on the parchment-lined sheet.
- Top with sprinkles while still wet and allow the chocolate to harden before serving.
Notes
Want to Save this Recipe?
By submitting this form, you consent to receive emails from Soulfully Made.
Nutrition
Soulfully Made is not a dietician or nutritionist, and any nutritional information shared is an estimate. If calorie count and other nutritional values are important to you, we recommend running the ingredients through whichever online nutritional calculator you prefer. Calories and other nutritional values can vary quite a bit depending on which brands were used.
