


This post may contain affiliate links. Please read our disclosure policy.
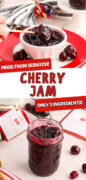
Just three ingredients and a little patience on the stovetop are all it takes to make this Easy Cherry Jam. Made with fresh or frozen cherries and zero pectin needed, it’s a small-batch recipe that thickens beautifully as it cools and can be served on toast, swirled into yogurt, or spread in a sandwich with your favorite nut butter!
Making my own jam with seasonal produce is literally my jam, no pun intended! Sure, I could grab a jar off the grocery store shelf, but y’all, this stuff is seriously fresh and so worth the little bit of extra effort. The flavor difference is night and day, and once you see how quick and simple this is, you may never go back to store-bought again.
Now, I know some folks hear “homemade jam” and immediately picture hours of canning, special equipment, and a whole lot of mess. This cherry jam recipe is none of that. It is a small-batch, refrigerator jam that comes together in about 25 minutes with just three ingredients. If you want to store this jam for a longer time, you can pop it in the freezer for later!
Why You’ll Love This Cherry Jam Recipe
- Only 3 ingredients. Cherries, sugar, and a squeeze of fresh lemon juice, that’s it! Nothing processed, no thickening agents, and nothing you can’t pronounce.
- No pectin required. Cherries are naturally lower in pectin than some other fruits, but when cooked low and slow with a little lemon juice, this cherry jam thickens up beautifully on its own.
- Works with fresh or frozen cherries. That means you can make this in peak cherry season and in the middle of February when you just need something homemade and delicious.
- Kitchen tested and truly beginner-friendly. If you have never made jam before, this is the perfect starting point. It is forgiving, fast, and hard to mess up.
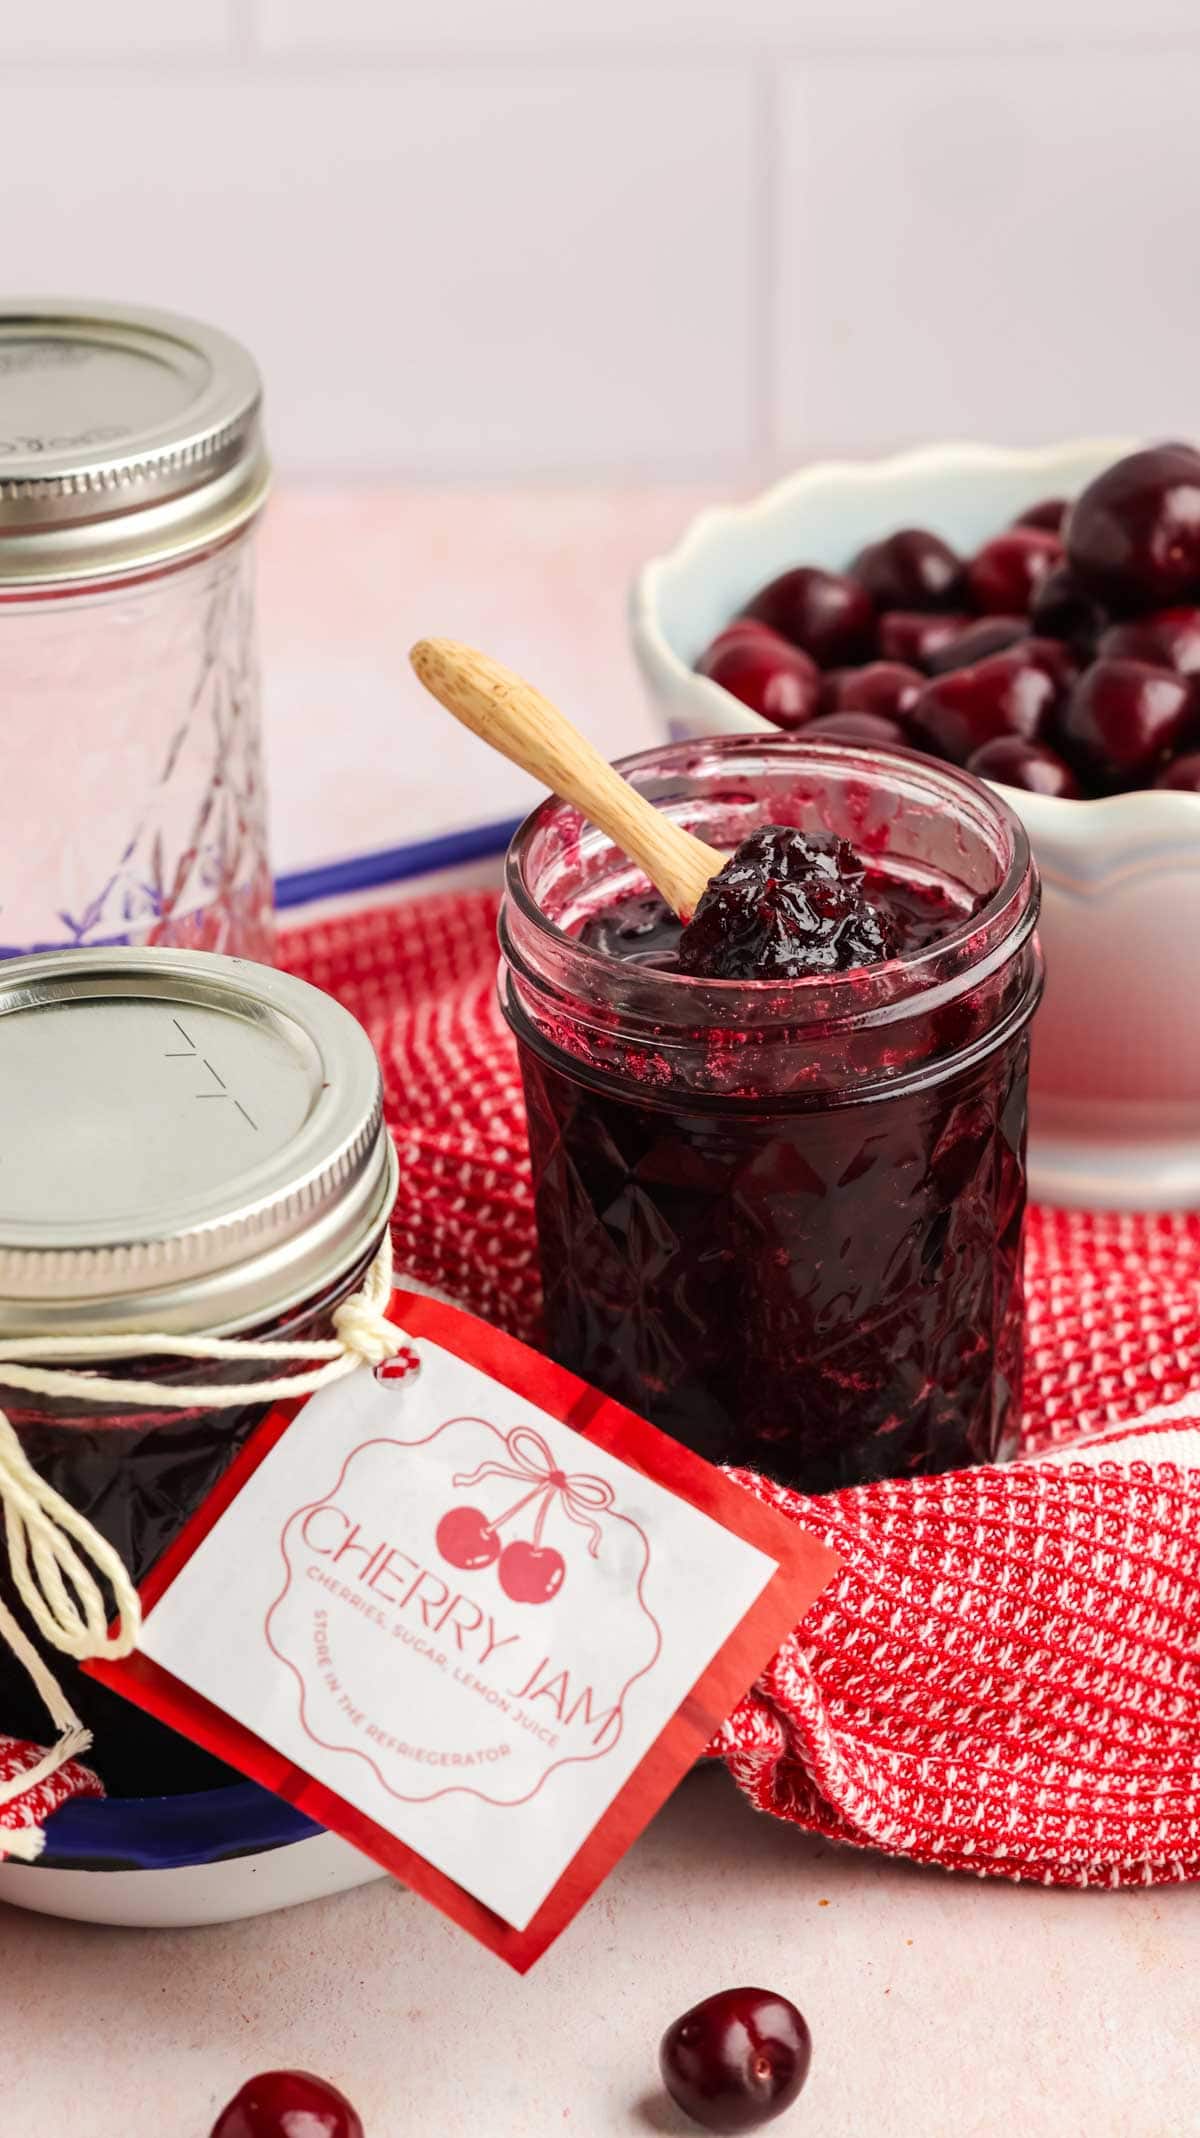
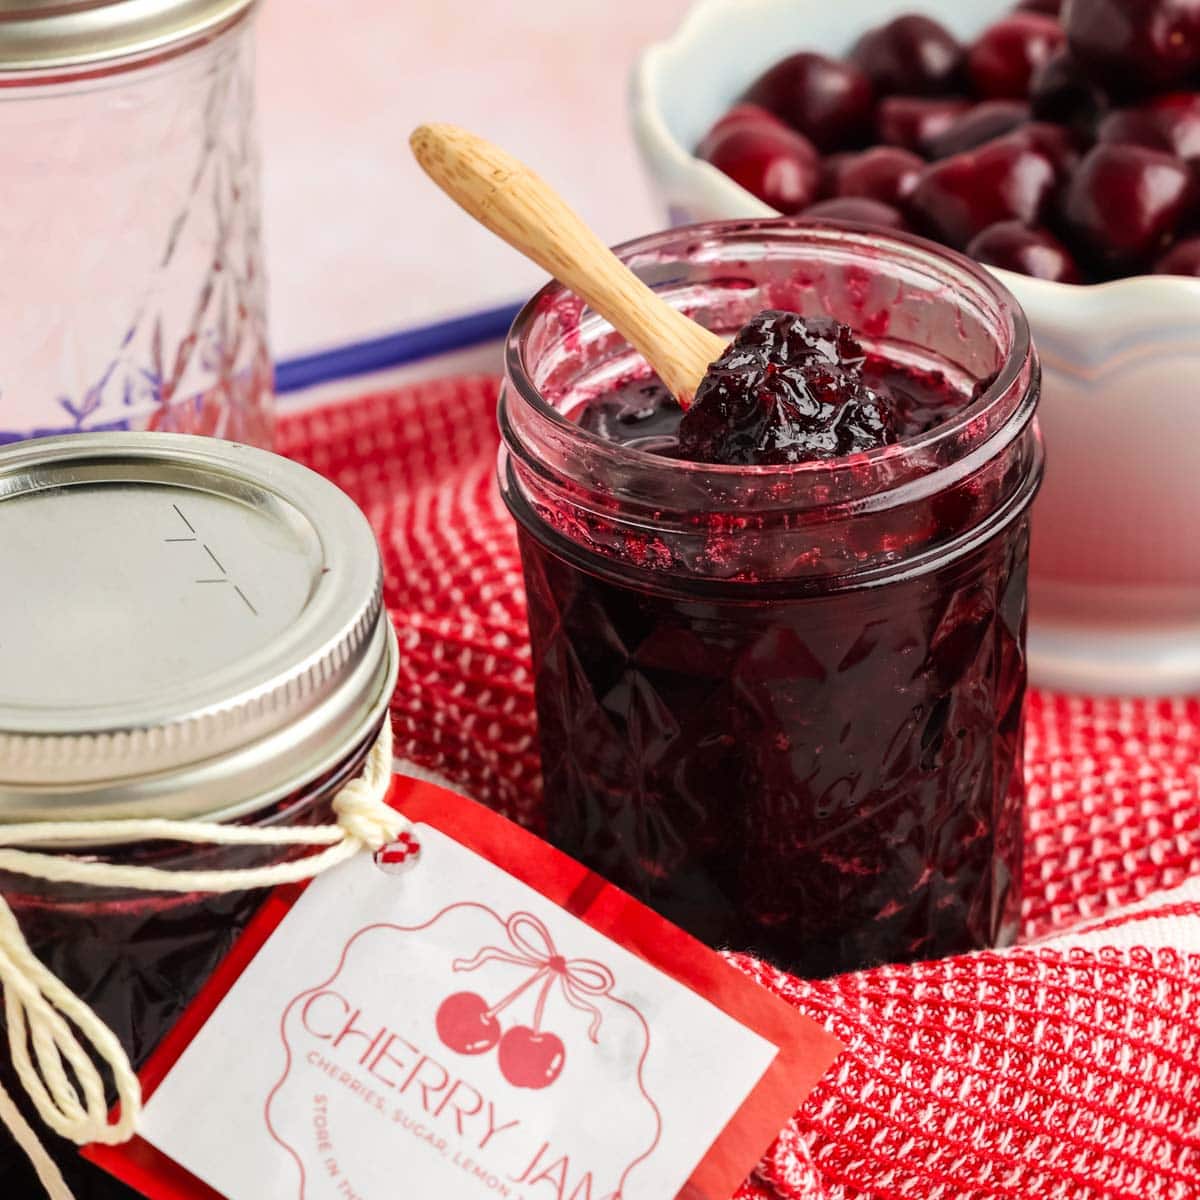
- Makes a gorgeous hostess gift. Ladle it into cute jars, attach our cute jam label, and you have something truly special to bring to a gathering. People will be so impressed, and no need to tell them how easy it was!
Ingredient Notes
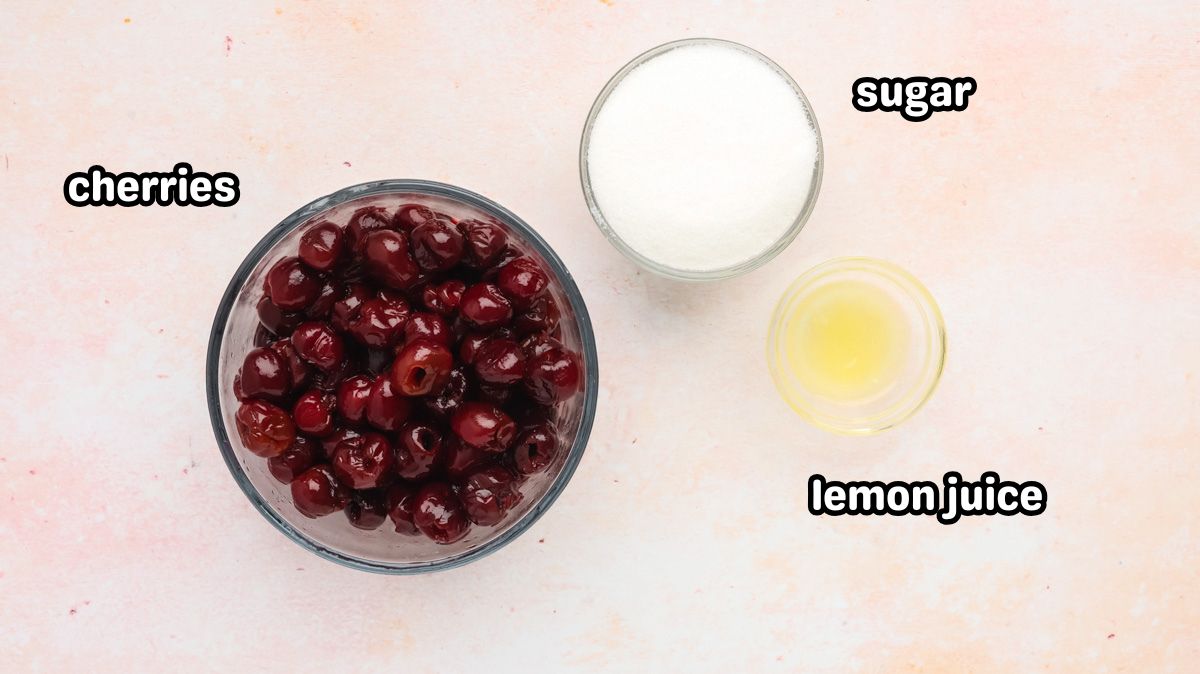
- Cherries: Fresh or frozen, both are wonderful here. Fresh cherries work best in peak summer season and frozen make this a year-round recipe. If you are using fresh, use a cherry pitter or a small paring knife to take out the pits.
- Granulated sugar: Plain white sugar is what you want here. It sweetens the jam and helps it set and preserve.
- Fresh lemon juice: Fresh is best! The natural acidity in lemon juice helps the jam set without pectin, brightens the cherry flavor, and acts as a subtle preservative.
How To Make Easy Cherry Jam
✱ Below shows step-by-step photos and instructions. For the complete recipe, along with ingredient amounts, scroll down to the recipe card.
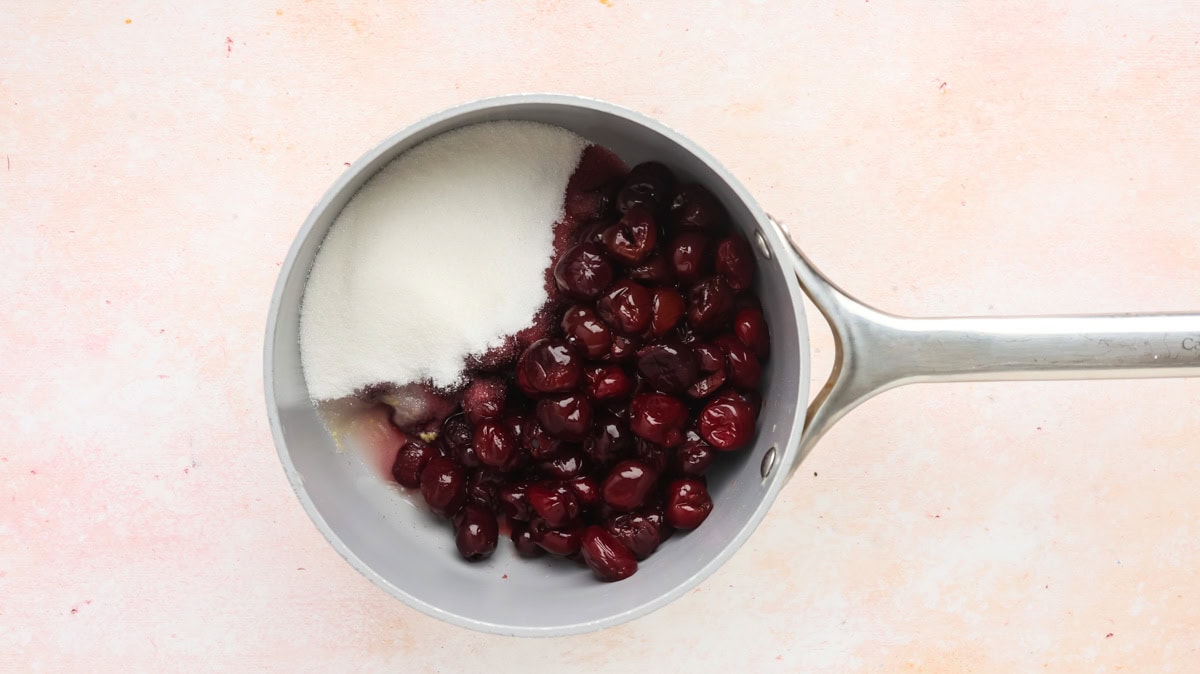
Step 1 | Combine Cherries, Sugar and Lemon Juice
In a medium-sized saucepan, add the cherries, sugar, and lemon juice. Stir together.
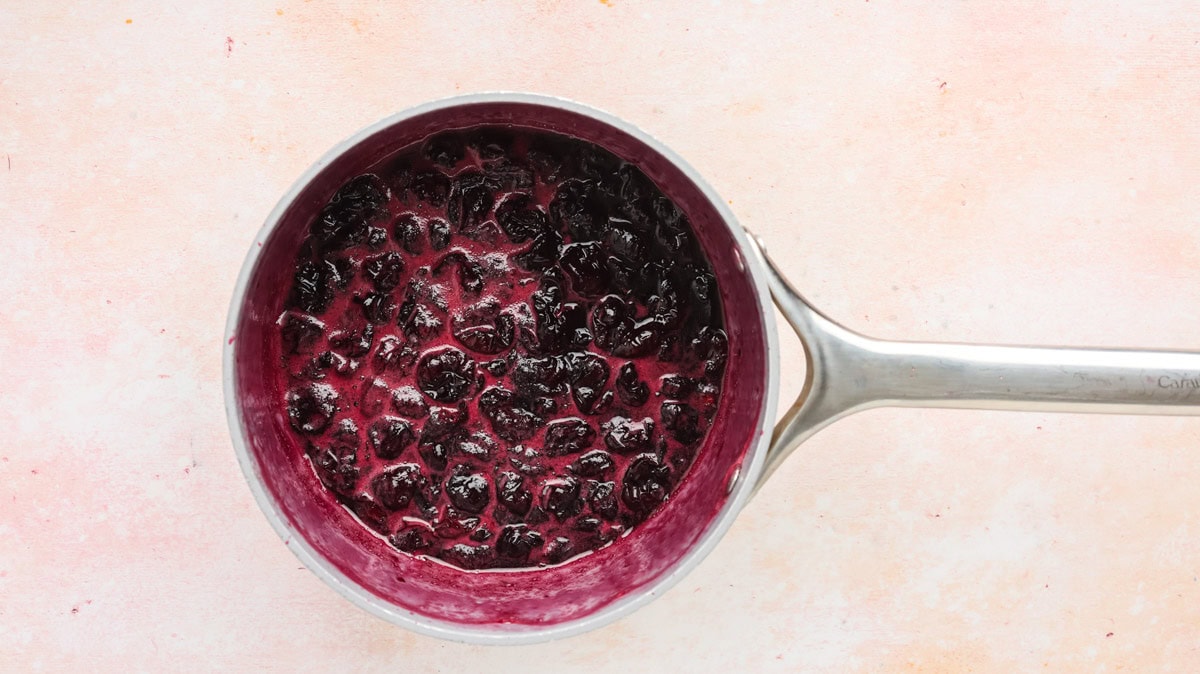
Step 2 | Simmer Until Thick
Turn the heat to medium and slowly cook until the cherries begin to break down and the mixture begins to thicken. Turn the heat to low and let it cook slowly. This may take about 20-25 minutes. It will bubble up, so be careful it doesn’t bubble over or pop up at you as you stir it.
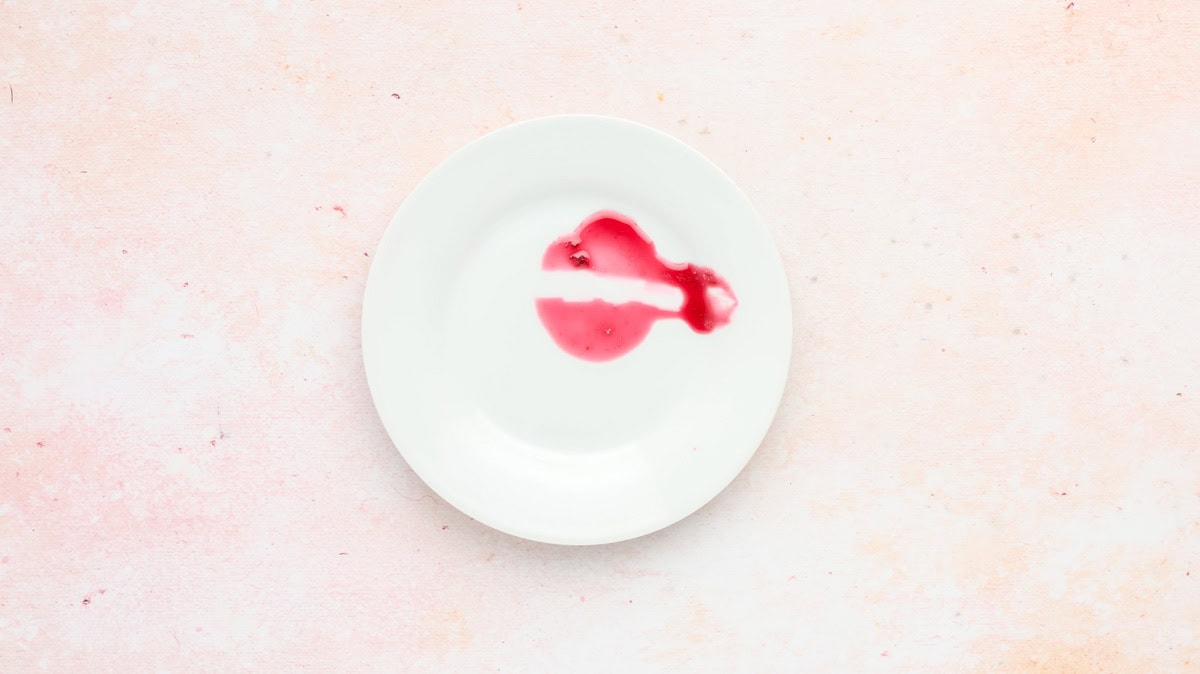
Step 3 | Test the Thickness
You can test whether it is set by dropping a teaspoonful onto a plate and running your finger through the jam. If it separates, it is done; if it runs together, it needs to cook a little longer.
Remove the thickened jam from the stovetop and let it cool for about 10 minutes while you prepare the jars.
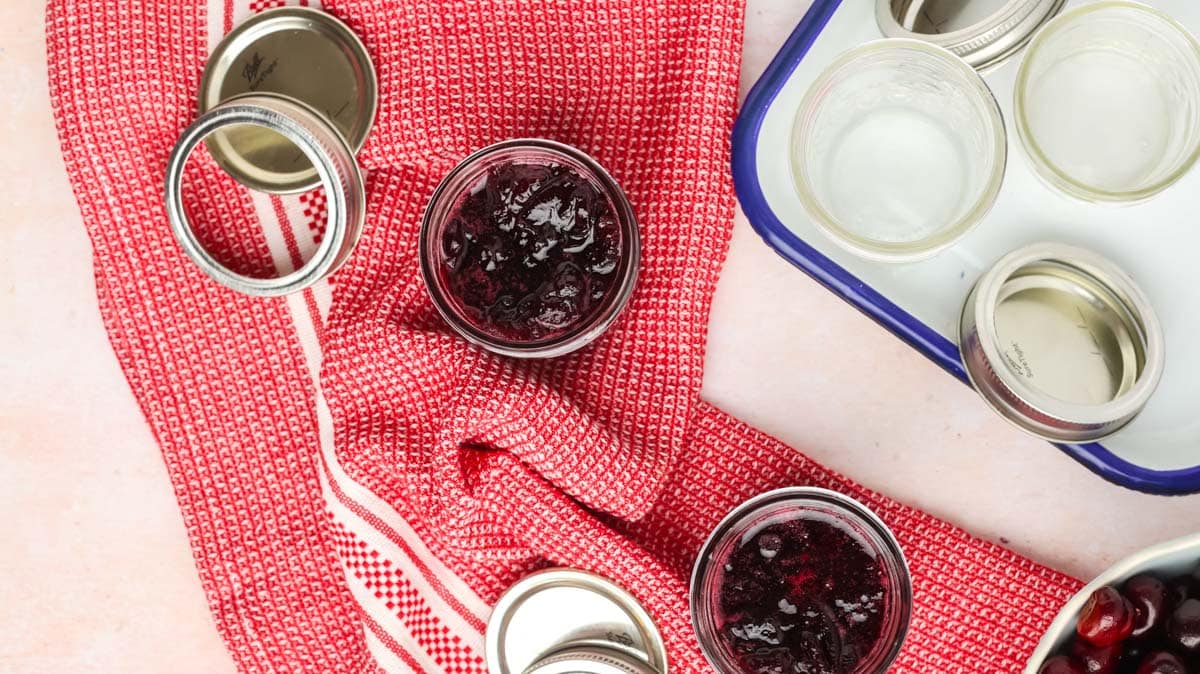
Step 4 | Jar & Enjoy
Thoroughly wash and dry the jars and lids in hot water to sterilize them. Carefully ladle jam into the jars and place the lid on. Allow to cool completely before placing in the refrigerator.
Easy Variations
- Swap in a different stone fruit. This same method works beautifully with peaches, plums, or apricots. Just keep the ratios the same: 4 cups fruit, 1 cup sugar, and a squeeze of lemon.
- Reduce sugar for a less sweet jam. You can pull back the sugar to ¾ cup if you prefer a more tart flavor. Keep in mind the jam may be slightly thinner since sugar plays a role in the set.
- Add a flavor boost with spices or vanilla. A small cinnamon stick, a pinch of cardamom, or a half teaspoon of vanilla extract stirred in at the end adds a lovely depth of flavor.
- Use an immersion blender for smoother jam. If you prefer a less chunky texture, give the cooked jam a few quick pulses with an immersion blender right in the pot. This breaks down larger fruit pieces for a silkier spread.
- Double the recipe for more jars. This is a small-batch recipe by design, great for using up a bowl of cherries or gifting a jar or two. If you want more, simply double all three ingredients and use a larger pot.
Expert Tips
- Pit your cherries before you start. This sounds obvious, but it bears repeating. A cherry pit hiding in your jam is no fun! A cherry pitter tool makes this go fast, but halving and popping the pit out by hand works just fine for a small batch. You can also cut cherries into halves or quarters to help them break down more quickly on the stove.
- Watch your heat and stir often. Jam can go from a gentle bubble to a full rolling boil very quickly. Keep the heat at medium to start, then reduce to low as it thickens. The mixture will bubble up and can pop at you as you stir, so use a long-handled spoon.
- Use the plate test to check if it’s set. Don’t just eyeball it! I like to drop a small spoonful of jam onto a chilled plate and run my finger through it. If the two sides hold their shape and don’t run back together, it’s done. If it slides right back, give it a few more minutes on the stove.
- Let it cool completely before refrigerating. The jam will look thinner than you expect when it first comes off the stove, and that is perfectly normal. It thickens significantly as it cools, especially once it is chilled in the refrigerator.
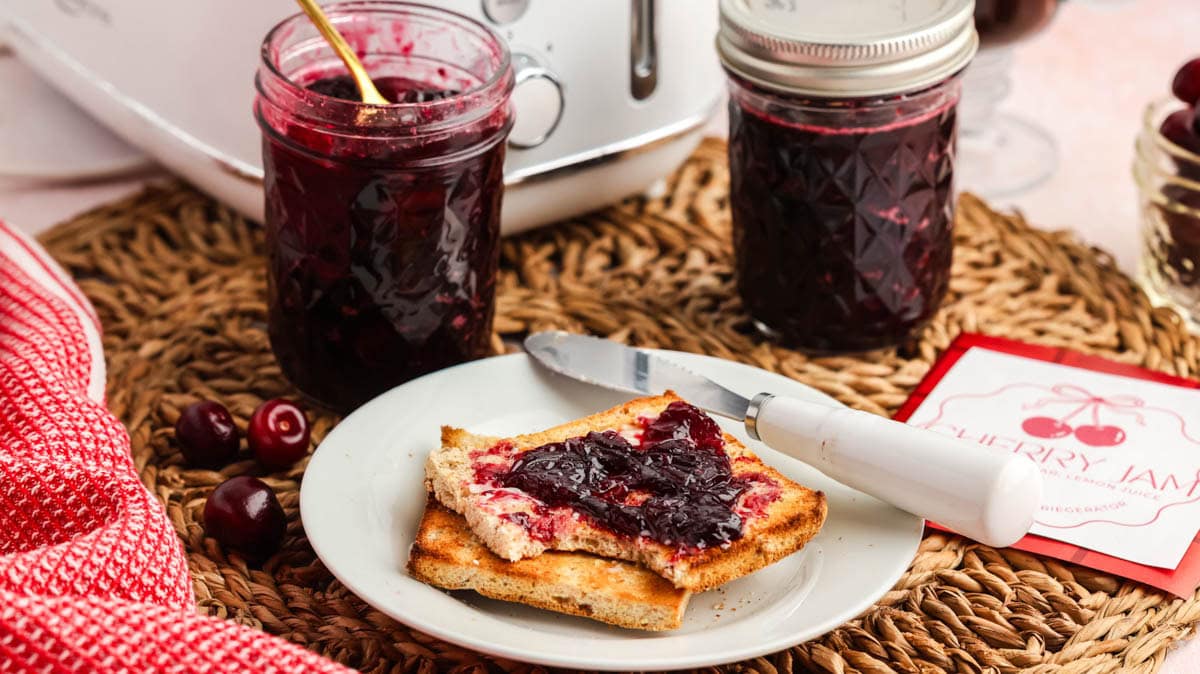
What to Serve With 3-Ingredient Cherry Jam
The beauty of a good homemade cherry jam is how many ways you can use it! The most classic pairing is warm, buttery biscuits, and my Butter Swim Biscuits or Blueberry Butter Swim Biscuits are both great options. Beyond biscuits, try it with plain Greek yogurt or layered on toast with cream cheese or a nut butter for a quick breakfast. It would also be delicious spooned over ice cream like my Banana Split Ice Cream!
Don’t forget: a jar of this jam with a cute handwritten label is one of the sweetest little hostess gifts around!
Storage & Make-ahead Tips
Storage: Ladle cooled jam into clean, dry jars and store in the refrigerator for up to 3 weeks. Always use a clean spoon to scoop from the jar to keep it fresh as long as possible.
Freeze: For longer storage, this cherry jam freezes wonderfully. Leave about ½ inch of headspace at the top of the jar to allow for expansion, seal tightly, and freeze for up to 6 months. Thaw overnight in the refrigerator before using.
Make Ahead: This is a great recipe to batch-make on a Sunday afternoon. It comes together quickly, cools fast, and is ready to use the next morning. Make a double batch to have one jar for the week and one to give away!
Recipe FAQs
Cherries do not need added pectin to make jam. When cooked down with sugar and a splash of lemon juice, they thicken naturally on their own. The lemon juice provides the acidity needed to help the jam set beautifully without any extra thickeners.
The best cherry jam flavor comes from using ripe, sweet cherries and keeping the ingredient list simple so the fruit really shines. A small amount of fresh lemon juice is the secret weapon, as it brightens the cherry flavor and balances the sweetness without overpowering it.
More Easy Recipes to Try
Hungry for more easy, home-cooked, delicious recipes?
Sign up for my free recipe club to get family-friendly recipes in your inbox each week! Find me sharing daily meal-time inspiration on Pinterest, Facebook, and Instagram.
Small-Batch Cherry Jam Recipe
Click Stars To Rate
Ingredients
- 4 cups washed and pitted Cherries - Fresh or frozen will work
- 1 cup granulated sugar
- 2 teaspoons fresh lemon juice
Instructions
- In a medium size saucepan, add the cherries, sugar and lemon juice. Stir together.
- Turn the heat to medium and slowly cook until the cherries begin to break down and mixture begins to thicken. Turn the heat to low and allow it to slowly cook. This may take about 20-25 minutes. It will bubble up so be careful it doesn’t bubble over or pop up at you as you stir it.
- You can test to see if it is set by dropping a teaspoon onto a plate and running your finger through the jam. If it separates, it is done, if it runs together, it needs to cook a little longer.
- Remove the thickened jam from the stove top and allow it to cool for about 10 minutes while you prepare the jars.
- Thoroughly wash and dry the jars and lids in hot water to sterilize them.
- Carefully ladle jam into the jars and place the lid on. Allow to cool completely before placing in the refrigerator. Wipe off any excess jam around the rim of the jars.
Notes
Want to Save this Recipe?
By submitting this form, you consent to receive emails from Soulfully Made.