This post may contain affiliate links. Please read our disclosure policy.
You are going to love this Homemade Banana Split Ice Cream Recipe filled with chocolate sauce, ripe banana slices, peanuts, and cherries! The best part is that this creamy dessert recipe has all the scrumptious flavors of a banana split in one recipe, made easily without an ice cream maker!
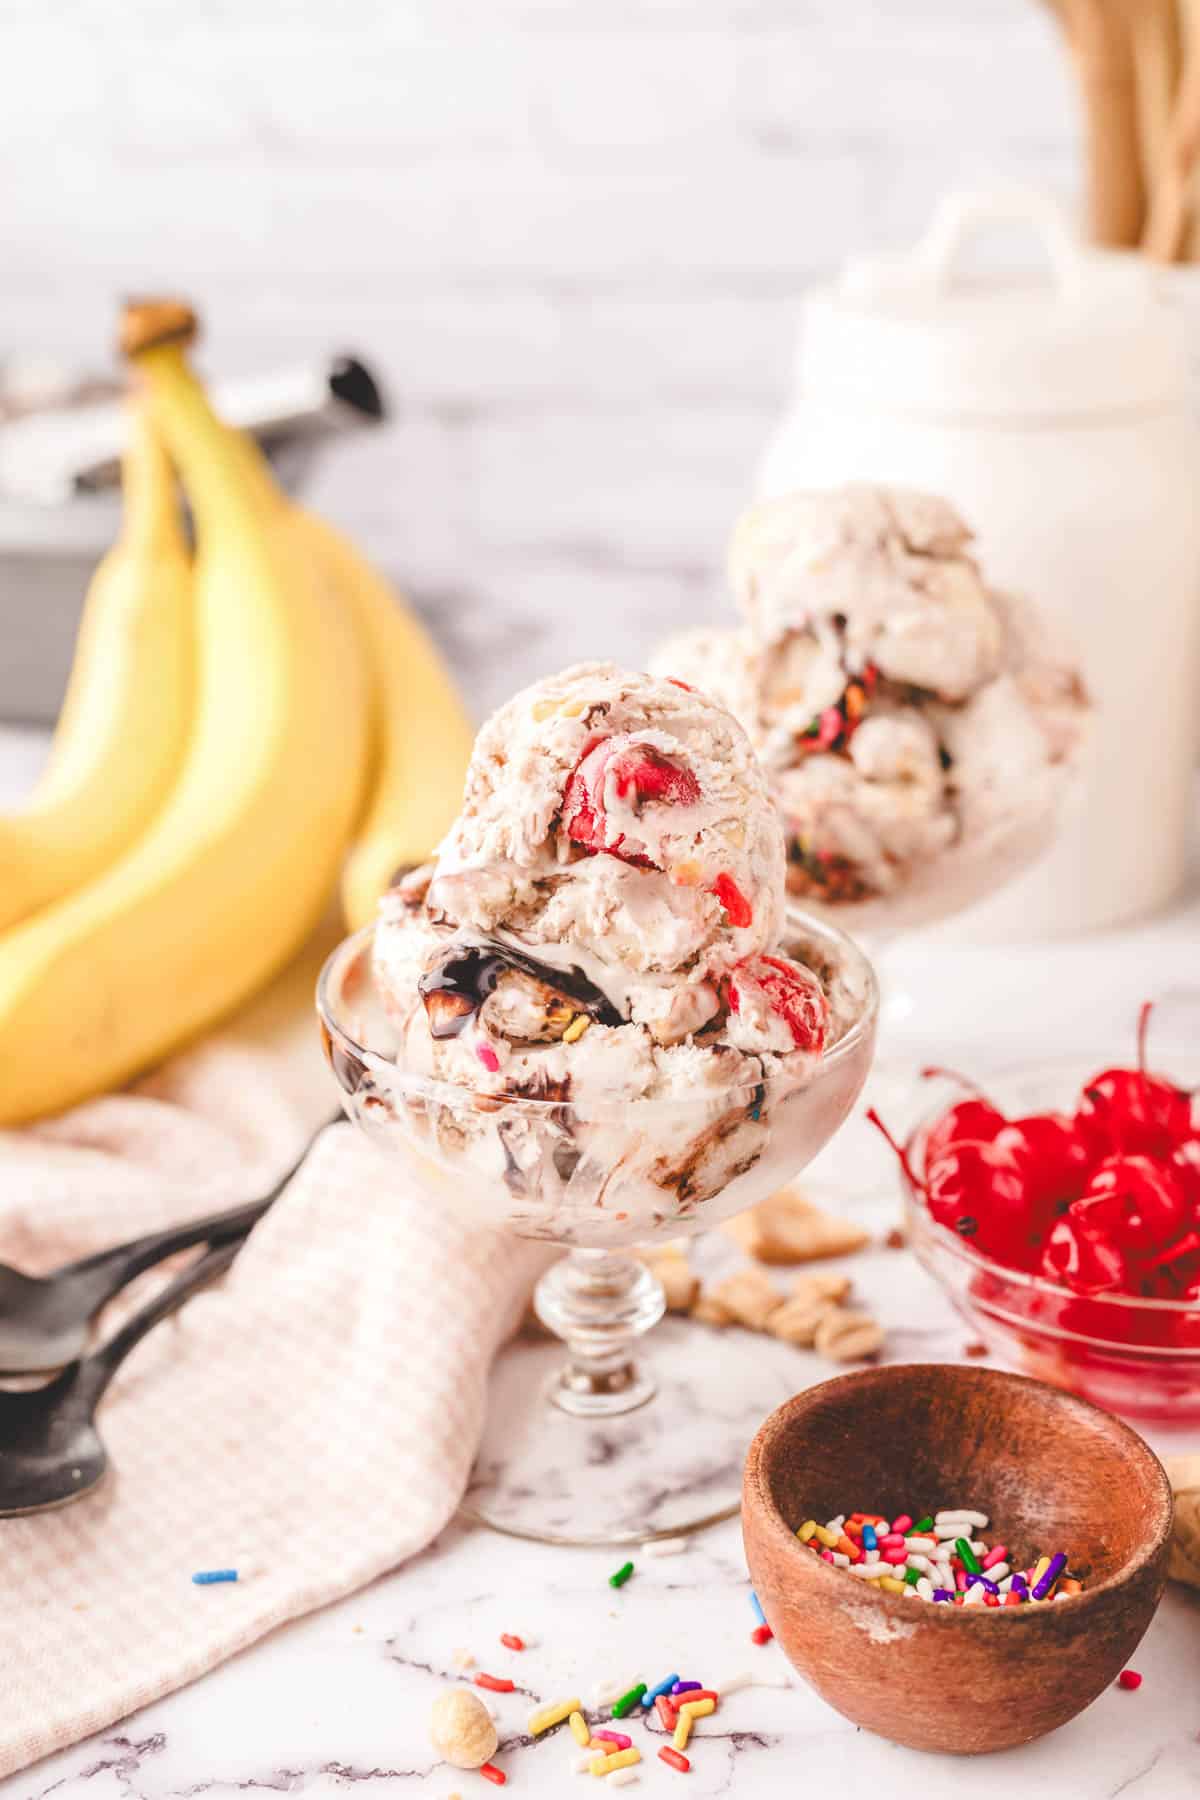
When was the last time you had a banana split? For me, it is one of those great recipes that takes me back to the local ice cream shop and family outings. There is just something about these memories that are so sweet. But now, you can whip up a batch and enjoy ice cream and family time in your own kitchen!
Why We Love This Recipe!
- Homemade Ice Cream: Preservative-free, this no-nonsense recipe gets to the heart of what you love about a banana split!
- No-Churn Recipe: Who needs an ice cream churn when you can make all types of ice cream with this simple no-churn method?
- Easy to Make: No need to get out all the ingredients each time you want a banana split. This recipe is all in one – just make it one time and scoop until it is gone!
What is a Banana Split?
A classic Banana Split recipe is 3 scoops of ice cream on a banana that is split in half. It will typically use vanilla ice cream, chocolate ice cream, and strawberry ice cream flavors. Then, the dessert is topped with strawberry sauce, hot fudge sauce, pineapple toppings, whipped cream, sprinkles, and a cherry. But this homemade banana split ice cream recipe is a take on all the flavors mixed into one no-churn ice cream recipe!
Ingredient Notes
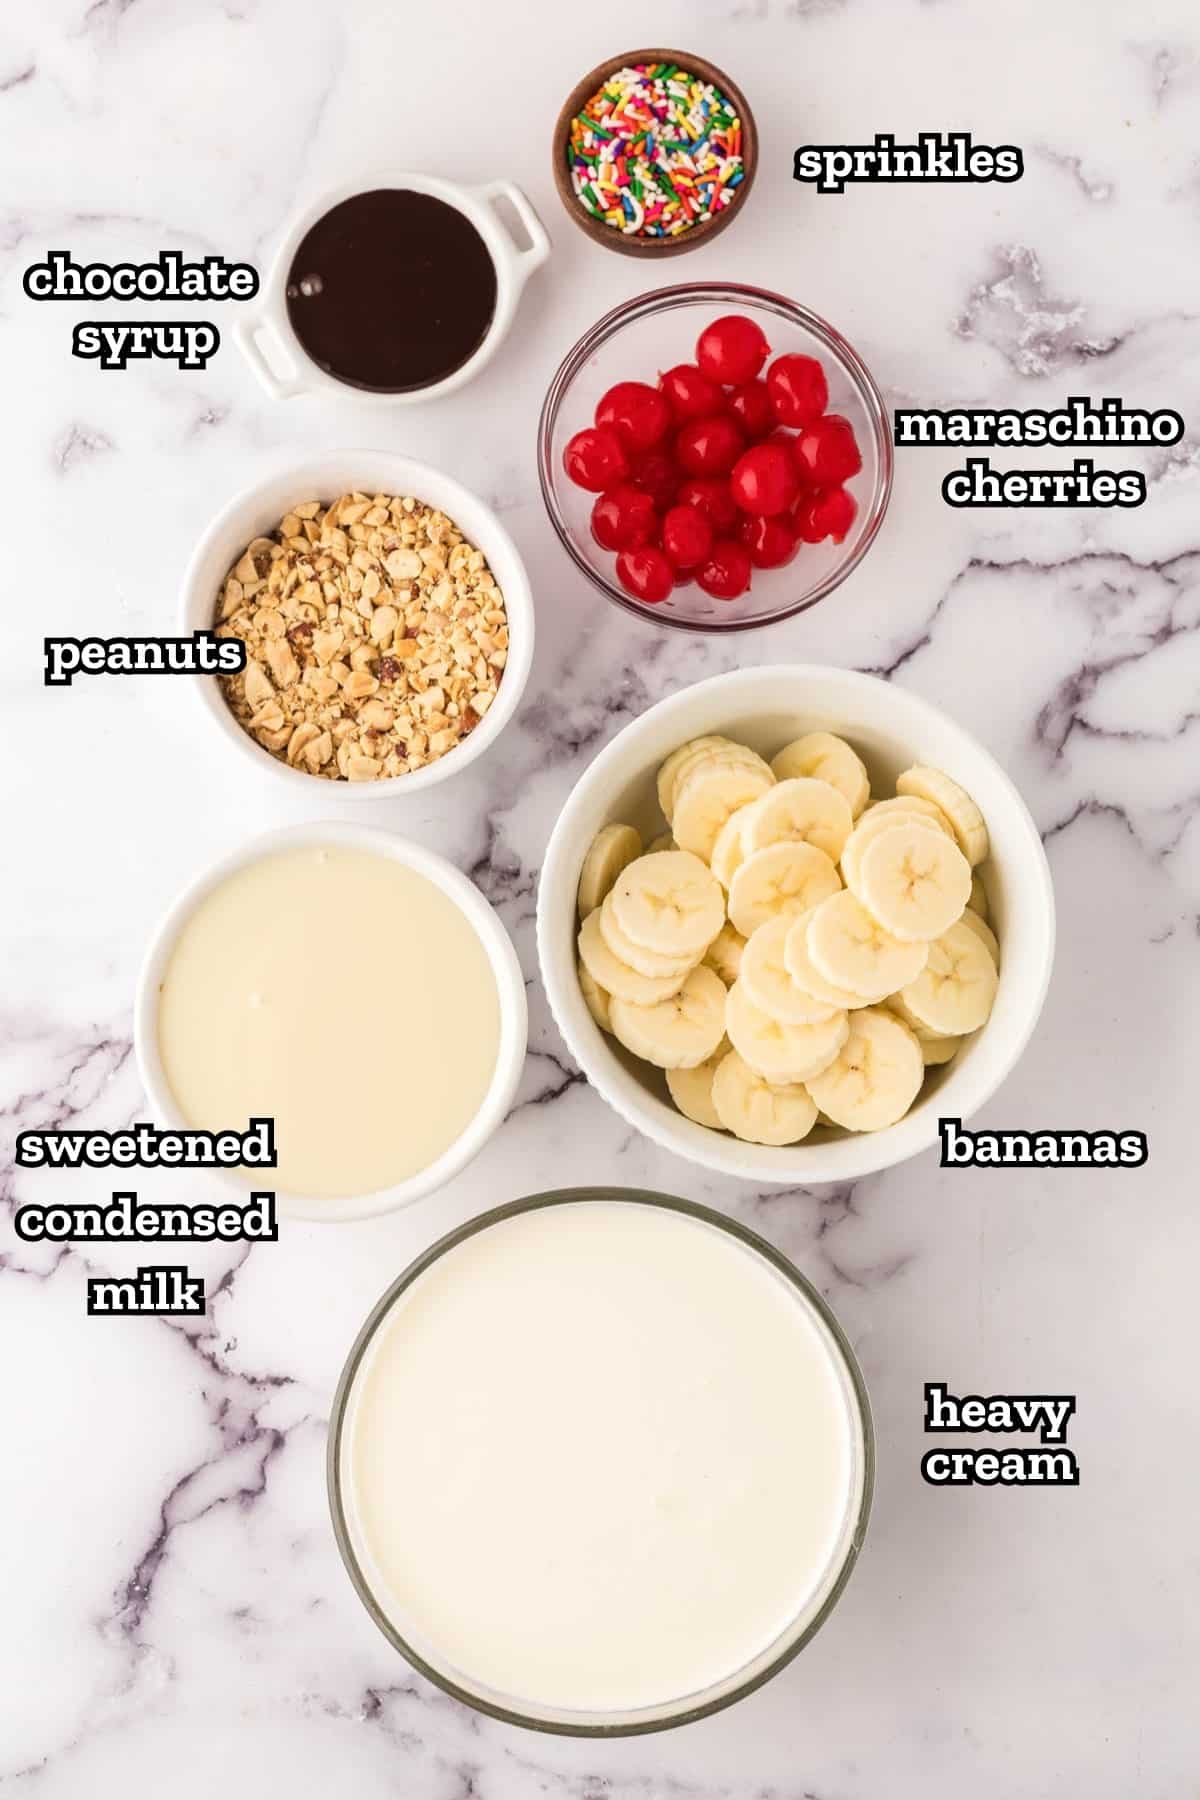
How To Make No-Churn Banana Split Ice Cream
Before you start mixing the ice cream, prepare all the ingredients by chopping the peanuts and cherries and slicing the bananas. Now, let’s make some ice cream, shall we?
✱ Be sure to see the recipe card below for exact ingredients and full recipe instructions!
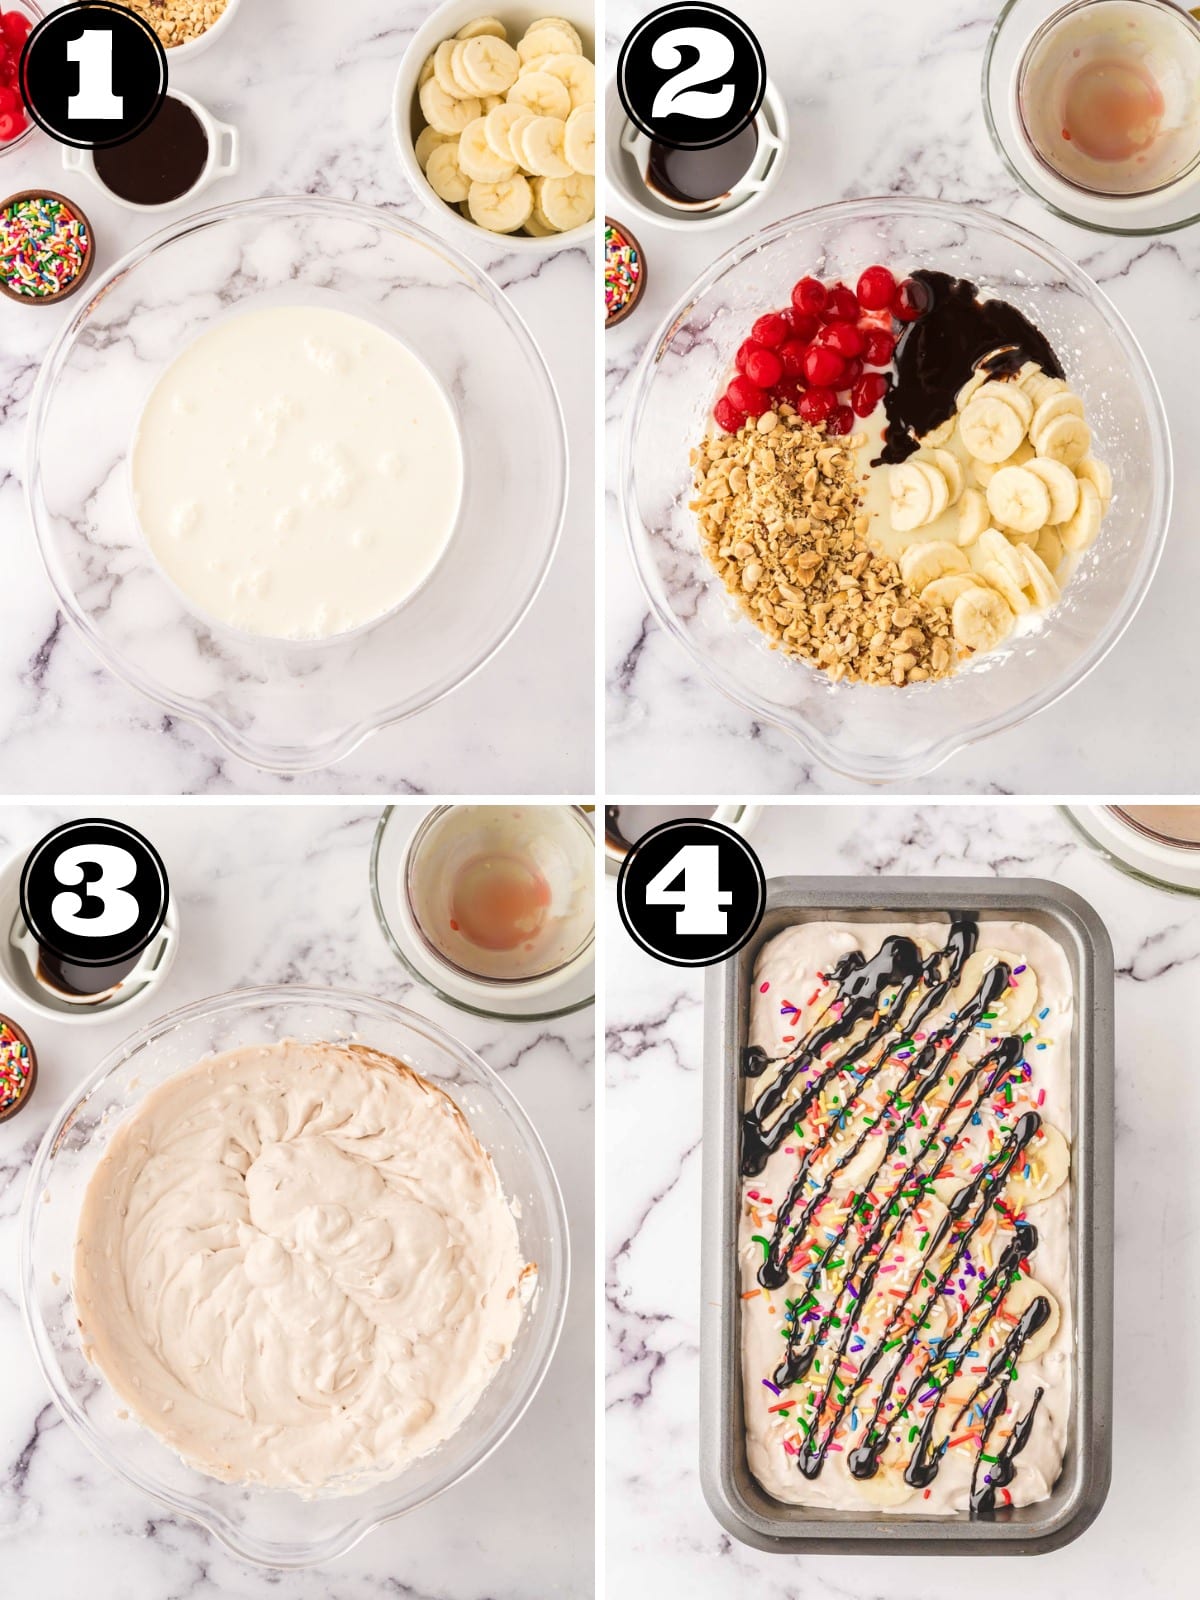
- Measure and pour the heavy cream into a large mixing bowl and use an electric hand mixer to beat the cream into stiff peaks.
- Once the cream forms stiff peaks, add the condensed milk, chocolate syrup, maraschino cherries, chopped peanuts, and sliced bananas. Use a large silicone spatula to fold the ingredients into the whipped cream until evenly distributed. Alternatively, you can use your hand mixer at a low speed.
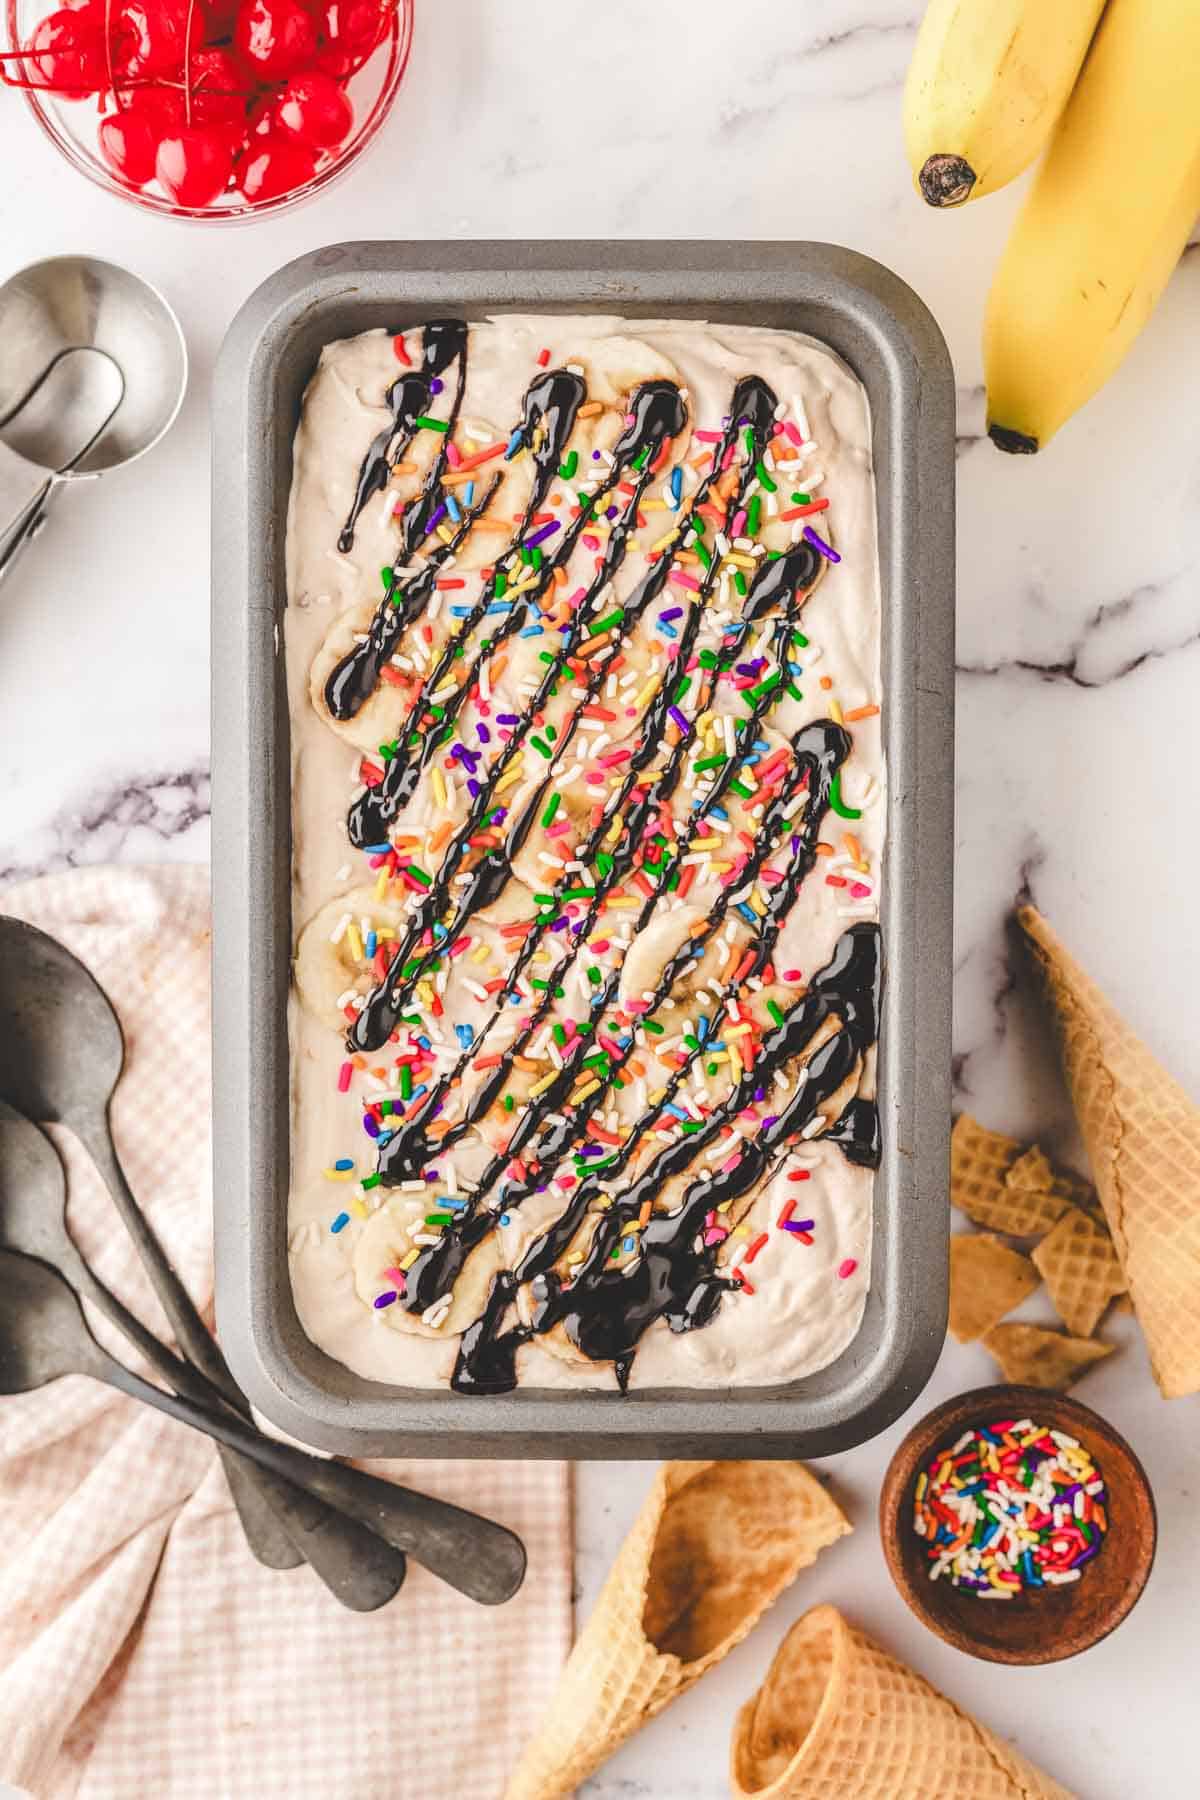
- Now, carefully pour the ice cream into a 9×5 inch loaf pan and top with the sprinkles. You can also top your ice cream with extra sliced bananas and a drizzle of chocolate syrup.
- Cover the loaf pan with plastic wrap and allow the ice cream to set in the freezer. Depending on how cold your freezer is, this will take between 5-6 hours.
- Scoop, serve, and enjoy!
Tips
- If you use your hand mixer after the cream has been whipped, it is important to ensure it is on a low speed. You don’t want to knock too much air out of the whipped cream.
- The more ripe your bananas are, the better. This will really help bring out that classic banana split flavor.
- If you aren’t a fan of the texture of frozen bananas then you can mash your bananas before adding them to the ice cream. This will disguise their texture while still allowing the flavor to come through.
Variations and Substitutions
- Sauce toppings: Change it up and add your favorite flavors like raspberry sauce, butterscotch or caramel sauce, too!
- Going Nuts for Ice Cream: Add plenty of chopped peanuts or try chopped pecans, almonds, or cashews!
- Make it a Banana Split Bar: This is a great party recipe! Set out all the toppings and let people create their own!
Additional Toppings
You can add any toppings you like best to your ice cream sundaes. What is your favorite combination? Try pineapple sauce, fresh bananas, other fresh fruit, caramel sauce, chocolate chips, an assortment of nuts, and more. The sky is the limit!
Want to Save this Recipe?
By submitting this form, you consent to receive emails from Soulfully Made.
Recipe FAQs
Banana splits were popular in the early 1900s when classic soda fountains and ice cream shops were all the rage! In 2004, Pennsylvania was named the birthplace of the banana split.
Options for sweetening may include high fructose corn syrup, and artificial flavor is often added to enhance taste. To maintain a smooth consistency and prevent ice crystal formation, stabilizers such as guar gum, citric acid, and ascorbic acid are used. Lecithin and polysorbate are typical emulsifiers used in ice cream to keep the ice cream from separating. Preservatives such as potassium sorbate and calcium sorbate might be used to extend shelf life.
No-churn ice cream is just as it sounds– Homemade ice cream recipes made without churning from an ice cream machine. Instead, it uses simple ingredients, like heavy whipping cream and sweetened condensed milk. That combination creates an ice cream-like soft texture and creamy flavor without egg yolks and other traditional ingredients. The end result is a creamy, dreamy, delightful ice cream base for all your favorite flavors of ice cream.
Ice Cream Storage
Storage: Once the ice cream has set in the freezer for about 6 hours and reached the desired firmness, cover it tightly with plastic wrap or foil to protect it from any odors or freezer burn. Use a freezer-safe container or even an ice cream storage container. This way, you can have a delightful homemade dessert ready to serve whenever you need it.
- Freezer Storage: Place the container of ice cream in the freezer and store it for 3-5 weeks. It’s a good idea to label the container with the date, so you can keep track of its freshness.
- Thawing: When you’re ready to enjoy your frozen treat, remove the container from the freezer and let it sit at room temperature for a few minutes to soften slightly. This makes scooping easier and ensures a creamier texture.
- Avoid Frequent Thawing and Refreezing: To maintain the best texture and flavor, try to avoid repeated cycles of thawing and refreezing the ice cream. It’s best to portion it out into smaller containers before freezing if you anticipate enjoying it in multiple servings.
What to Serve with Creamy Banana Split Ice Cream Dessert
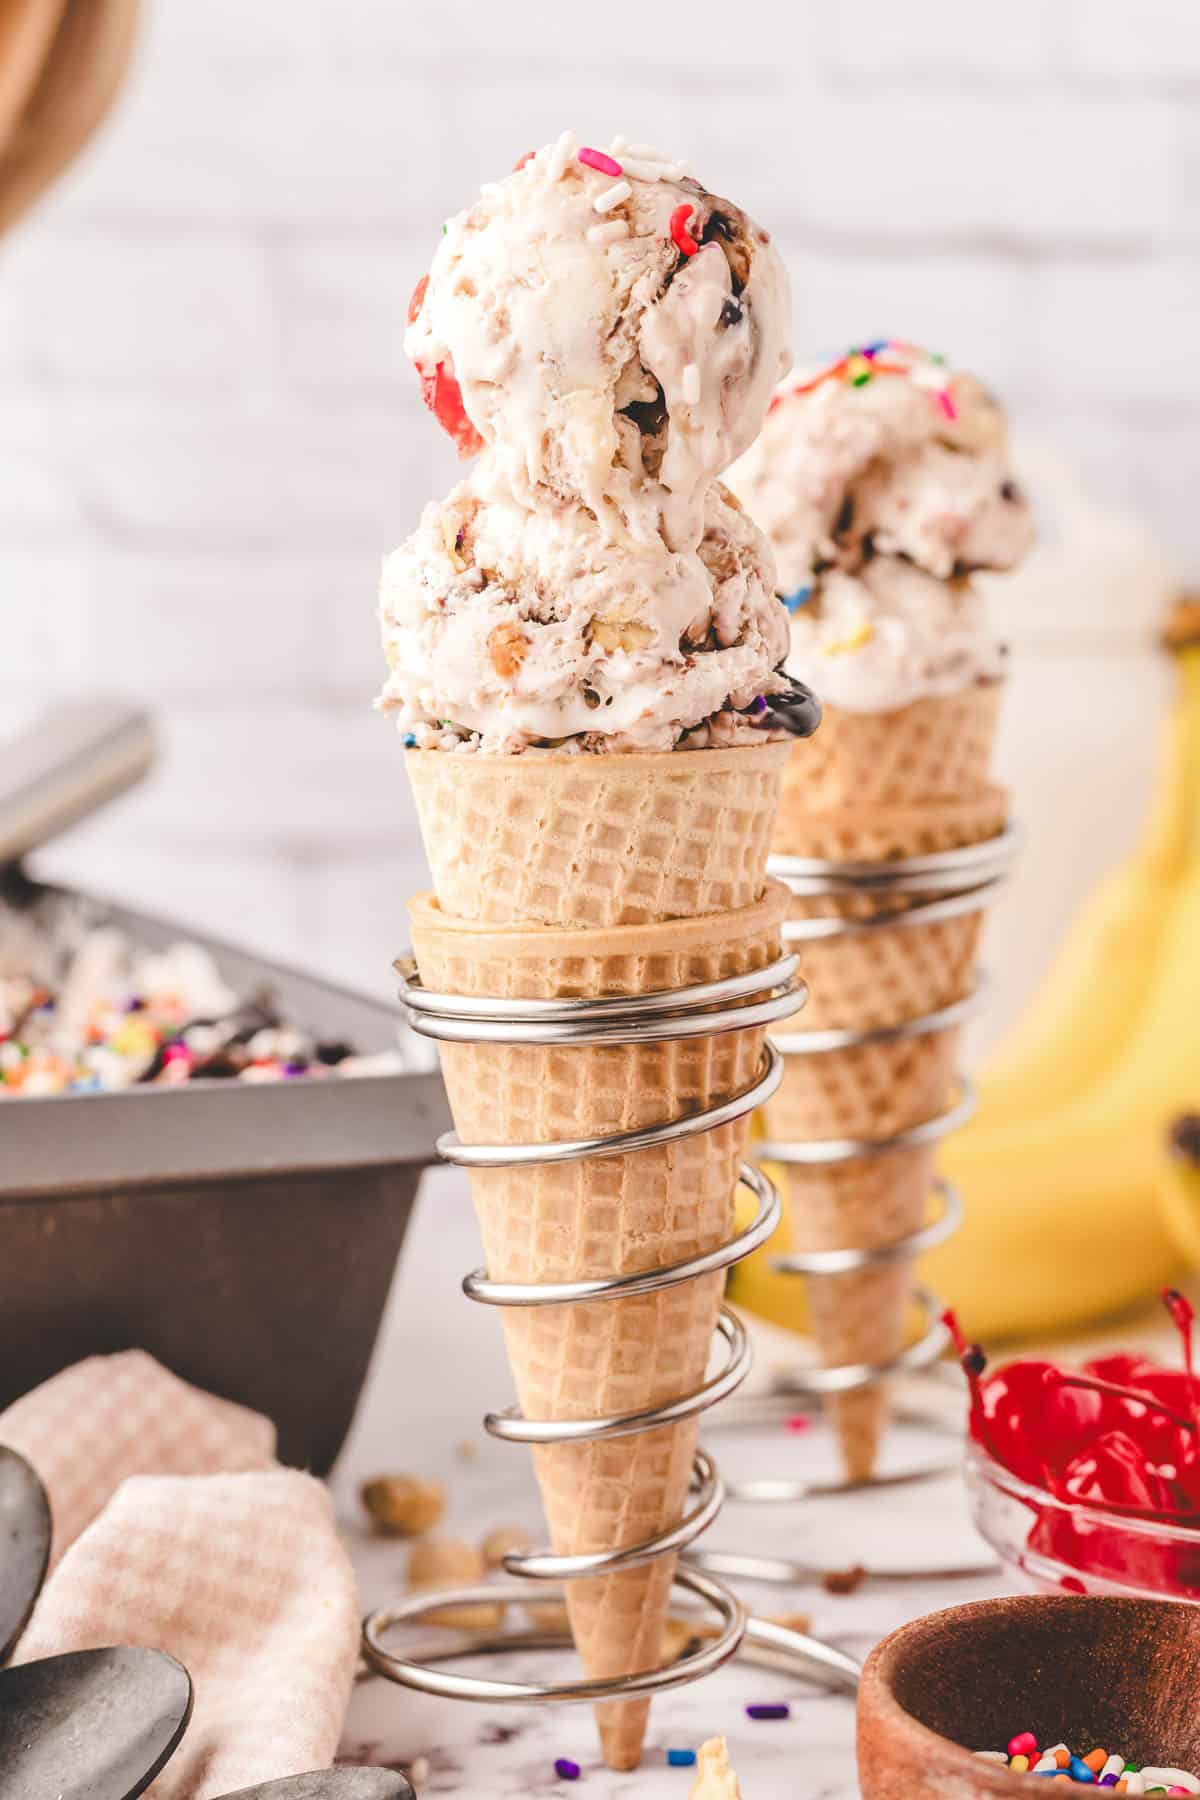
Serve your banana split ice cream in crispy waffle cones, sugar cones, or bowls. Then top it all with some Homemade Whipped Cream and all the toppings you would like! Try these Air Fyrer Roasted Almonds, Toasted Pecans, and more!
More No-Churn Ice Cream Recipes
If you’re in an ice cream kind of mood (who isn’t?), I’ve got a few more fun and frosty treats to check out! From fruity favorites like Strawberry Cheesecake Ice Cream and Blueberry Ice Cream to nostalgic scoops like S’mores Ice Cream and Marshmallow Peeps Ice Cream—there’s something for every craving.
You’ll also love the playful twist of M&M Ice Cream, the crunch in Nutty Buddy Ice Cream, and the cookie magic in Chocolate Chip Cookie Ice Cream or Biscoff Ice Cream. Go ahead, make it a freezer full of fun! And don’t forget all of the recipes are easy peasy and no-churn!
Hungry for more easy, home-cooked, delicious recipes?
Sign up for my free recipe club to get family-friendly recipes in your inbox each week! Find me sharing daily meal-time inspiration on Pinterest, Facebook, and Instagram.
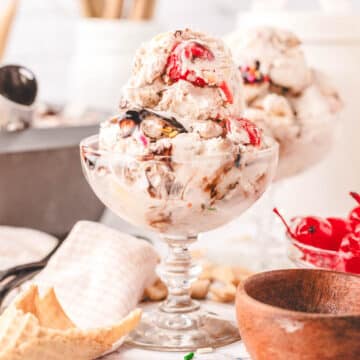
Banana Split Ice Cream
Ingredients
- 2 cups heavy whipping cream
- 14 ounce sweetened condensed milk
- ¼ cup chocolate syrup
- 1 cup maraschino cherries
- 1 cup chopped peanuts
- 2 ripe bananas, sliced
- 2 tablespoons rainbow sprinkles, (or your favorite sprinkles)
Instructions
- Pour the heavy cream into a large mixing bowl and use an electric hand mixer to beat the cream into stiff peaks.
- Once the cream forms stiff peaks, add the condensed milk, chocolate syrup, maraschino cherries, chopped peanuts, and sliced bananas. Use a large silicone spatula to fold the ingredients into the whipped cream until evenly distributed. Alternatively, you can use your hand mixer at a low speed.
- Pour the ice cream into a 9×5 inch loaf pan and top with the sprinkles. You can also top your ice cream with extra sliced bananas and a drizzle of chocolate syrup.
- Cover the loaf pan with plastic wrap and allow the ice cream to set in the freezer. Depending on how cold your freezer is, this will take between 5-6 hours.
- Scoop, serve, and enjoy!
Want to Save this Recipe?
By submitting this form, you consent to receive emails from Soulfully Made.
Notes
- If you use your hand mixer after the cream has been whipped, it is important to ensure it is on a low speed. You don’t want to knock too much air out of the whipped cream.
- The more ripe your bananas are, the better. This will really help bring out that classic banana split flavor.
- If you aren’t a fan of the texture of frozen bananas then you can mash your bananas before adding them to the ice cream. This will disguise their texture while still allowing the flavor to come through.
Nutrition Information
Nutritional Disclaimer
Soulfully Made is not a dietician or nutritionist, and any nutritional information shared is only an estimate. We recommend running the ingredients through an online nutritional calculator if you need to verify any information.
©️Soulfully Made

