


This post may contain affiliate links. Please read our disclosure policy.
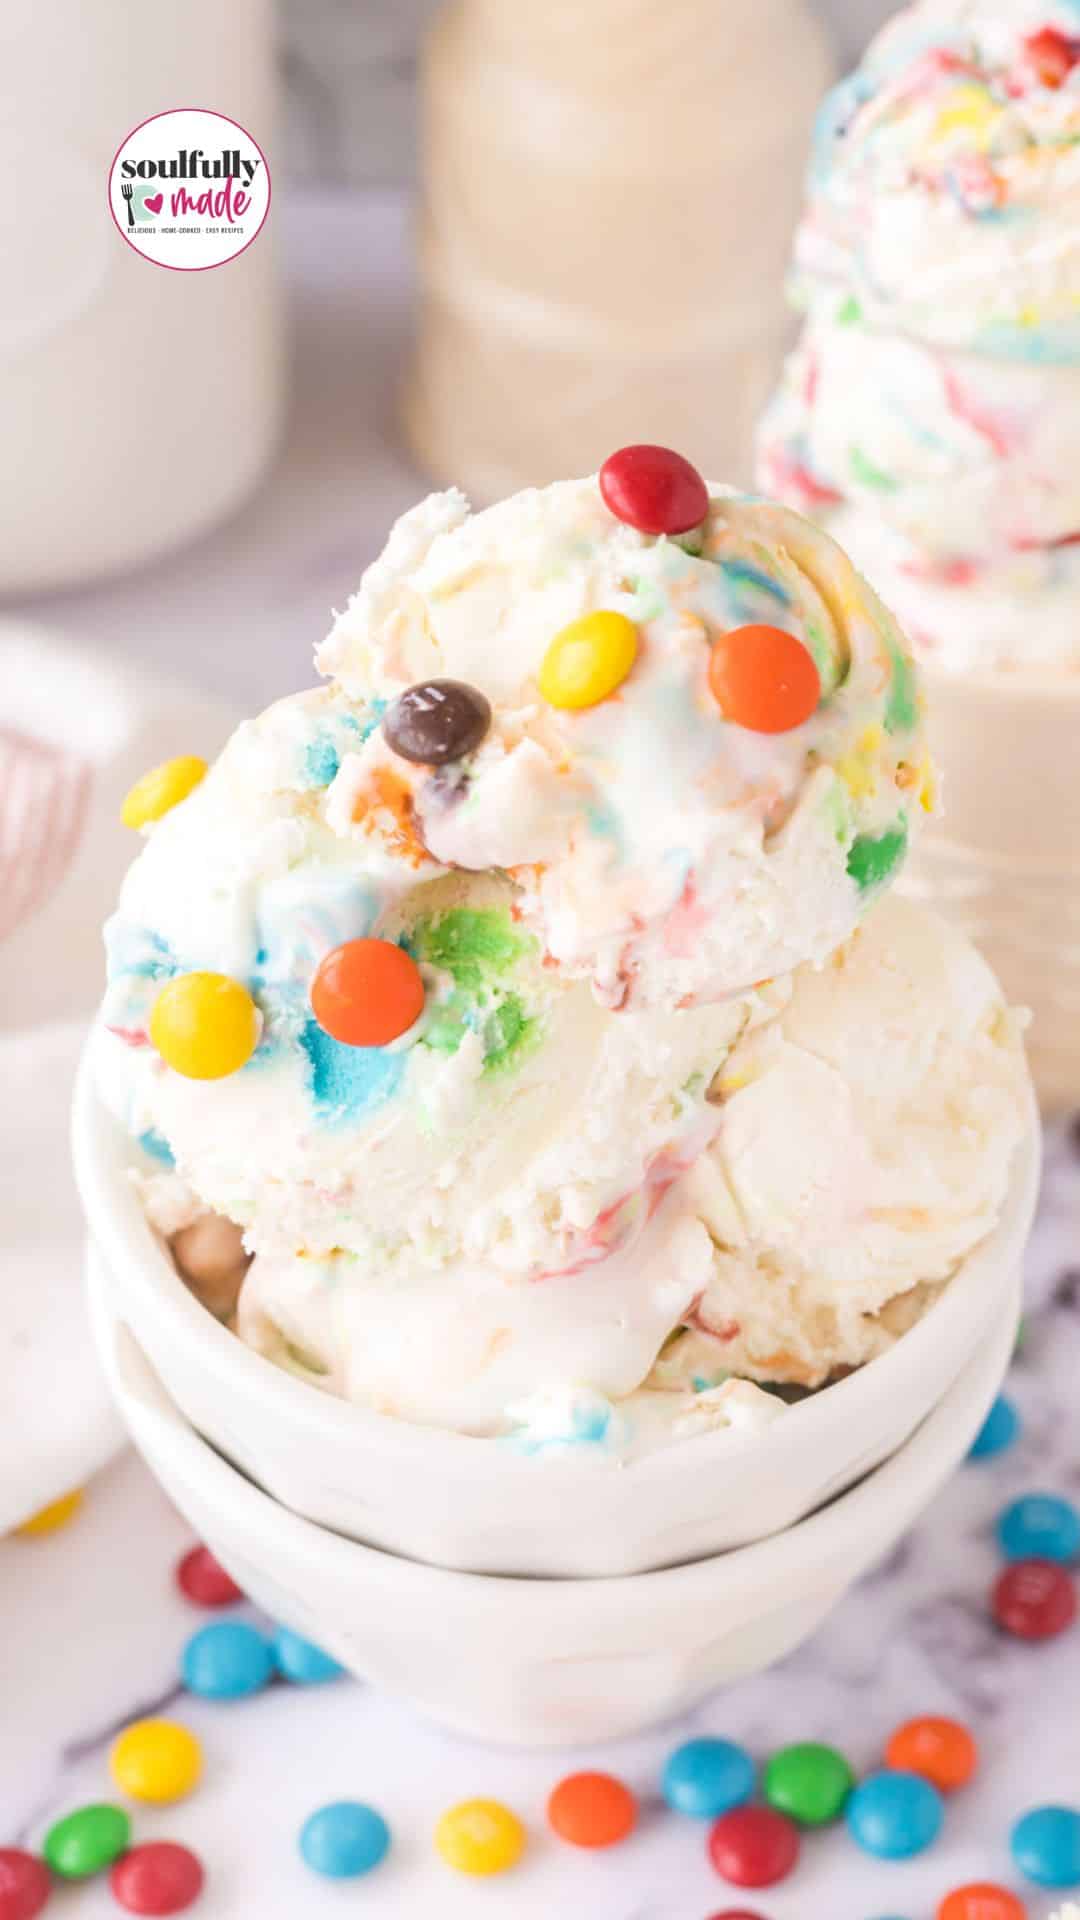
This easy No-Churn M&M Ice Cream recipe is the perfect summer treat. With only a handful of simple ingredients, this creamy confection is a sure-fire winner with its bright colors and classic candy taste!
Why We Love This Homemade M&M Ice Cream Recipe!
- Easy and Convenient: This recipe doesn’t require any special equipment like an ice cream maker. It’s a simple, no-churn method that anyone can easily follow, making it easy for both novice and experienced home cooks.
- Versatile and Customizable: This recipe is a great base for creativity and customization. You can experiment with different flavors, such as adding extracts or mix-ins like crushed cookies or nuts. It allows you to tailor the ice cream to your preferences and create unique variations.
- Crowd-Pleasing Treat: Whether serving it at a summer gathering, a birthday party, or simply enjoying it with your loved ones, this no-churn M&M ice cream is a crowd-pleaser. The creamy, sweet, and colorful elements make it a hit among kids and adults.
We have been on an ice cream kick lately. It’s no wonder, the summer heat has kicked up, and homemade no-churn ice cream is a wonderful way to beat those hot summer temperatures!
Keeping it simple is the key to a fun summer dessert recipe for the whole family!
This easy-to-make recipe combines fluffy whipped cream, sweetened condensed milk, and mini M&M’s for bursts of color and crunch in every bite. With its smooth texture, this homemade ice cream is a sweet treat that will satisfy any sweet tooth.
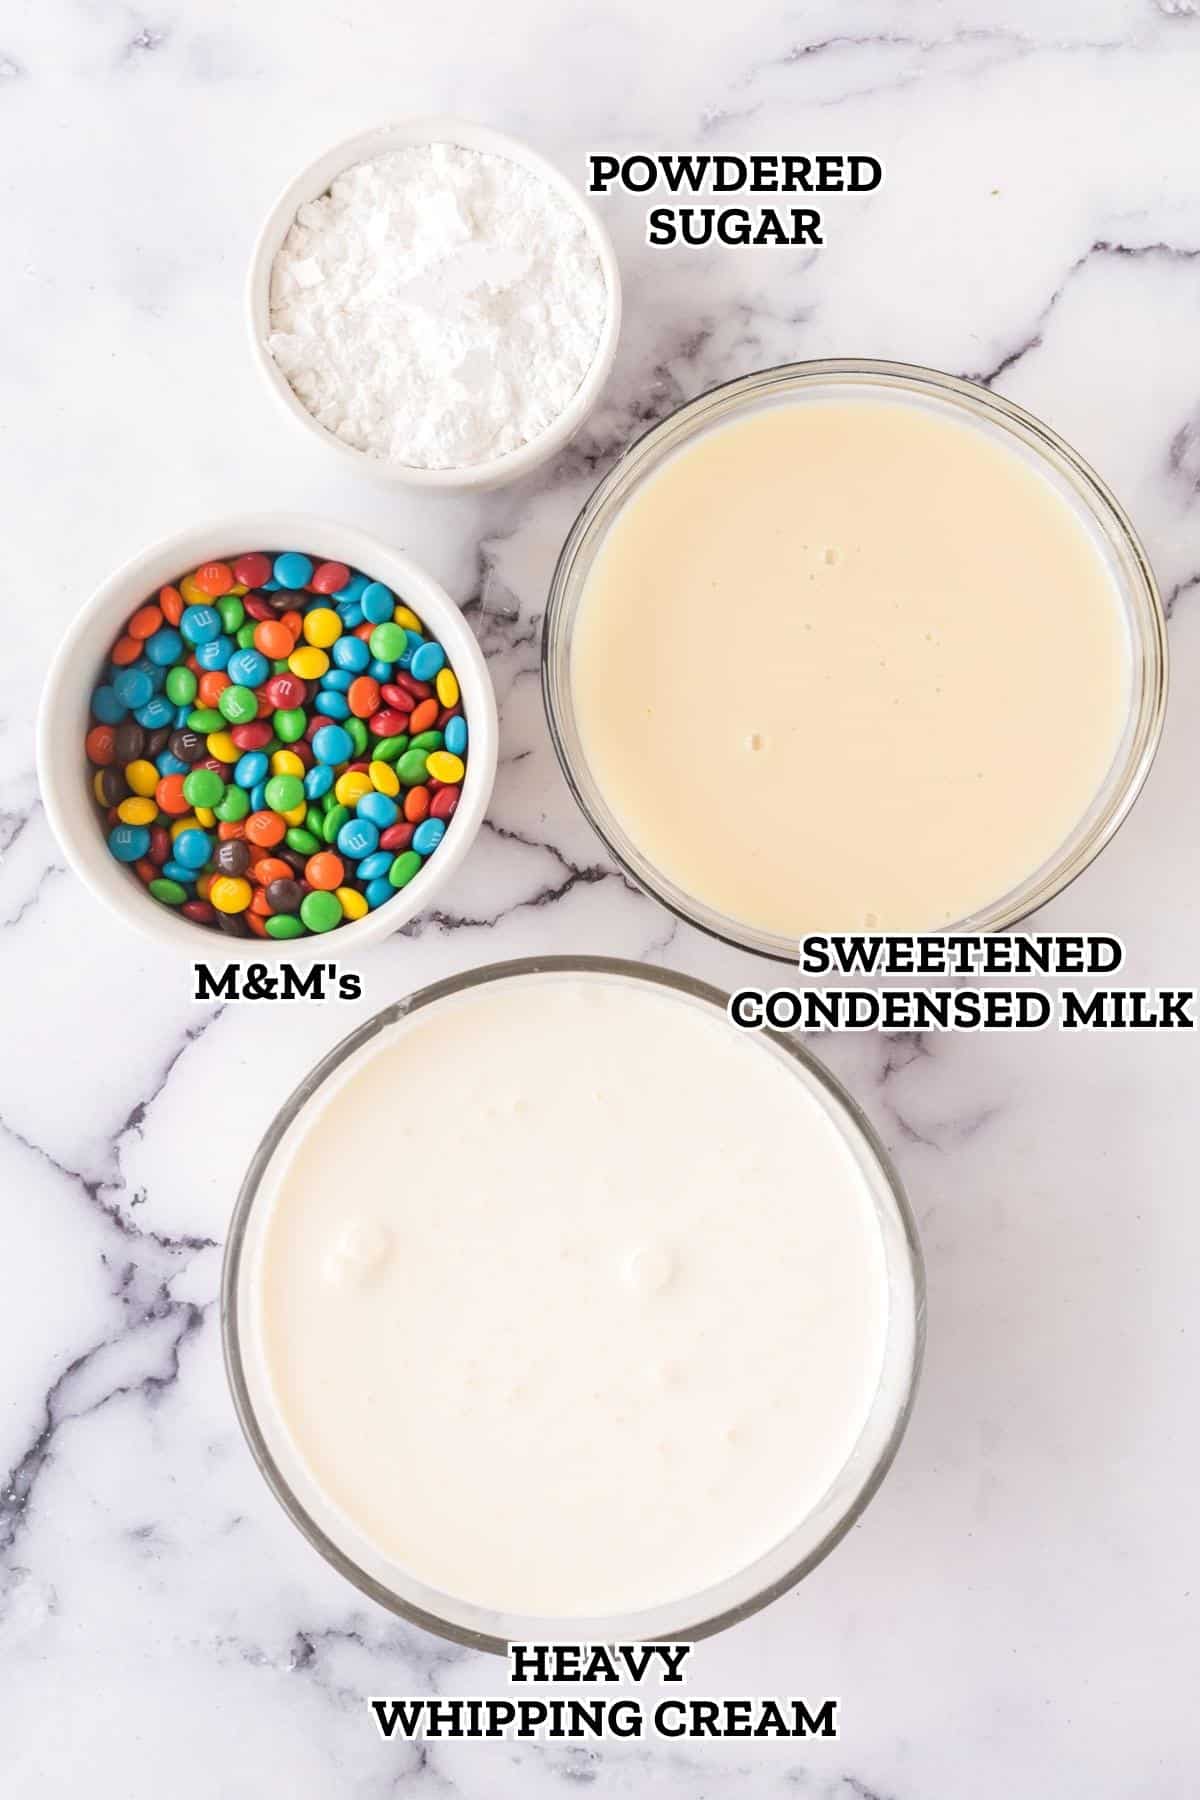
Ingredient Notes
Equipment Needed
No fancy equipment is needed for this recipe. I do like to use an electric mixer to save on the elbow grease! Here are a couple of things that come in handy.
- electric hand mixer or stand mixer
- Large Bowl
- A standard Loaf Pan to freeze or use an Ice Cream Container if you have one.
- Ice Cream Scoop
Variations and Substitutions
How To Make No-Churn M&M Ice Cream
✱ Below shows step-by-step photos and instructions. For the complete recipe, along with ingredient amounts, scroll down to the recipe card.
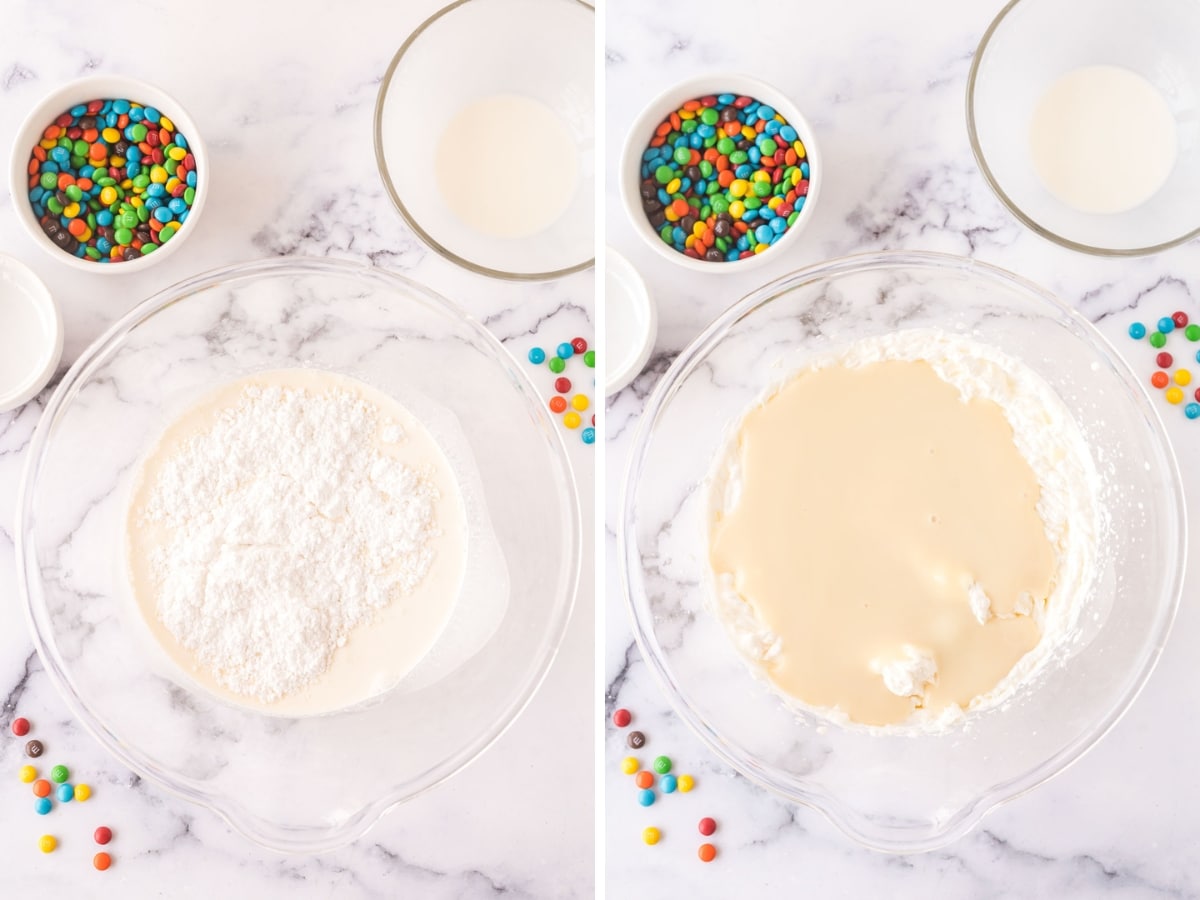
Step 1 | Make Ice Cream Base
Grab a big mixing bowl and an electric hand mixer (or a stand mixer with a whisk attachment). No Ice Cream Machine is needed for this recipe!
Pour in the heavy cream and powdered sugar. Now, start whisking away with the mixer until the cream gets all fluffy and forms stiff peaks.
PRO TIP: Be careful not to overwhip the whipped cream, which can turn into butter. Once you reach stiff peaks, stop beating to maintain a creamy texture.
Okay, now it’s time to add the sweetened condensed milk. Gently fold it into the whipped cream using a spatula until they’re all mixed together nicely. You want the mixture to be smooth and well-combined.
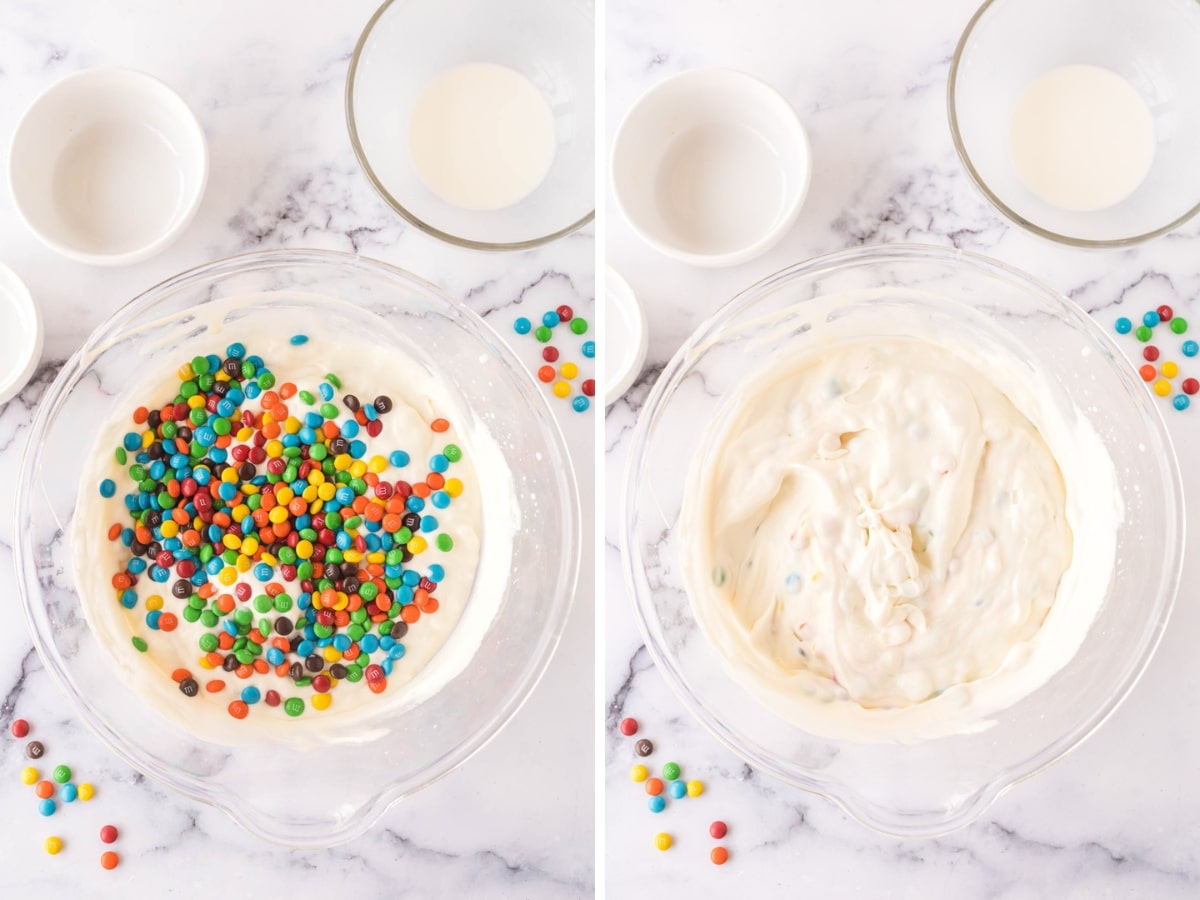
Step 2 | Add the M&M’s to the Ice Cream Base
Time to bring in the star of the show – the M&M’s! Carefully fold them into the ice cream base until they’re evenly distributed.
You want those colorful little candies spread throughout for that burst of flavor in every bite.
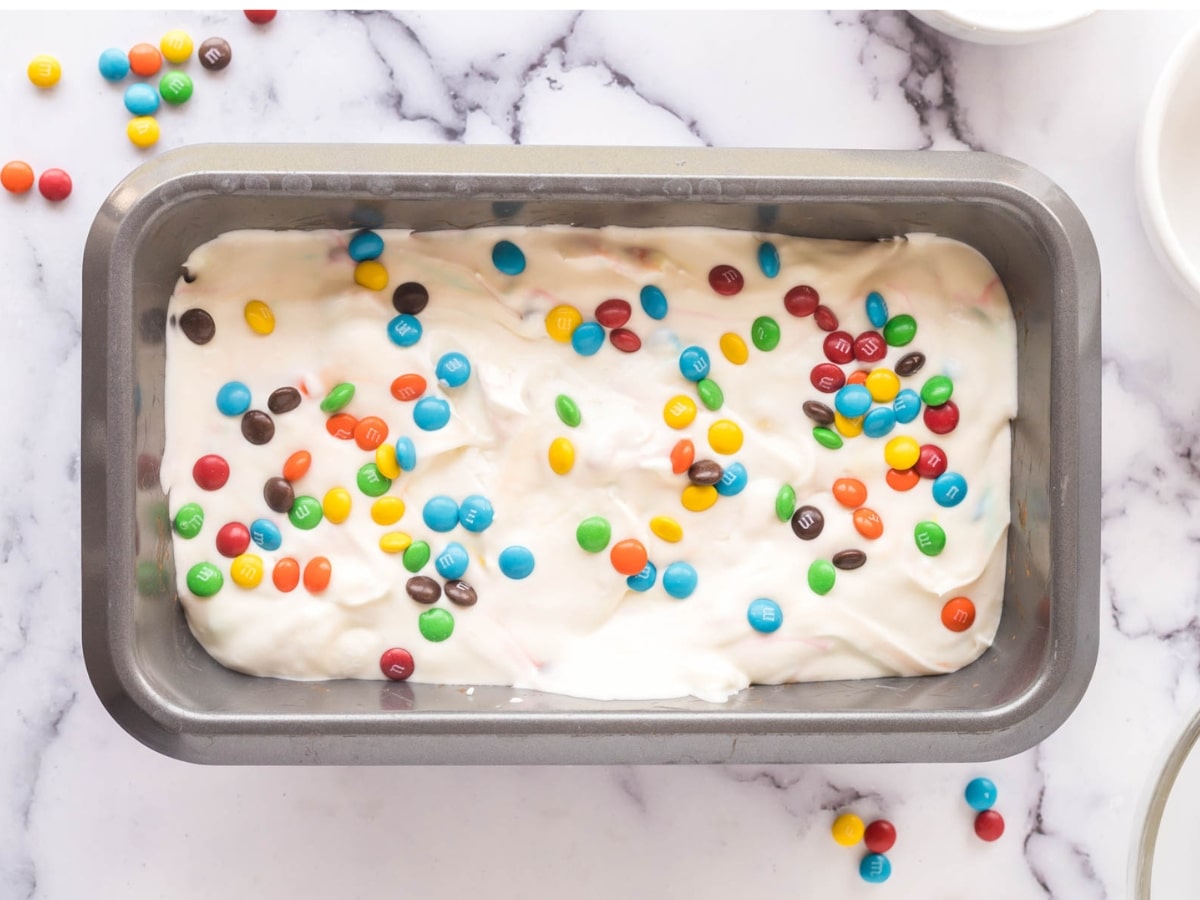
Step 3 | Freeze
Grab a 9×5 inch loaf pan and transfer the ice cream mixture into it. Smooth it out with a spatula. Cover the pan with plastic wrap to protect it from any freezer odors.
Pop it in the freezer and let it sit there for at least 5-6 hours. Patience is key here!
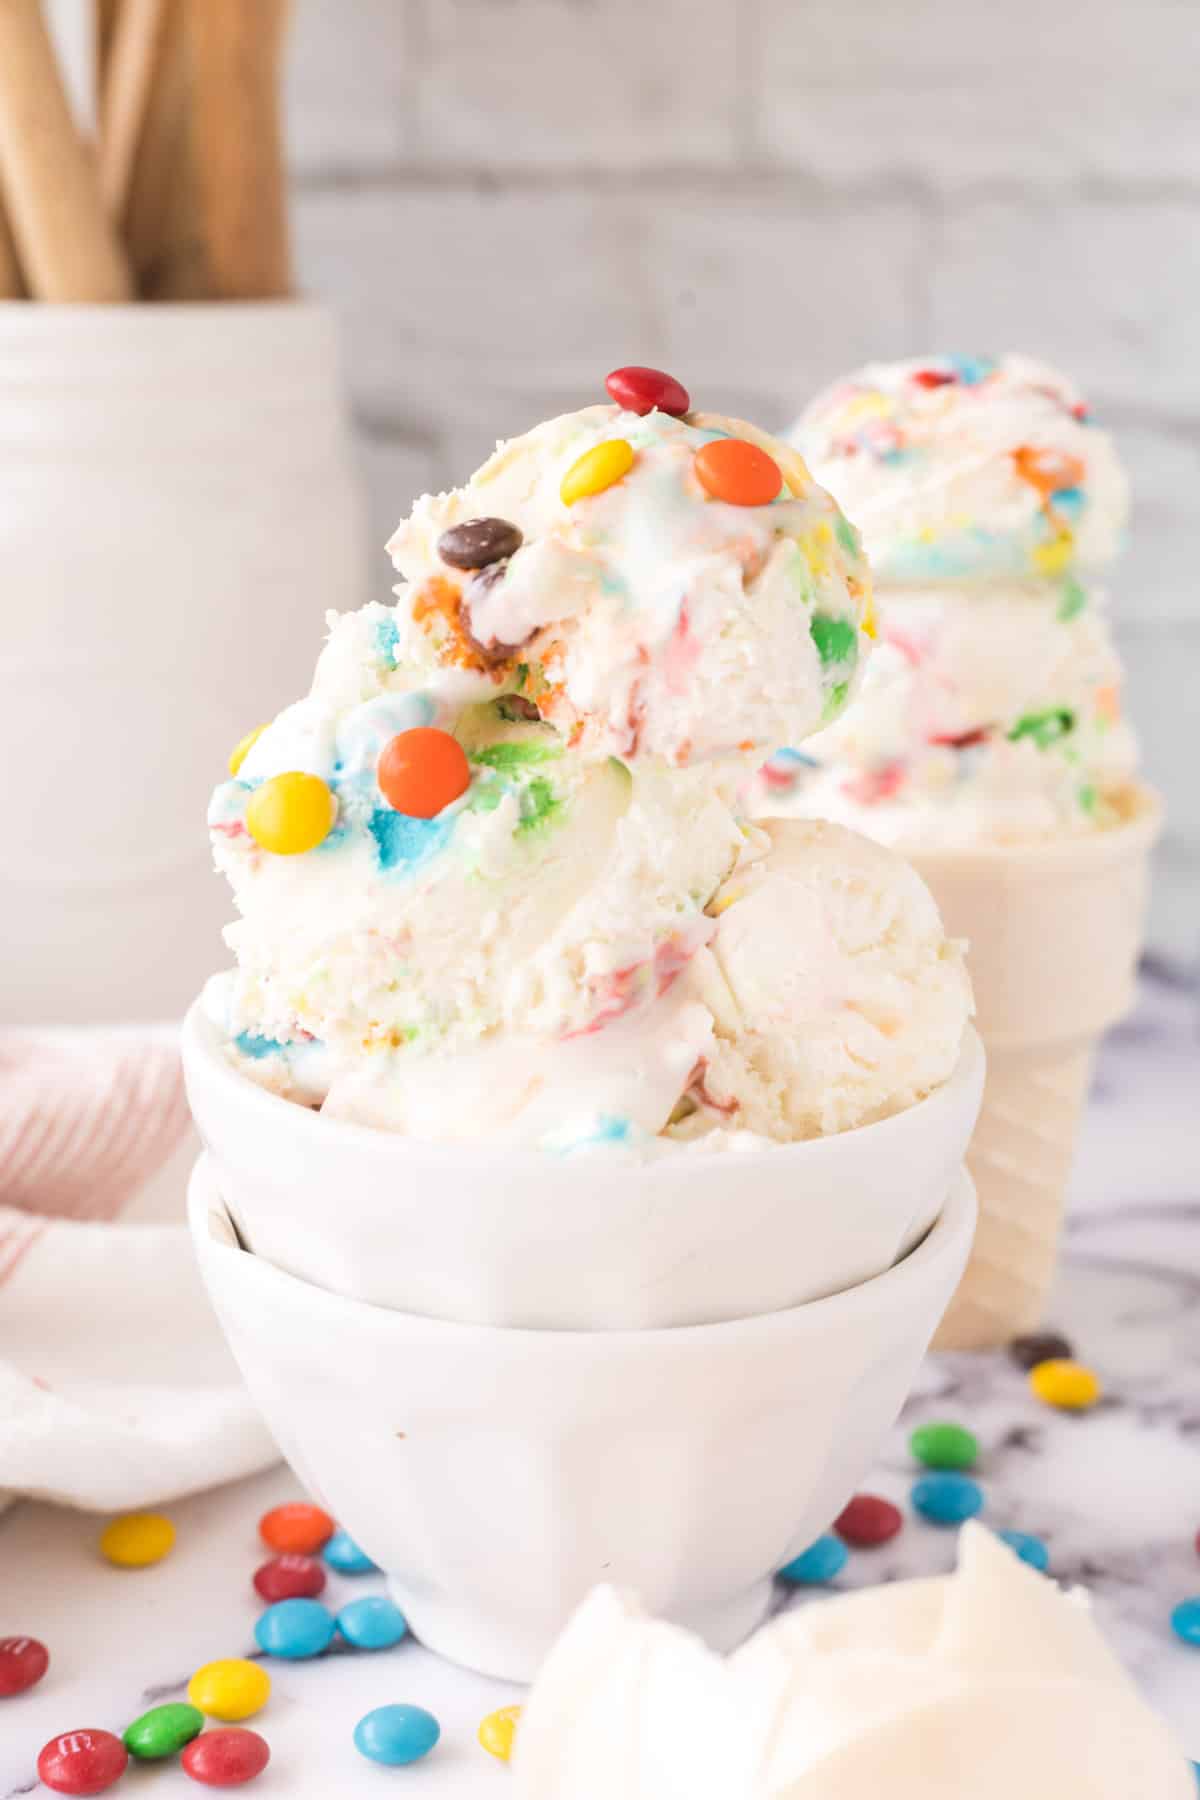
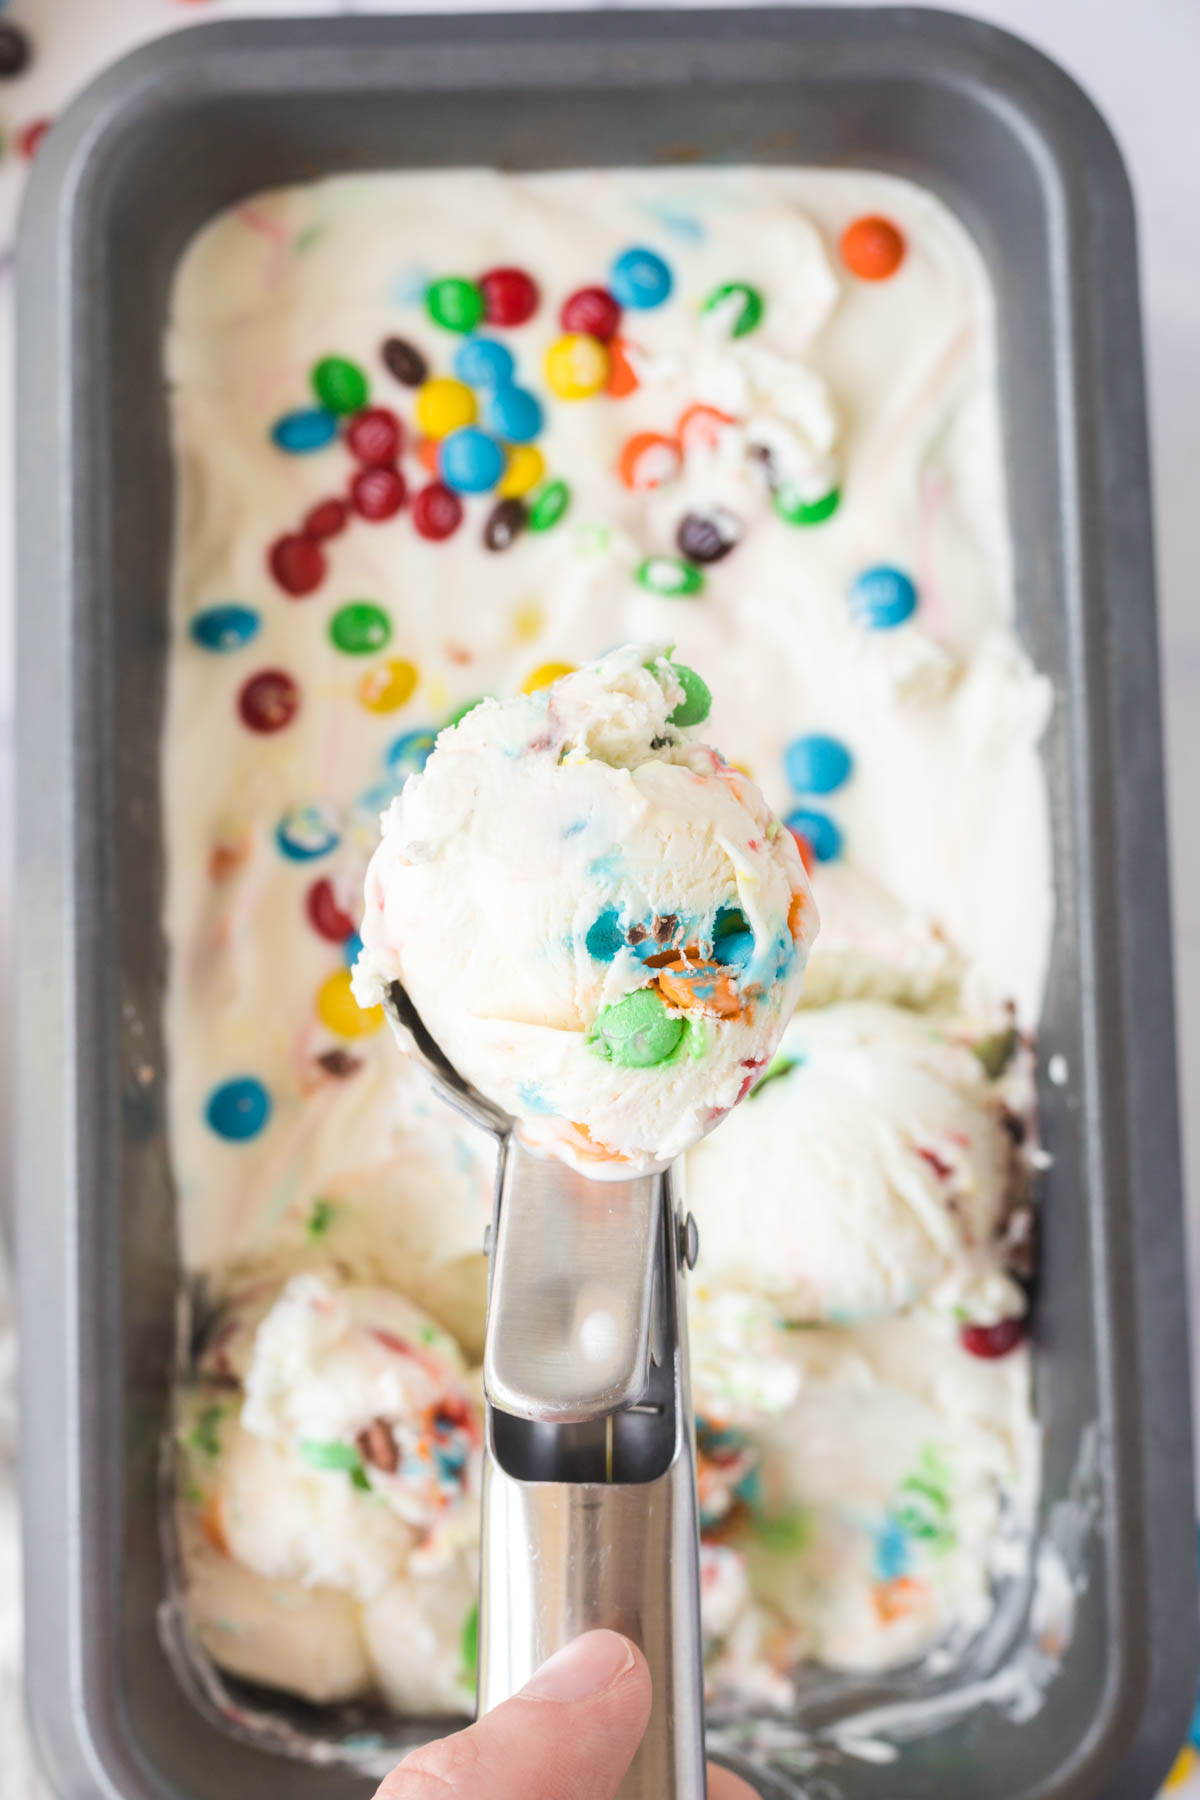
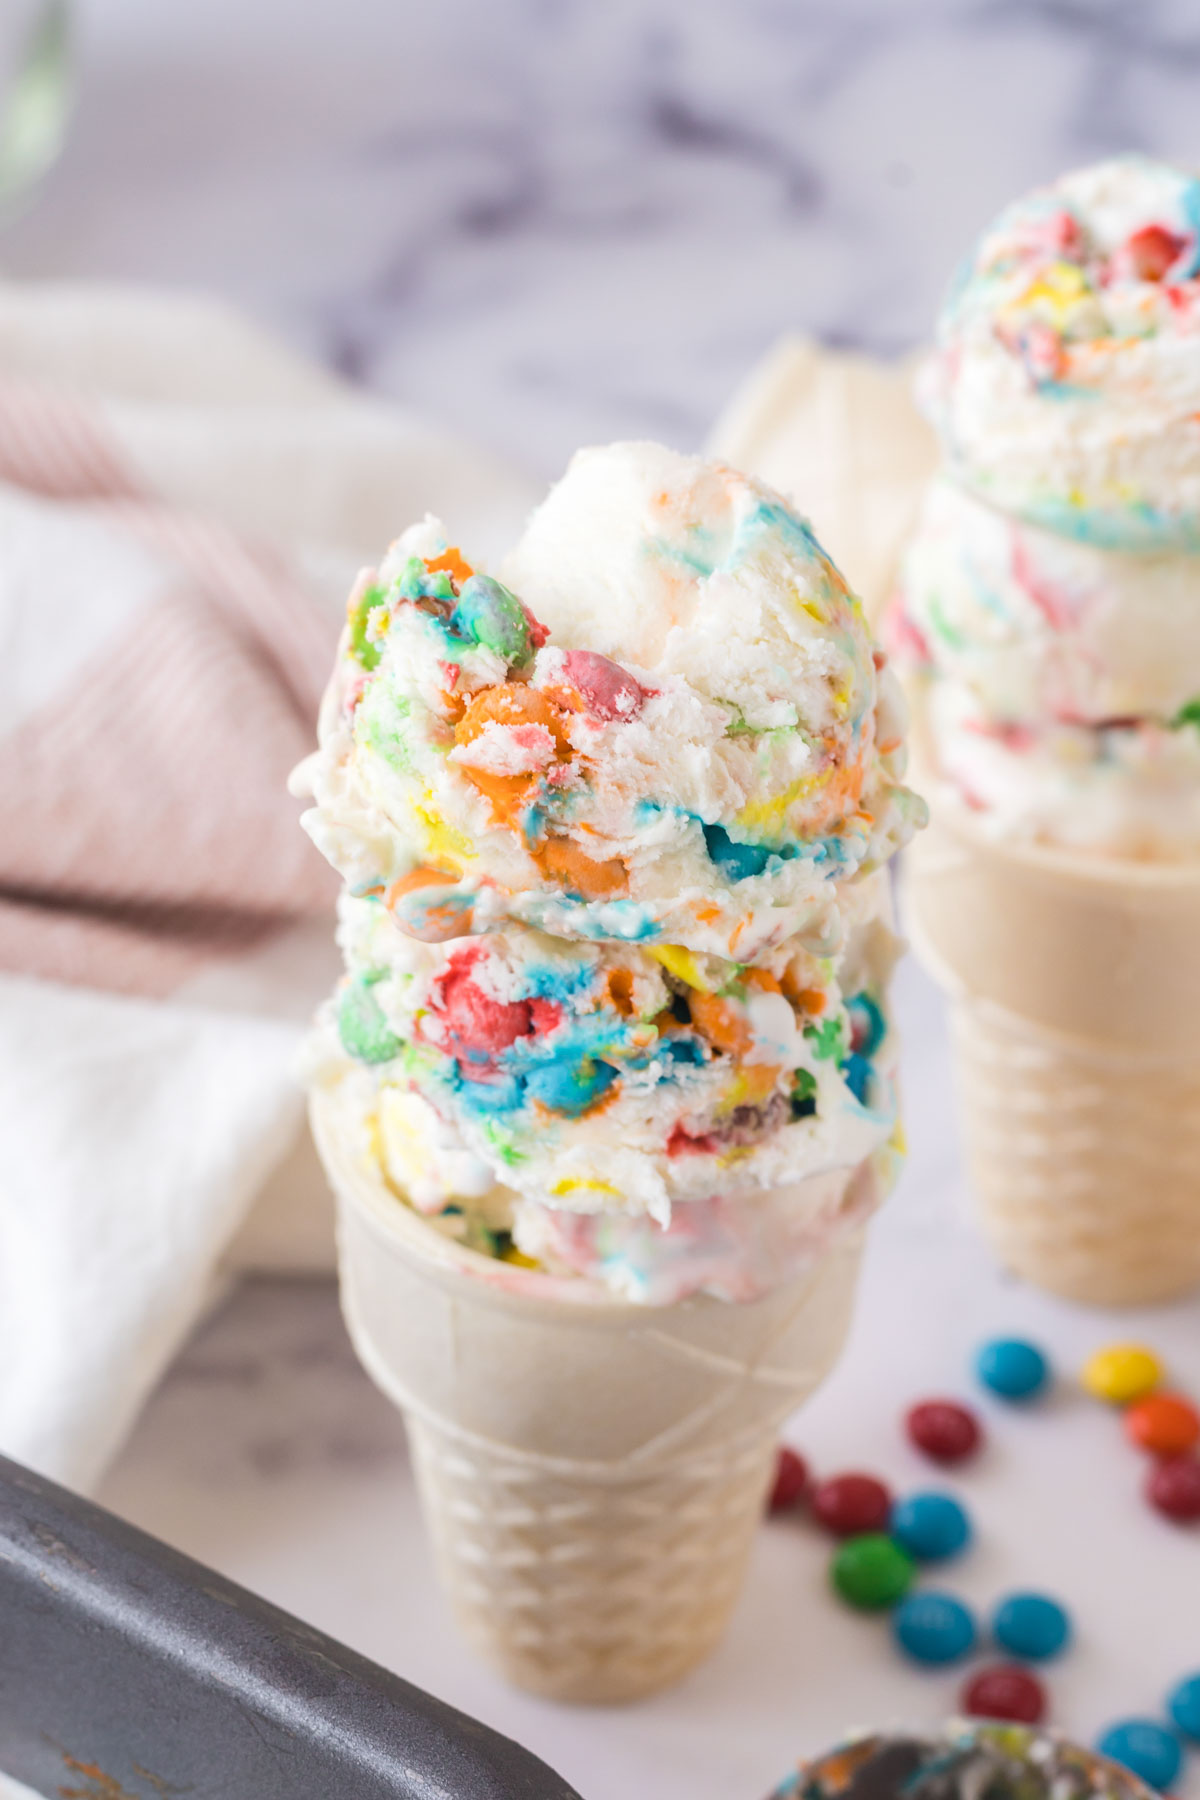
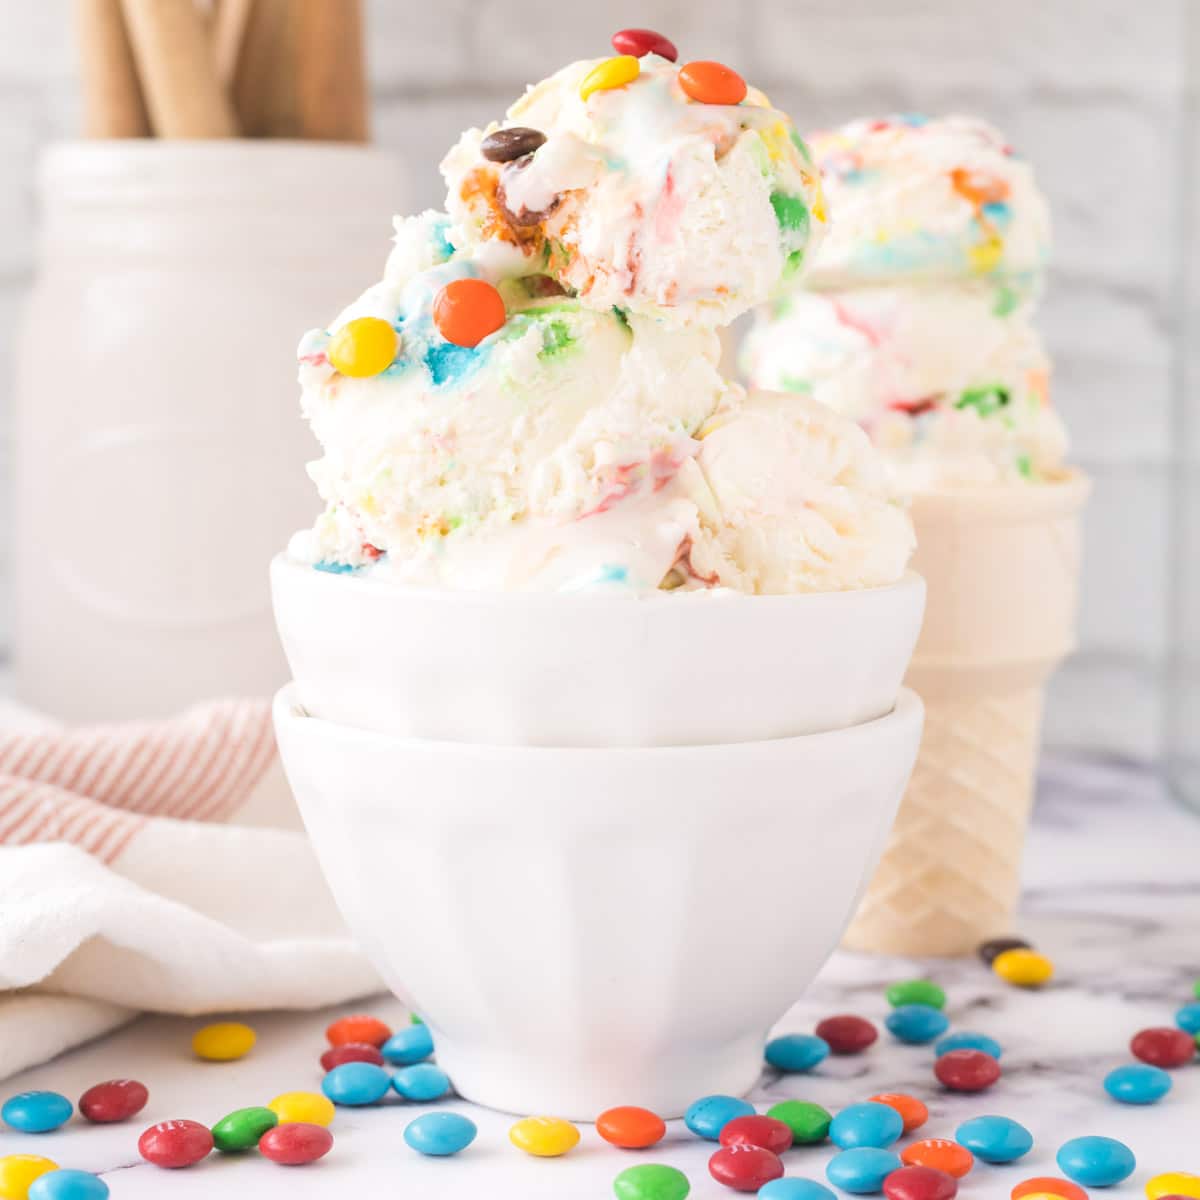
When the wait is finally over, take out the pan from the freezer. Grab your favorite ice cream scoop or just a big spoon, and start scooping those creamy delights into bowls or cones.
Time to indulge in your homemade M&M ice cream! Enjoy every spoonful of this cool and delicious treat.
- Chilled Equipment: Before you begin, make sure your mixing bowl, beaters, and spatula are chilled. Placing them in the freezer for a few minutes prior to use helps the cream whip up faster and achieve a better consistency.
- Cold Ingredients: Be sure that your heavy whipping cream is cold straight from the refrigerator. Cold ingredients whip better and help create a smoother texture in the ice cream.
- Gentle Folding Technique: When incorporating the sweetened condensed milk and M&M’s into the whipped cream, use a gentle folding motion. Folding ensures that you don’t deflate the whipped cream, keeping the airiness intact.
- 5-6 hours is the minimum amount of time you should let this ice cream set. When possible, I like to let this ice cream set overnight.
Tips
Recipe FAQ’s
Sweetened condensed milk plays a crucial role in creating the creamy texture and sweetness of the ice cream. It also acts as a stabilizer to prevent ice crystals from forming. It is not recommended to omit or substitute sweetened condensed milk entirely, as it may significantly alter the final result.
While I have not tested a dairy-free version, you can try substituting the heavy whipping cream with coconut cream. Make sure to use sweetened condensed coconut milk instead of the traditional sweetened condensed milk. And, of course, dairy-free candies like Choco No No’s.
The freezing time can vary depending on your freezer’s temperature and the depth of the container you use. Generally, it takes at least 4-6 hours for the ice cream to freeze properly. However, for the best results, it is recommended to let it freeze overnight to ensure a firm and scoopable consistency.
Storage
Freezer Storage: Cover it tightly with plastic wrap or foil to protect it from any odors or freezer burn (I like to double wrap mine). You can also use a freezer-safe airtight container or even an ice cream storage container for up to 2 months in the freezer.
What to Serve with Ice Cream
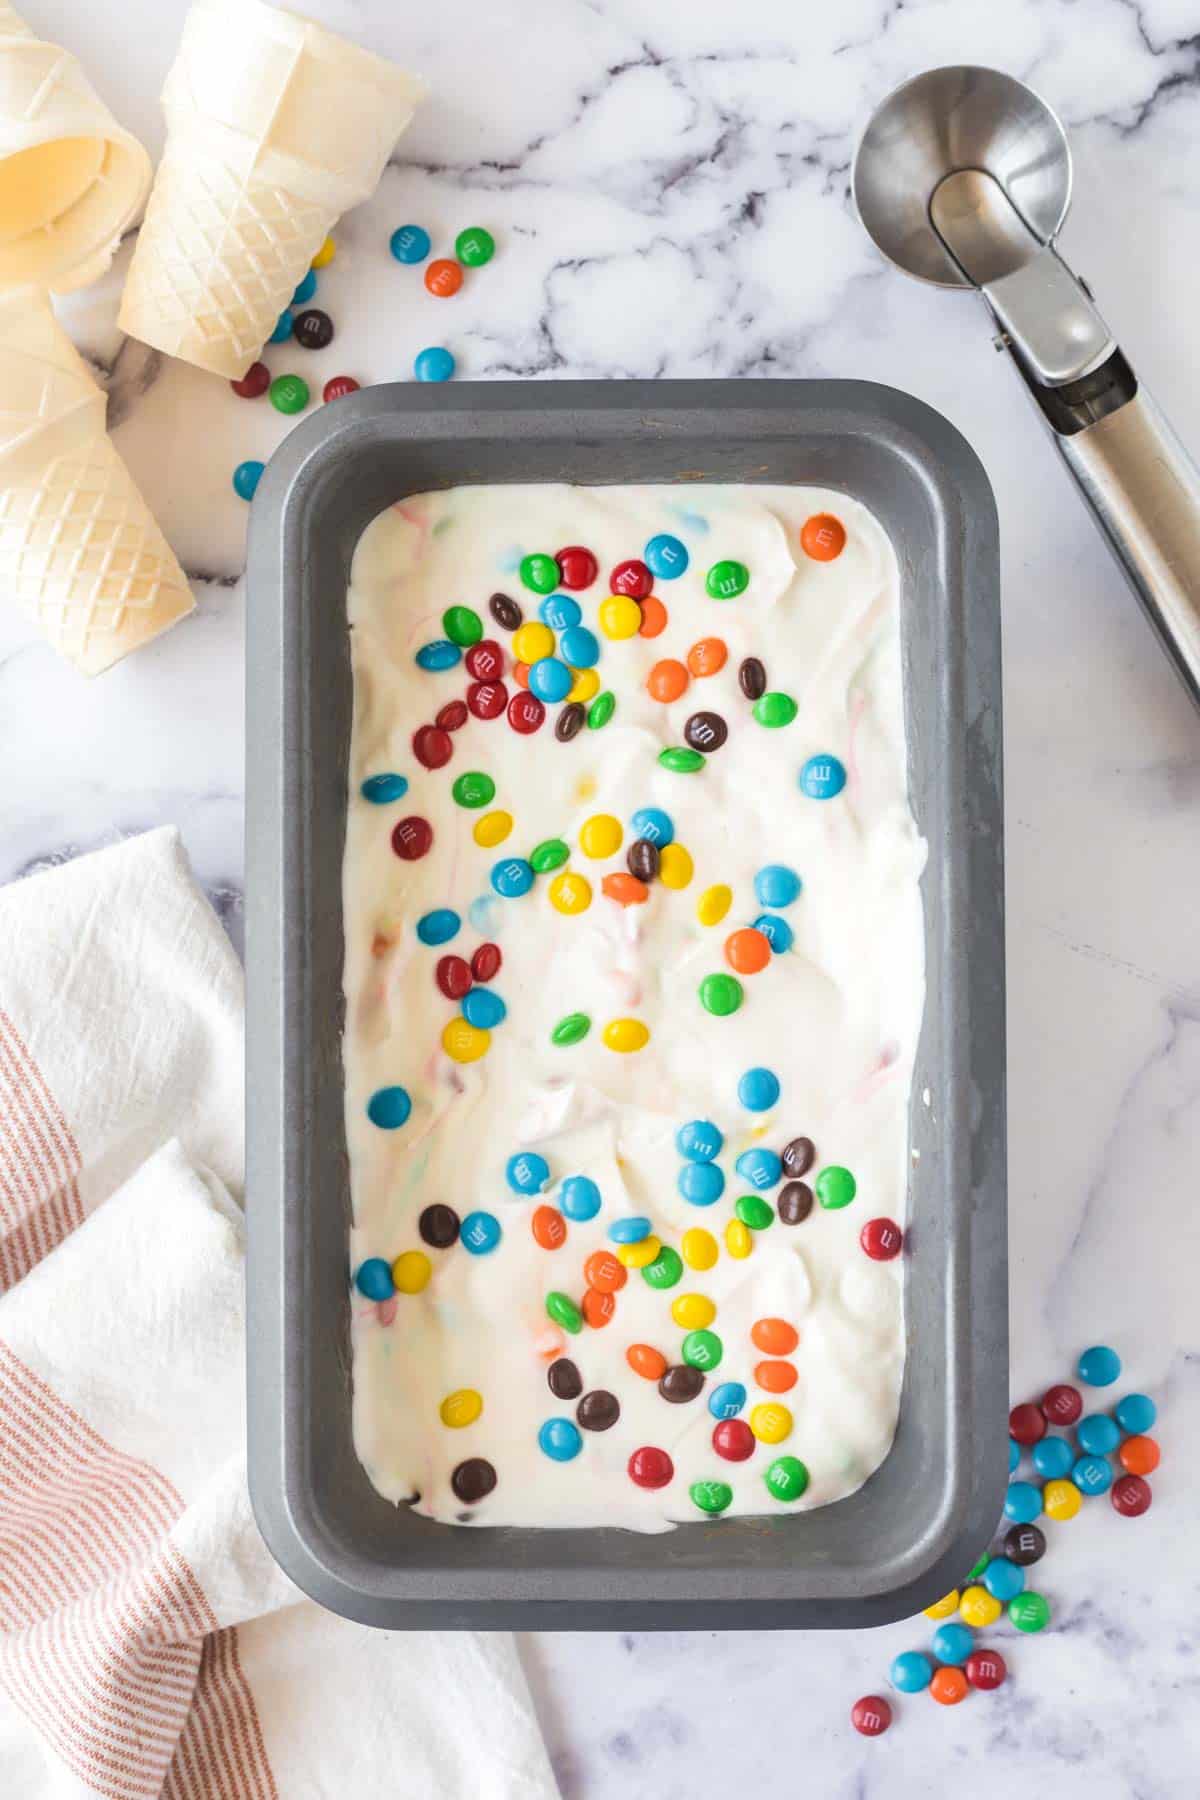
- Sugar Cones, Waffle Cones or Bowls: Serve your M&M ice cream in crispy waffle cones or bowls for a classic combination or a sugar cone for a nostalgic touch. The combination of the creamy ice cream and the crispy cone adds a wonderful textural contrast.
- Chocolate Sauce or Hot Fudge Sauce: Drizzle some warm chocolate sauce or hot fudge over the ice cream for an extra decadent and indulgent treat. The rich chocolate flavor pairs beautifully with the M&M’s and adds a luscious element to each bite.
- Whipped Cream: Top your M&M ice cream with a dollop of fluffy homemade whipped cream (or store-bought). It adds a light and airy component that complements the creamy ice cream and adds a touch of elegance.
Remember, these suggestions are just a starting point, and you can get creative with your own combinations, toppings, and favorite mix-ins. While this ice cream is delicious on its own, these mix-in ideas can enhance the flavors and textures of the M&M ice cream while adding a touch of extra indulgence.
Enjoy experimenting and finding your perfect accompaniment!
Other No-Churn Ice Cream Recipes
Hungry for more easy, home-cooked, delicious recipes?
Sign up for my free recipe club to get family-friendly recipes in your inbox each week! Find me sharing daily meal-time inspiration on Pinterest, Facebook, and Instagram.
No-Churn M&M Ice Cream Recipe
Click Stars To Rate
Ingredients
- 2 ¼ cups heavy whipping cream
- ½ cup powdered sugar
- 14 ounces sweetened condensed milk
- ¾ cup mini M&M's
Instructions
- Whisk the heavy cream and powdered sugar together in a large mixing bowl using an electric hand mixer or stand mixer with whisk attachment, to whip the cream into stiff peaks.
- Once the cream begins to reach stiff peaks, gently fold in the sweetened condensed milk until it is combined with the whipped cream.
- Gently fold in the M&M’s until they are evenly distributed throughout the ice cream base.Transfer the ice cream mixture into a 9×5 inch loaf pan and cover the pan with plastic
- Transfer the ice cream mixture into a 9×5 inch loaf pan and cover the pan with plastic wrap. Allow the ice cream to sit in the freezer for at least 6 hours.
- Scoop, serve, and enjoy!
Notes
- Chilled Equipment: Before you begin, make sure your mixing bowl, beaters, and spatula are chilled. Placing them in the freezer for a few minutes prior to use helps the cream whip up faster and achieve a better consistency.
- Cold Ingredients: Be sure that your heavy whipping cream is cold straight from the refrigerator. Cold ingredients whip better and help create a smoother texture in the ice cream.
- Gentle Folding Technique: When incorporating the sweetened condensed milk and M&M’s into the whipped cream, use a gentle folding motion. Folding ensures that you don’t deflate the whipped cream, keeping the airiness intact.
- 5-6 hours is the minimum amount of time you should let this ice cream set. When possible, I like to let this ice cream set overnight.
Want to Save this Recipe?
By submitting this form, you consent to receive emails from Soulfully Made.
This ice cream was the perfect summer time treat for my kids! It was so easy to make and I love that I didn’t need an ice cream maker to make it too!
Thank you, Anjali! I agree it the perfect summer time treat!
The combination of creamy homemade ice cream and colorful M&M candies creates a fun and delicious dessert!
Thank you, Sophie! I love this combo too!
Love this so much! Easy to make and perfect texture. The M&M’s were a huge hit with my kids too!
Thank you, Angela! My granddaughter is loving this one. I have to admit- I do too!
I need this ice cream so badly right now. It’s too hot, and this recipe is exactly what I need!
I hear you. It is so hot this summer. This is the perfect way to cool down!
What an easy ice cream recipe! I love that it is no-churn. As someone who enjoys M&Ms, this recipe is definitely a must-try.
Thank you, Elizabeth. I am so glad you enjoyed this one.