

This post may contain affiliate links. Please read our disclosure policy.
Apple butter has a reputation for being a whole day’s work, which is why most people never make it. This Instant Pot Apple Butter is the quick apple butter recipe that fixes it. Core the apples, slice them, and everything goes in the pot at once. Eight minutes under pressure, a few minutes with an immersion blender, and you have apple butter smooth enough to spread.
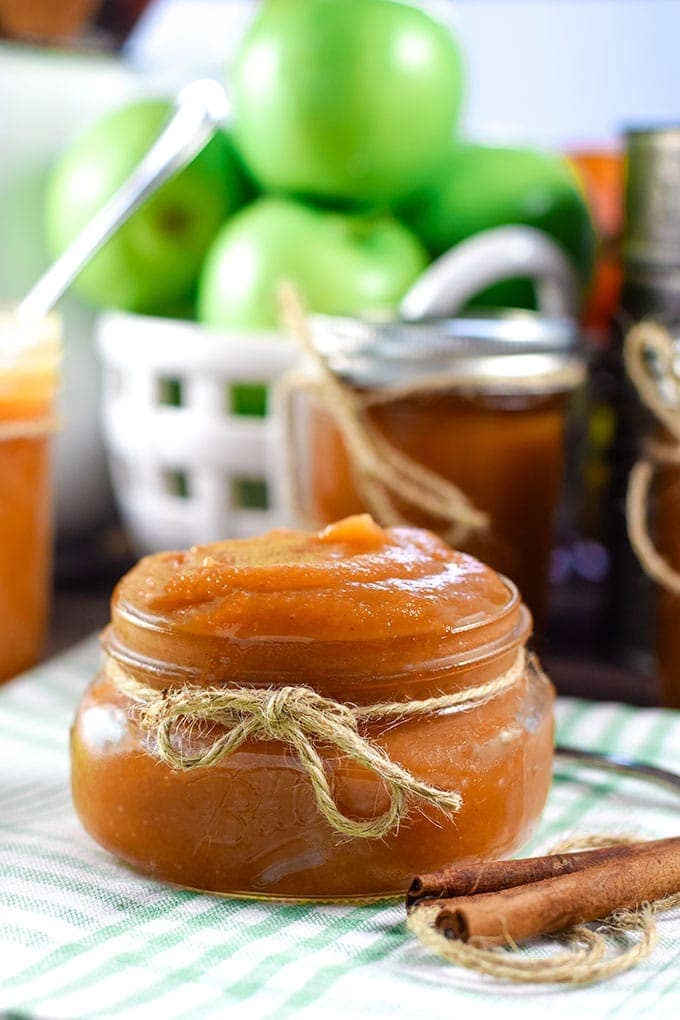
I’ve been making this apple butter every single fall since 2016. Ten years of the same recipe now, and my family starts asking about it before the weather even thinks about turning. Which in Florida means they’re asking in September and we’re still running the air conditioning full blast.
It goes on toast first thing in the morning, over vanilla ice cream after supper, and, their favorite way of all, blended into cream and whipped into a foam for coffee. That one started as an experiment and turned into the reason I make a double batch.
The rest gets jarred up and handed out all through the fall. One always goes to whoever is hosting Thanksgiving, because showing up with something you made yourself is a little different from showing up with something you bought.
And here’s the part that surprises people. I have never peeled an apple for this. Not one, not in ten years. The skins go right in the pot with everything else and blend in so smoothly you’d never know they were there.
Why You’ll Love This Recipe

Apple butter tastes like it took all day. This one doesn’t, and that’s the whole point.
- ❥ It’s smooth all the way through. The immersion blender takes it past applesauce and keeps going until it spreads like butter.
- ❥ No peeling. The skins go in with everything else and blend in smoothly. Nothing to strain, nothing to pick out, no flecks in the finished butter.
- ❥ It makes enough to share. Four pints from one pot, which is why most of mine ends up in jars going out the door.
- ❥ Make it once, eat it for weeks. Three weeks in the refrigerator, six months in the freezer, and it holds well enough that you can make it in September and still have jars to hand out at Thanksgiving.
Ingredients Needed for Pressure Cooker Apple Butter
- Apples: I use Honeycrisp and Granny Smith together, about three pounds of Honeycrisp to two of Granny Smith. The sweet ones carry it, and the tart ones keep it from going flat.
- Apple cider: Just enough liquid to bring the pot up to pressure. Cider, not cider vinegar.
- Brown sugar: The apples do most of the sweetening here. The sugar fills in around them.
- Allspice: Warm and a little peppery, and it carries further than cinnamon does. This is a lot of what makes apple butter taste different from applesauce.
- Salt: There to sharpen the spices, not to make it taste salty.
- Nutmeg: Rounds out the allspice and cinnamon. A half teaspoon across five pounds of apples is enough to notice without taking over.
- Cinnamon sticks: They steep the entire time under pressure, then come out before you blend. You get the cinnamon without any grit.
- Vanilla: Goes in at the start with everything else. Most apple butter recipes leave it out.
My Signature Fall Dinner Dishes!
FREE EMAIL BONUS: My greatest hits: bold, cozy, and brag-worthy.n
I hope you take time to slow down and take in all things this season brings. And I hope you also try making this Pressure Cooked Apple Butter! It’s so easy I don’t think I will be buying many jars of it anymore! Homemade in this case really is better!
How To Make Apple Butter in Instant Pot
✱ Below shows step-by-step photos and instructions. For the complete recipe, along with ingredient amounts, scroll down to the recipe card.
Step 1 | Core and Slice the Apples
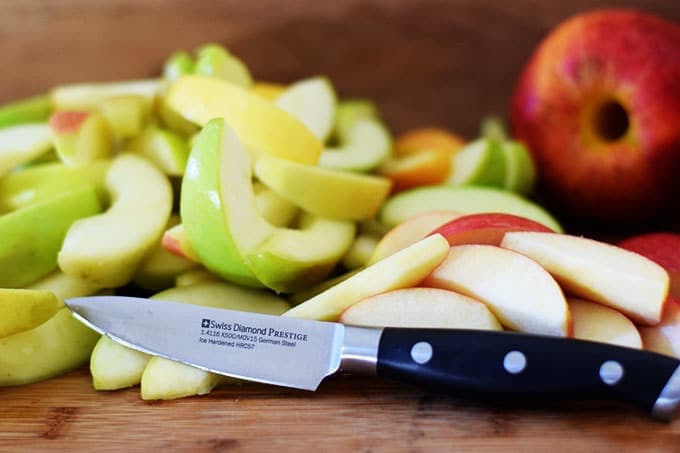
Core each apple and cut it into about 8 slices. Leave the skins on. They blend in completely later, so peeling five pounds of apples is work you don’t have to do.
Step 2 | Add Everything to the Pot
Put all the ingredients in the Instant Pot and stir to coat the apples.
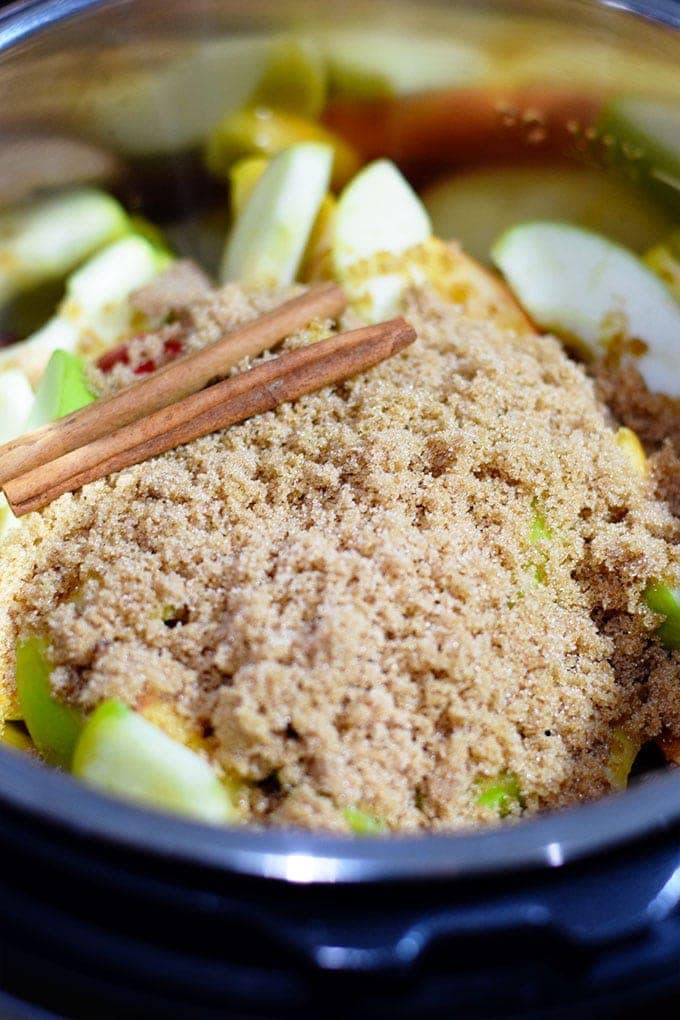
I love adding vanilla to my apple butter. Not everyone does, but I think it gives it a smooth flavor.
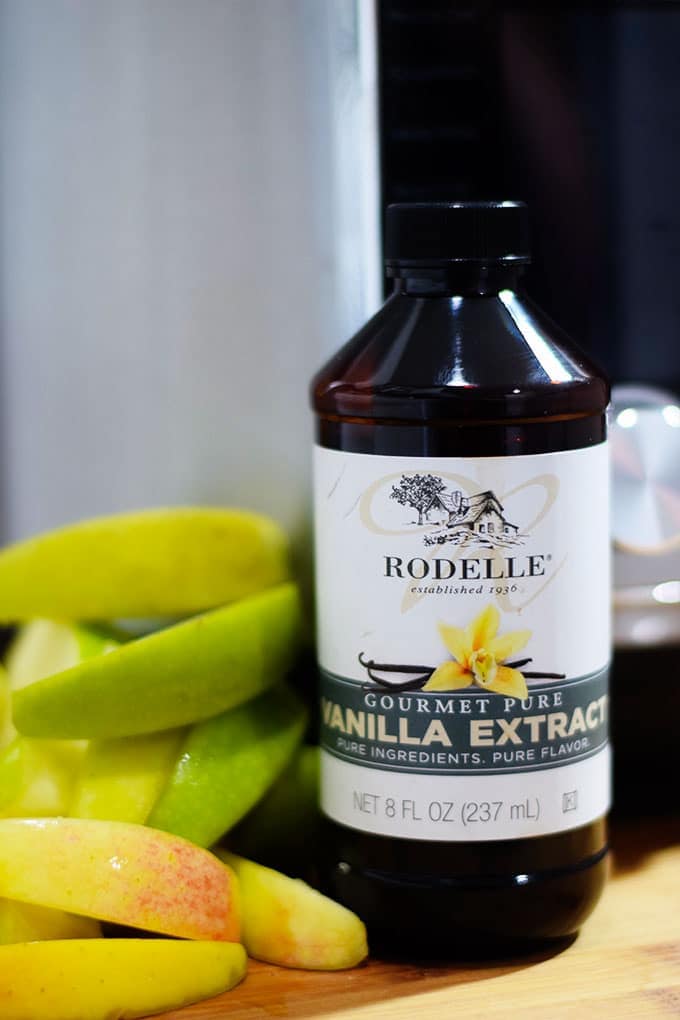
Step 3 | Pressure Cook
Using the manual setting, set to high pressure for 8 minutes with the valve sealed. When the cooking time is complete, turn off the pot and allow for natural pressure release. That takes about 10 minutes.
Step 4 | Remove the Cinnamon Sticks
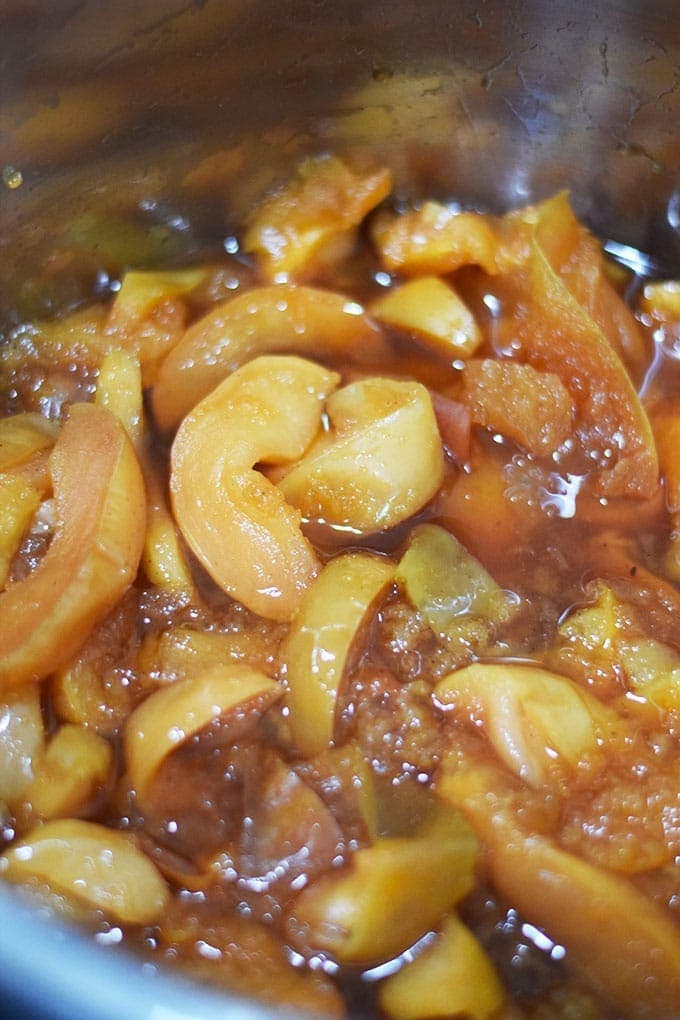
Take off the lid and pull out the cinnamon sticks.
Step 5 | Blend Until Smooth
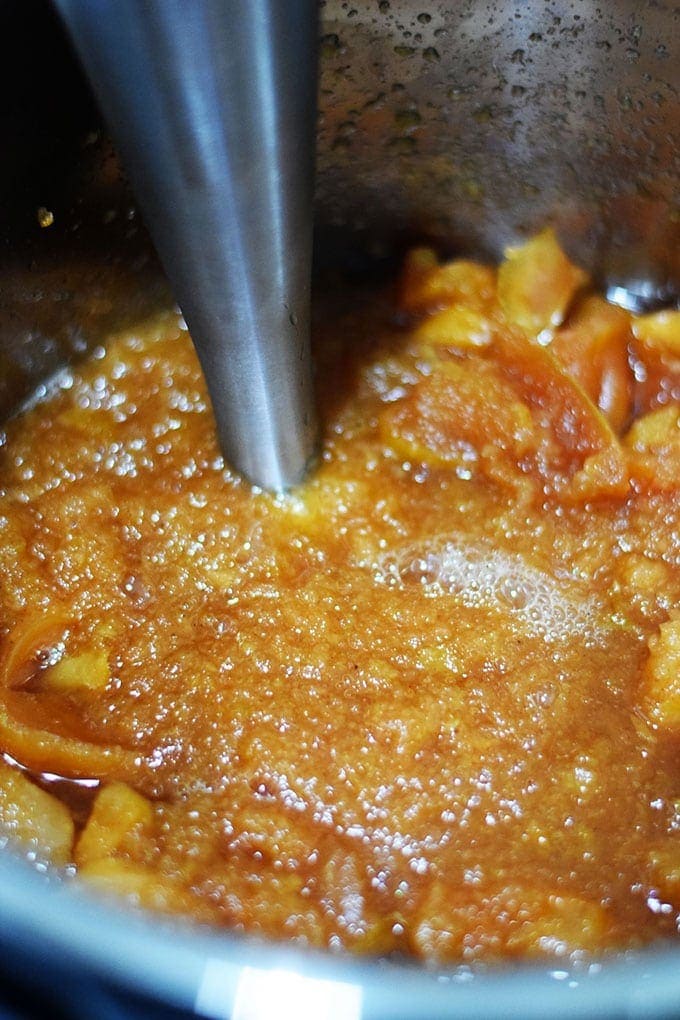
Use an immersion blender until the mixture becomes smooth. You can also use a food processor or a blender. Be sure not to fill the blender more than half full.
The picture below is more of an applesauce consistency. Keep going, unless you want applesauce. The one after it is where you want to be.
Here is what it looks like when it gets nice and smooth! That buttery consistency.
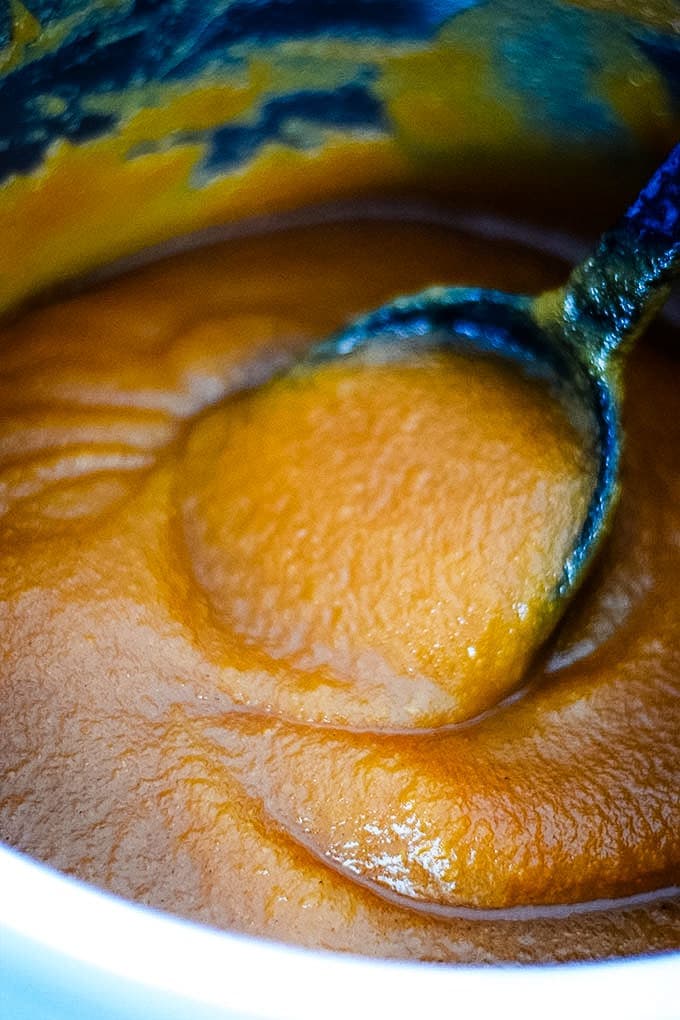
Step 6 | Thicken It If You Want To
If you want it a little thicker, the quickest way is to switch the Instant Pot to Sauté and press the Adjust button to LESS. Simmer until it thickens to the consistency you want, up to about 15 minutes. Make sure to keep stirring so it doesn’t stick to the bottom and burn.
You can also set it to slow cook, cover it, and let it go for an hour, or until it reaches your favorite thickness.
I sauté mine for about 3 minutes, stirring the whole time, and it is perfect. Whether it needs more depends on your apples’ water content and what you like. You may skip this step altogether.
Keep in mind it will thicken a bit more in the refrigerator.
Step 7 | Cool Completely
Turn off the pot and let the apple butter cool completely.
Step 8 | Store It
Store in an airtight container and refrigerate for up to 3 weeks, or freeze for up to 6 months.
Also, keep in mind that it will thicken a bit in the refrigerator.
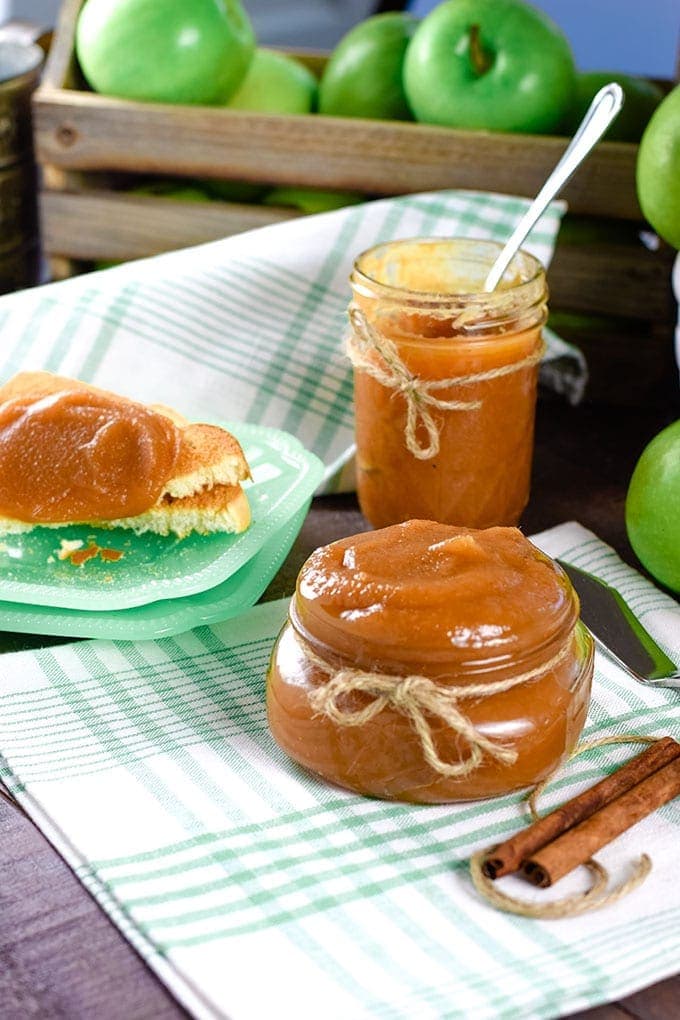
Apple Butter Instant Pot Variations
- Different apples: A mix of sweet and tart works. But use your favorite!
- Granulated or dark brown sugar: Dark brown gives you more molasses flavor and a darker color.
- Ground cinnamon: If you don’t have sticks, ground works. Ground cinnamon comes through stronger than sticks do.
- Extra spice: A pinch of cloves or ginger fits right in with what’s already there. Want a touch of heat? Try a pinch of cayenne pepper!
Tips for Apple Butter in Instant Pot
- Any pressure cooker works, not just an Instant Pot. The 8 minutes and natural release are the same on any electric pressure cooker. Check your manual for the minimum liquid, since some brands want more than a quarter cup.
- Give the pot time to come to pressure. Eight minutes is the cook time, not the total. A full pot of cold apples takes ten to fifteen minutes to come to pressure before the timer even starts.
- If it looks like applesauce, you’re not done yet. Keep going. Apple butter is thicker and darker than where you’ll be at that point.
- Thicken it on sauté, not by guessing. If it’s still loose, set the pot to sauté on LESS and stir. Mine usually takes about three minutes.
- It firms when cold. Don’t chase a thicker texture in the pot than you actually want. What looks slightly loose when warm will be right out of the refrigerator.
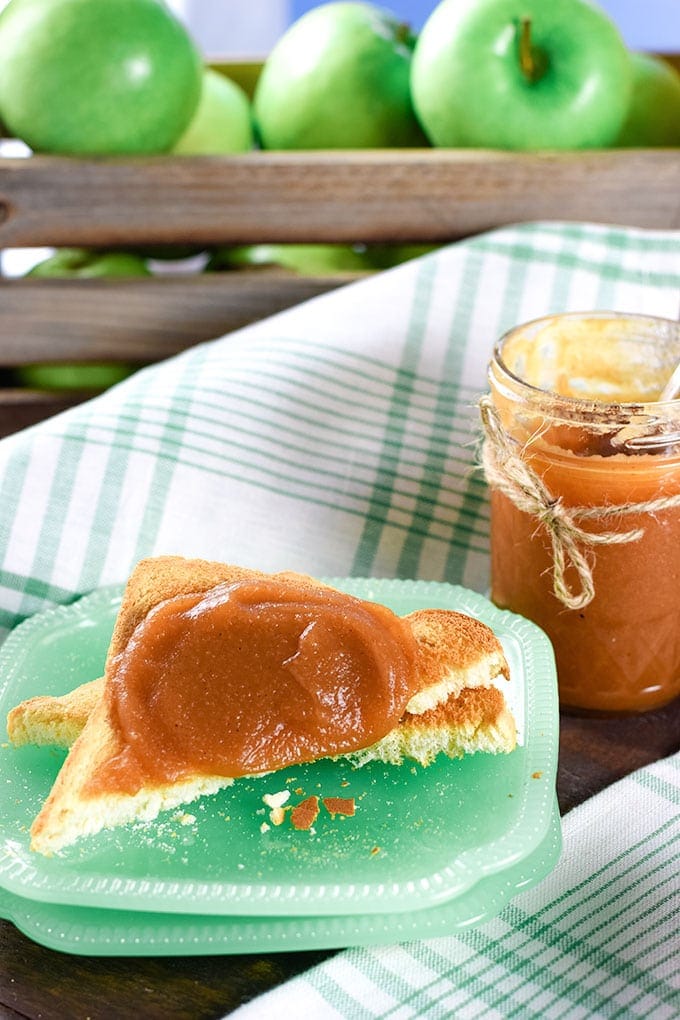
How to Serve Instant Pot Apple Butter
Warm biscuits are where this really belongs. Split a Southern Buttermilk Biscuit while it’s still hot and let the apple butter melt into it. Butter Swim Biscuits work just as well, and so does a stack of pancakes or a bowl of oatmeal on a slow morning.
It does more than breakfast, though. Apple butter goes savory better than people expect, which is how it ended up in my Apple Butter Dijon Roasted Brussels Sprouts and my Apple Vinaigrette Dressing. It bakes well too, in Apple Butter Cheesecake Tart or spooned over Bourbon Apple Pecan Bread Pudding. Put a bowl out next to a pork roast and it does the same job applesauce would, only better.
How to Store Apple Butter in Instant Pot Recipe
Storage: Store in an airtight container in the refrigerator for up to 3 weeks.
Freezing: Freeze in an airtight container for up to 6 months. Leave headspace if you’re using jars. Thaw in the refrigerator overnight.
Instant Pot Apple Butter FAQs
Any electric pressure cooker works the same way. High pressure for 8 minutes, then let it release naturally.
Apple butter is applesauce that kept going. Cooking it down further makes it thicker, darker, and sweet enough to spread.
No. The name comes from the texture, not the ingredients. There’s no butter or dairy in it at all.
You can. Leave the sticks out and lean on the allspice and nutmeg instead.
Yes, and it’s faster since the apples are already broken down. Simmer it on sauté until it darkens and thickens; no pressure cooking needed.
More Delicious Fall Recipes to Try
- Mini Caramel Apple Cheesecakes
- Easy Pumpkin Pie Recipe
- The Best Pumpkin Bread
- Pumpkin Dump Cake
- Instant Pot Pumpkin Applesauce – by An Affair from the Heart
Hungry for more easy, home-cooked, delicious recipes?
Sign up for my free recipe club to get family-friendly recipes in your inbox each week! Find me sharing daily meal-time inspiration on Pinterest, Facebook, and Instagram.
Apple Butter Instant Pot Recipe

Click Stars To Rate
Ingredients
- 5 pounds apples
- ¼ cup apple cider
- ½ cup brown sugar
- ½ tsp all spice
- ½ tsp salt
- ½ tsp nutmeg
- 2 sticks cinnamon
- 1 tsp vanilla
Instructions
- Core and slice each apple into about 8 slices.
- Place all the ingredients into the Instant Pot and stir to coat apples.
- Using the manual setting set at high pressure for 8 minutes with the valve sealed. When cooking time is complete, turn off and allow for natural pressure release. This will take about 10 to 15 minutes.
- Take off the lid and remove cinnamon sticks.
- Use an immersion blender until mixture becomes smooth. You can also use a food processor or a blender. Be sure not to fill the blender more than half full.
- Turn Instant Pot to sauté and push the adjust button to LESS. While Stirring simmer until thickened to desired consistency – up to 15 minutes.
- Turn off and let apple butter cool completely.
- Store in an airtight container and refrigerate for up to 3 weeks or freeze up to 6 months.
Want to Save this Recipe?
By submitting this form, you consent to receive emails from Soulfully Made.
Nutrition
Soulfully Made is not a dietician or nutritionist, and any nutritional information shared is an estimate. If calorie count and other nutritional values are important to you, we recommend running the ingredients through whichever online nutritional calculator you prefer. Calories and other nutritional values can vary quite a bit depending on which brands were used.
Tried this recipe?
Let us know how it was!**** Please PIN – Instant Pot Apple Butter – to Share and Save for Later ****

Just made this as written only added a little more sugar as my apples from the orchard were a bit tart. It was delicious!
I am so glad you made it! There’s nothing like fresh apples from the orchard. Thank you so much!
Does it have to be refrigerated?
Yes, it needs to be kept in the refrigerator. Once the recipe cools completely, store it in an airtight container in the fridge for two to three weeks.