

This post may contain affiliate links. Please read our disclosure policy.
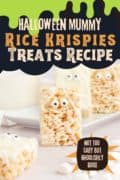
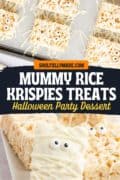
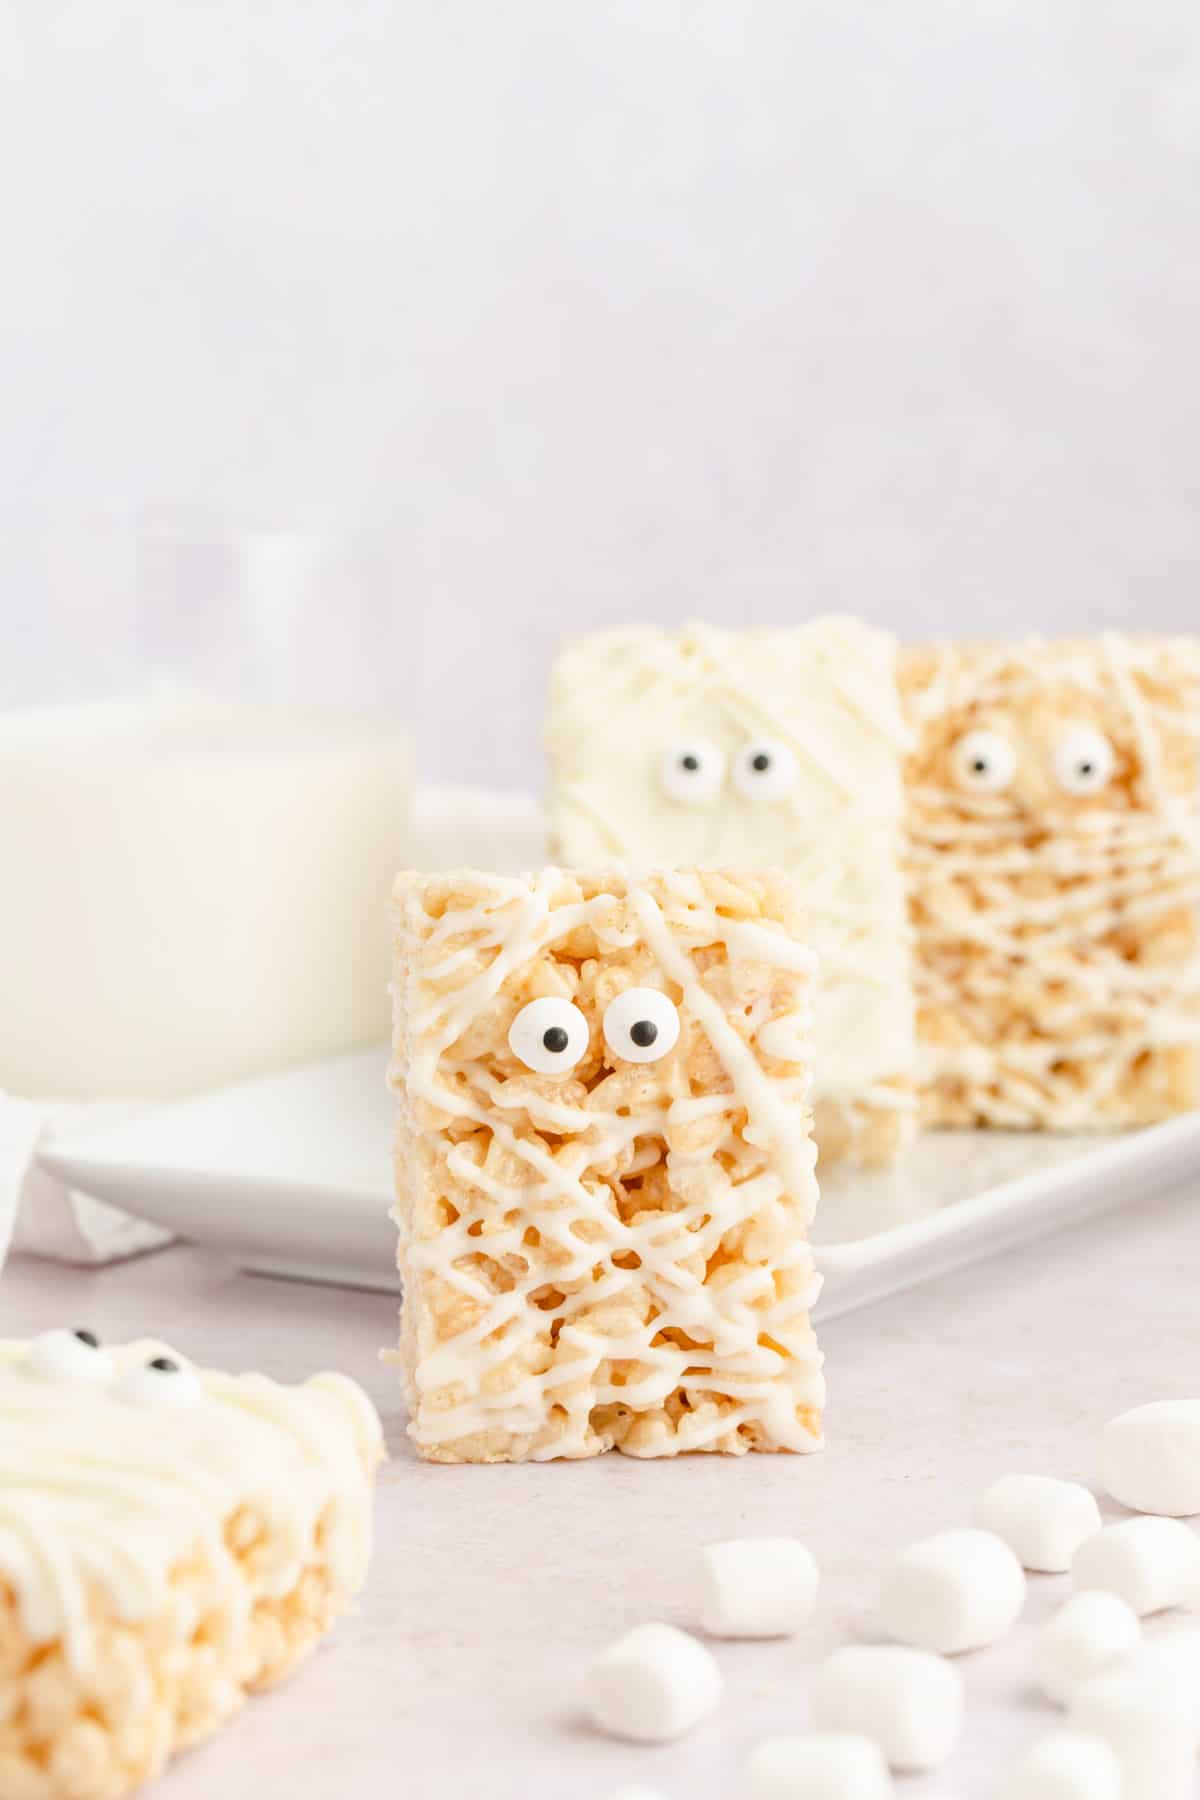
Get all wrapped up in these Mummy Rice Krispie Treats this Halloween! They are the classic marshmallow Rice Krispie treats you love, covered in a layer of creamy white chocolate, adorned with candy googly eyes, and all bandaged up like a mummy!
Homemade Rice Krispies Treats are a favorite in my home and most I know. So, they are a winner at every family gathering or class party and they will be for your next Halloween party too!
These cute Mummy Rice Krispie treats are such an easy Halloween dessert to serve alongside Gummy Worm Dirt Cupcakes and Monster Munch.
Then if you need to serve a little savory food with your sweet treats, try my Mummy Meatball Crescent Bites. They are frightfully good!
Why We Love These Mummy Rice Krispies Treats Recipe!
I suppose the real question is why wouldn’t you love this adorable confection?
- Halloween Fun- It is that time of year for all sorts of fun treats that are not-so-spooky and delicious too!
- Easy Ingredients- Crispy cereal treats use ingredients that are easy to find on the baking aisle of your grocery store and they are really simple to make too!
- Family Activity- I think it is so much fun to make these treats with the little ones. Just don’t get too caught up in perfection! haha
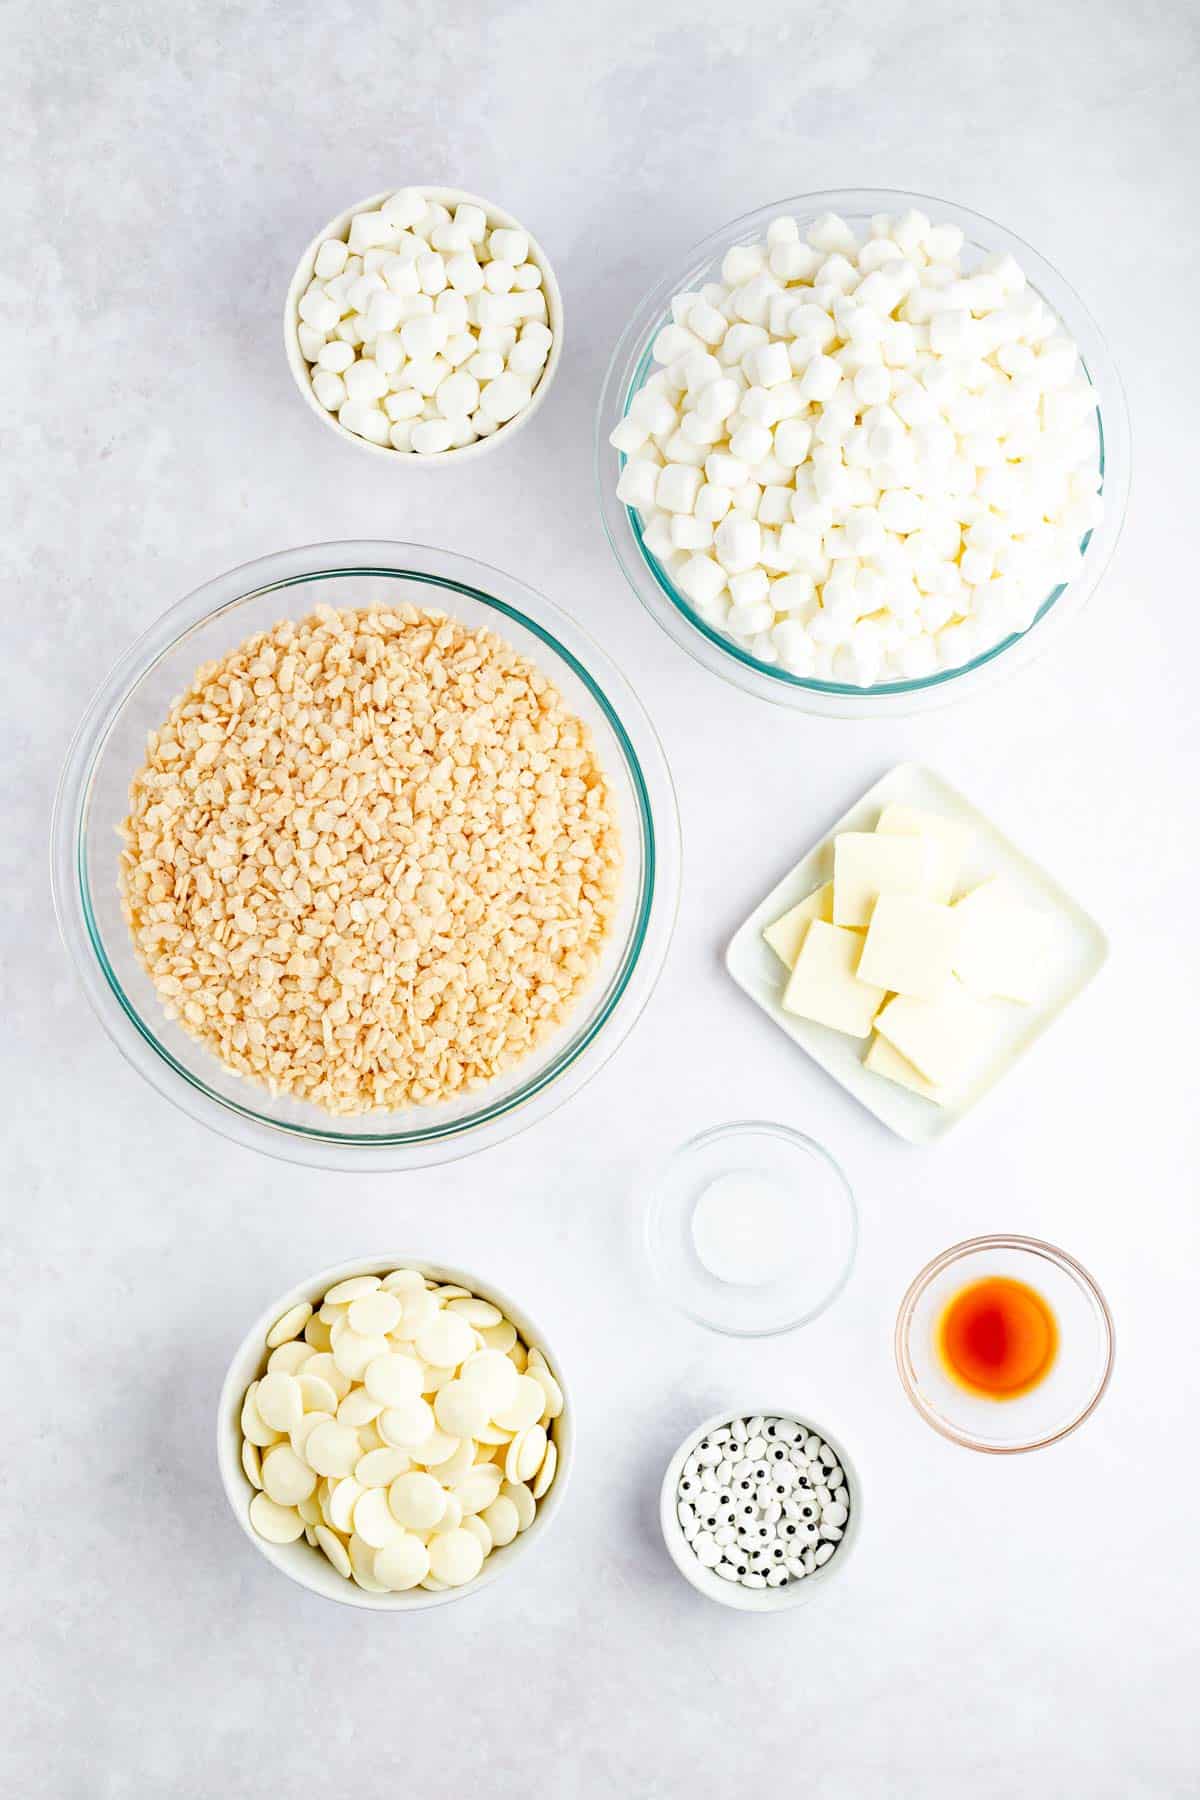
Here is all you need to get started making your Halloween Fun Mummies!
Ingredients
How to make Mummy Rice Krispies Treats Recipe
✱ Below shows step-by-step photos and instructions. For the complete recipe, along with ingredient amounts, scroll down to the recipe card.
Step 1 | Set Up
Gather your ingredients first, since wrapping mummies is a historically sticky situation. Then line a baking pan with parchment paper.
*Tip: Get out a stick of butter and allow it to soften on the counter. You’ll use the soft butter to coat your hands, so they do not stick to the ooey-gooey Halloween mummy treats. You could also spray your hands with cooking spray.
Step 2 | Melting the Marshmallows
In a large pot, preferably a non-stick saucepan, melt the butter indicated in the recipe card over medium heat or low heat if you have the time. However, butter burns quickly- so be sure to keep watch.
Once the butter is all melted, add in the salt and give it a good stir.
Meanwhile, use a small bowl to divide the marshmallows and place one cup of the pillowy good minis aside for later in the recipe.
Pour the remainder of the marshmallows into the medium pot full of butter and stir until they are melted.
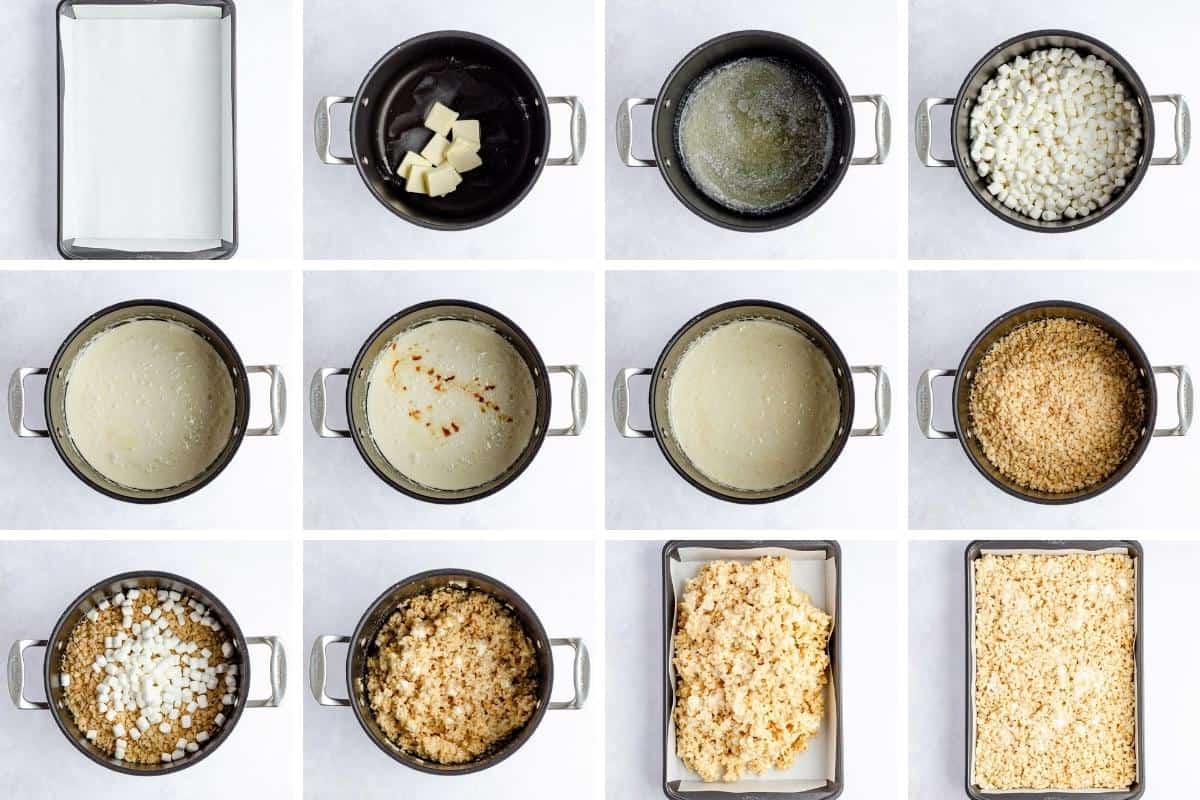
Step 3 | Pour in the Marshmallows
Now that the mallow goodness is ready, remove the pan from the heat- you don’t want to burn your mummies. Add in the vanilla extract flavoring and stir in right away.
Now you can go ahead and add in the Rice Krispy cereal and the cup of marshmallows you set aside earlier.
Fold in all the crispy cereal gently taking care to ensure all the cereal is covered in the sticky mixture. In this step, we fold so that the cereal does not break up and turn into mush! After all, mummies are not mushy, y’all!
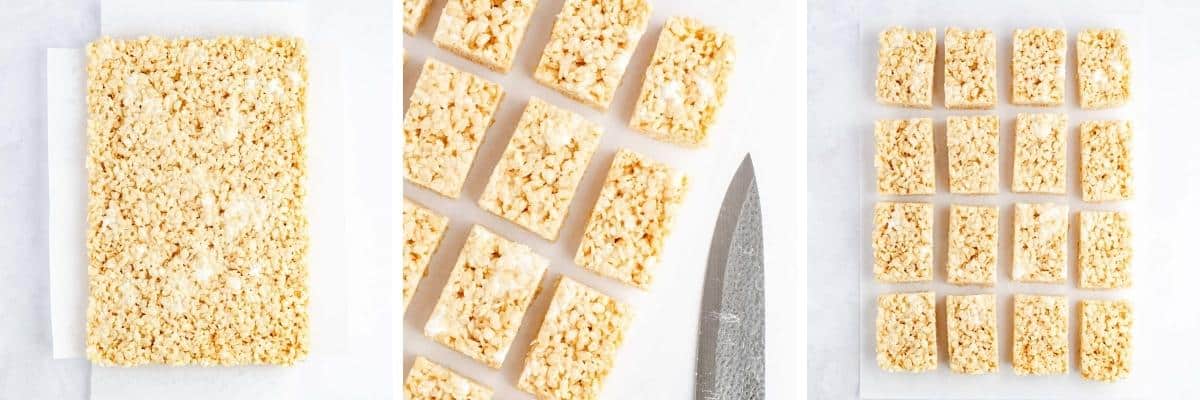
Step 5 | Cool & Cut
Alrighty, now you get a break. Allow the Rice Krispy Treats to sit at room temperature for an hour to set.
** Don’t rush and put them in the fridge or they will inevitably become bricks!
Once the cereal bars are set, slice to desired slices and place on a parchment paper-lined baking tray. Keep a 2-inch gap between each so you are able to bandage these mummies.
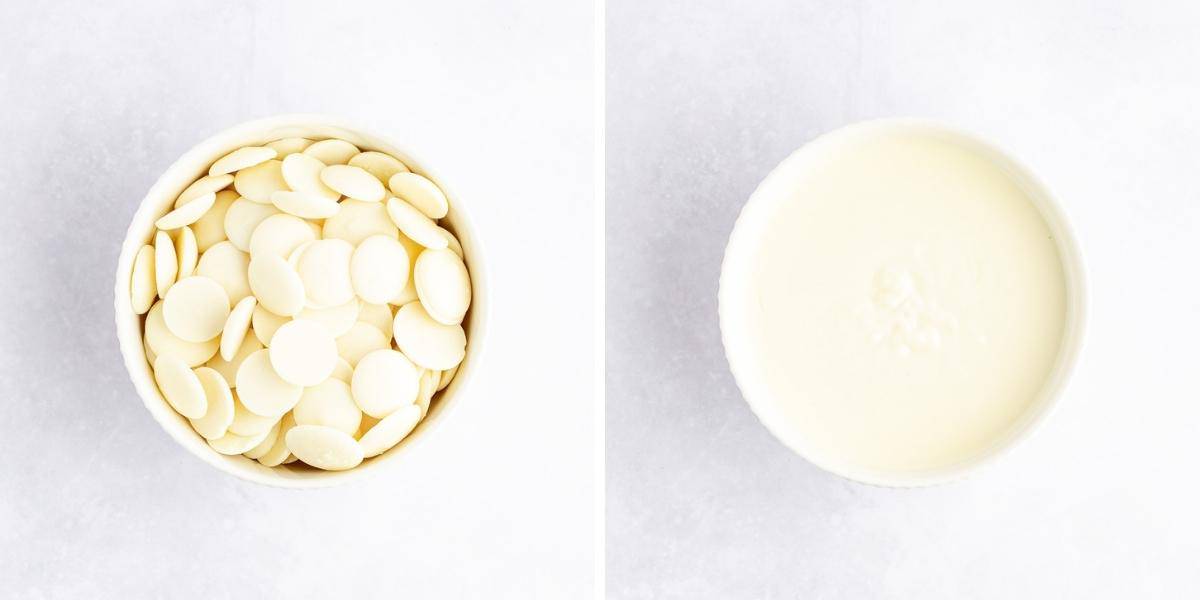
Step 6 | For the Mummy Wrap
Take out a microwave-safe bowl and melt the white chocolate candy melts 30 seconds at a time, stirring well between. When they are melted and silky smooth, they are ready for the mummy treats.
It is your choice how much or how little chocolate you want on your mummy treats recipe. You may even want to do a combination. Just have fun with them!
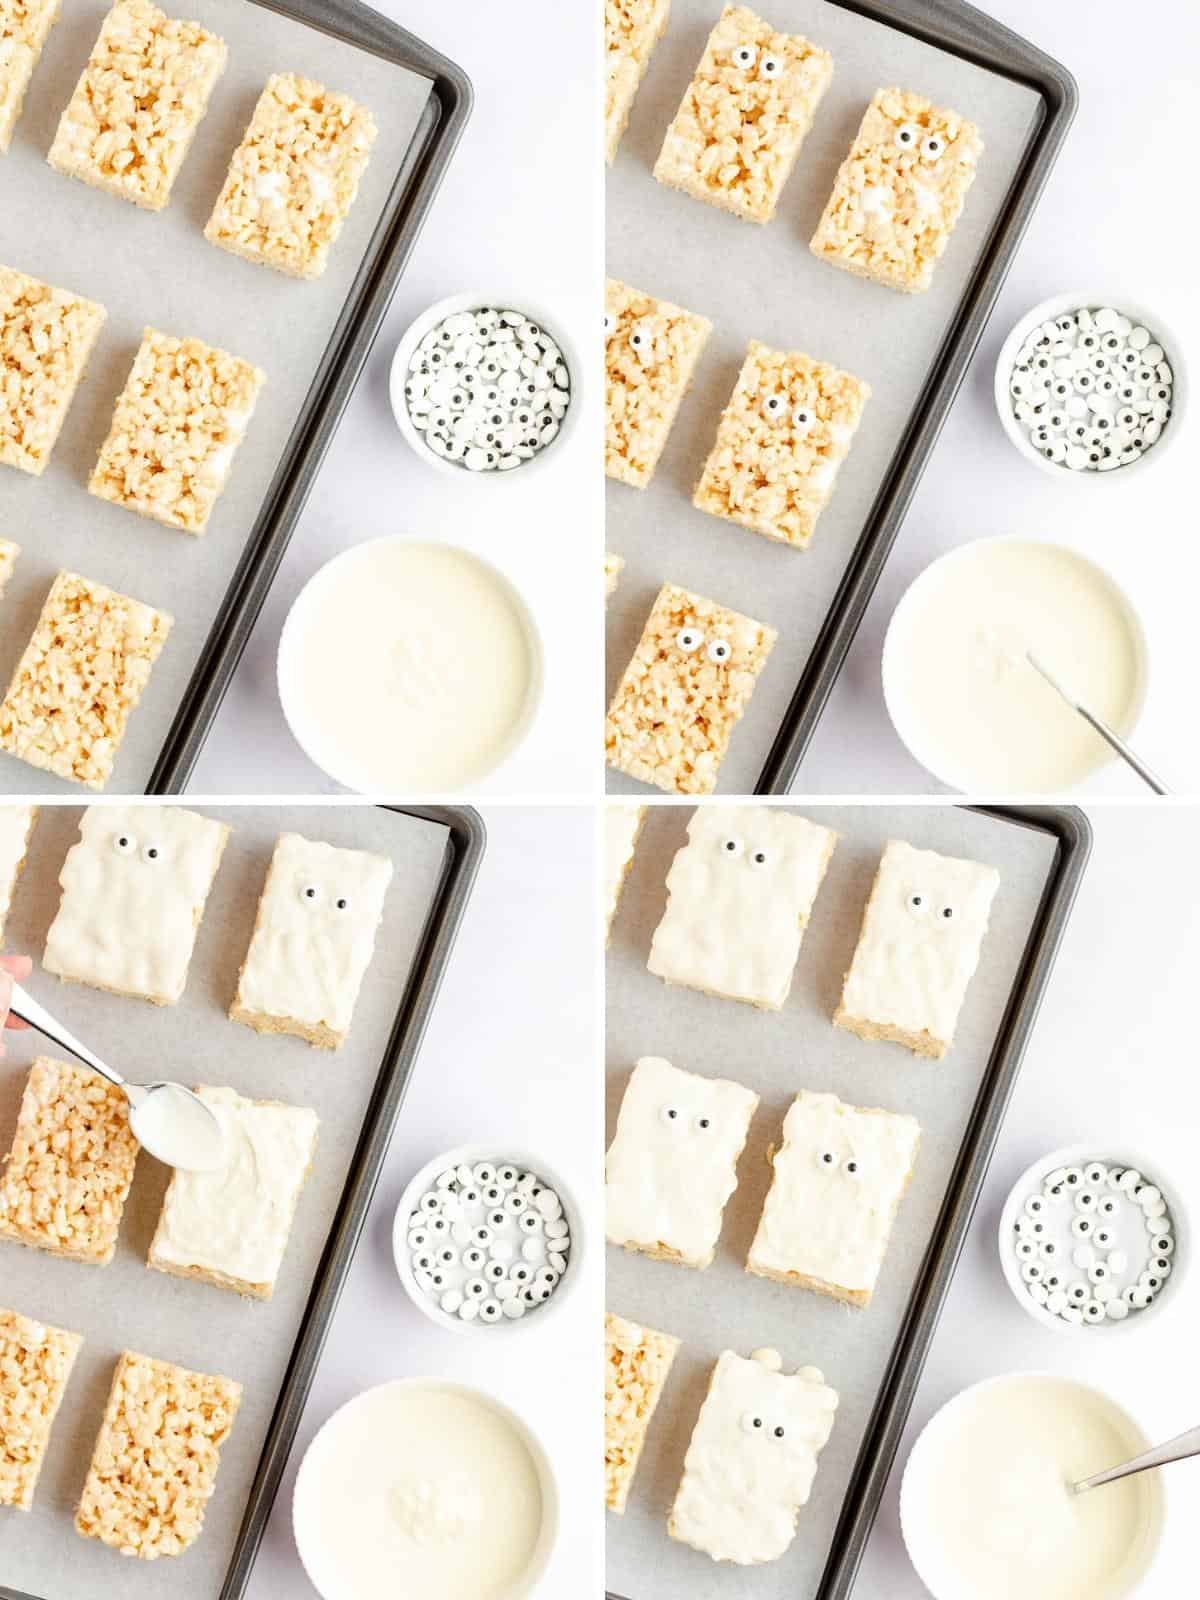
For the mummies with only drizzled bandages (Only 1 bag of white chocolate melts needed): Dab the melted chocolate from the bowl onto the backs of the eyes. Then place each eyeball candy on the Rice Krispie treats. Then you are ready to drizzle on the bandages.
*Skip to the bandage instructions.
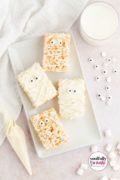
For the mummies covered in white candy melts and drizzled bandages (Two bags of white chocolate needed): Take a tablespoonful of melted chocolate and spread it on top of the Rice Krispie treat. Place the mummy on parchment paper to dry.
You can also dip the Rice Krispie Treat into the white chocolate and cover the top of the entire treat if desired. Shake off any excess and place the uncovered side down onto wax paper or parchment paper.
Then place two eyes on each treat, while the chocolate is still wet. Repeat until all the treats are covered in chocolate and candy eyes.
Allow them to dry completely and then you can add the bandages.
Step 7 | Drizzle the Mummy Bandages
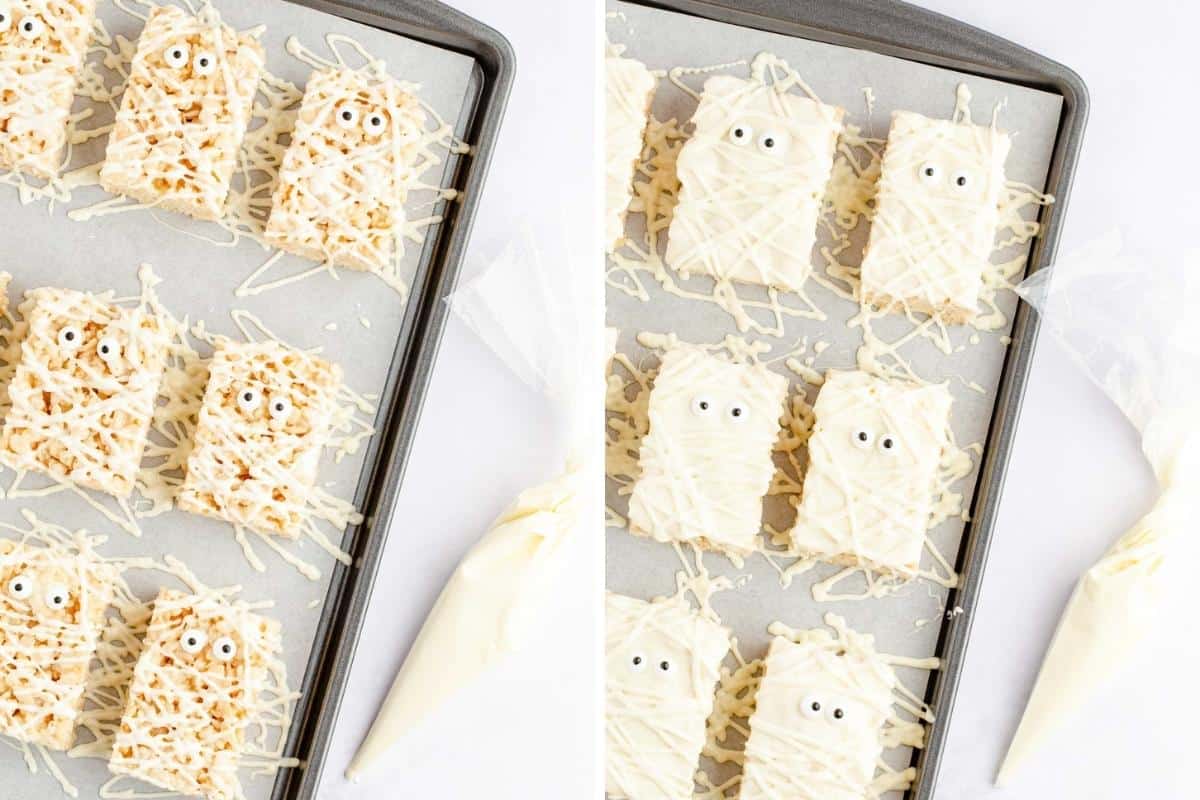
Re-melt the remaining white chocolate melts the same way as before. Then pour it into your piping or zip and snip off a tiny corner of the bag Alternatively, you could use a piping tip.
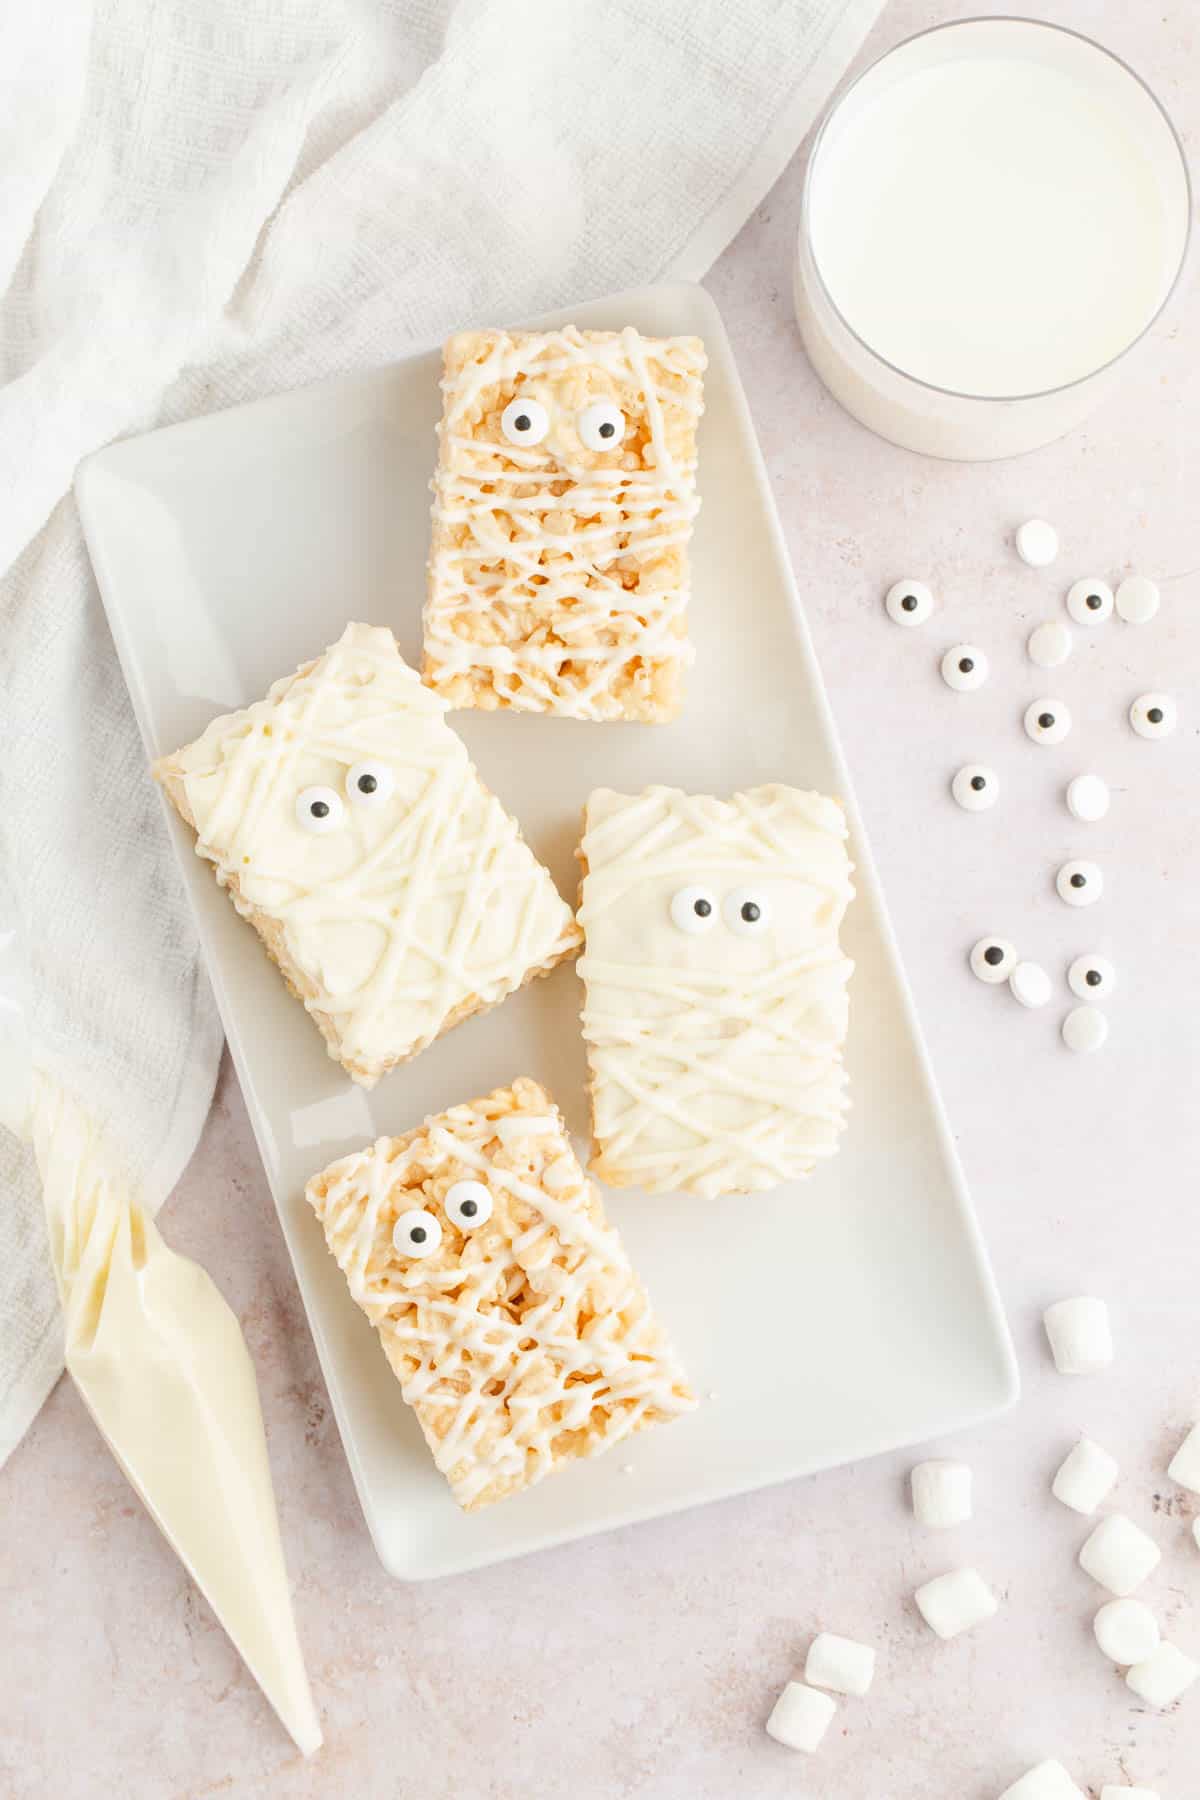
Hold the piping bag firmly and squeeze to drizzle the white chocolate over the treats to create the mummy look, trying to avoid covering the candy eyes. Drizzle the bandages from side to side in a random pattern.
Then set aside to set the chocolate completely.
Now it is the ghostly hour to display your cute little mummies and enjoy. They are going to love these little guys!
Serving Suggestions
If you are looking for the best way to display these easy Halloween treats, I suggest taking them to the next Halloween parties in an airtight container and then displaying them on a platter when you get there. Indeed there are other ways to serve them and show off your Mummified Halloween Rice Krispies. Here are a few suggestions I found.
- Put each mummy on a lollipop stick and cover them individually. Tie the covering off with a cute ribbon and you have an easily sharable treat.
- Another fun way is to take these beauties to class parties by wrapping each one individually.
- Try making them into Frankenstein Rice Krispie treats by adding some green and black white chocolate wafers.
Tips
- Keep Cool- These mummies will melt in the direct sun. Be sure to keep them in a cooler if you are serving at an outdoor event- especially in Florida!
- Watch It- Marshmallows and butter burn easily. Keep an eye on the melting process.
- Sticky Situation- Yes, they are sticky when you are pressing these treats into the pan. Grease or wet your hands!
Frequently Asked Questions
Good question. If you are on the last days of the treats and they seem a bit dry or hard, you can try heating your treat in the microwave for 5 seconds to soften it up a bit.
That is easy. If your chocolate is a bit too thick to dip, just add a splash of oil, shortening, or butter to the chocolate and stir—adding a splash more until it is a perfect consistency.
This is a sad answer, folks. They are not since they contain malt. Bummer—but there are off brands of crispy treats cereal that are.
Variations and Substitutions:
Storage
Storage: Store in an airtight container for up to 1 week.

More Halloween Goodies
Hungry for more easy, home-cooked, delicious recipes?
Sign up for my free recipe club to get family-friendly recipes in your inbox each week! Find me sharing daily meal-time inspiration on Pinterest, Facebook, and Instagram.

Mummy Rice Krispie Treats
Click Stars To Rate
Ingredients
- 9 tablespoons butter
- ⅛ teaspoon kosher salt
- 1 teaspoon vanilla extract
- 20 ounces mini marshmallows - , divided (reserve 1 cup)
- 9 cups Rice Krispies cereal
- 2 bags white chocolate melts
- 1 package candy eyes
Instructions
- Line a 9×13 baking pan with parchment paper and set aside.
- In a non-stick saucepan or pot, melt the butter over medium heat. Once melted, add in the salt and stir. Then divide the marshmallows by separating 1 cup and setting it aside for later. Pour the rest of the marshmallows into the pot and continue to stir until melted.
- Once melted, remove the pan from the heat and then add the vanilla extract and stir in quickly. Then add in the Rice Krispies cereal and the 1 cup of reserved marshmallows. Fold gently until combined.
- Pour the mixture into the prepared baking pan and spread it out evenly, without pressing in too hard. Use the back of a wet fork or spoon (or the inside of the butter wrapper) to lightly press it down and into the corners of the pan. You can also use wet fingertips but I find using the butter wrapper easiest. Do not overpack it otherwise it will become too hard once set.
- Let set at room temperature on the counter to set for at least 1 hour. Do not refrigerate or it will harden and be difficult to eat.
- Once set, cut into desired slices and place on parchment paper-lined baking trays with a 2-inch gap between each slice.
- Add the white chocolate candy melts to a microwave safe bowl and heat according to package instructions, or in 30 second increments, stirring well between each, until melted and smooth.
- For the mummies with just drizzled bandages (Only 1 bag of white chocolate melts needed): Dab melted chocolate from the bowl onto the backs of the eyes and place them on the Rice Krispie treats.
- For the mummies covered in chocolate and drizzled bandages (Two bags of white chocolate needed): Take a tablespoonful of melted chocolate and spread it on top of the Rice Krispie treat. Place on parchment paper.*You can also dip the Rice Krispie Treat into the white chocolate and cover the top or the entire treat if desired. Shake off any excess and place the uncovered side down onto the parchment paper.Then place two eyes on each treat, while the chocolate is still wet. Repeat until all are covered in chocolate and candy eyes.Allow to dry completely.
- Re-melt the remaining white chocolate melts, then pour it into your piping or zip and snip off a tiny corner of it bag (alternatively, you could use a fitted with your piping tip).
- Hold the piping bag firmly and squeeze to drizzle the white chocolate over the treats to create the mummy look, trying to avoid covering the candy eyes. Then set aside to set completely (about 15 minutes).
- Serve and enjoy! Store in an airtight container for up to 1 week.
Want to Save this Recipe?
By submitting this form, you consent to receive emails from Soulfully Made.
These are super cute for Halloween!
These are so cute to make with my kid. She loves it
Perfect Halloween treat. My boys will love these. Thanks for sharing.
These are perfect for my Halloween party and they will be so much fun to make with the kids too.
Too cute! This is the perfect treat to let my 11-year old make because it’s just the right amount of decorating without being hard!
These turned out so cute! White chocolate goes so well with rice krispie treats.
SO CUTE!! I was trying to find some fun ideas for my treat platters for Halloween and these are perfect!
These are adorable and easy to make. Your little monsters will love them just as we did.
Adorable and delish! The kids loved them!
Thank you, Lynn! They are perfect for kids! So glad yours love them.