

This post may contain affiliate links. Please read our disclosure policy.
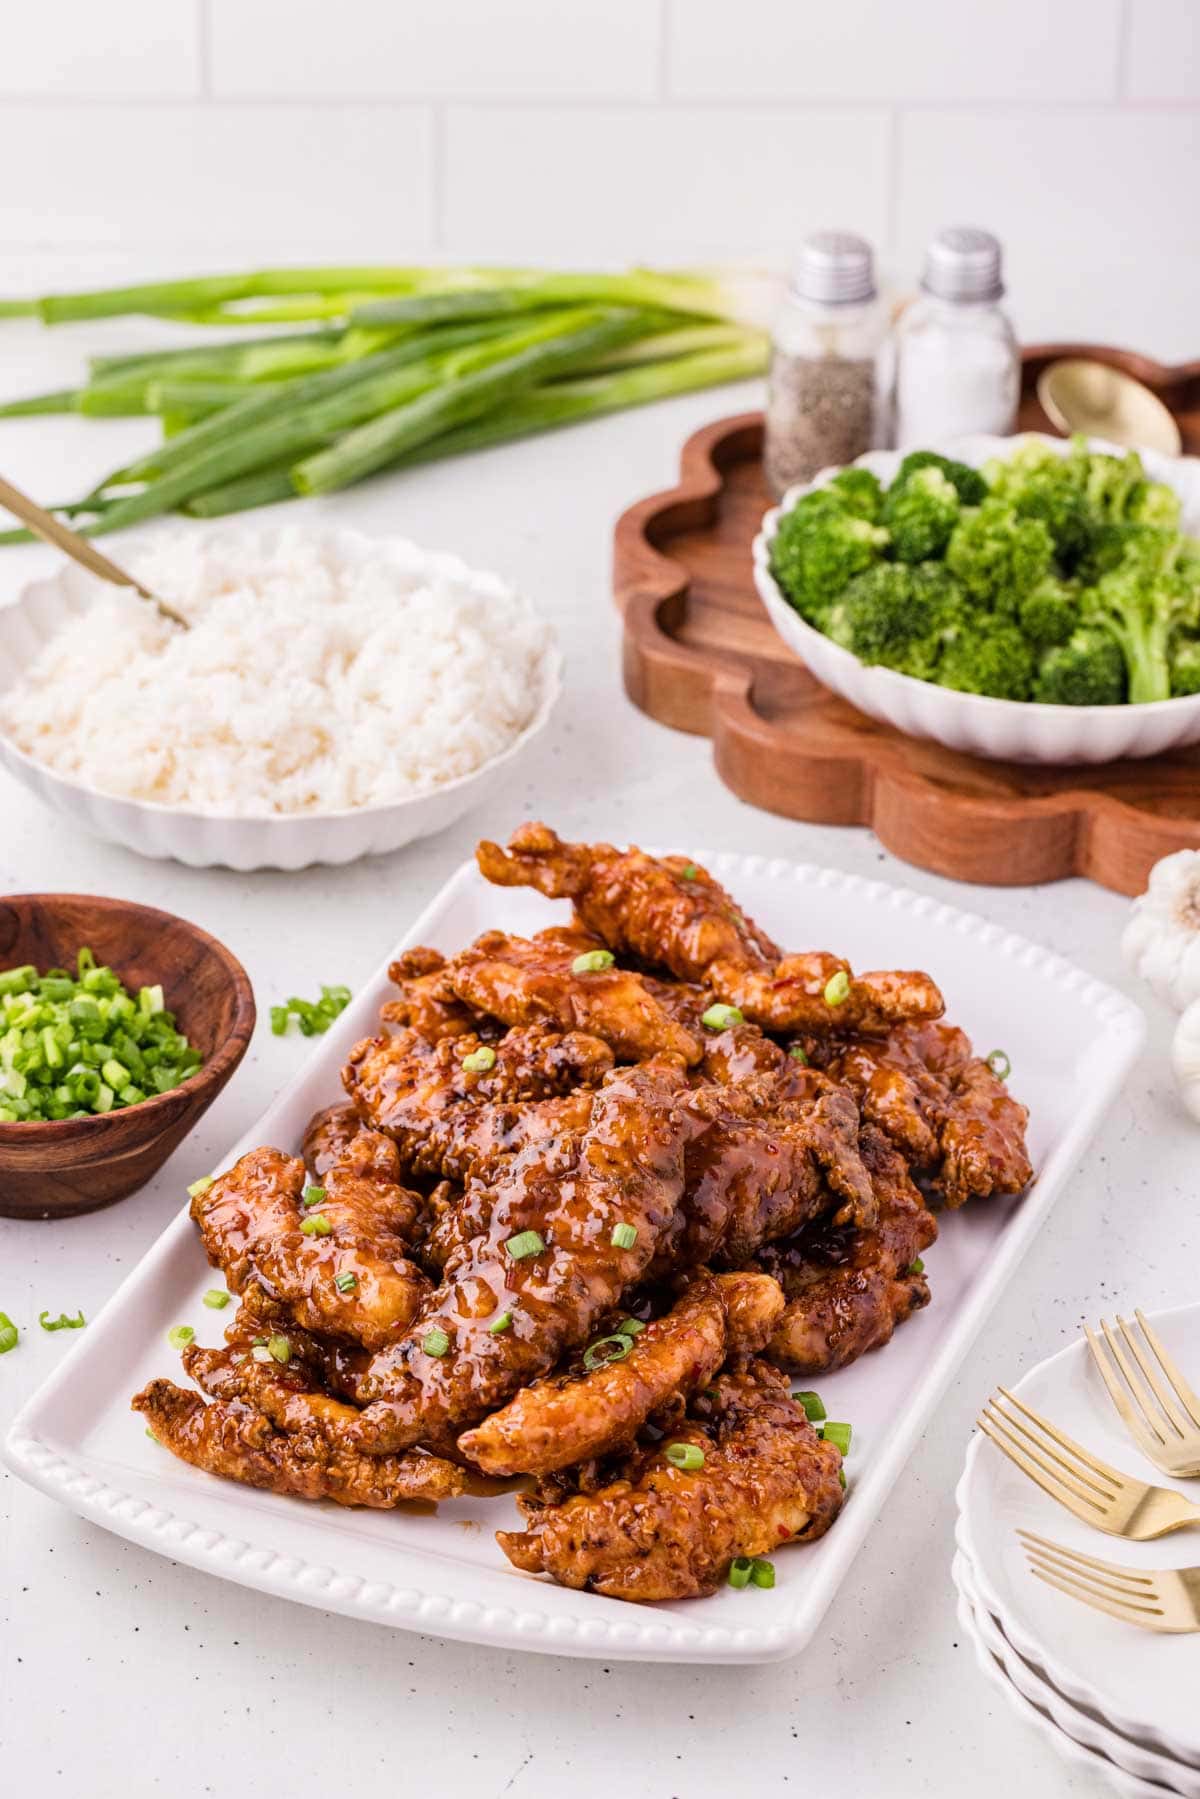
These Sweet Chili Chicken Tenders are buttermilk-marinated, fried until crispy, and tossed in a sticky, garlicky sweet chili glaze that tastes just like your favorite takeout order. What makes this one different is the sweet chili glaze itself, built with fresh garlic, ginger paste, and a splash of sesame oil, so it clings to every ridge of that crispy coating instead of just sitting on top. Grab a fork (or your fingers) and let’s get frying!
I’ll be honest with you, friends: these tenders take a little patience, but they are so worth it. Between the buttermilk soak and the resting time on the wire rack, you’re building flavor and crunch in layers, and once you taste that first crispy, glazed bite, you’ll understand why I never rush this one.
I first started making a version of this glaze years ago after falling hard for a sweet chili sauce recipe similar to what you’d find drizzled over sesame chicken, and I knew I had to turn it loose on a batch of crispy tenders.
The result is a little sweet, a little tangy, and just barely spicy, which makes it a hit with just about everybody who sits down at my table. If you’re into that same sweet-and-savory Asian-inspired flavor profile, you’ll want to check out my Sesame Chicken Recipe, Teriyaki Chicken Recipe, and my Chicken Wonton Tostadas!
Why you’ll love this Sweet Chili Chicken Recipe

❥ Better than takeout. The sweet chili chicken marinade and homemade glaze give you way more flavor control than anything from a to-go box, and you can taste the fresh garlic and ginger in every bite.
❥ Extra crispy coating. A mix of flour, cornstarch, and baking powder creates little air pockets that fry up light and crunchy, and they hold that crunch even after being tossed in the glaze.
❥ Tested until it’s just right. This recipe went through several rounds of testing to nail the balance of sweet, tangy, and savory in the glaze, so you won’t need to tinker with it.
❥ Great for feeding a crowd. This recipe makes about 6 servings, so it’s perfect for family dinner, game day, or a casual get-together with friends.
NikkiIngredients
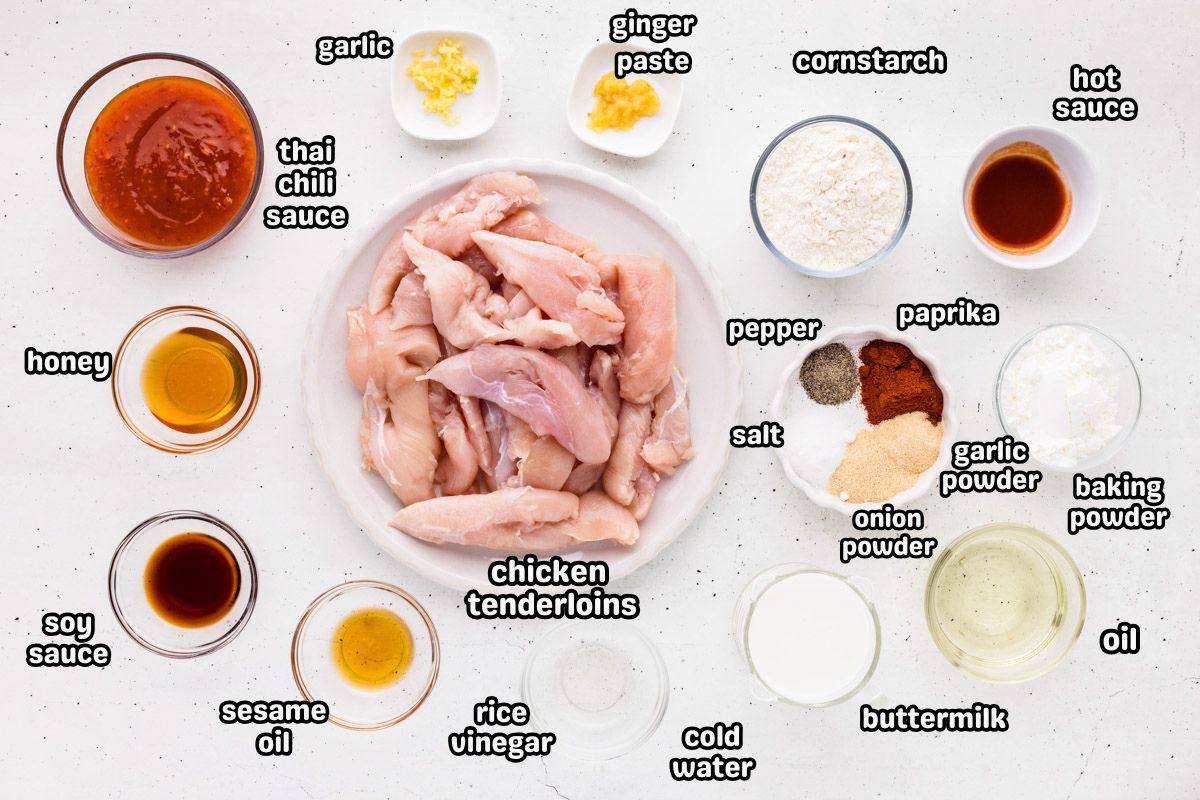
For the Chicken Soak
- Chicken Tenderloins: Naturally tender and quick-cooking, they’re the best cut for frying. Chicken breasts sliced into 1-inch strips work in a pinch.
- Buttermilk: Tenderizes the chicken while helping the seasoned coating stick. No buttermilk on hand? Stir 2 tablespoons of lemon juice or white vinegar into 2 cups of milk and let it sit for 5-10 minutes.
- Hot Sauce: Builds flavor into the marinade without making the chicken spicy, since the heat mellows a lot during frying. Use your favorite, like Sriracha or Tabasco.
- Fine Sea Salt & Black Pepper: To season the chicken through as it soaks.
For the Seasoned Flour Coating
- All-Purpose Flour & Cornstarch: Combining the two creates a lighter, crunchier coating that stays crispy longer than flour alone.
- Baking Powder: Just a little bit creates tiny air pockets in the breading for that extra crispy crust.
- Paprika, Garlic Powder, Onion Powder: Build savory flavor right into the crust itself.
- Neutral Oil: Peanut, vegetable, or canola oil all work well for frying.
For the Sweet Chili Sauce
- Cornstarch: Whisked with cold water into a slurry to thicken the glaze to a glossy, spoon-coating consistency.
- Thai Sweet Chili Sauce: Gives the glaze its signature sweet, tangy flavor with a mild hint of heat. I like Melinda’s brand, but any good-quality sweet chili sauce works.
- Honey: Adds sweetness and helps create a glossy glaze that clings to the chicken.
- Low-Sodium Soy Sauce: Balances the sweetness with savory umami flavor.
- Rice Vinegar: Brightens the glaze with a little tang.
- Garlic & Ginger Paste: Give the glaze bold, fresh flavor. Ginger paste blends in smoothly without the fibrous bits fresh grated ginger can leave behind.
- Sesame Oil: Just a teaspoon adds a subtle, nutty, authentic takeout-style flavor.
My Signature Fall Dinner Dishes!
FREE EMAIL BONUS: My greatest hits: bold, cozy, and brag-worthy.n
How To Make Sweet Chili Chicken Tenders
✱ Below shows step-by-step photos and instructions. For the complete recipe, along with ingredient amounts, scroll down to the recipe card.
Step 1 | Marinade the Chicken
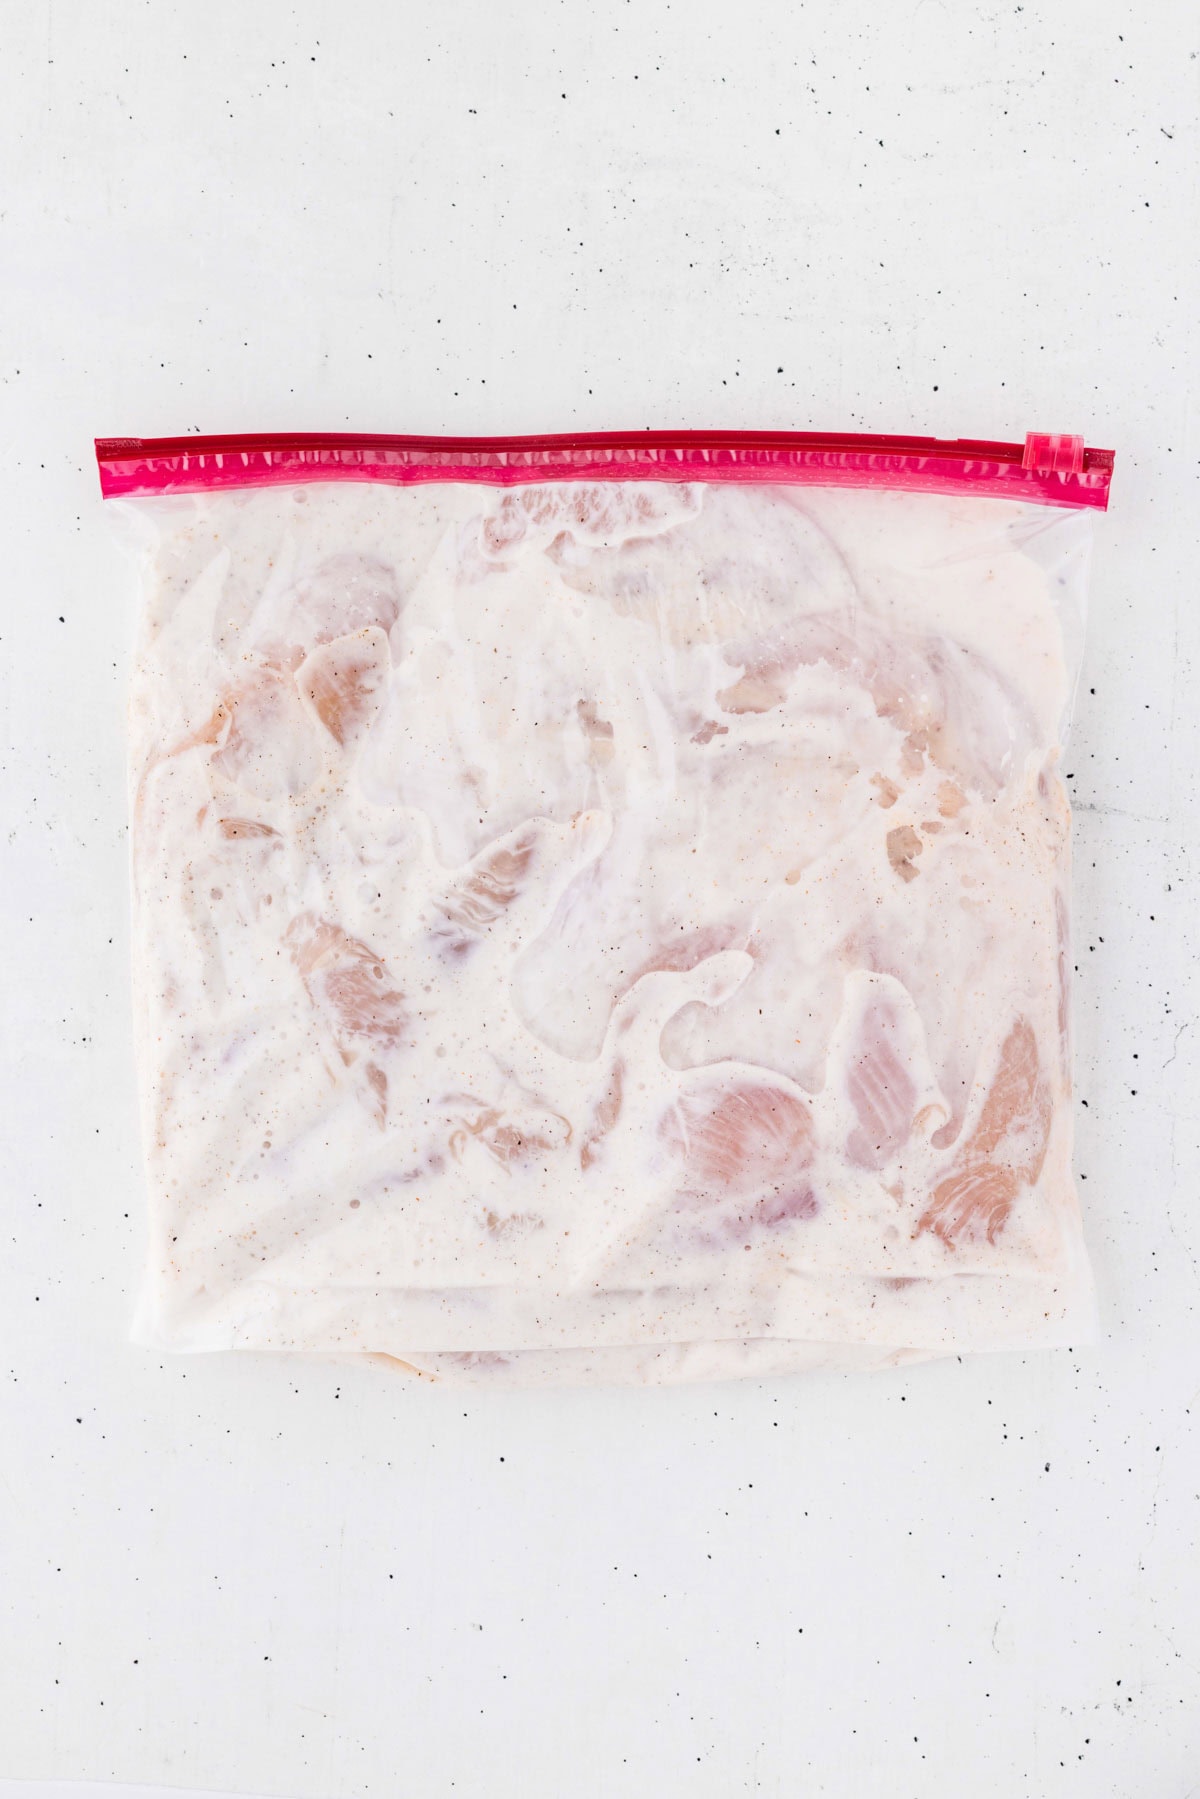
Combine the chicken tenderloins with buttermilk, hot sauce, salt, and pepper, then refrigerate for at least 2 hours and up to 8.
Step 2 | Prep the Breading
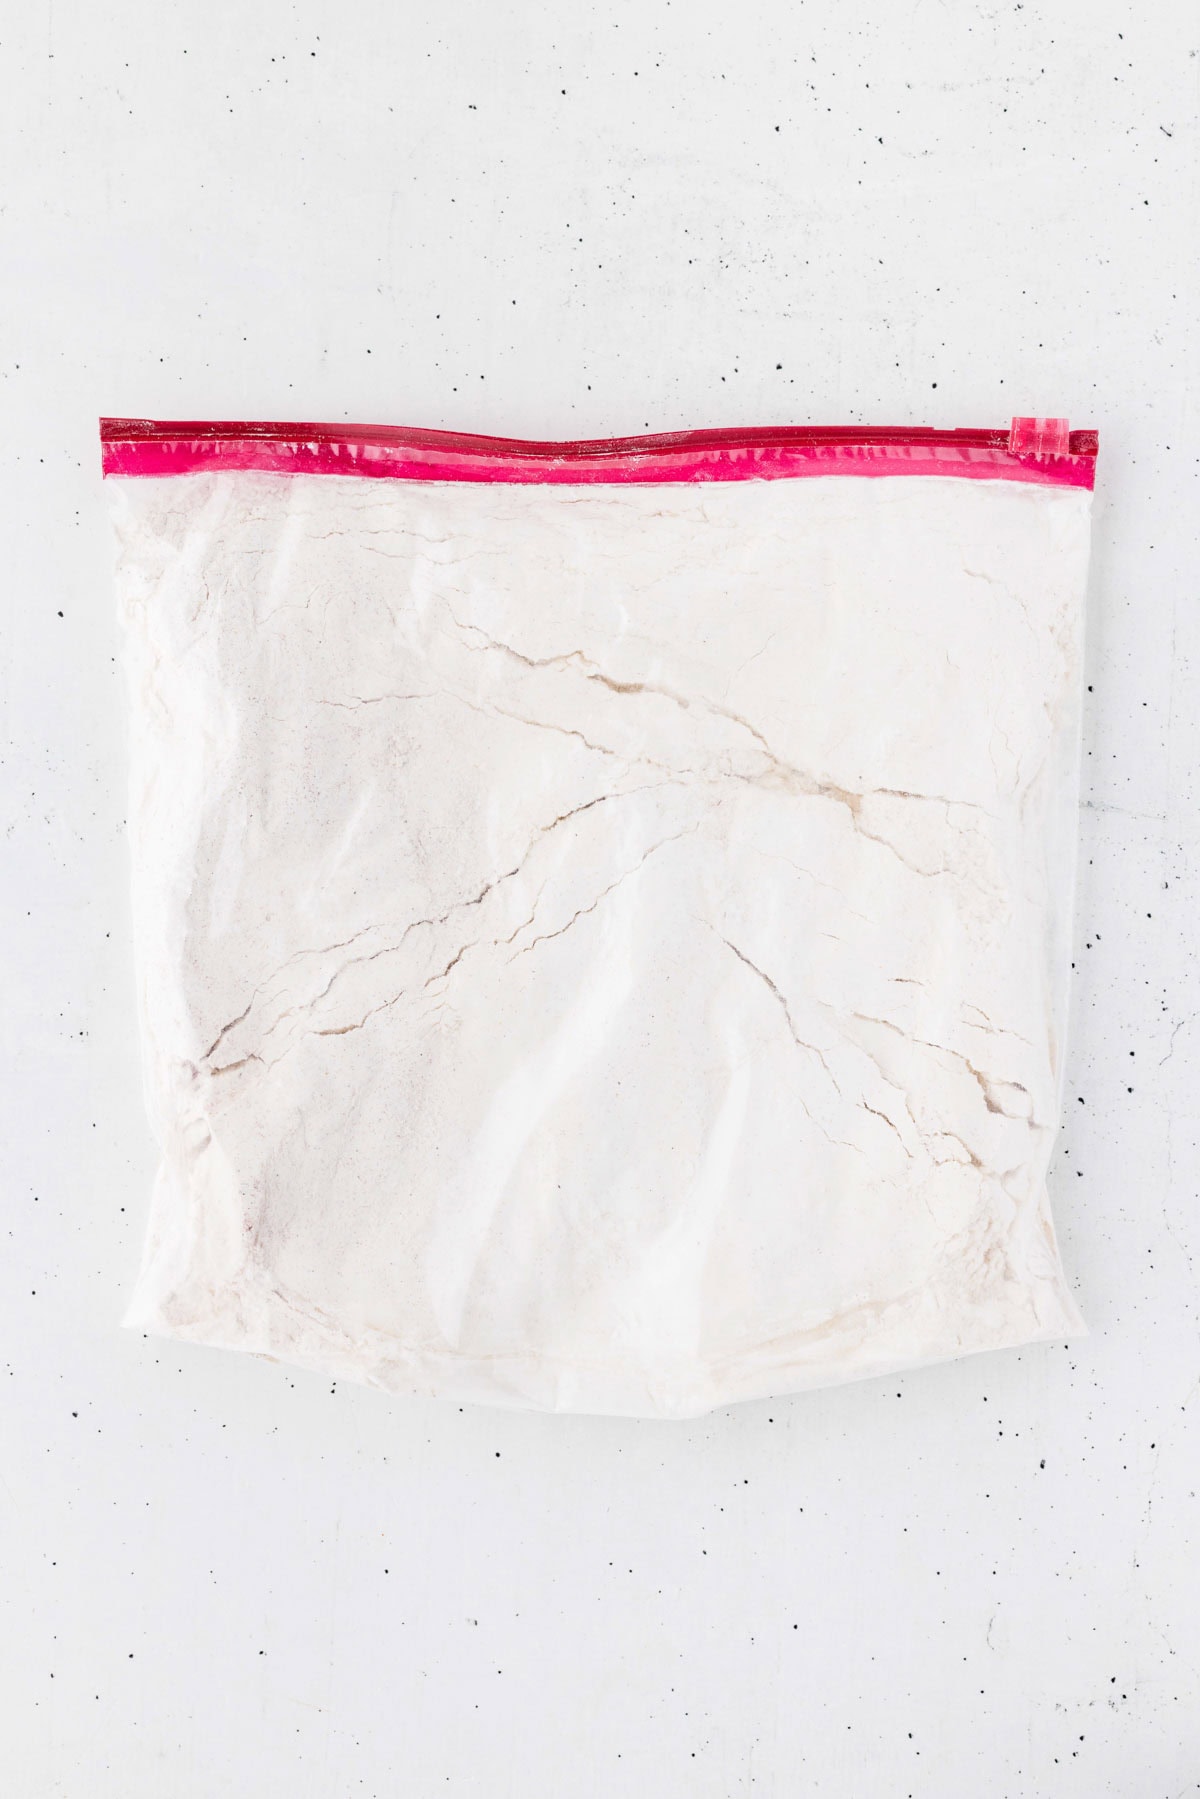
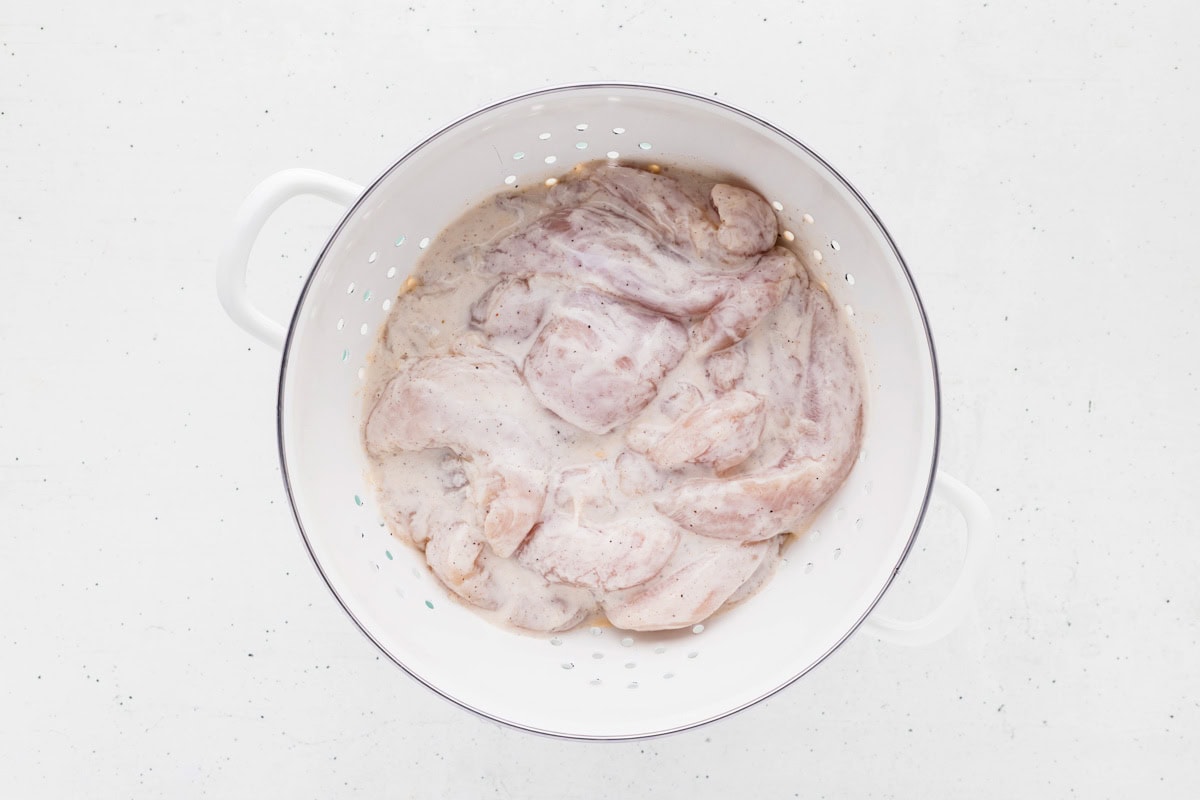
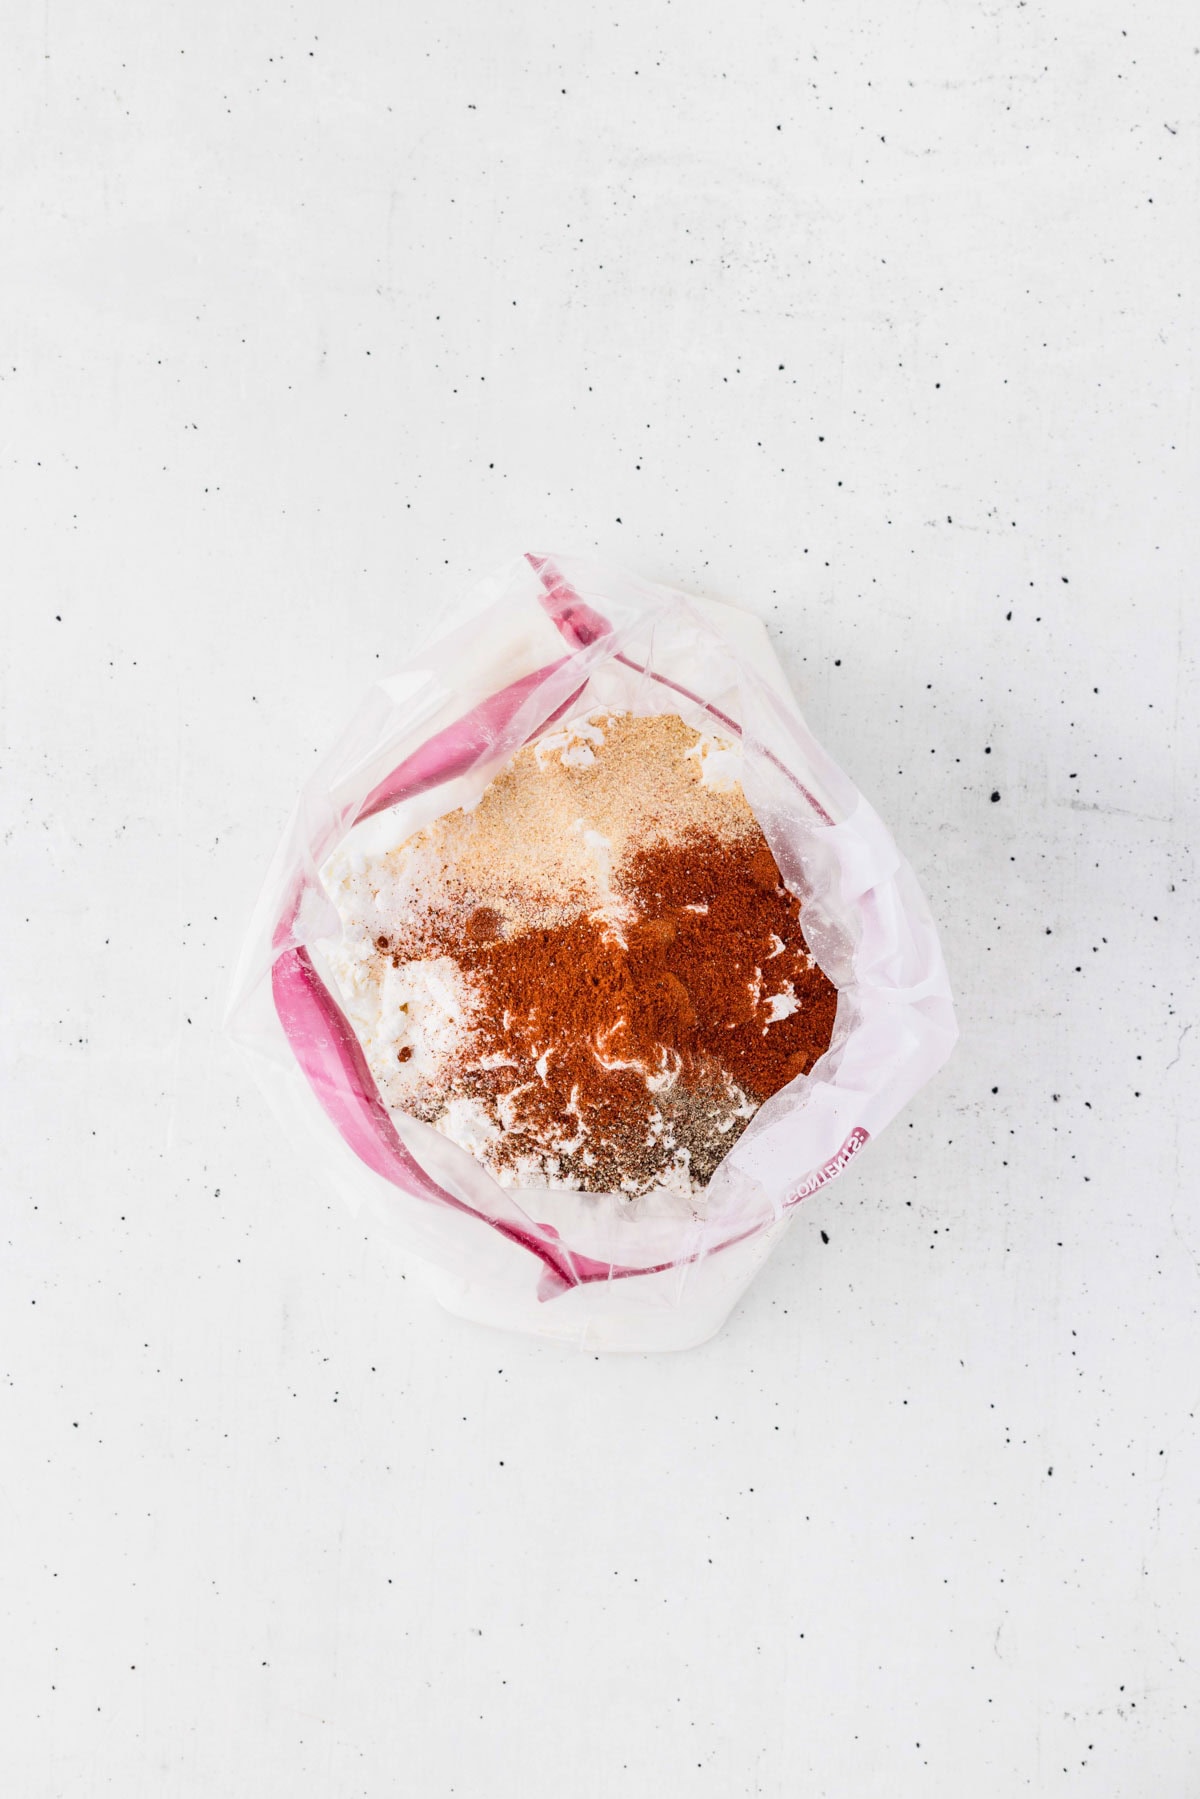
Shake together the flour, cornstarch, and seasonings in a zip-top bag. Drain the chicken (don’t rinse it).
Step 3 | Bread the Chicken
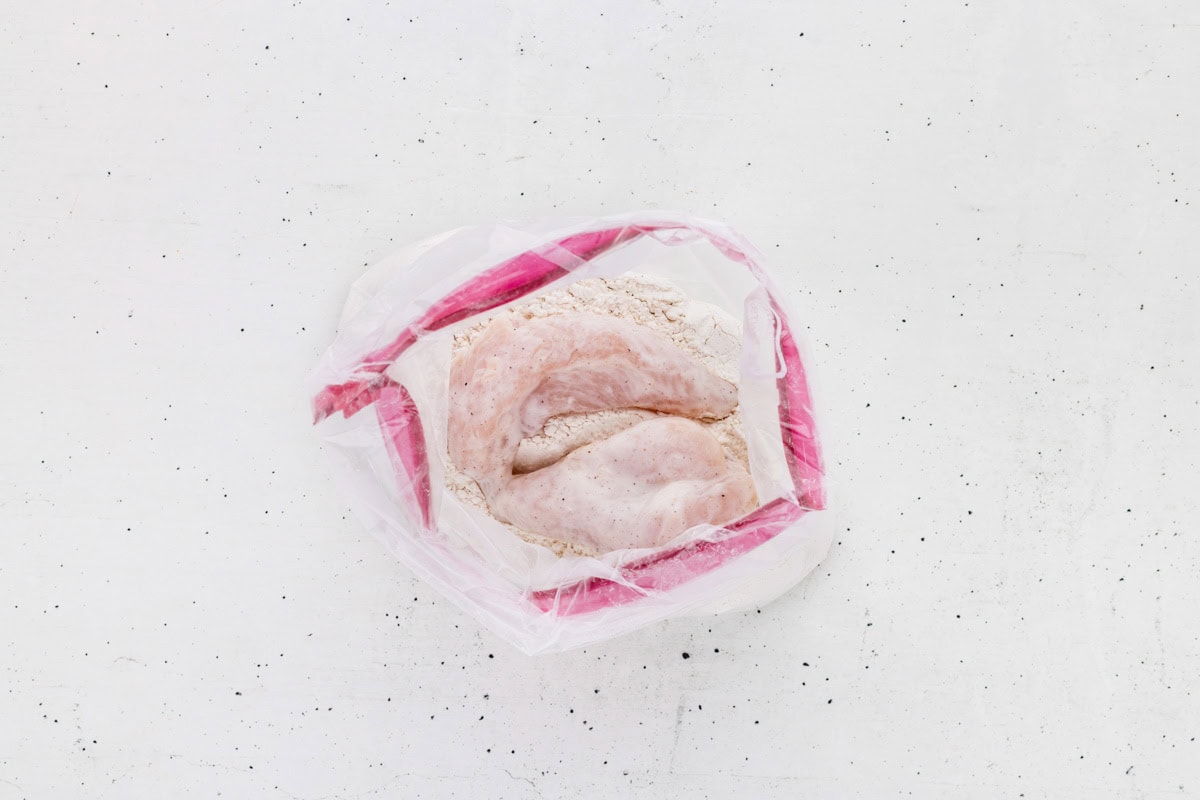
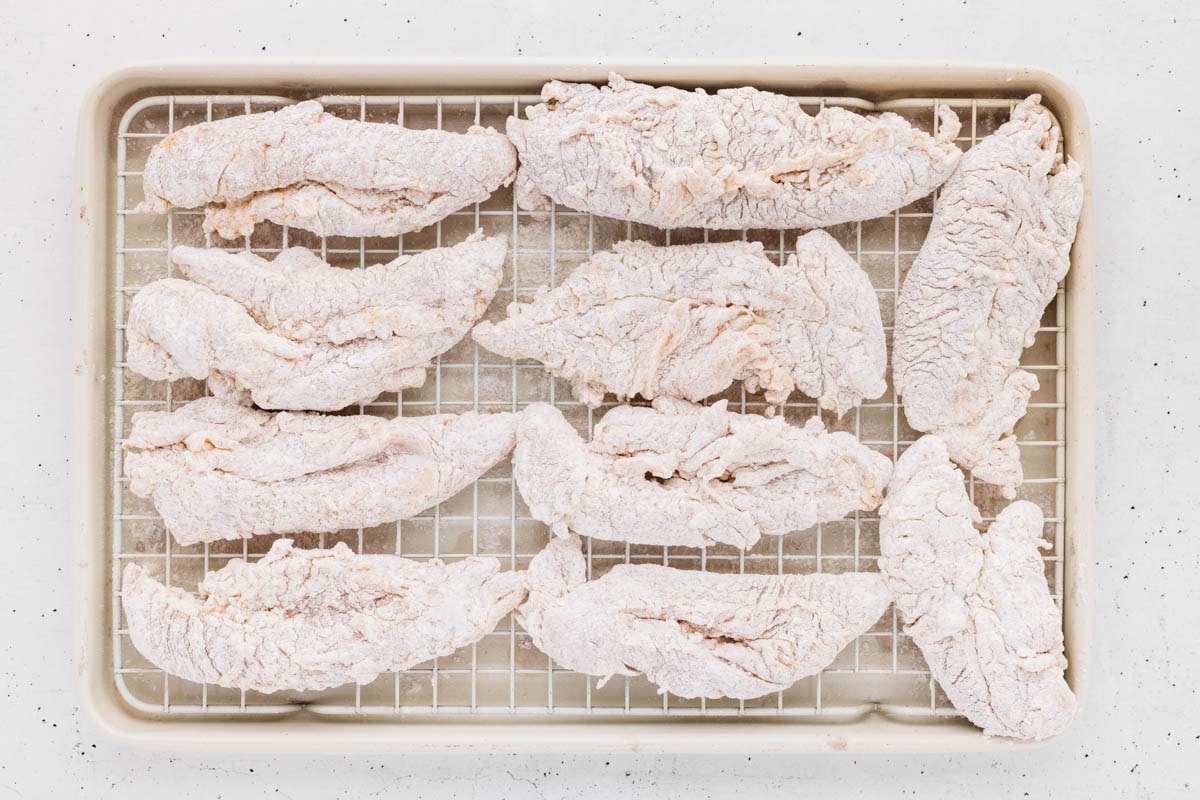
Then shake the chicken in the seasoned flour a few pieces at a time until well coated. Rest the breaded chicken on a wire rack for 10 minutes.
Step 4 | Make the Glaze
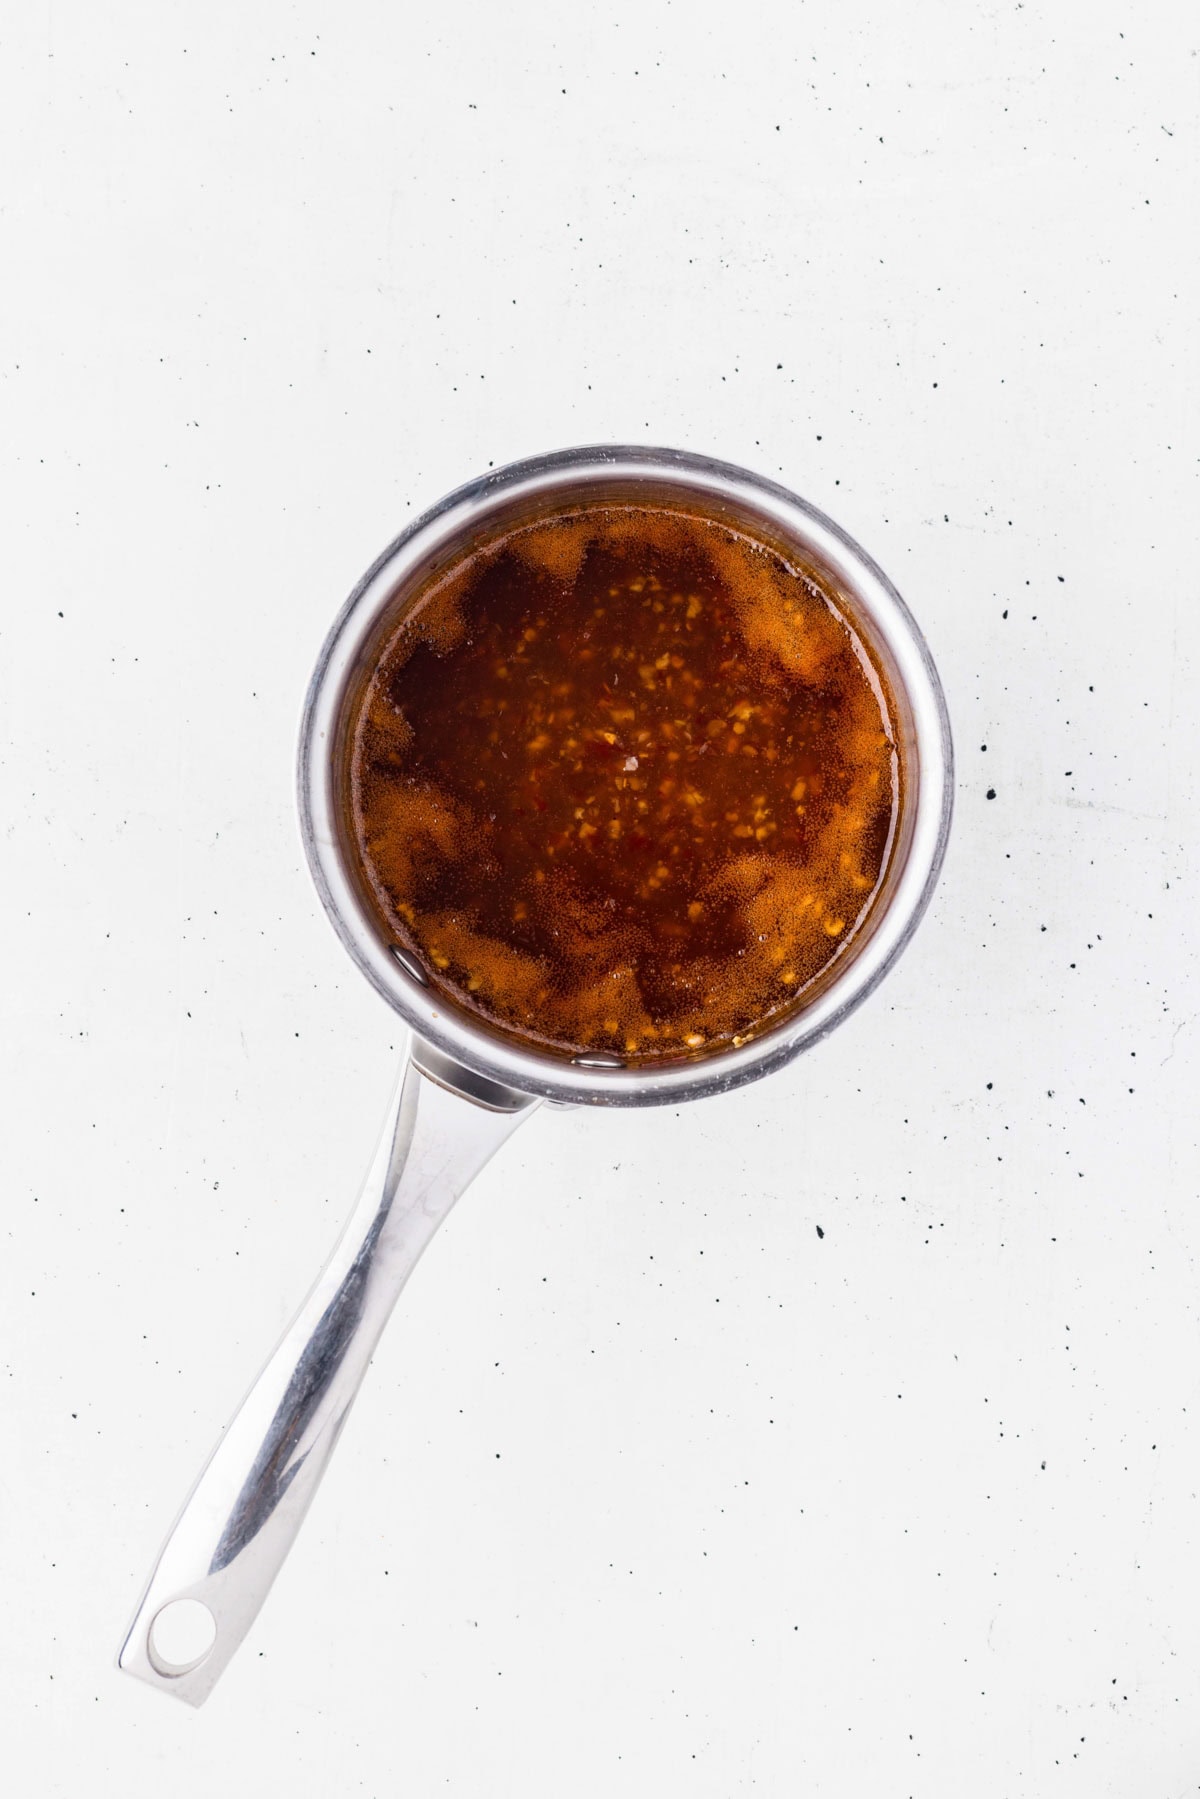
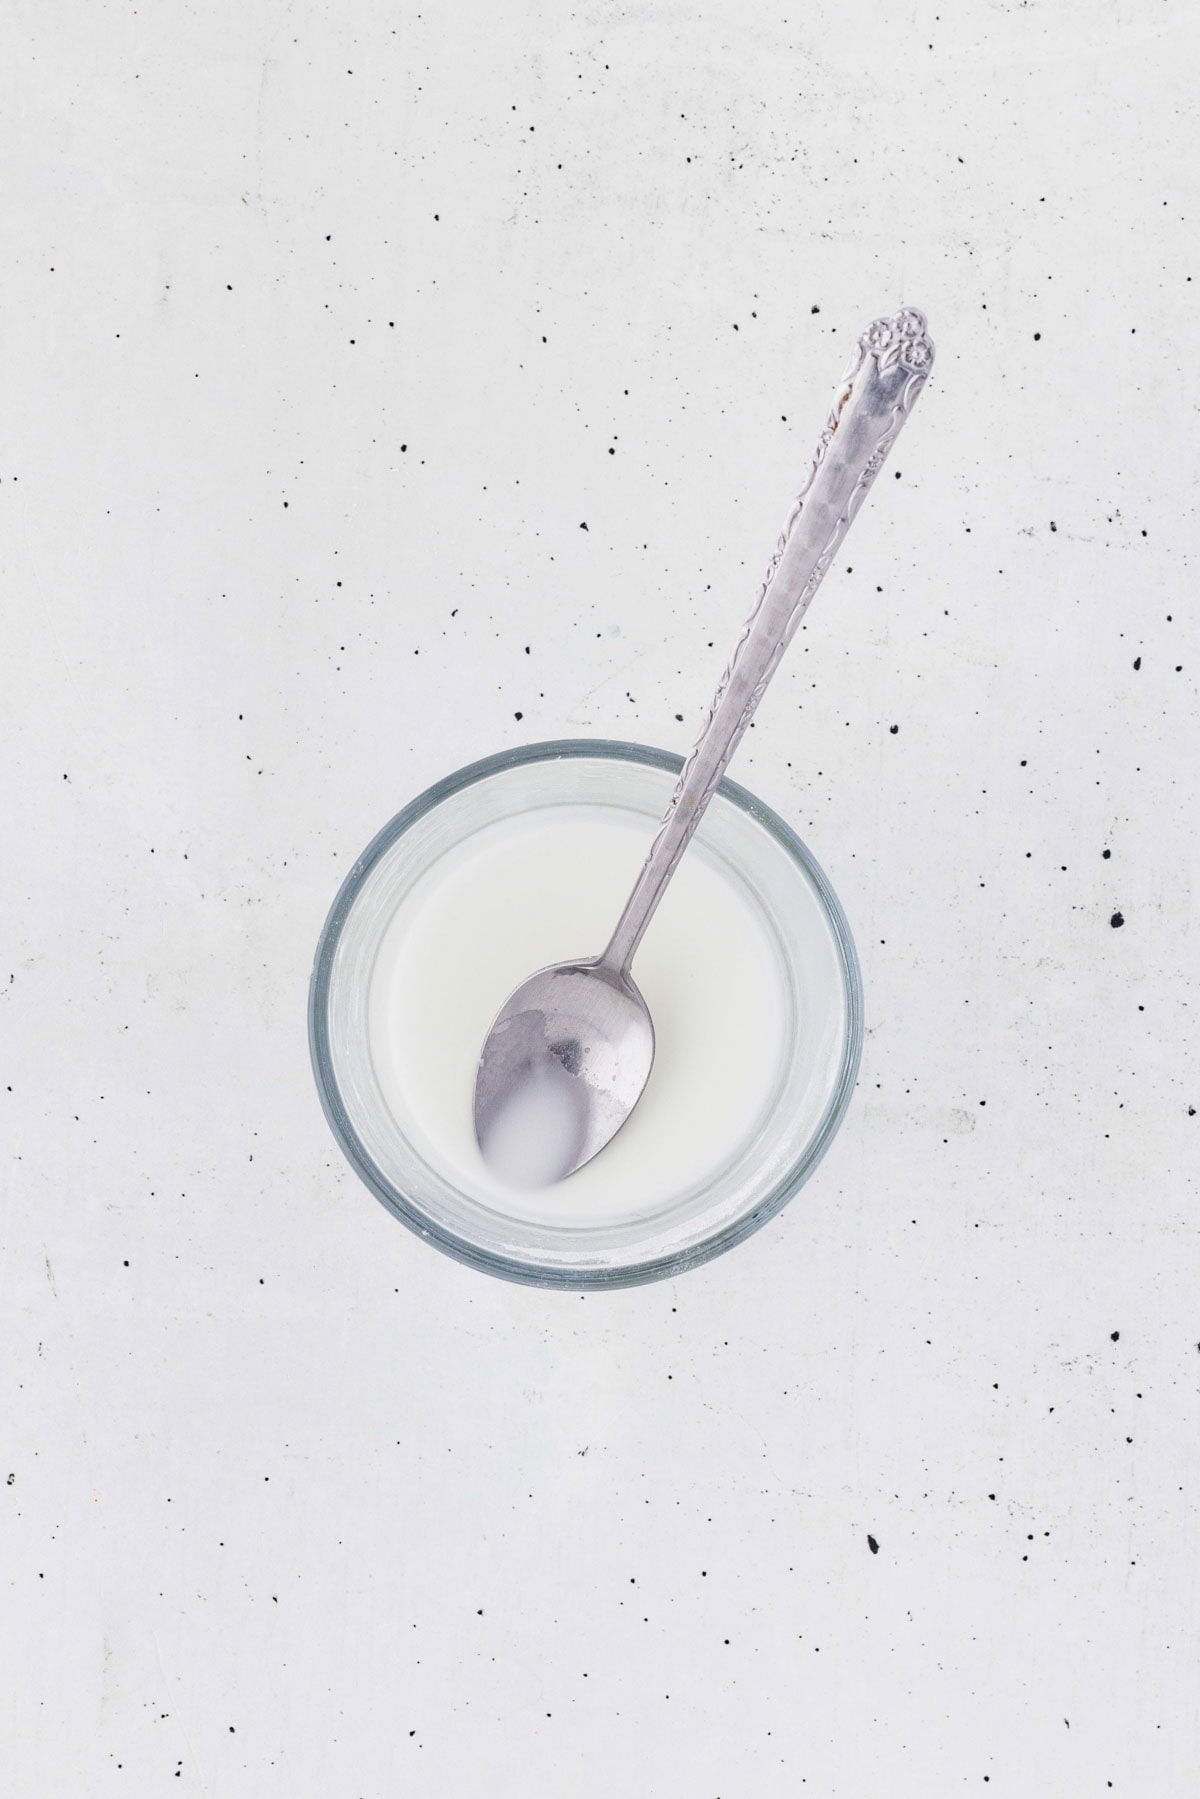
Simmer the sweet chili sauce, honey, soy sauce, rice vinegar, garlic, ginger paste, and sesame oil until it thickens slightly. Prep the cornstarch slurry.
Step 5 | Finish Glaze & Fry Chicken
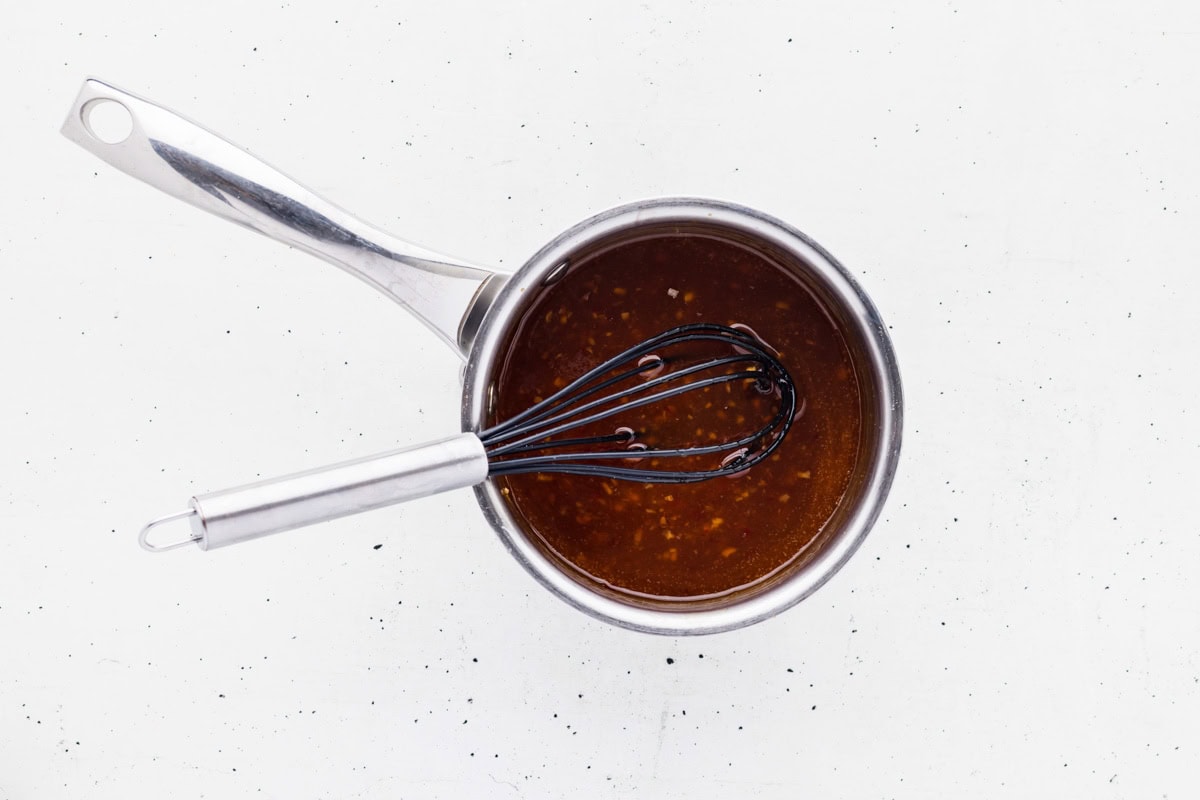
Then stir in the cornstarch slurry to bring it to a glossy, spoon-coating consistency.
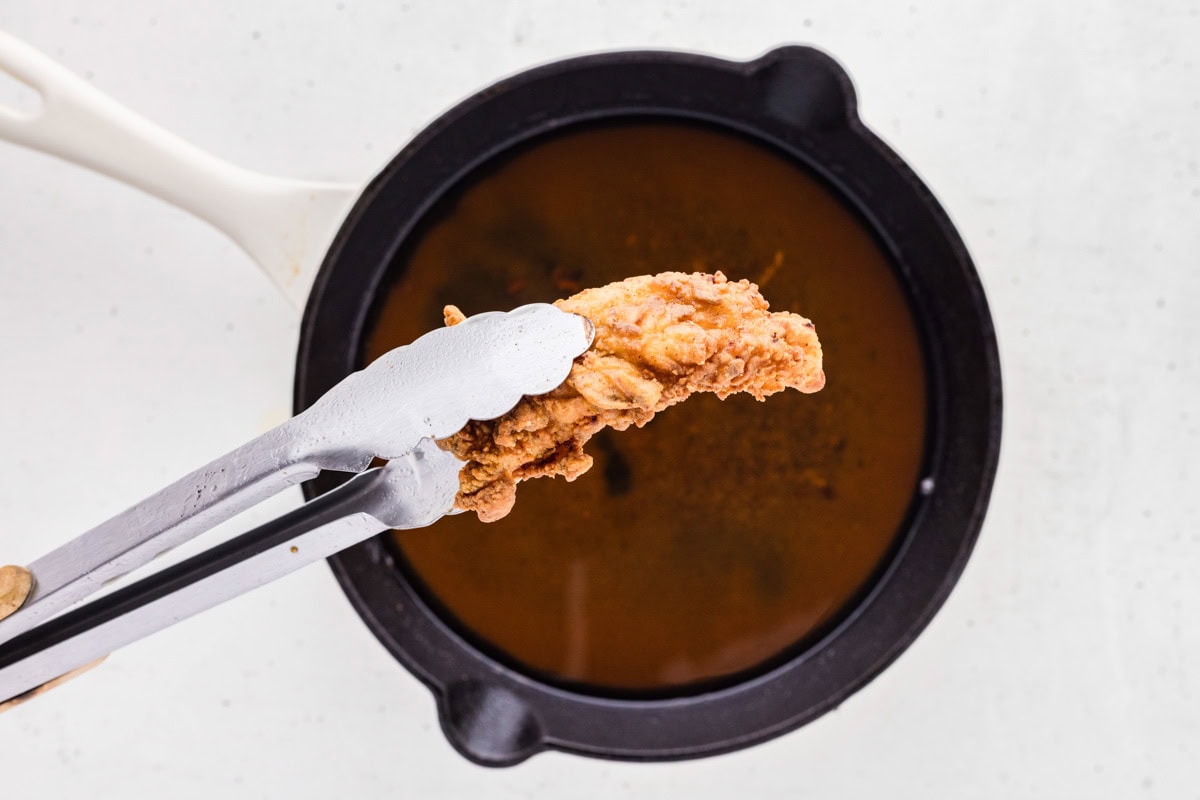
Heat about 2 inches of oil to 350°F and fry the tenders in batches for 5 to 7 minutes, until golden brown and cooked through to 165°F.
Toss the hot tenders in the warm glaze, garnish with green onions if you like, and serve right away while they’re at their crispiest.
Variations & Substitutions
- Swap in chicken thighs. Boneless, skinless chicken thighs make a juicier alternative to tenderloins. Cut them into strips and cook until they hit 165°F.
- Adjust the heat. For a spicier glaze, stir in a teaspoon or two of sriracha, chili garlic sauce, or crushed red pepper flakes. For a milder version, leave the glaze as written.
- Swap the cornstarch in the breading. Use an equal amount of all-purpose flour if you’re out of cornstarch. The coating won’t be quite as crispy, but it’ll still be delicious.
- Swap the cornstarch in the glaze. Arrowroot powder is the next best substitute. You can also skip it entirely and simmer the glaze a few extra minutes to reduce and thicken naturally.
Gluten-Free Sweet Chili Chicken Tenders
Good news, friends: this recipe is easy to make gluten-free with just a few simple swaps, and you’d never know the difference in the final crunch.
- Swap the flour. Use a 1:1 gluten-free all-purpose flour blend in place of the regular flour in the seasoned coating. Cornstarch and baking powder are both naturally gluten-free, so the rest of the breading stays the same.
- Check your baking powder label. Most brands are gluten-free, but a few use wheat starch as an anti-caking agent, so double-check if you’re cooking for someone with celiac disease.
- Swap the soy sauce. Regular soy sauce contains wheat, so use tamari or coconut aminos instead. Both give you that same savory, umami flavor in the glaze without the gluten.
- Double-check your sweet chili sauce. Most Thai sweet chili sauces are naturally gluten-free, but ingredients can vary by brand, so it’s always worth a quick label check.
- Watch your frying oil. If you’re frying other breaded foods in the same batch of oil, make sure it hasn’t been used for anything containing gluten, or start with a fresh batch to avoid cross-contamination.
Shortcut Ideas
While these homemade chicken tenders are worth a little fuss because that, after all, is what makes them so amazing! If you want to skip the homemade chicken and use your favorite brand and cook them as directed (or pick some up from the deli), then toss them in this homemade sauce.
Expert Tips
- Don’t skip the buttermilk soak. Two hours minimum lets the buttermilk tenderize the chicken and season it all the way through, but try not to go past 8 hours or the texture can turn a little mushy.
- Let the excess marinade drain before breading. The chicken should be damp, not dripping. Too much extra liquid turns your seasoned flour into a gluey paste instead of a craggy, crispy coating.
- Rest the breaded chicken for 10 minutes. This short rest lets the flour hydrate and form little craggy ridges, which is exactly what fries up into that extra-crunchy, restaurant-style crust.
- Watch your oil temperature closely. Keep it steady around 350°F with a deep-fry thermometer. Oil that’s too cool makes greasy chicken, and oil that’s too hot browns the coating before the inside is done.
- Toss the chicken in the glaze right before serving. The sauce is sticky and delicious, but tossing it too early can soften your hard-earned crispy coating, so wait until you’re ready to eat.
What to Serve With Sweet Chili Chicken Tenders
These sweet chili chicken tenders are rich and a little sweet, so I like to round out the plate with something cool and something starchy. A scoop of white rice would be a great side, along with a steamed veggie; try oven-roasted broccoli or air-fryer green beans. I also like them with a side of Southern Coleslaw and French fries!
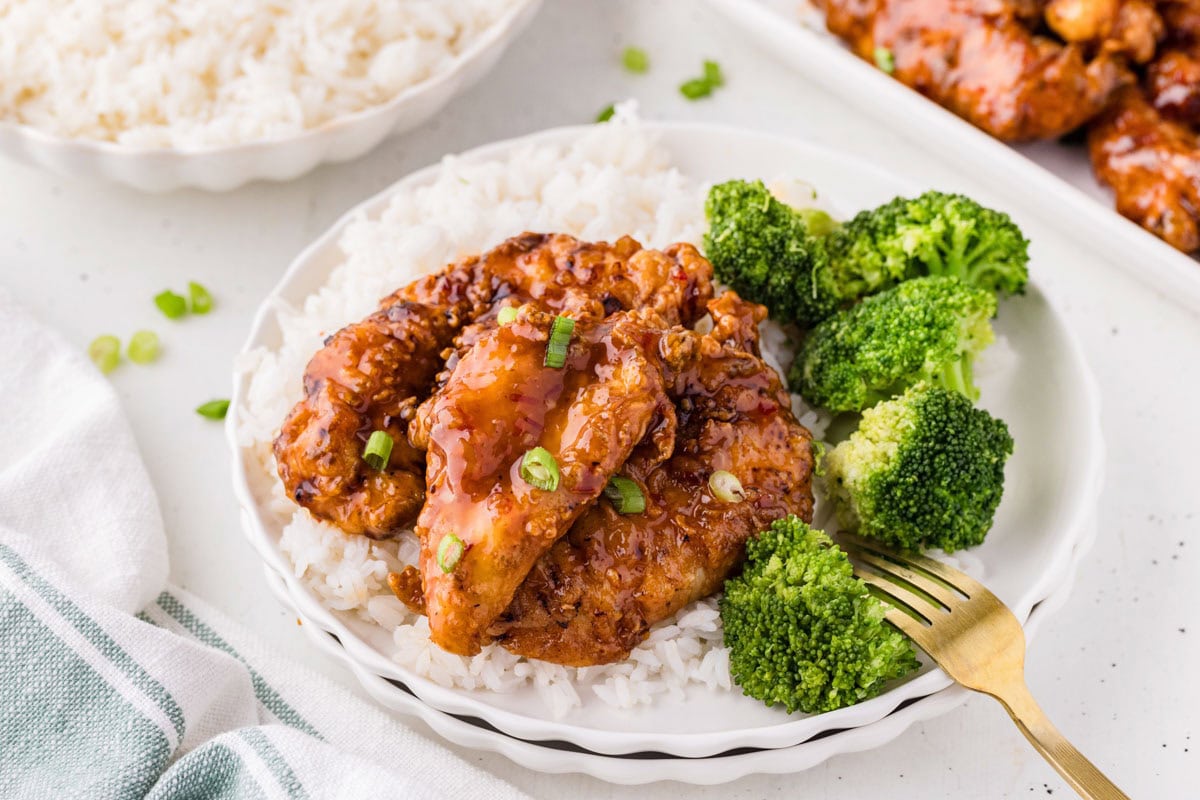
Storage Suggestions
Storage: Keep leftovers in an airtight container in the refrigerator for up to 4 days.
Freeze: Freeze the cooked chicken and the sweet chili glaze separately for the best texture. Once cooled, store each in a freezer-safe container for up to 3 months.
To reheat: Thaw the sauce in the refrigerator, then crisp the chicken back up in the oven or air fryer before tossing it with the warmed glaze.
Frequently Asked Questions
This usually comes down to too much moisture on the chicken, moving it too soon in the fryer, oil that isn’t hot enough, or an overcrowded pot. Give the breading time to set before frying and handle the tenders gently with tongs.
Different brands of sweet chili sauce vary a lot in sweetness, tanginess, and heat, so don’t be afraid to adjust the glaze to your taste. If it tastes too tangy, stir in a little more honey to balance the acidity. If it’s too sweet, add an extra splash of soy sauce or a little more rice vinegar to cut through the sweetness. Taste the glaze before tossing the chicken, then make small adjustments until it’s just the way you like it.
Sweet chili chicken tenders already have a bold glaze, so a cool, creamy dipping sauce like ranch or spicy mayo would be nice to have on the side. A drizzle of extra sweet chili sauce is never a bad idea either!
Same glaze, same great flavor, just a different cut. Tenders fry up faster and are easier to portion for a family dinner, while wings are perfect for game day snacking with extra napkins on hand.
More Chicken Recipes to Try
Hungry for more easy, home-cooked, delicious recipes?
Sign up for my free recipe club to get family-friendly recipes in your inbox each week! Find me sharing daily meal-time inspiration on Pinterest, Facebook, and Instagram.
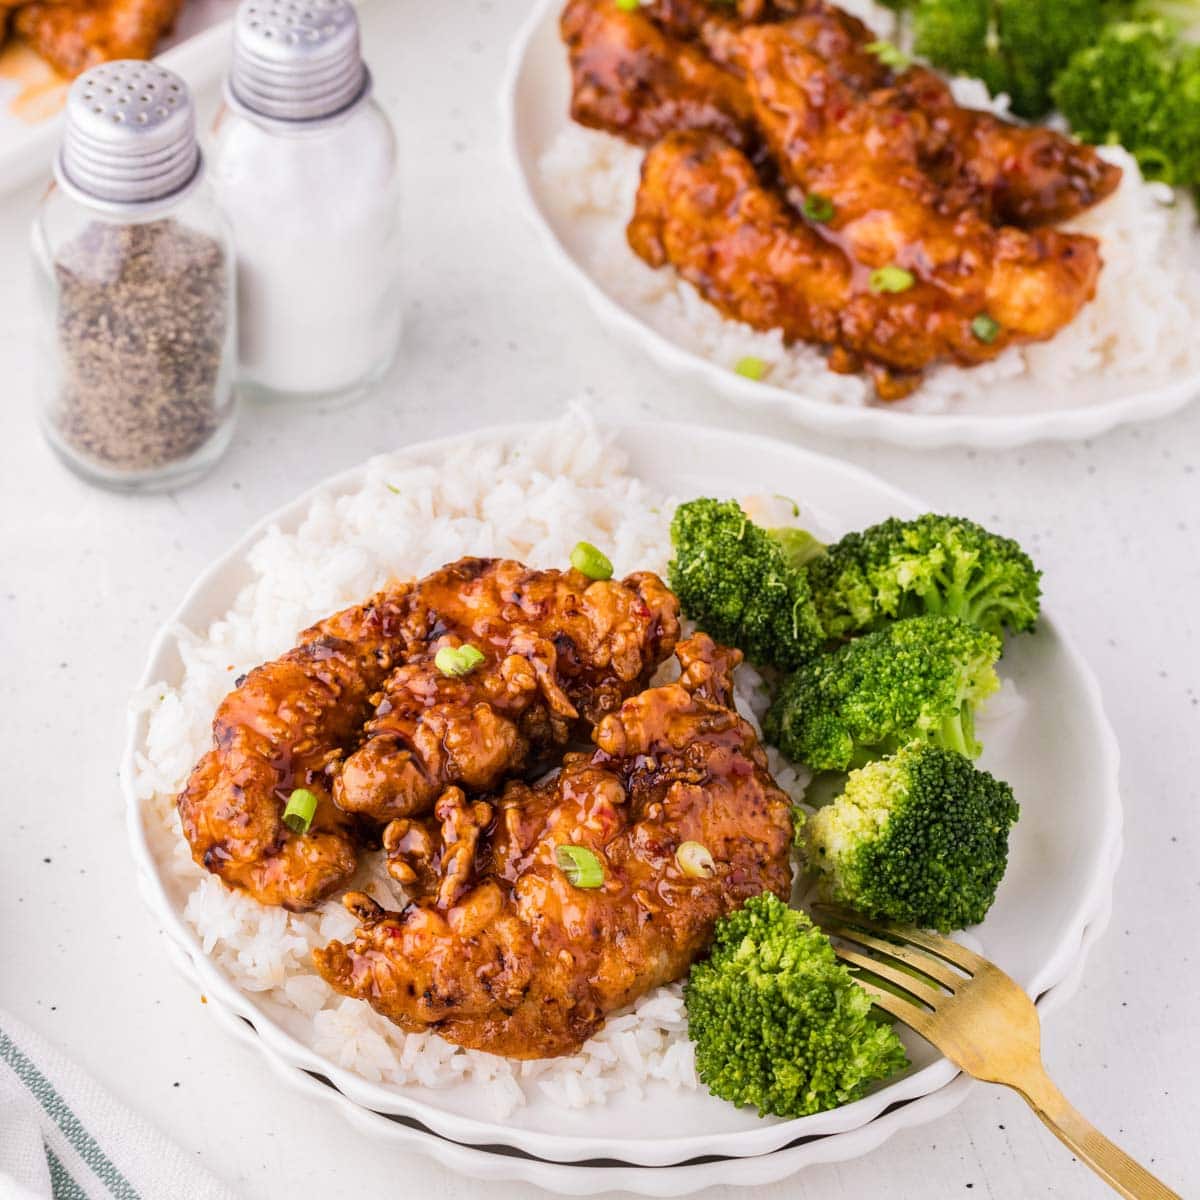
Crispy Sweet Chili Chicken Strips

Click Stars To Rate
Ingredients
- 2 ½ -3 pounds chicken tenderloins
- 2 cups buttermilk
- 1 tablespoon hot sauce - use your favorite
- 1 ½ teaspoons fine sea salt
- ½ teaspoon black pepper
- 2 ½ cups all-purpose flour
- ½ cup cornstarch
- 2 teaspoons fine sea salt
- 2 teaspoons paprika
- 2 teaspoons baking powder
- 1 teaspoon garlic powder
- 1 teaspoon onion powder
- 1 teaspoon black pepper
- Neutral oil - for frying (Peanut, vegetable, canola, etc)
- 1 ½ cups Thai sweet chili sauce - I use Melinda’s Thai Sweet Chili Sauce
- ¼ cup honey
- 2 tablespoons low-sodium soy sauce
- 1 tablespoon rice vinegar
- 2 cloves garlic - finely minced
- 1 teaspoon ginger paste
- 1 teaspoon sesame oil
- 1 teaspoon cornstarch
- 1 tablespoon cold water
Instructions
- Place the chicken tenderloins in a large bowl or zip-top bag. Add the buttermilk, hot sauce, kosher salt, and black pepper. Stir or seal the bag and turn to coat the chicken evenly. Refrigerate for at least 2 hours or up to 8 hours.
- Add the flour, cornstarch, sea salt, paprika, baking powder, garlic powder, onion powder, and black pepper to another large zip-top bag. Seal the bag and shake until well combined.
- Pour the marinated chicken into a colander or strainer and allow the excess marinade to drain. Do not rinse.
- Transfer a few pieces of chicken at a time to the bag with the seasoned flour, leaving enough room to shake and coat evenly. Seal the bag and shake until each piece is well coated.
- Transfer the breaded chicken to a wire rack or parchment-lined baking sheet. Repeat with the remaining chicken. Let the breaded chicken rest for 10 minutes, or until the coating looks slightly wet. This helps the breading adhere and creates an extra crispy crust.
- Meanwhile, combine the Thai sweet chili sauce, honey, soy sauce, rice vinegar, garlic, ginger paste, and sesame oil in a small saucepan. Cook over medium-low heat, stirring occasionally, until the sauce reaches a gentle simmer and small bubbles begin to break across the surface. Do not let it come to a full boil. Continue simmering for 8 to 10 minutes, stirring occasionally, until the garlic and ginger soften and the sauce thickens slightly.
- Pour about 2 inches of neutral oil into a deep, heavy-bottomed skillet or Dutch oven. Heat the oil over medium heat until it reaches 350°F.
- In a small bowl, stir together the cornstarch and cold water until smooth. Slowly stir the slurry into the simmering sauce and continue cooking for 2 minutes, stirring constantly, until the glaze is glossy and thick enough to coat the back of a spoon. Reduce the heat to low to keep the glaze warm.
- Fry the chicken in batches, being careful not to overcrowd the pan. Cook for 5 to 7 minutes, turning halfway through, until golden brown and the chicken reaches an internal temperature of 165°F.
- Transfer the cooked chicken to a clean wire rack while frying the remaining batches, allowing the oil to return to 350°F between batches.
- Place the hot chicken tenders in a large bowl. Pour the warm glaze over the chicken and gently toss until evenly coated.
- Garnish with sliced green onions, if desired. Serve immediately.
Notes
- Marinate the chicken for at least 2 hours (up to 8) for the juiciest, most flavorful tenders.
- Drain off the excess marinade before breading. The chicken should be damp, not dripping, so the coating sticks properly.
- Let the breaded chicken rest for 10 minutes before frying; this helps the coating hydrate and fry up extra crispy.
- Keep the oil steady at 350°F. Too cool and the coating gets greasy; too hot and it browns before the chicken cooks through.
- Toss the tenders in the glaze right before serving to keep that crispy coating intact as long as possible.
Want to Save this Recipe?
By submitting this form, you consent to receive emails from Soulfully Made.
Nutrition
Soulfully Made is not a dietician or nutritionist, and any nutritional information shared is an estimate. If calorie count and other nutritional values are important to you, we recommend running the ingredients through whichever online nutritional calculator you prefer. Calories and other nutritional values can vary quite a bit depending on which brands were used.
