

This post may contain affiliate links. Please read our disclosure policy.
If you’ve ever had a cookie crust fall apart on the first slice, I have a trick that helps. This Oreo Pie Crust is just Oreos and butter, and it fits whatever pan you have, from an 8-inch pie dish to a 9×13. Bake it or freeze it, depending on your filling. It’s an easy Oreo crust for pie, cheesecake bars, or an ice cream dessert.
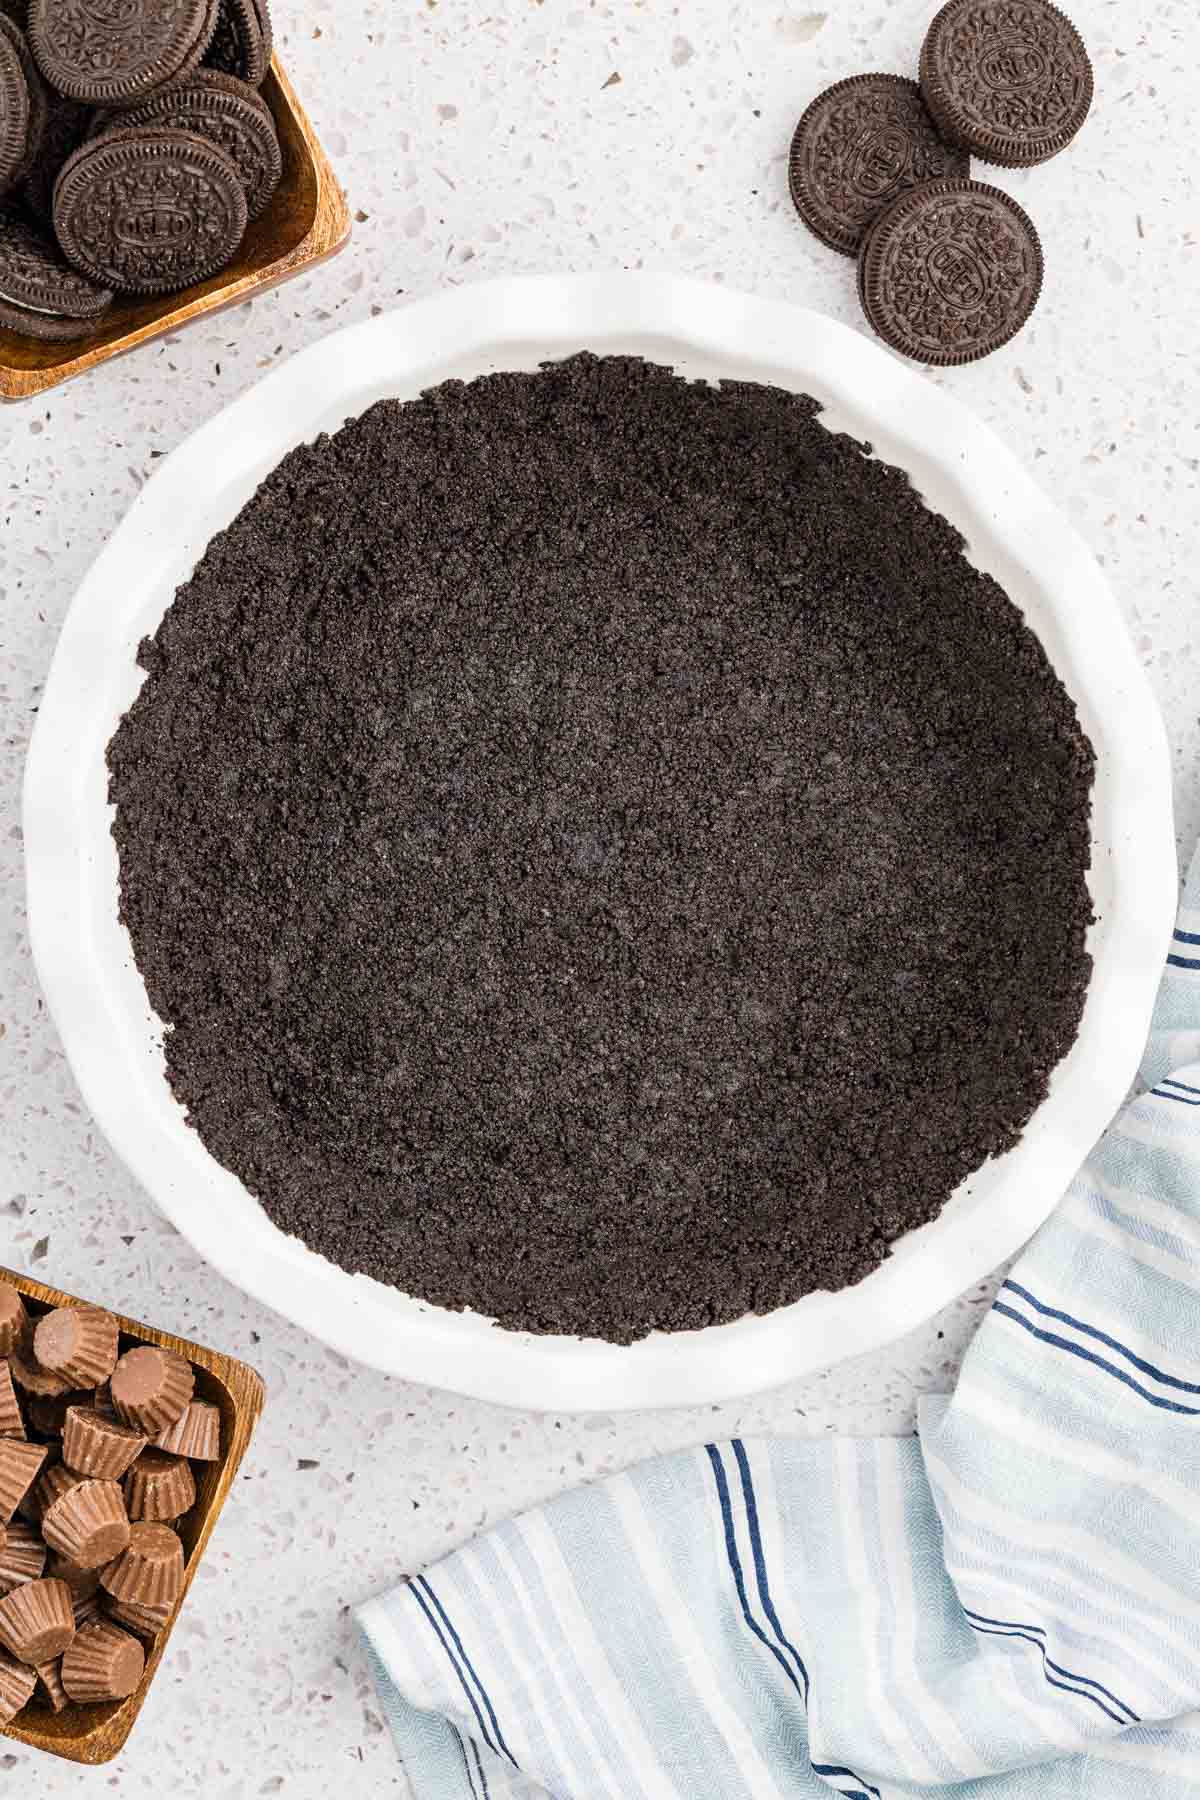
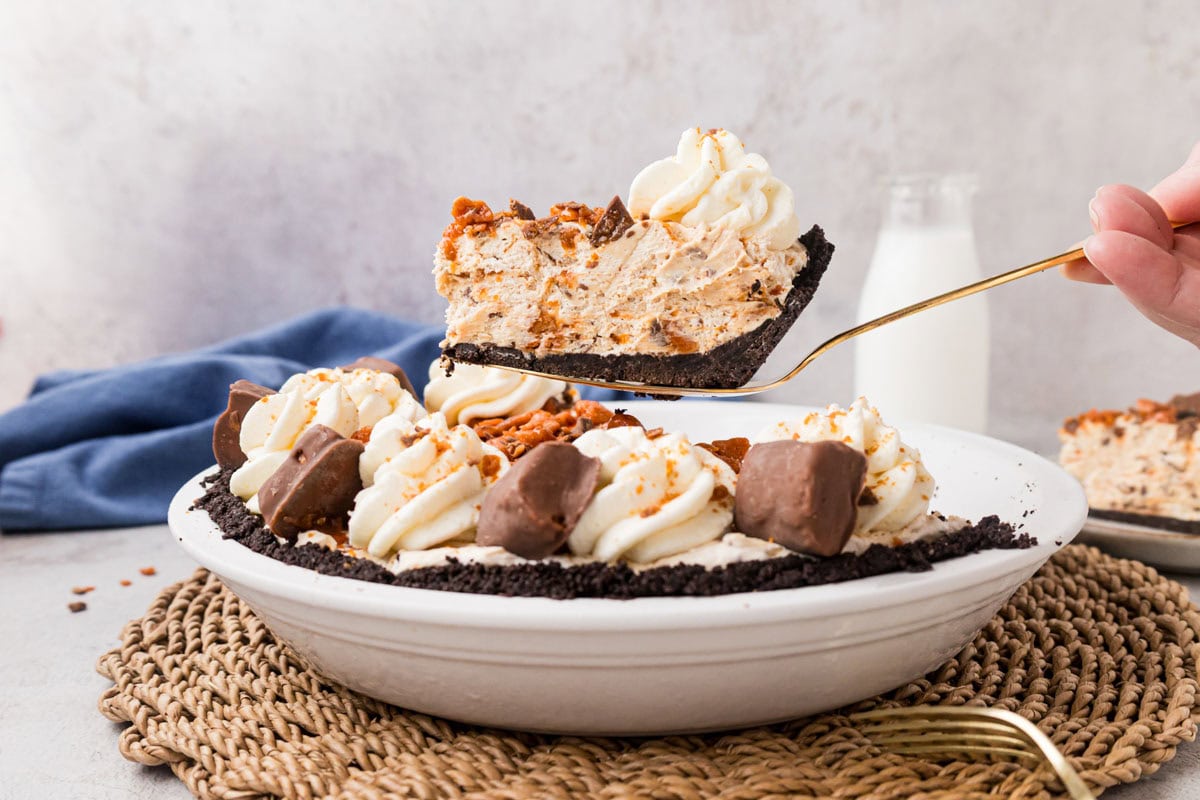
When a pie has a chocolate crust, this is the one I always make. Honestly, I’ve made it so many times I could make it in my sleep. It’s the base for my Reese’s Peanut Butter Cup Pie, Butterfinger Pie, Oreo Ice Cream Dessert, and Fireworks Oreo Cheesecake Bars (all ones my family wants on repeat).
What makes this one a keeper? Along the way I picked up a few tips from my Mom and the ladies at my church. One of those ladies showed me the spoon trick long ago. Run a spoon around the edge of a pie, and the crust holds together when you slice it. That was a lightbulb moment, and what an easy way to keep that first slice pretty.
I’ve got plenty more tips tucked into the recipe below, and they’re the reason this one is foolproof.

My Signature Fall Dinner Dishes!
FREE EMAIL BONUS: My greatest hits: bold, cozy, and brag-worthy.n
Why You’ll Love This Oreo Pie Crust

Two ingredients and an Oreo cookie crust that fits the pan you already own.
❥ Easy: Crush the cookies, stir in melted butter, and press it into the pan.
❥ Fits any size dessert: Use a pie dish, springform, or square pan. A 9×13 just needs more cookies and butter.
❥ Bake it or freeze it: Freeze it for a no-bake pie, or bake it first for a baked or no-bake filling.
❥ Make it ahead: It keeps in the fridge for up to 3 days and in the freezer for up to 3 months.
2 Ingredient Oreo Crust
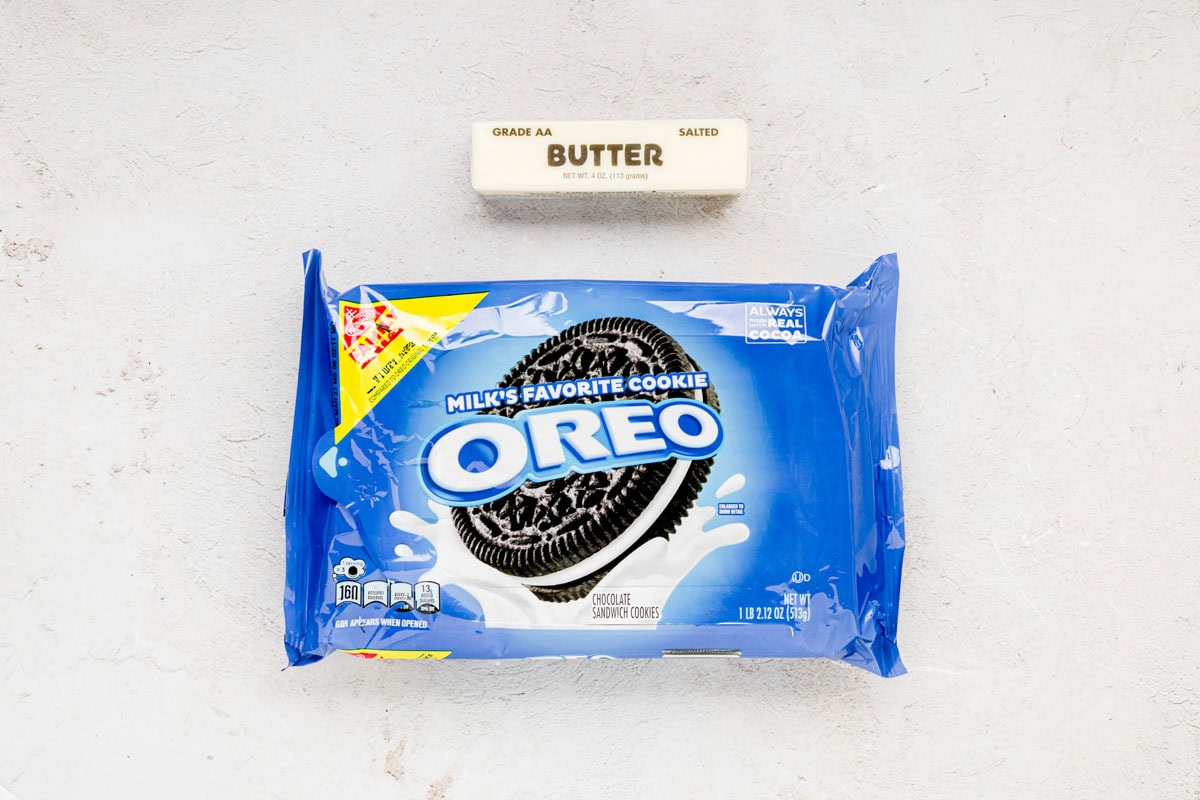
- Oreo cookies: Use regular Oreos with the filling left in. The filling adds sweetness, so this crust needs no sugar. Skip Double Stuf, because the extra filling goes in with the butter and makes the crust oily and soft.
- Salted butter: The butter holds the crumbs together. You want the mixture quite wet and thick before you press it in. I use salted because I like the contrast to the sweet, but you can use unsalted if you prefer.
How to Make Oreo Pie Crust
✱ Below are step-by-step photos and instructions. For the complete recipe, along with ingredient amounts, scroll down to the recipe card.
Step 1 | Melt the Butter
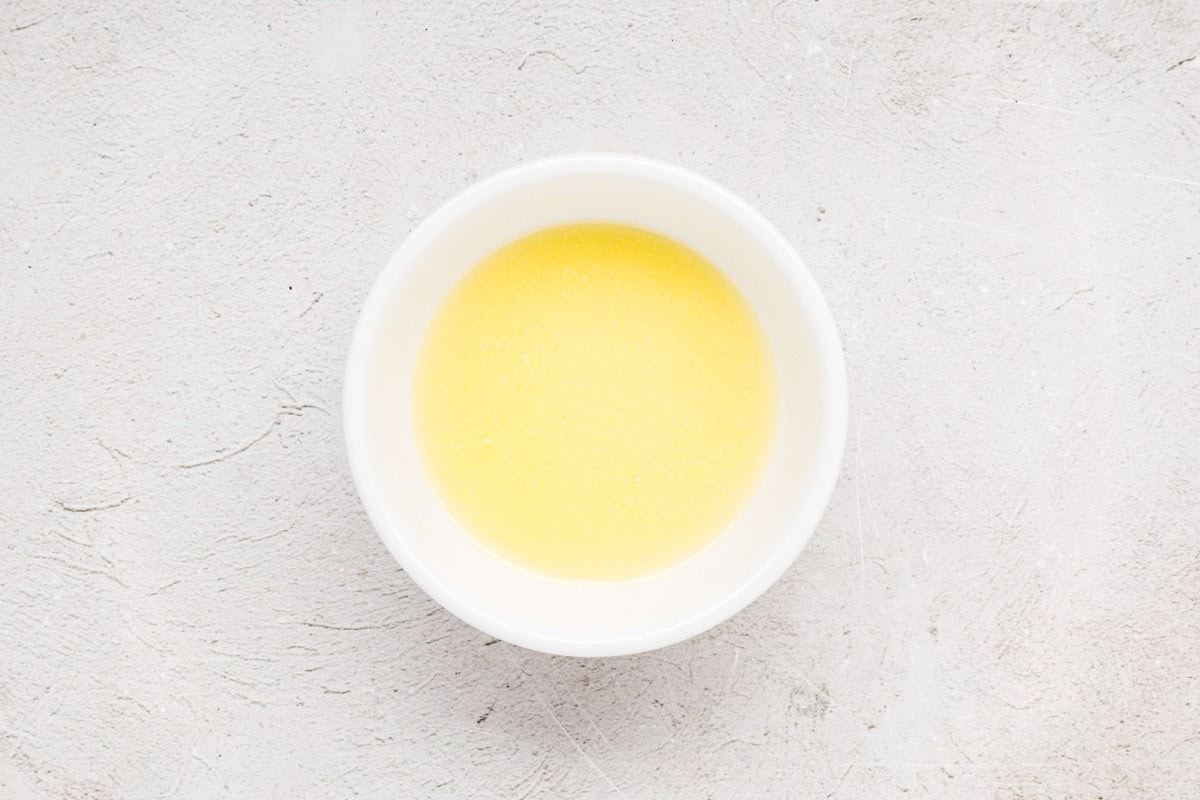
In a medium, microwave-safe bowl, add the butter and heat it in 20-second increments until melted.
Step 2 | Crush the Oreos
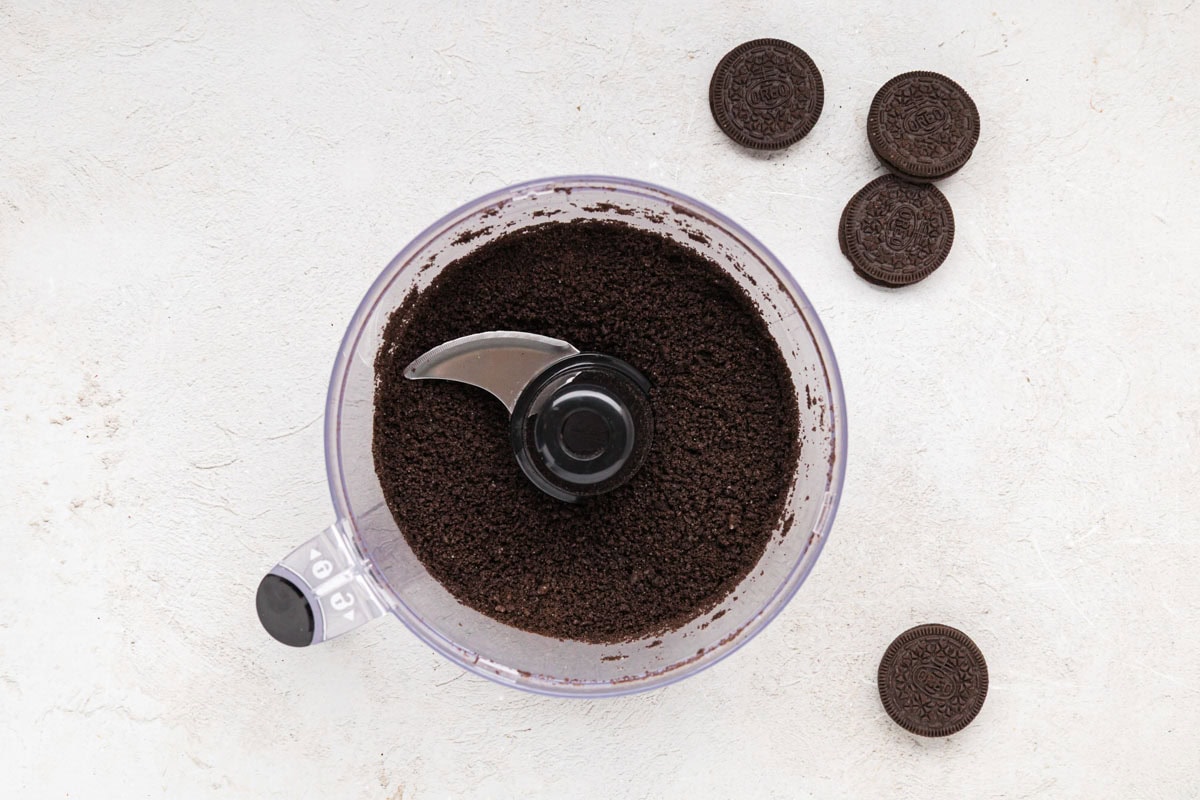
Add the Oreos to a food processor, working in batches if necessary. Don’t overcrowd it, and crush into a fine crumb.
You can also place them in a zip-top bag and crush them into fine crumbs with a little arm muscle and a rolling pin. You should have about 2 cups of packed crumbs.
Pour the crumbs into a large bowl, or you can keep them in the food processor if you prefer to mix them with the butter there (fewer dishes).
Step 3 | Stir in the Butter
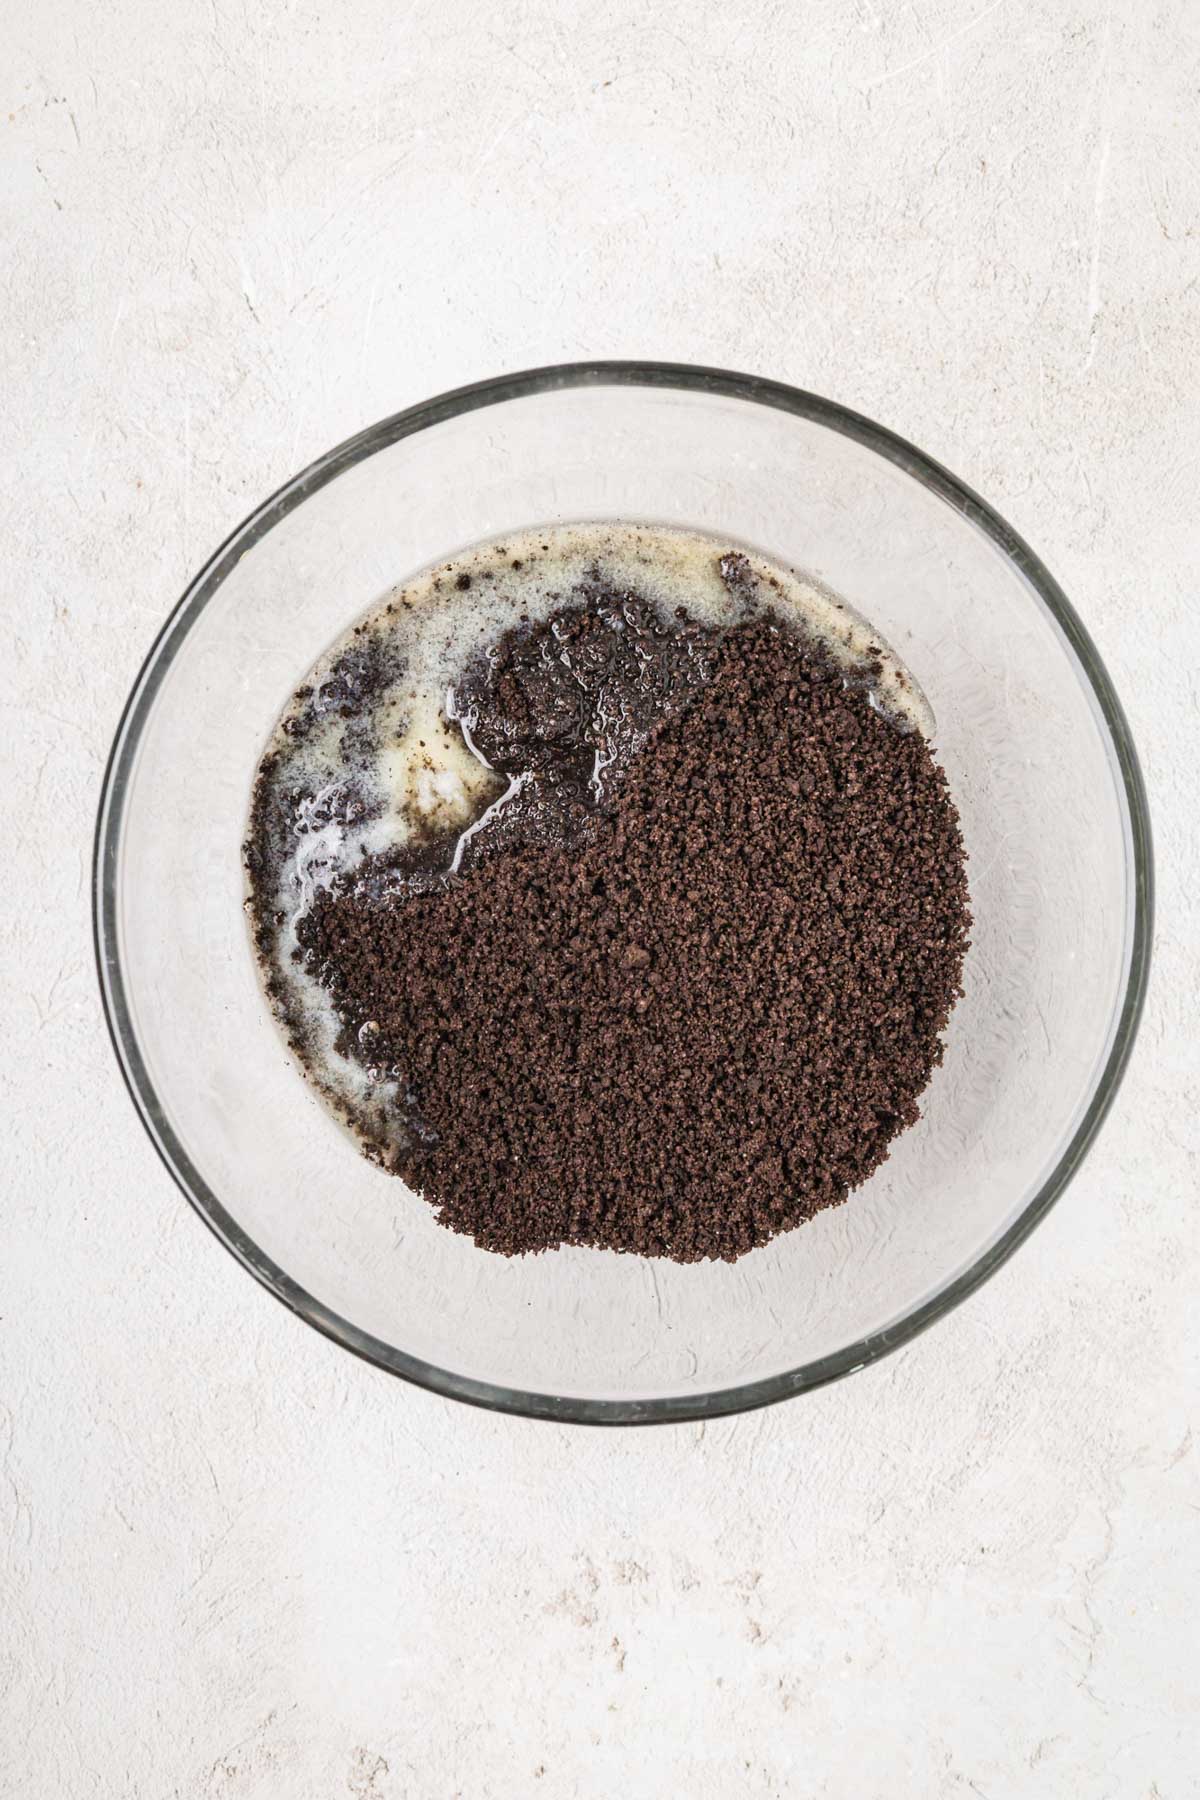
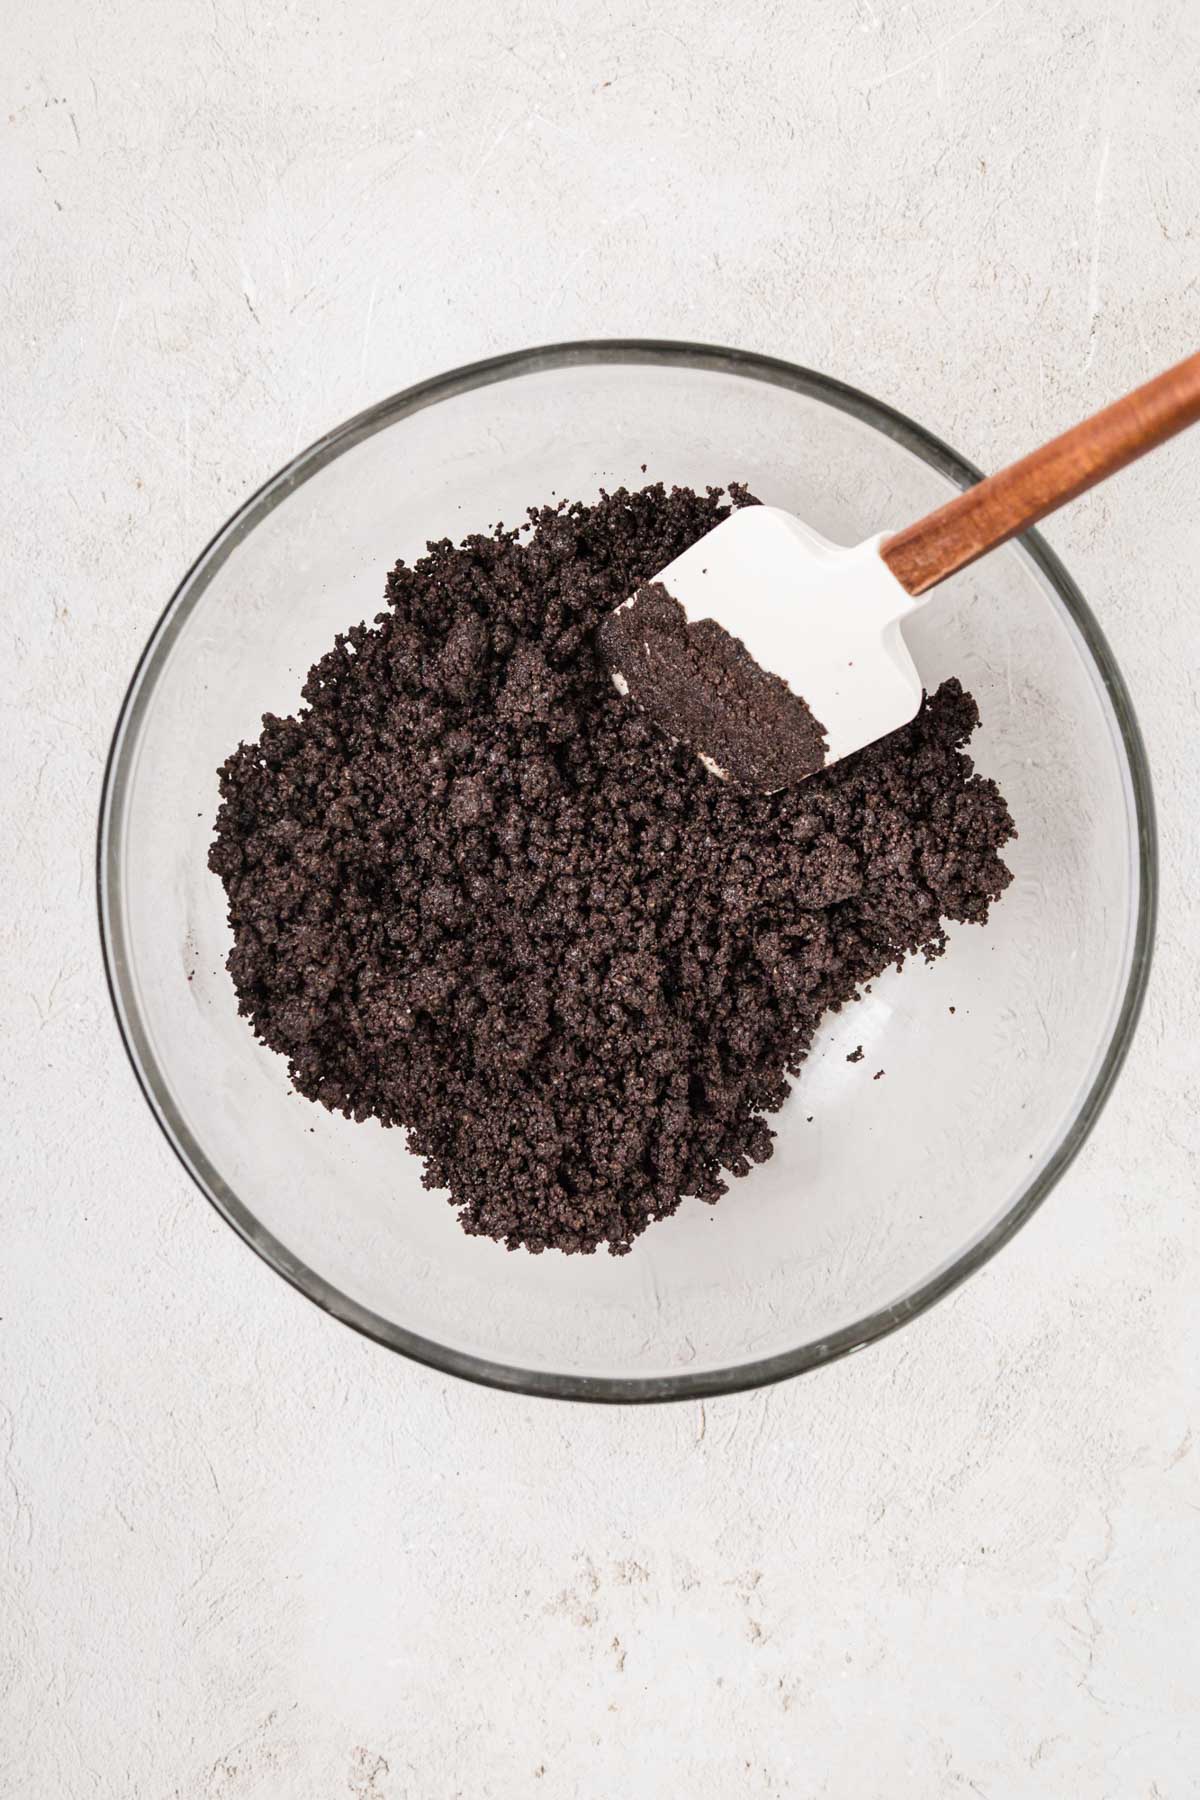
Add the melted butter and stir until fully combined. You can also pulse the butter in the food processor for just a second or stir it in by hand if you don’t want to dirty another dish.
The mixture will be quite wet and thick. Crush up any large chunks that might remain.
Step 4 | Press Into the Pan
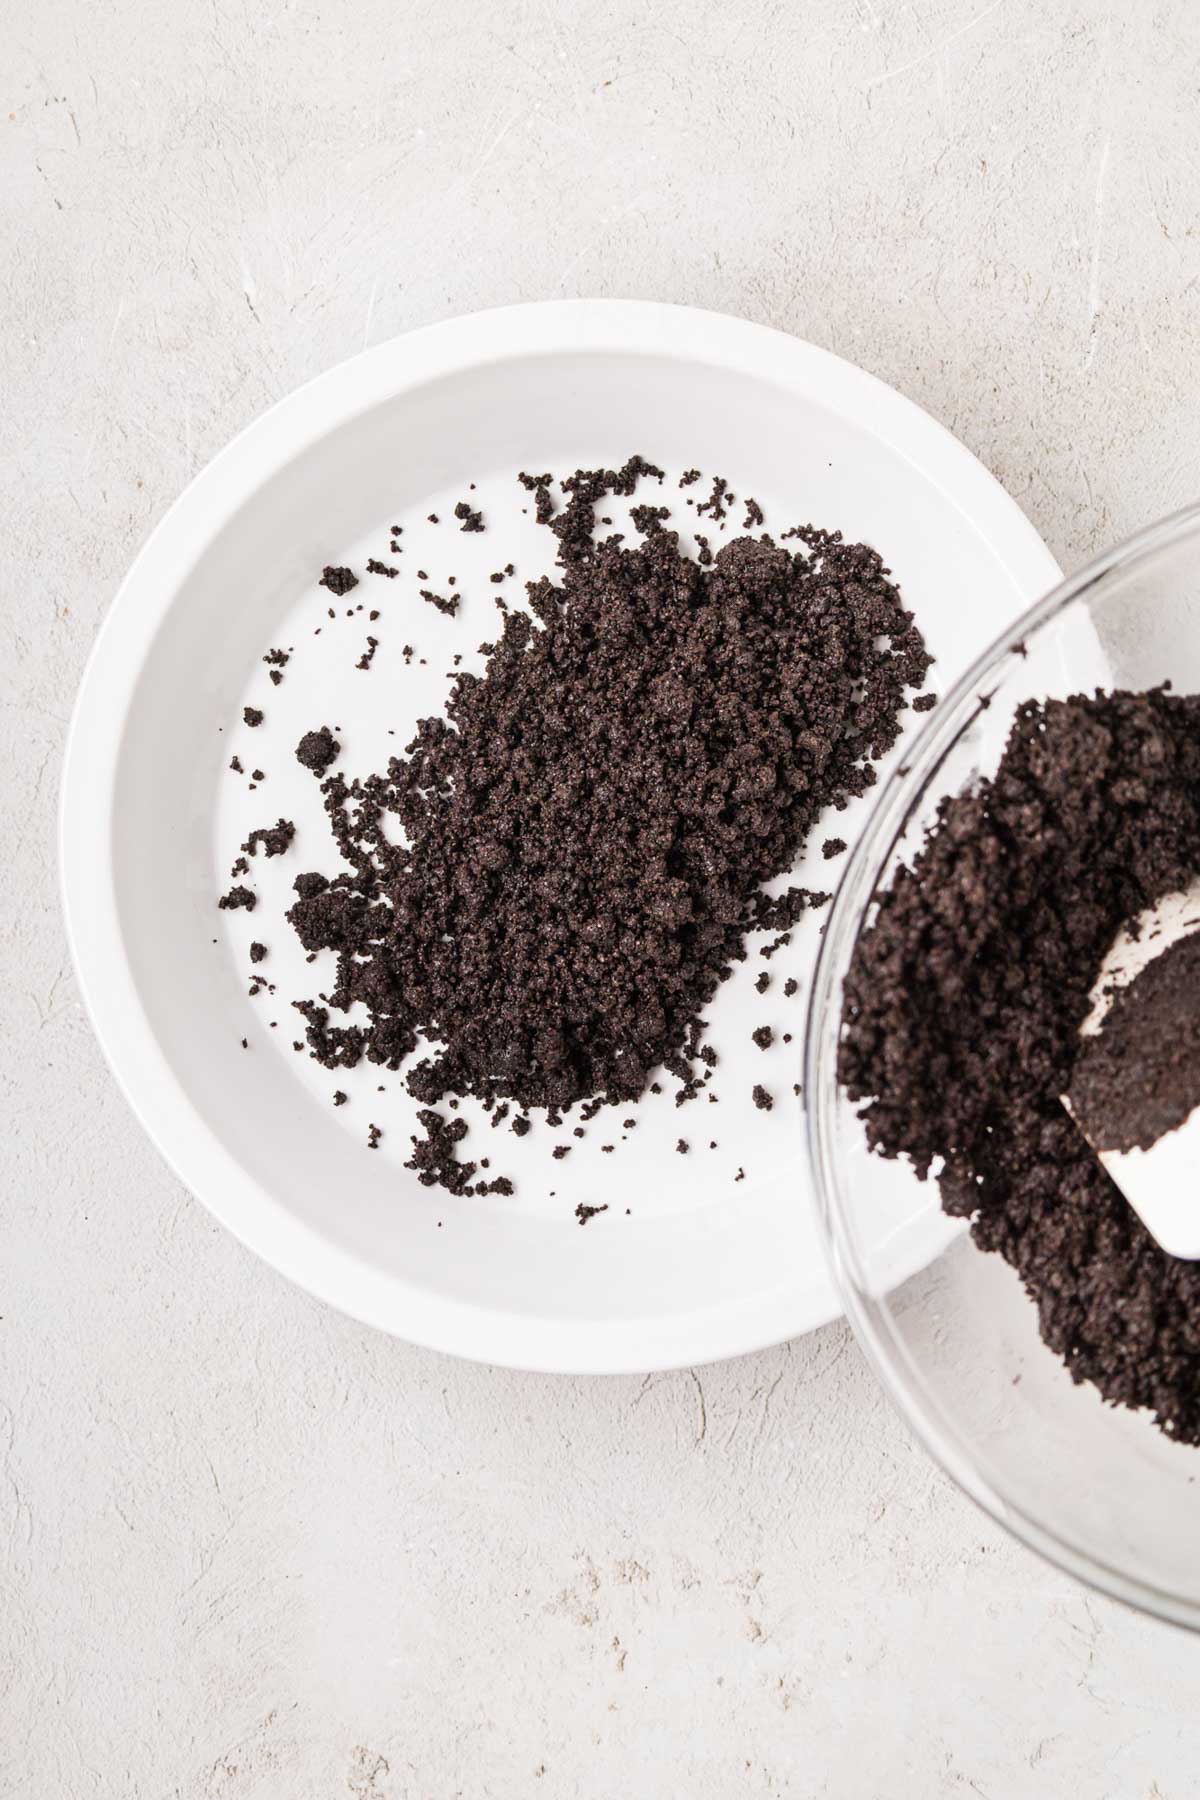
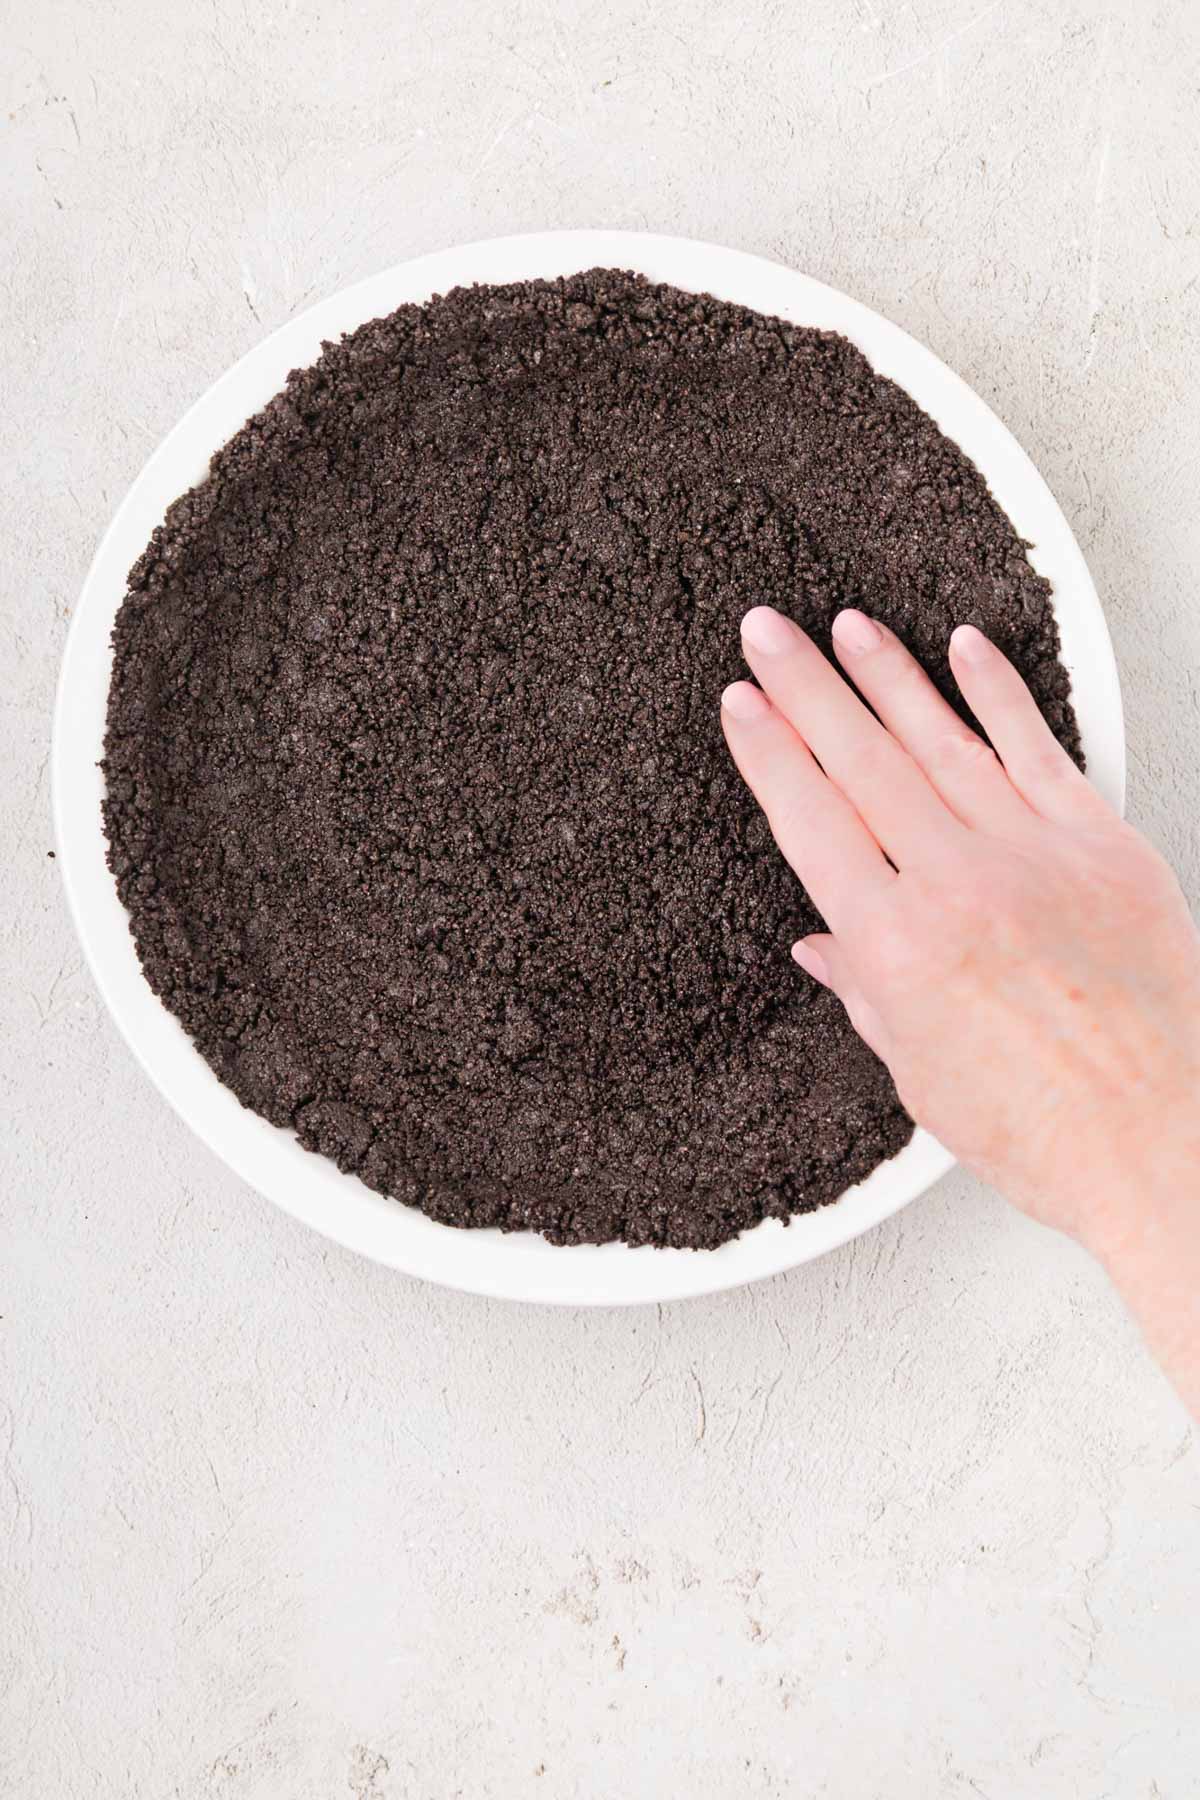
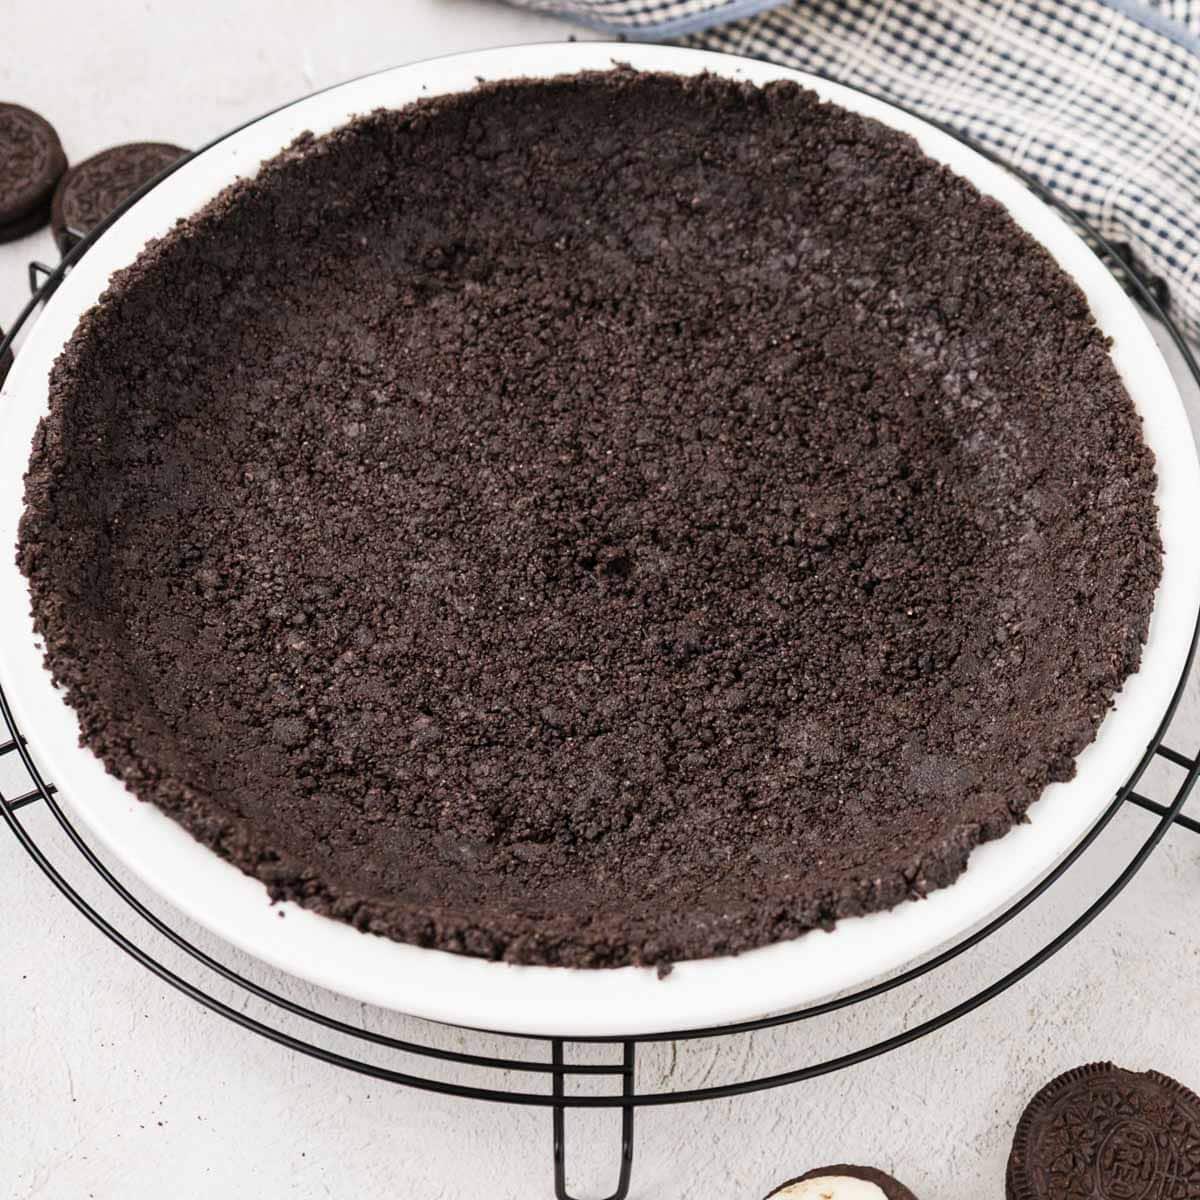
Pour the crumb mixture into the pan. Using your hand with medium pressure, pat the crumbs down into the bottom and up the sides.
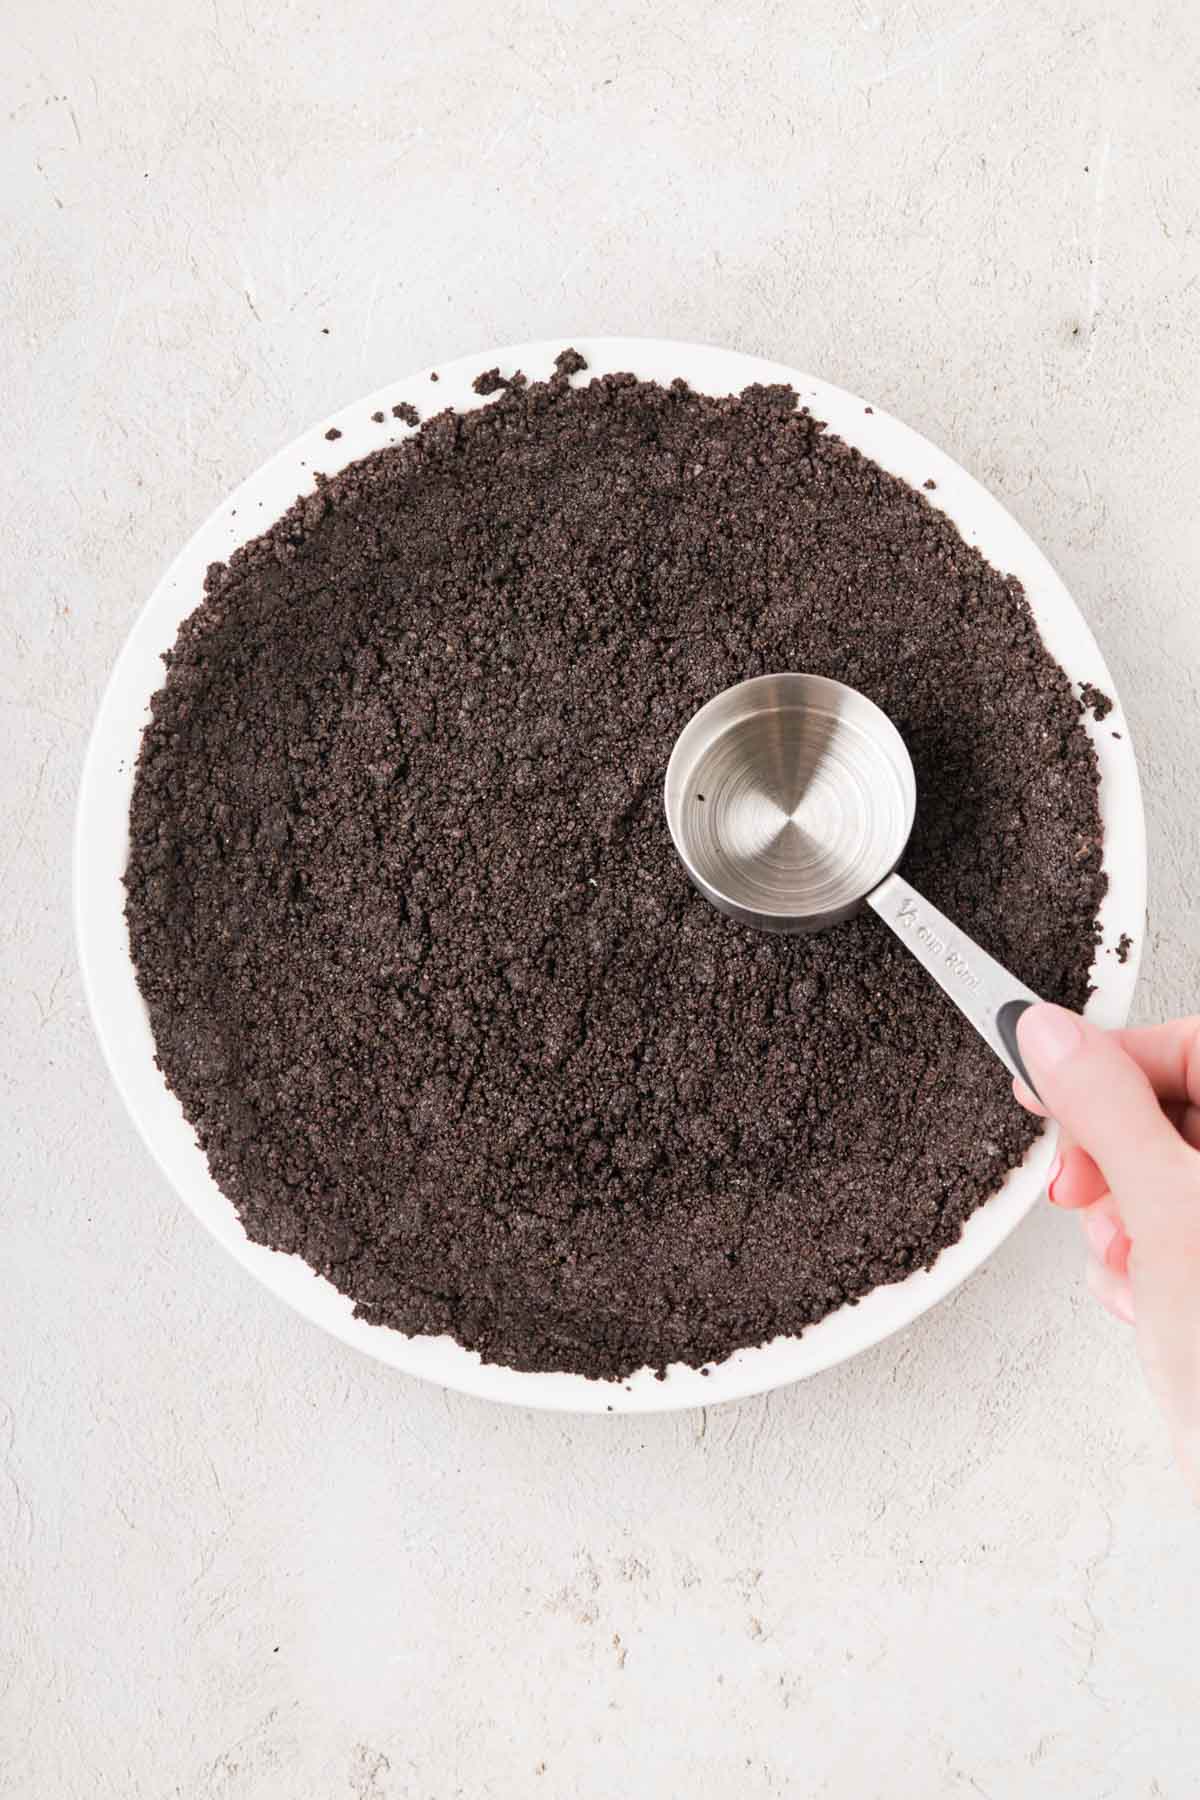
Then, use a small flat-bottomed measuring cup to help press down the bottom crust and smooth out the surface, but do not pack it down too hard.
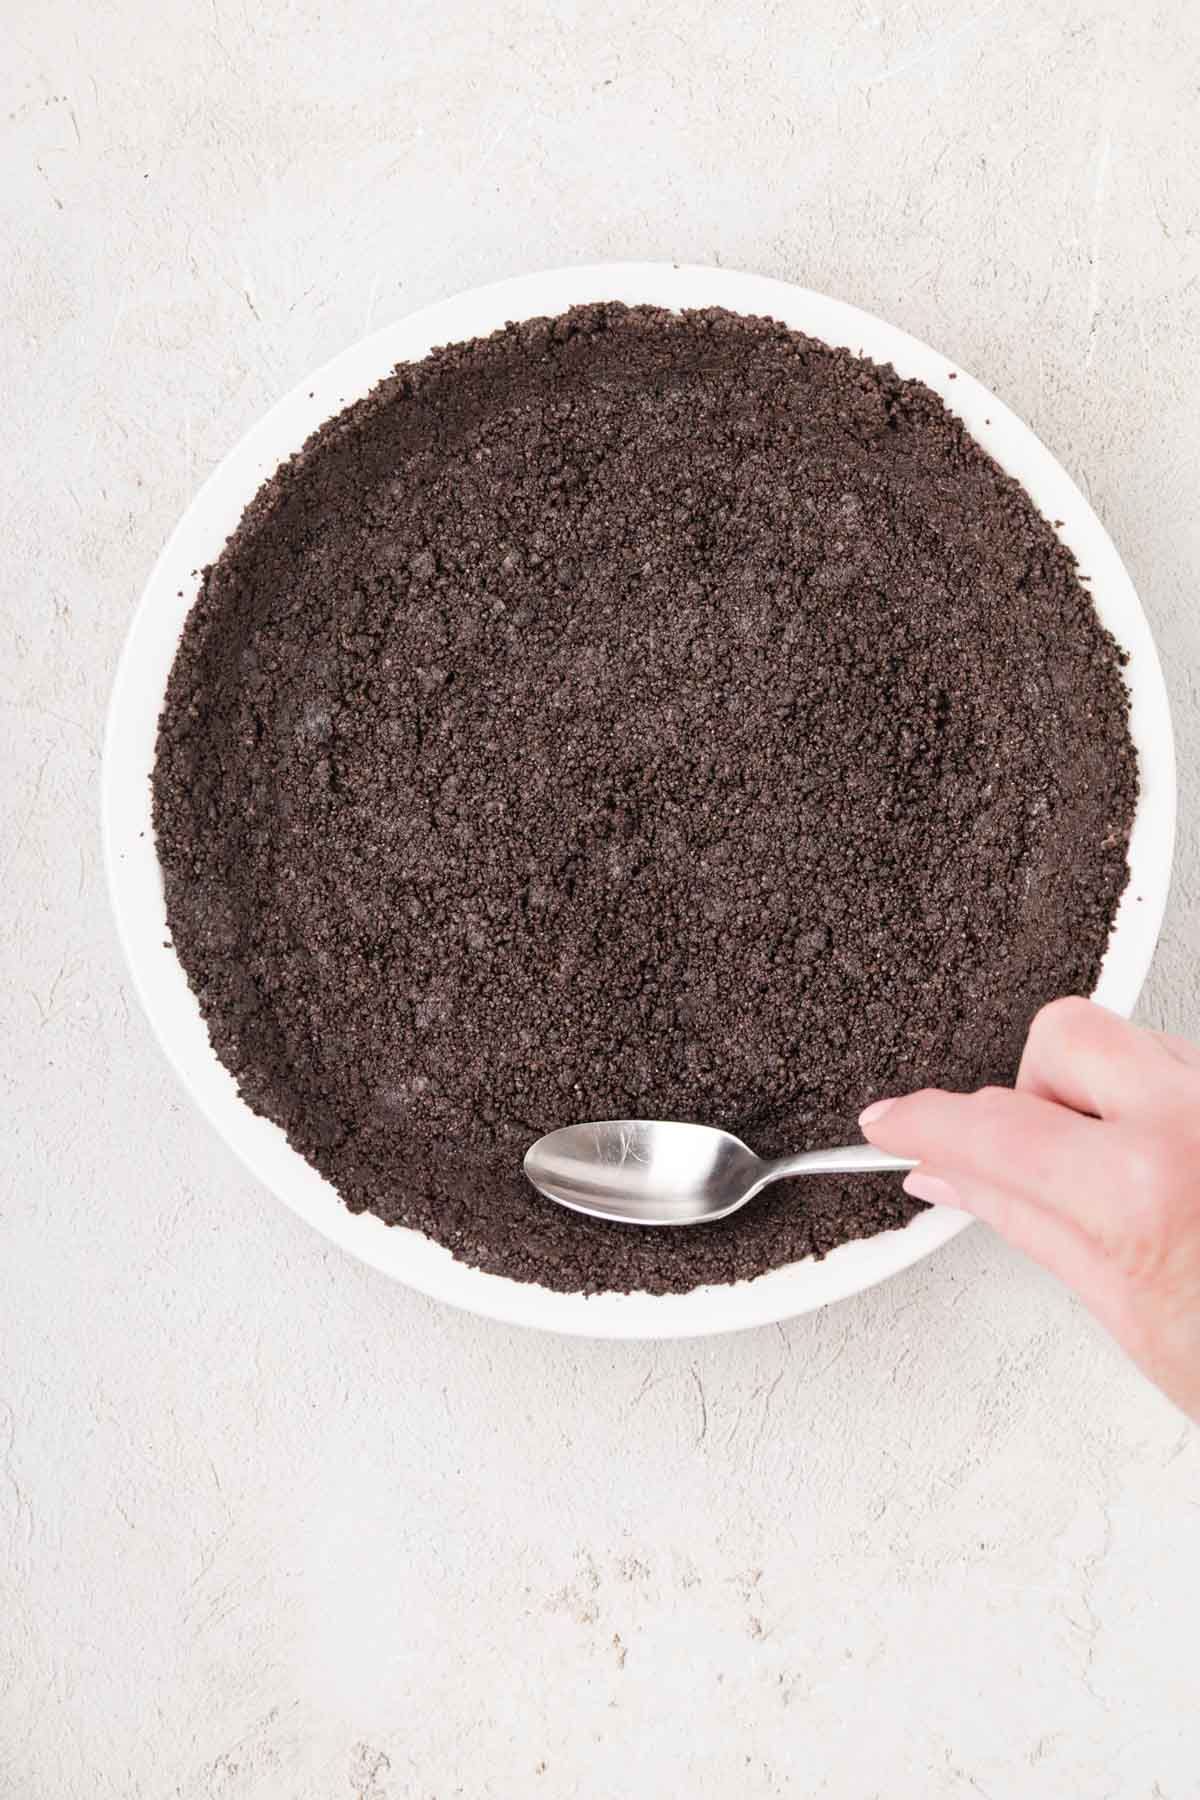
If you’re making a pie, run a spoon around the bottom where the edge and bottom meet. This makes a rounded edge and helps prevent the crust from falling apart when you cut slices. This is the trick one of the ladies at my church showed me.
Step 5 | Bake or Freeze (No-Bake) the Crust
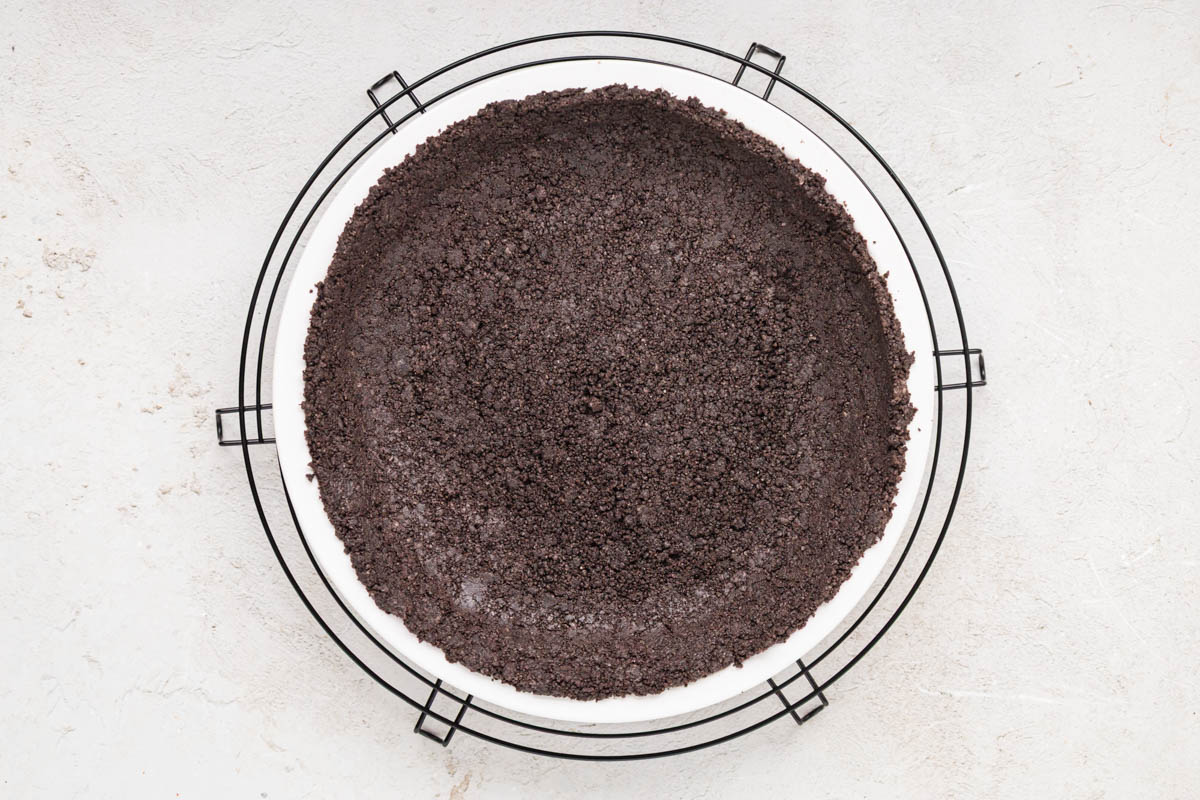
- No-bake crust: Place it in the freezer for about 20 to 30 minutes before using.
- Baked filling: Pre-bake the crust per your filling recipe directions. I usually pre-bake for 8 to 10 minutes at 350°F.
- Baked Pie Crust with a No-bake filling: Bake the crust for 10 to 12 minutes at 350°F.
Cool the crust completely before using, unless your filling recipe says otherwise.
Variations & Substitutions
- Other flavors: Other Oreo flavors work as well.
- Other brands: Generic or other brands of chocolate sandwich cookies work. They may not be the same size or weight as Oreos, so the number of cookies you need can change. Go by the packed cups of crumbs in step 2.
- Pan sizes: Use an 8 to 10-inch pie dish, round cake pan, springform pan, or square pan.
- 9×13 pan: One batch isn’t enough for a 9×13. Use 30 Oreos and 8 tablespoons (1 stick) of butter, and make 1.5 times the filling you would normally use.
Gluten-Free Oreo Pie Crust
Gluten-Free Oreos work in this crust. I’ve made it with them, and it works great. Use them the same way as regular Oreos.
If you or anyone you’re serving has celiac disease, check every label carefully, on the cookies and on every ingredient in your filling. Formulations can change without notice.
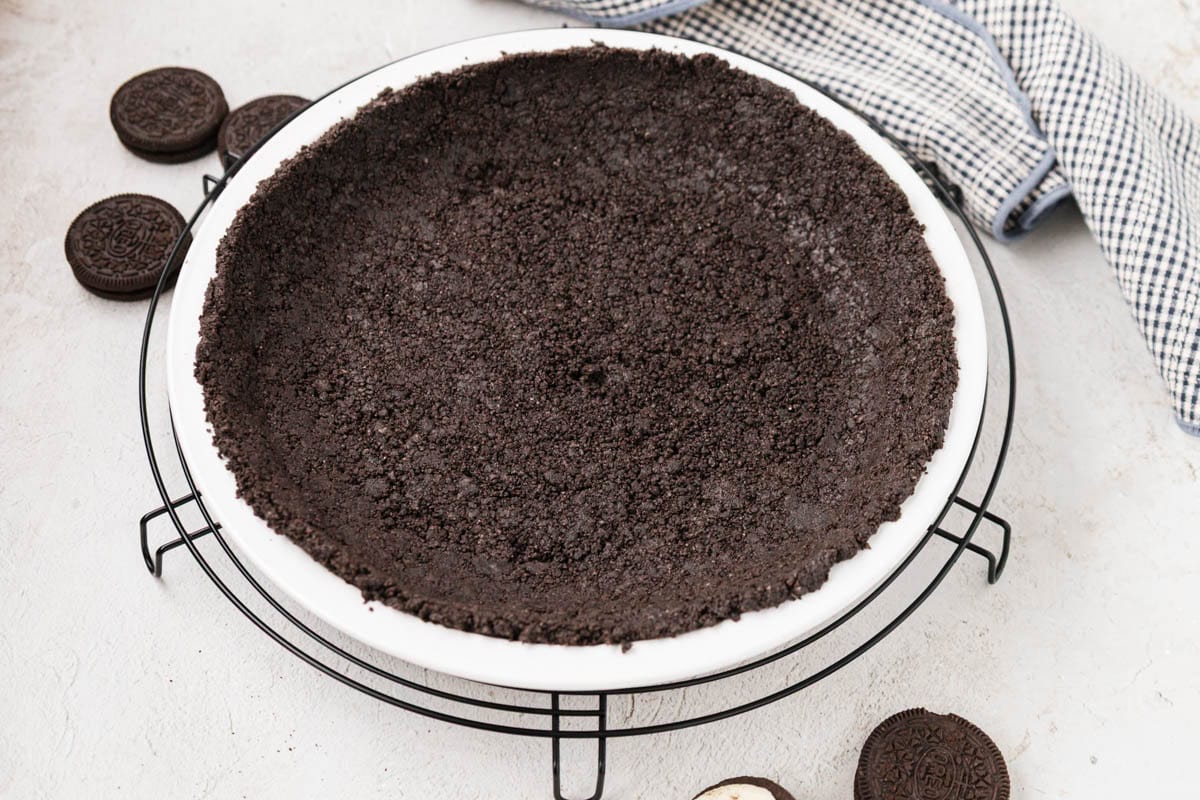
Tips for the Best Oreo Pie Crust
- Why does my Oreo crust fall apart when I slice it? Start with the crumbs. The finer you crush them, the better the crust holds its shape, so break up any large chunks before you press. Then run the spoon around the edge, like in step 4.
- What if my crumbs look dry? Add a little more melted butter, one tablespoon at a time, until the crumbs are evenly moistened.
- Is the mixture supposed to be this wet? Yes. It will be quite wet and thick before you press it in. If it ends up too wet, add more crumbs, 1 tablespoon at a time.
- Why is my Oreo crust hard to cut? It may be packed too hard. Press with medium pressure and a flat-bottomed measuring cup.
- How do I keep an Oreo crust from getting soggy? Cool it completely before you add the filling, unless your filling recipe says otherwise.
What to Fill an Oreo Cookie Crust With
My Reese’s Peanut Butter Cup Pie uses this crust, and so does my Butterfinger Pie. It’s a great chocolate Oreo pie crust for any no-bake filling.
For a bigger dish, use the 9×13 version. That’s what goes into my Oreo Ice Cream Dessert and my No Bake Fireworks Oreo Cheesecake Bars. Any time a filling wants a chocolate crust, this is the base.
How to Make Ahead and Freeze Oreo Pie Crust
Make Ahead: Make the crust and refrigerate it in the pan for up to 3 days before using it in your recipe.
Freeze: Freeze the prepared crust in its pan for up to 3 months. A short freeze of 20 to 30 minutes hardens it enough to hold your filling. A crust frozen for storage is hard, so let it thaw out some before you use it.
Frequently Asked Questions
24 to 30 Oreos, depending on the pie dish. You want about 2 cups of packed crumbs.
I don’t. The extra filling makes the crust too oily and soft, so I stick with regular Oreos.
No. Crush the whole cookie, filling and all.
Yes. Bake it at 350°F for 8 to 10 minutes for a baked filling, or 10 to 12 minutes for a no-bake one. Step 5 has the details.
Yes, it makes an easy Oreo cheesecake crust.
Hungry for more easy, home-cooked, delicious recipes?
Sign up for my free recipe club to get family-friendly recipes in your inbox each week! Find me sharing daily meal-time inspiration on Pinterest, Facebook, and Instagram.
Oreo Cookie Crust (No-Bake or Bake)

Click Stars To Rate
Ingredients
- 24 to 30 Oreo cookies
- 5 tablespoons salted butter - or unsalted butter
Instructions
- Melt the butter: In a medium microwave-safe bowl, add the butter and heat in the microwave in 20-second increments until melted.
- Crush the Oreos: Add the cookies to a food processor, working in batches if you need to. Don’t overcrowd it. Crush them into a fine crumb. You should end up with about 2 packed cups of crumbs. Pour the crumbs into a large bowl.
- Stir in the butter: Add the melted butter and stir until fully combined. The mixture will be quite wet and thick. Crush up any large chunks that might be remaining.
- Press it into the pan: Pour the crumb mixture into the pan and, using your hand with medium pressure, pat the crumbs down into the bottom and up the sides. Use a small, flat-bottomed measuring cup to help press down the bottom crust and smooth out the surface, but don't pack down too hard. If making a pie, run a spoon around the bottom where the edge and bottom meet. This will make a rounded edge and help prevent the crust from falling apart when you cut slices.
- No-Bake Pie Crust Instructions: Place in the freezer for about 20-30 minutes, before using.
- Bake or Freeze (No-Bake) the Crust:No-bake pie (frozen crust): Skip the oven and freeze the crust for 20-30 minutes before using.Baked filling: Pre-bake the crust per your filling recipe directions. I usually pre-bake for 8-10 minutes at 350°F.No-bake filling with a baked crust: If you’d rather bake the crust for a no-bake filling, bake it for 10-12 minutes at 350°F.Cool the crust completely before using, unless your no-bake filling recipe says otherwise.
Notes
Gluten-Free Oreo Pie Crust
Gluten-Free Oreos work in this crust. I’ve made it with them, and it works great. Use them the same way as regular Oreos.Want to Save this Recipe?
By submitting this form, you consent to receive emails from Soulfully Made.
Nutrition
Soulfully Made is not a dietician or nutritionist, and any nutritional information shared is an estimate. If calorie count and other nutritional values are important to you, we recommend running the ingredients through whichever online nutritional calculator you prefer. Calories and other nutritional values can vary quite a bit depending on which brands were used.
