

This post may contain affiliate links. Please read our disclosure policy.
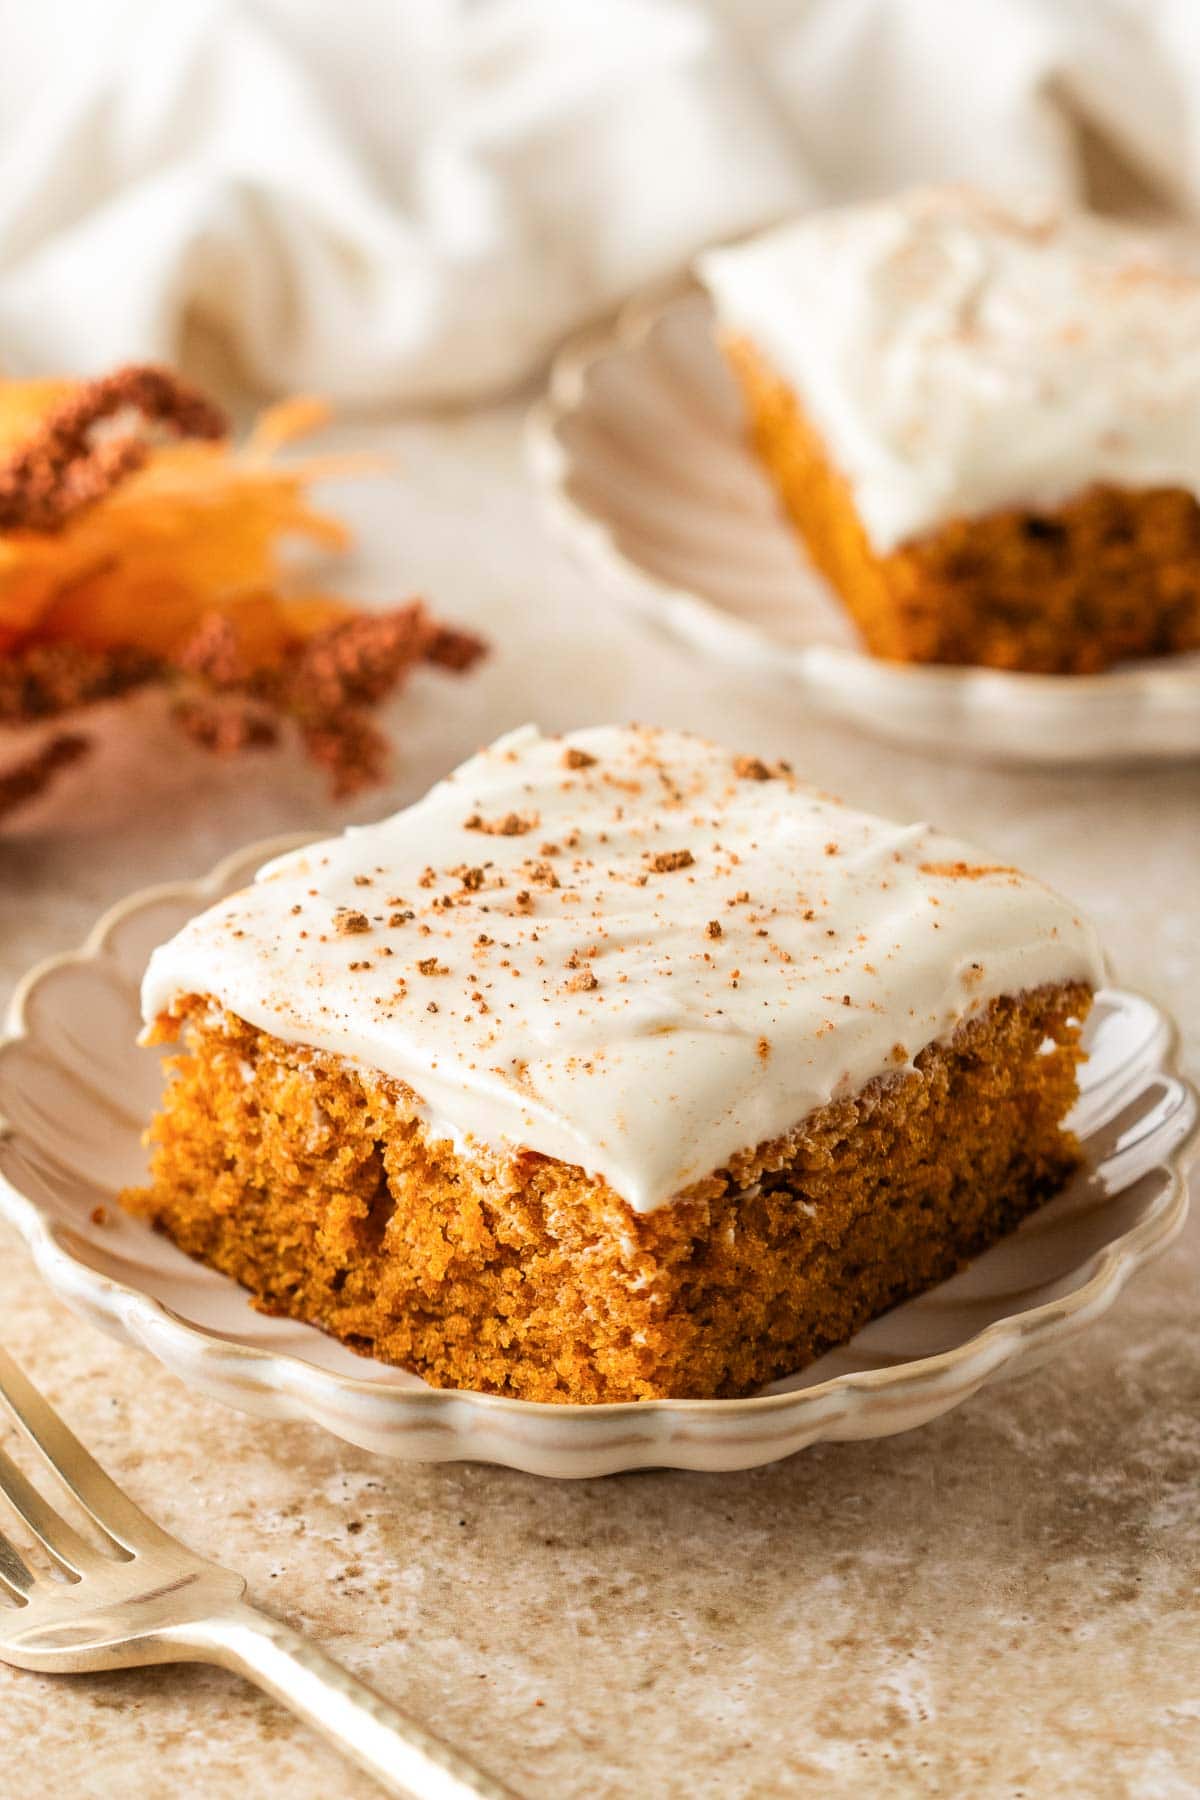
These soft Pumpkin Bars with Cream Cheese Frosting are moist, perfectly spiced, and topped with a thick layer of tangy, sweet frosting. The secret here is that I don’t stop at cinnamon. Ginger, nutmeg, and pumpkin pie spice are all added too, so every single bite tastes like fall. Let this one become your new go-to easy fall dessert!
Y’all, once the weather even thinks about turning cooler, I am elbow-deep in pumpkin puree. I’ve made a lot of pumpkin desserts, like my Pumpkin Cheesecake Bars and Pumpkin Brownies, but these bars are the one I reach for when I want something simple, no mixer drama, and no layers to fuss with.
One bowl for the batter, one bowl for the frosting, and you’re done. The cream cheese frosting is thick enough to hold its own against the moist, spiced cake underneath, which is exactly what you want. Nobody wants a frosting that slides right off! If you’re a cream cheese frosting person like me, you’ll also want to bookmark my Red Velvet Brownies for when chocolate season rolls back around.
NikkiWhy Everyone Loves This Pumpkin Bars Recipe
- One bowl, no mixer required for the batter. A whisk and a hand mixer are all you need. There’s no creaming butter and sugar for ages, which makes this a great starter recipe if you’re newer to baking.
- Just one pan of bars, no layers to stack. Unlike a layer cake, there’s no leveling, filling, or stacking involved. Mix, bake, frost, done.
- Tested until the texture was just right. I baked this recipe several times to land on a batter that’s moist without being dense, so you don’t have to guess at bake times or wonder if you’ve overmixed.
- Make-ahead friendly. The bars actually taste even better the next day once the frosting has had time to set into the top layer, so they’re an easy dessert to make a day before you need them.
Ingredients
My Signature Fall Dinner Dishes!
FREE EMAIL BONUS: My greatest hits: bold, cozy, and brag-worthy.n
Pumpkin Bars
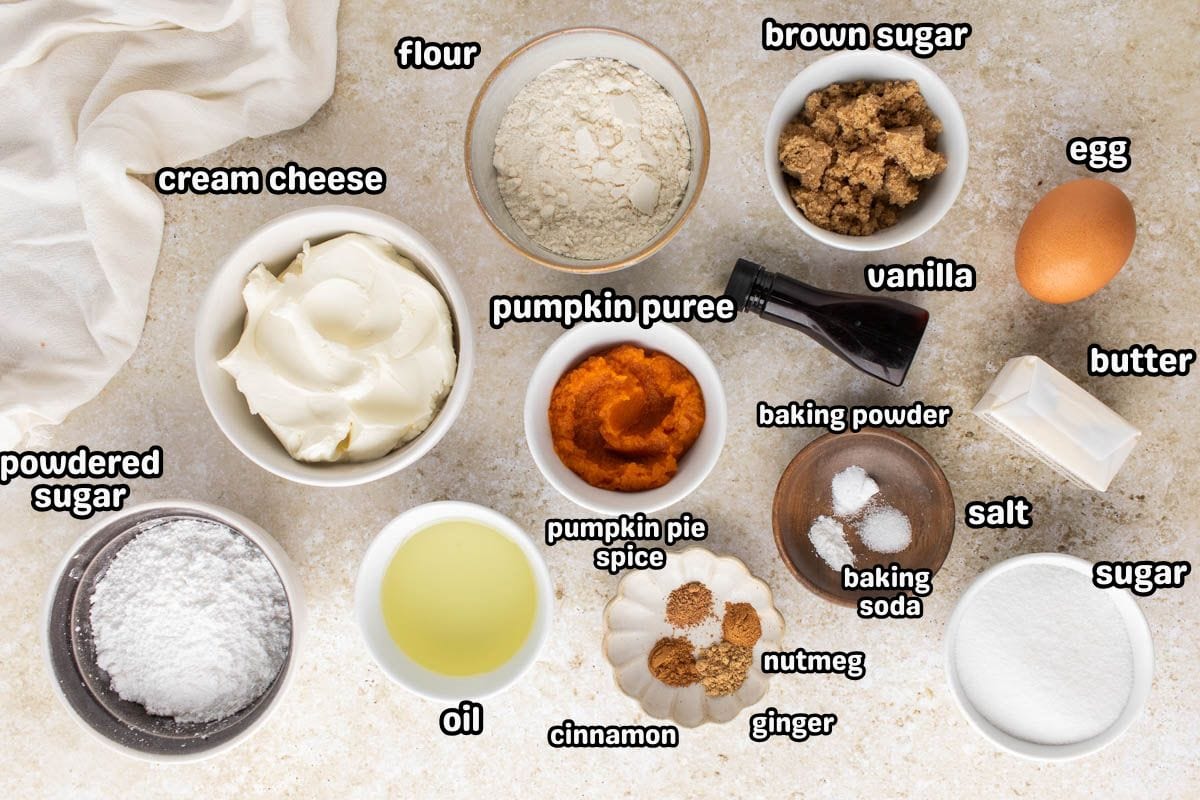
- All-purpose flour: The base of the bars. Spoon it into your measuring cup and level it off rather than scooping straight from the bag, or you can end up with too much flour and dry bars.
- Baking powder & baking soda: These two work together to give the bars a soft lift without becoming cakey or dry.
- Salt: Just a little, to balance out all that sweetness and make the spices taste brighter.
- Cinnamon, pumpkin pie spice, ginger & nutmeg: This combo is what makes these bars taste like fall in every bite instead of just a hint of pumpkin.
- Light brown sugar: Adds moisture and a soft caramel note you don’t get from white sugar alone.
- Granulated sugar: Balances the brown sugar and keeps the bars from tasting too heavy or molasses-forward.
- Vegetable oil: Keeps these bars moist for days, which butter alone doesn’t always do in a spice cake like this.
- Large egg: Room temperature, please! It blends more evenly and helps the bars rise properly.
- Vanilla extract: Rounds out the spices and adds warmth to the batter.
- Canned pumpkin purée: Make sure the label says pure pumpkin, not pumpkin pie filling.
Cream Cheese Frosting
- Cream cheese: Softened, full-fat block-style cream cheese gives you the thickest, most stable frosting.
- Unsalted butter: Adds richness and helps the frosting whip up light and fluffy.
- Powdered sugar: Sweetens the frosting and gives it that smooth, spreadable texture.
- Vanilla extract: A splash to round out the tang of the cream cheese.
Garnish
- Ground cinnamon: A light dusting on top for a pretty finish and a little extra warmth in every bite.
How To Make Easy Pumpkin Bars
✱ Below shows step-by-step photos and instructions. For the complete recipe, along with ingredient amounts, scroll down to the recipe card.
Step 1 | Mix Dry Ingredients
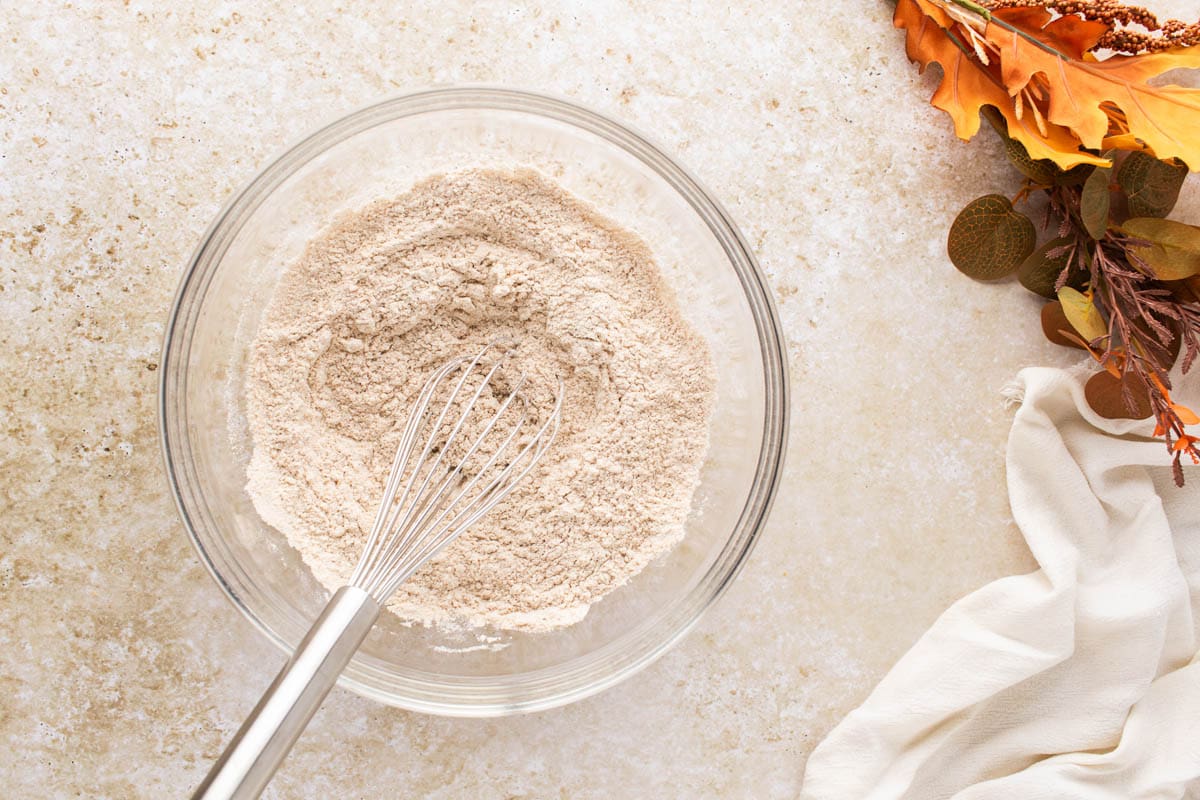
Preheat the oven to 350°F (180°C). Line a 9×9-inch baking dish with parchment paper. In a medium bowl, whisk together the flour, baking powder, baking soda, salt, cinnamon, pumpkin pie spice, ginger, and nutmeg.
Step 2 | Mix Wet Ingredients
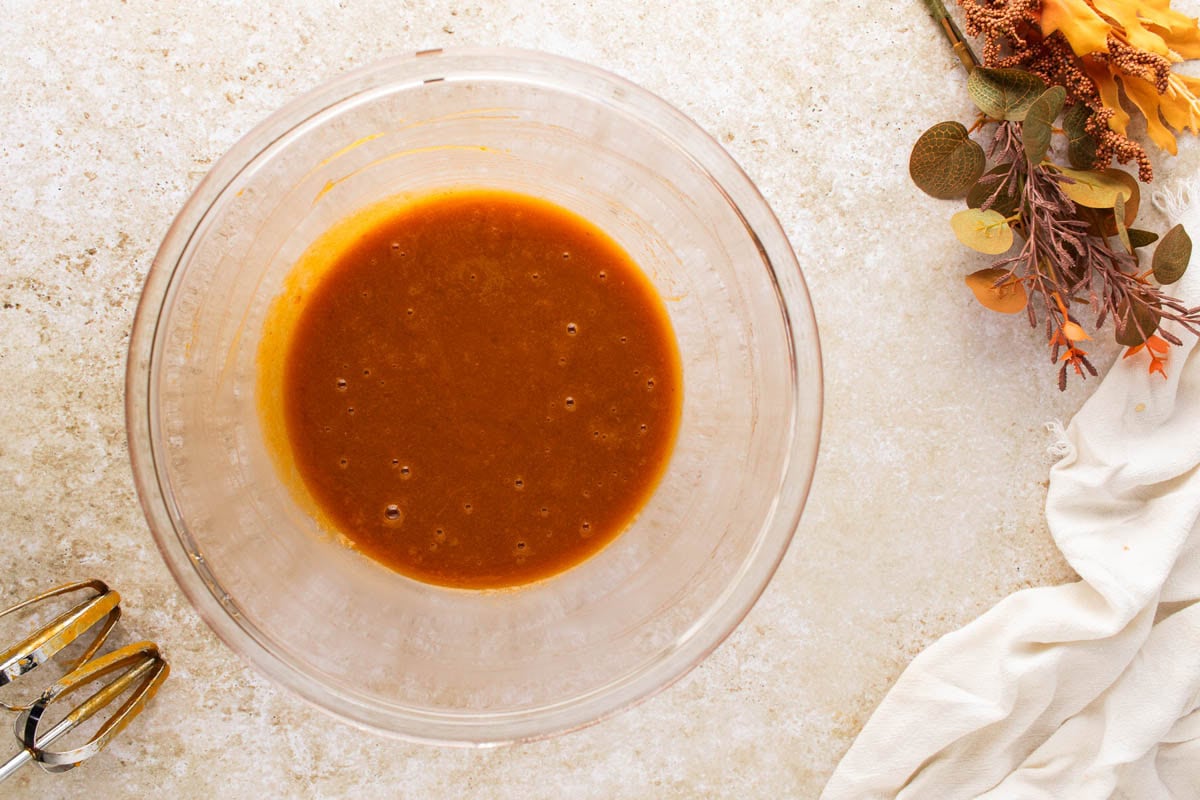
In a large mixing bowl with a hand mixer, mix the brown sugar, granulated sugar, vegetable oil, egg, vanilla, and pumpkin purée until smooth.
Step 3 | Combine
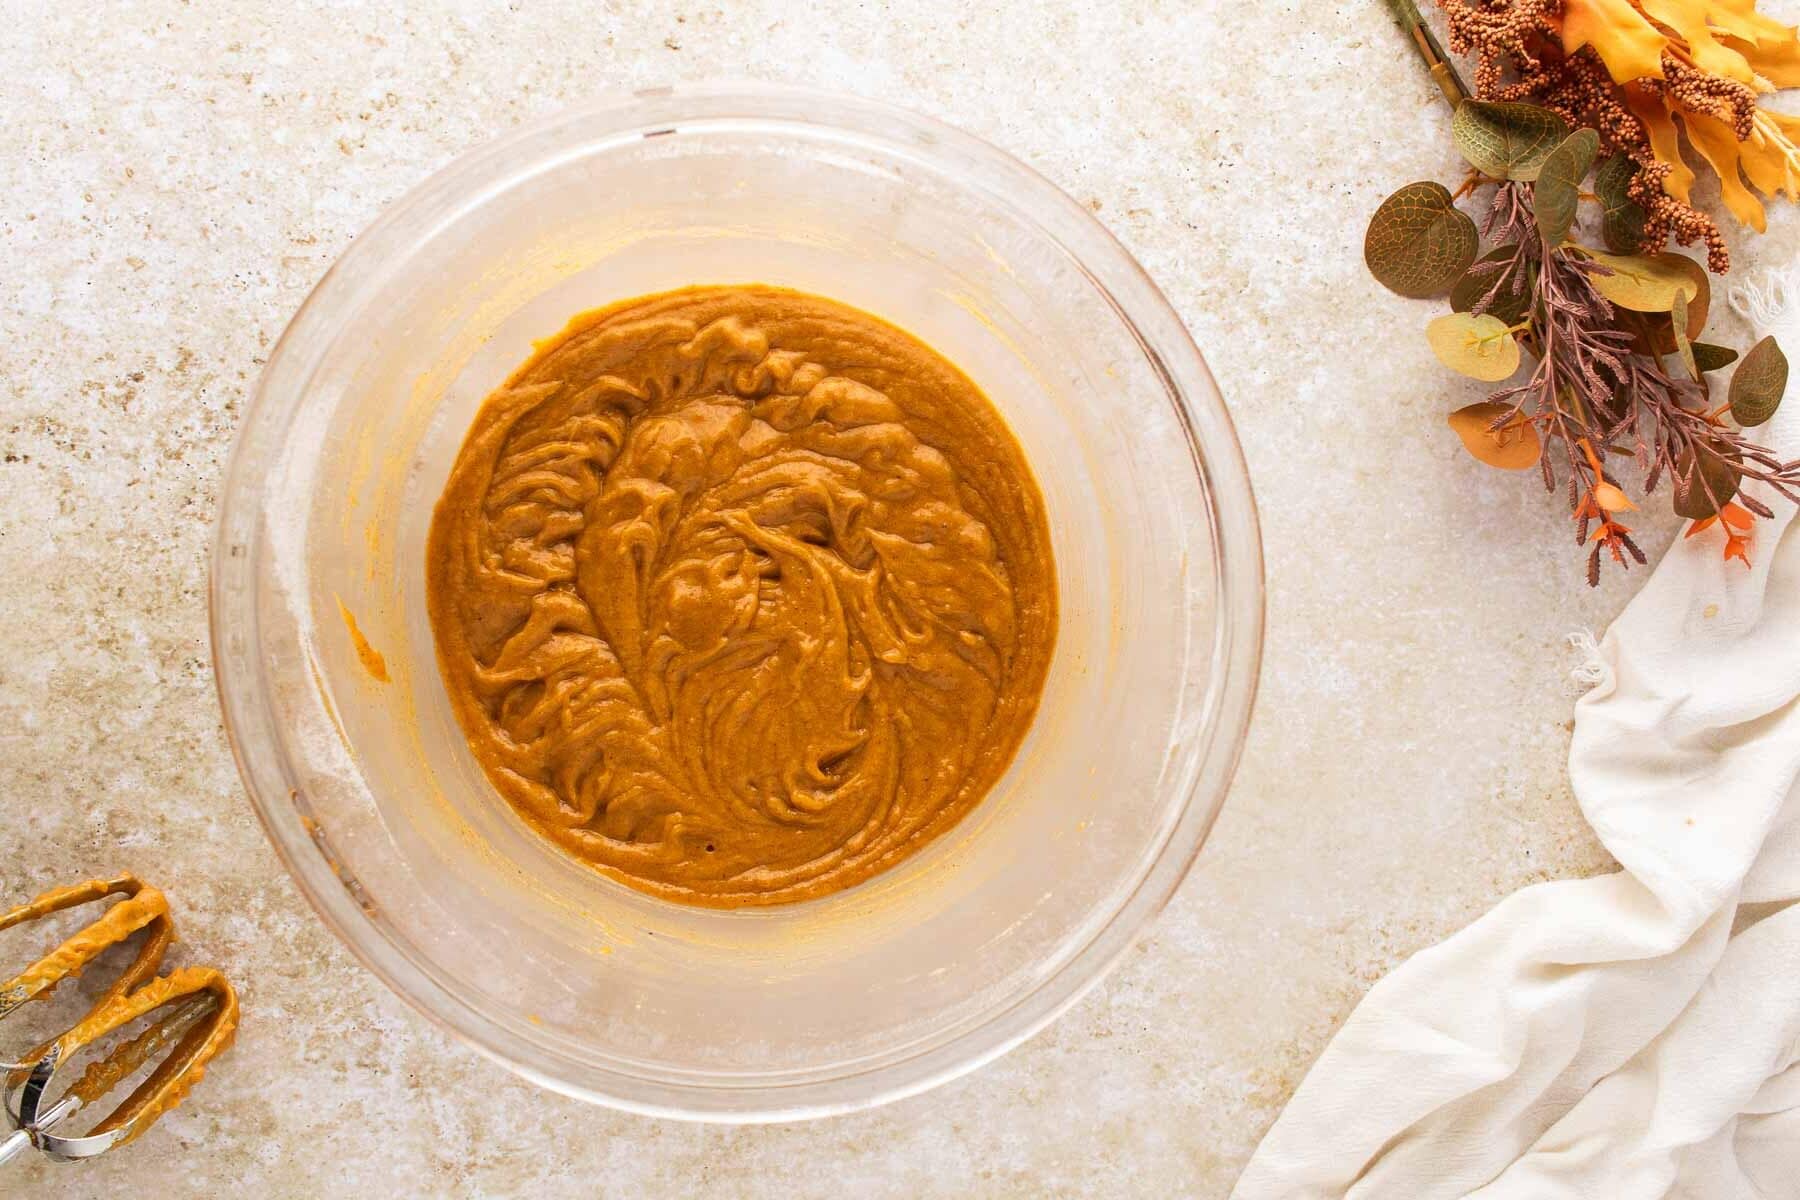
Add the dry ingredients to the wet ingredients and mix just until combined. Do not overmix.
Step | Place in Baking Dish
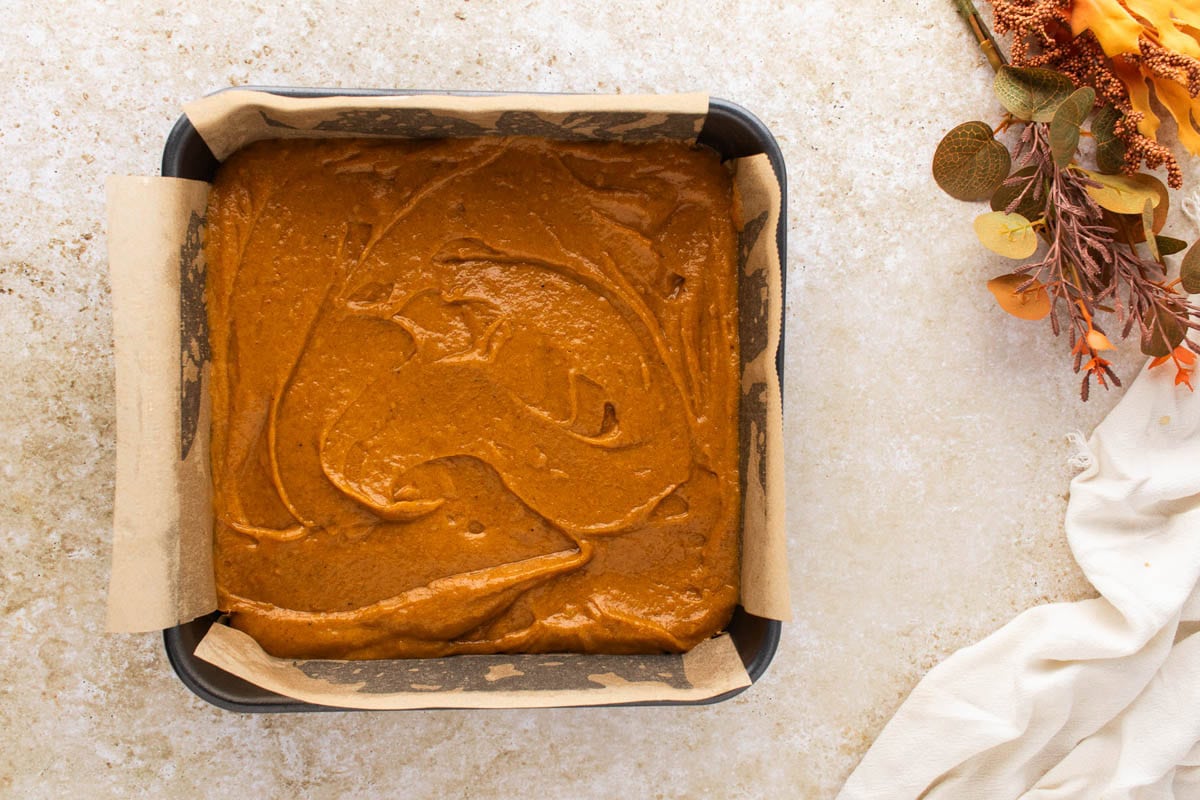
Spread the batter evenly into the prepared baking dish.
Step 5 | Bake
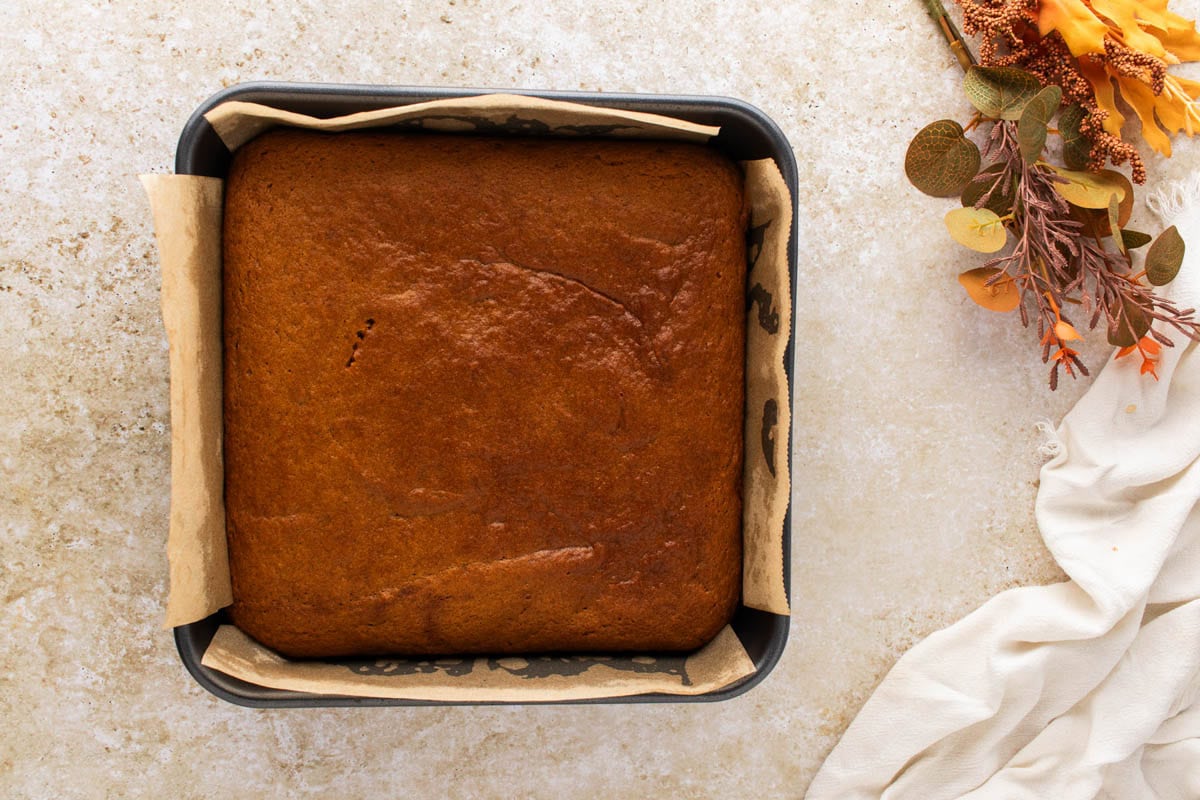
Bake for 25–30 minutes, or until a toothpick inserted into the center comes out clean or with a few moist crumbs. Allow the bars to cool completely before frosting.
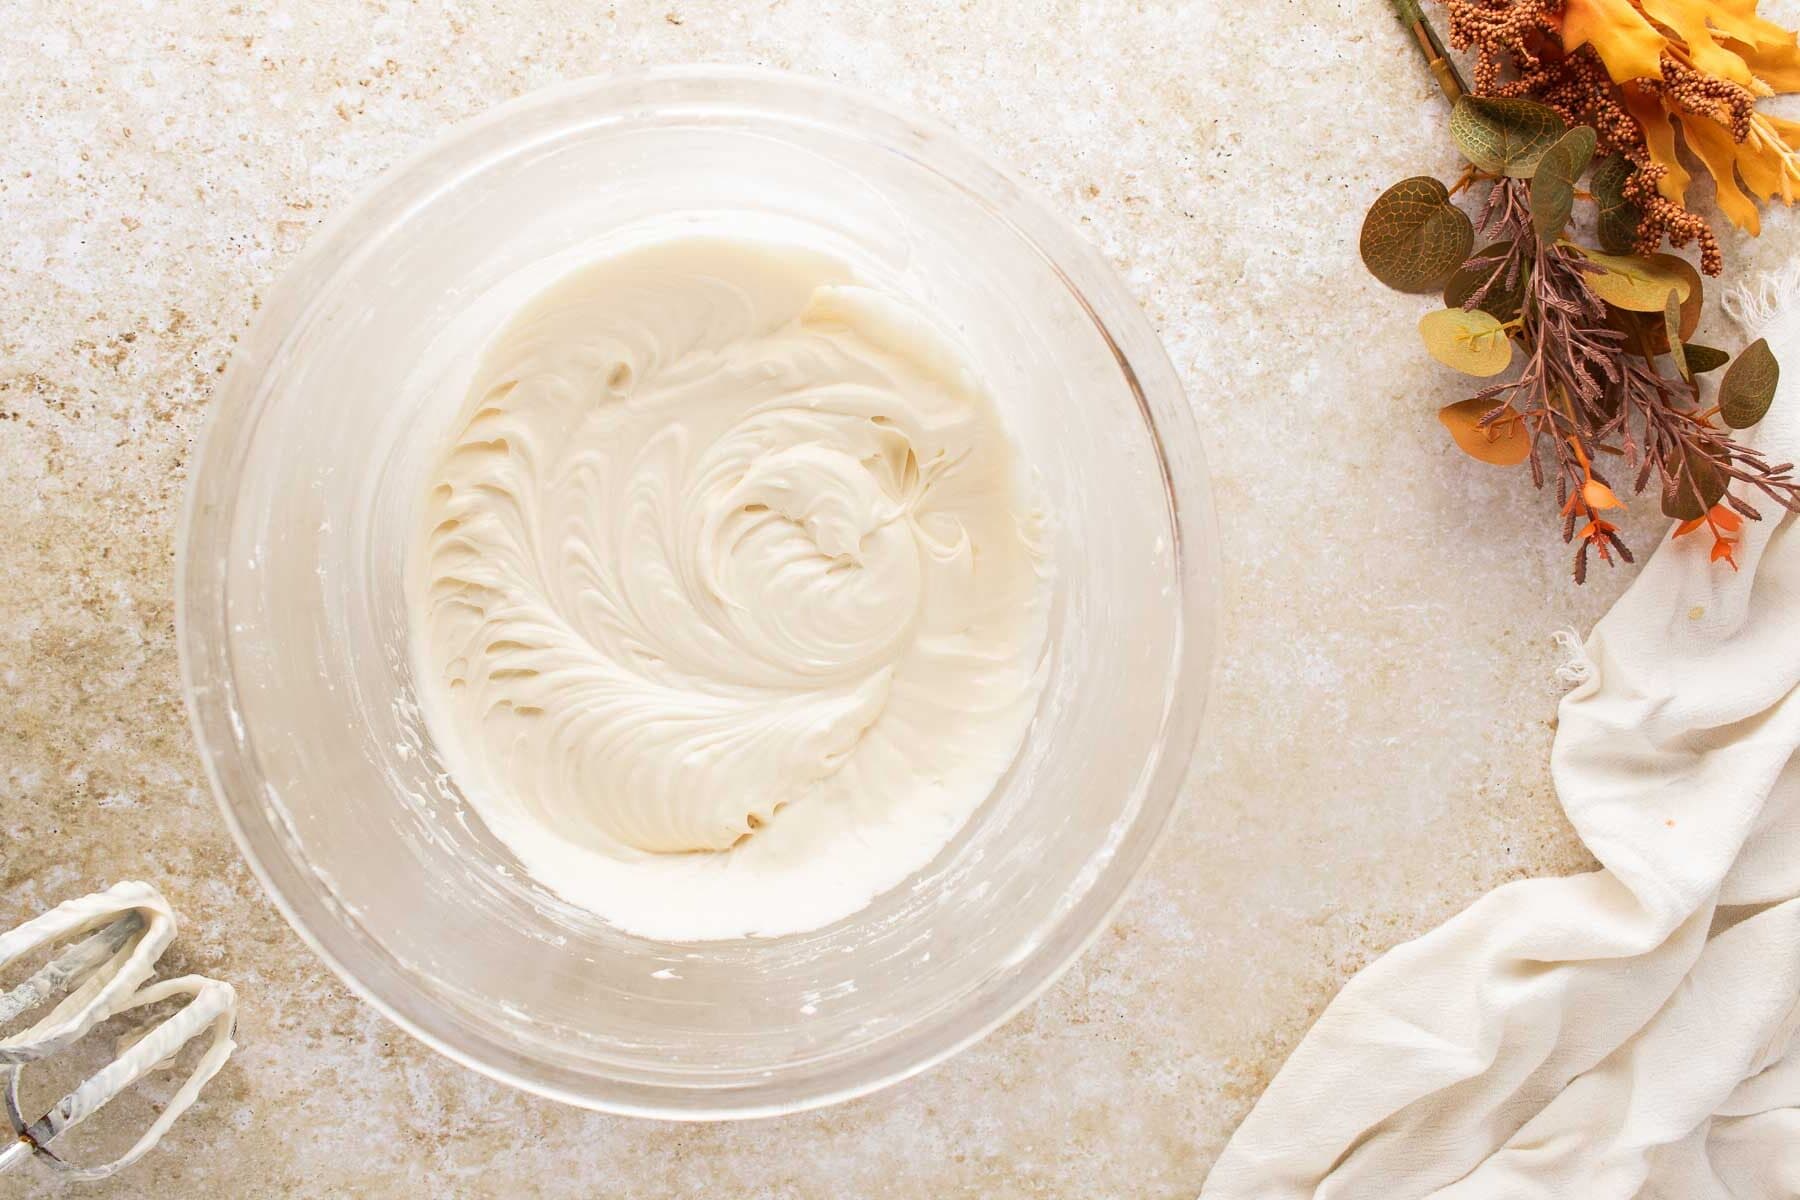
Step 6 | Make Frosting
In a medium mixing bowl with a hand mixer, beat the softened cream cheese, vanilla extract, and butter until smooth and creamy. Add the powdered sugar gradually and beat until light and fluffy.
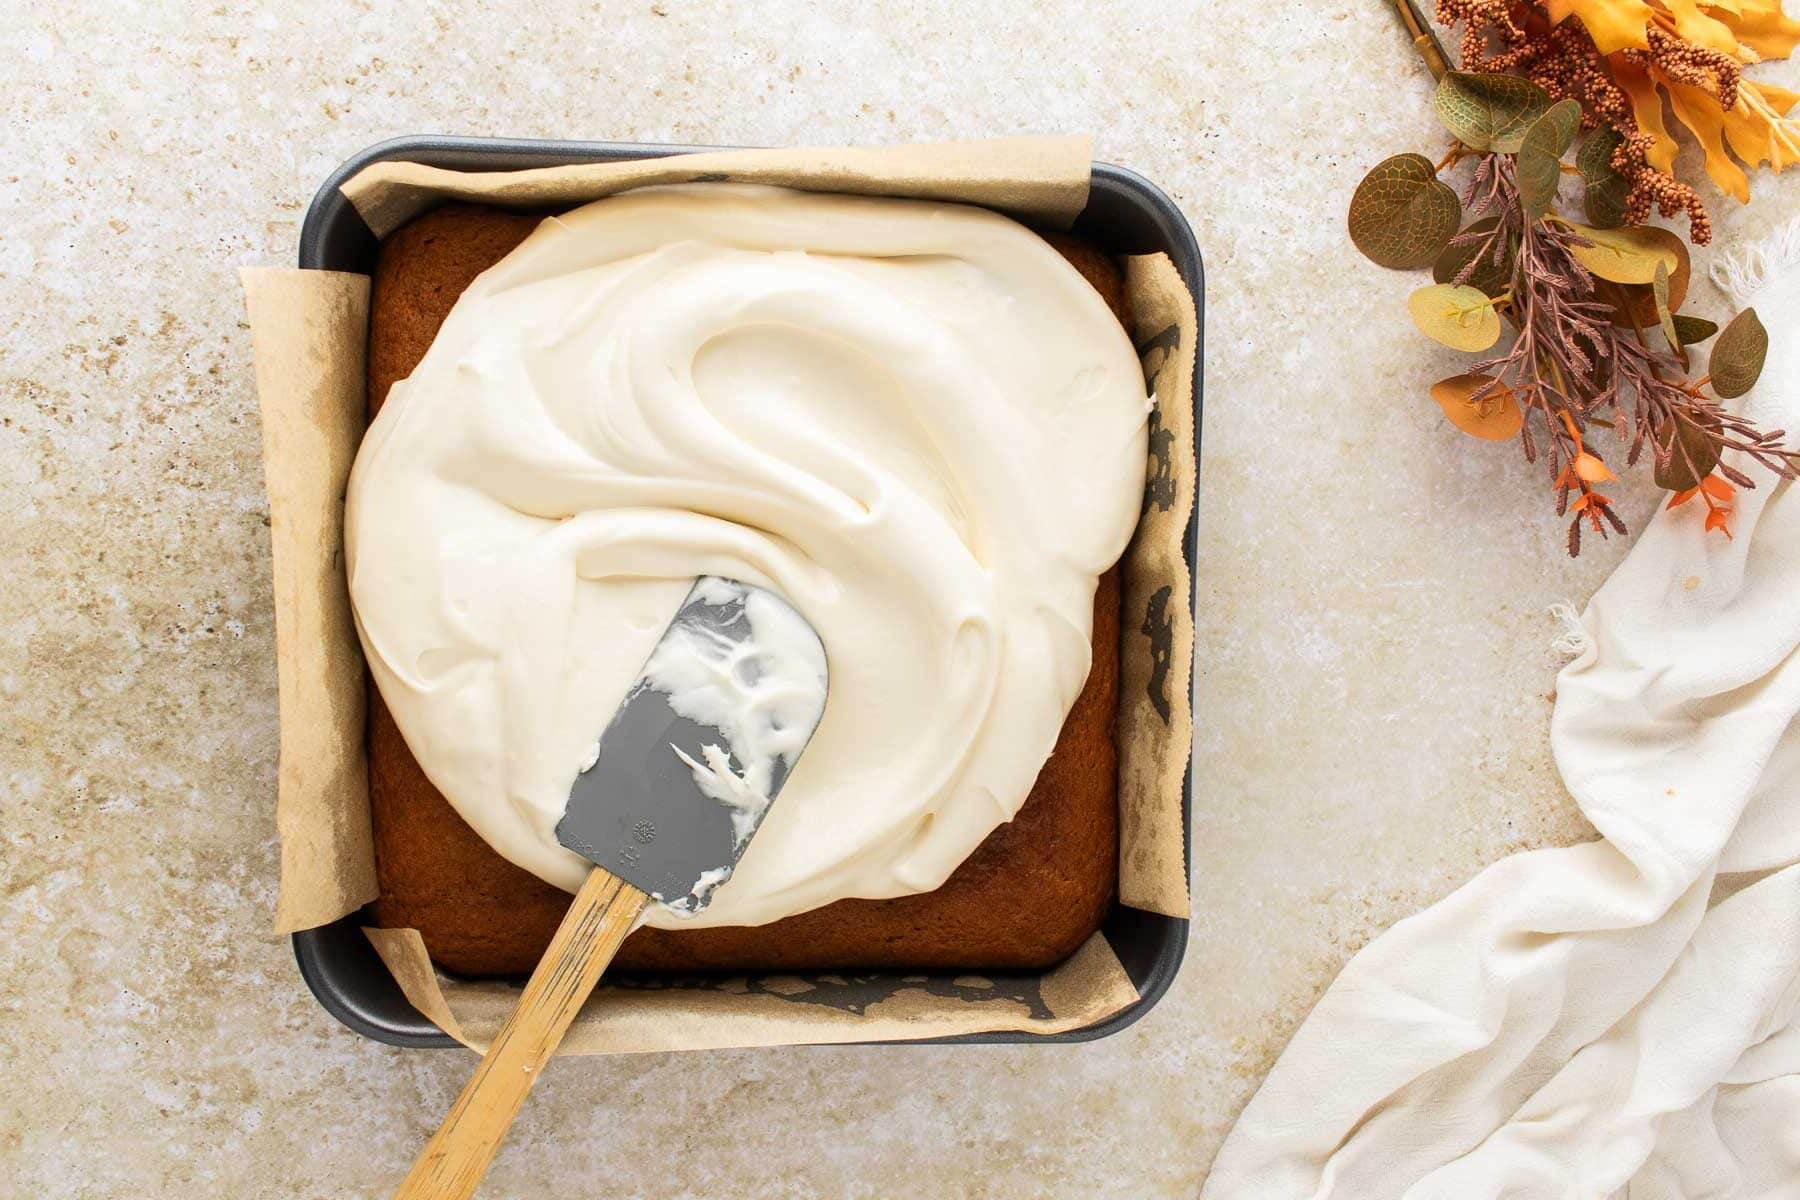
Step 7 | Spread Frosting
Spread the frosting evenly over the cooled pumpkin bars.
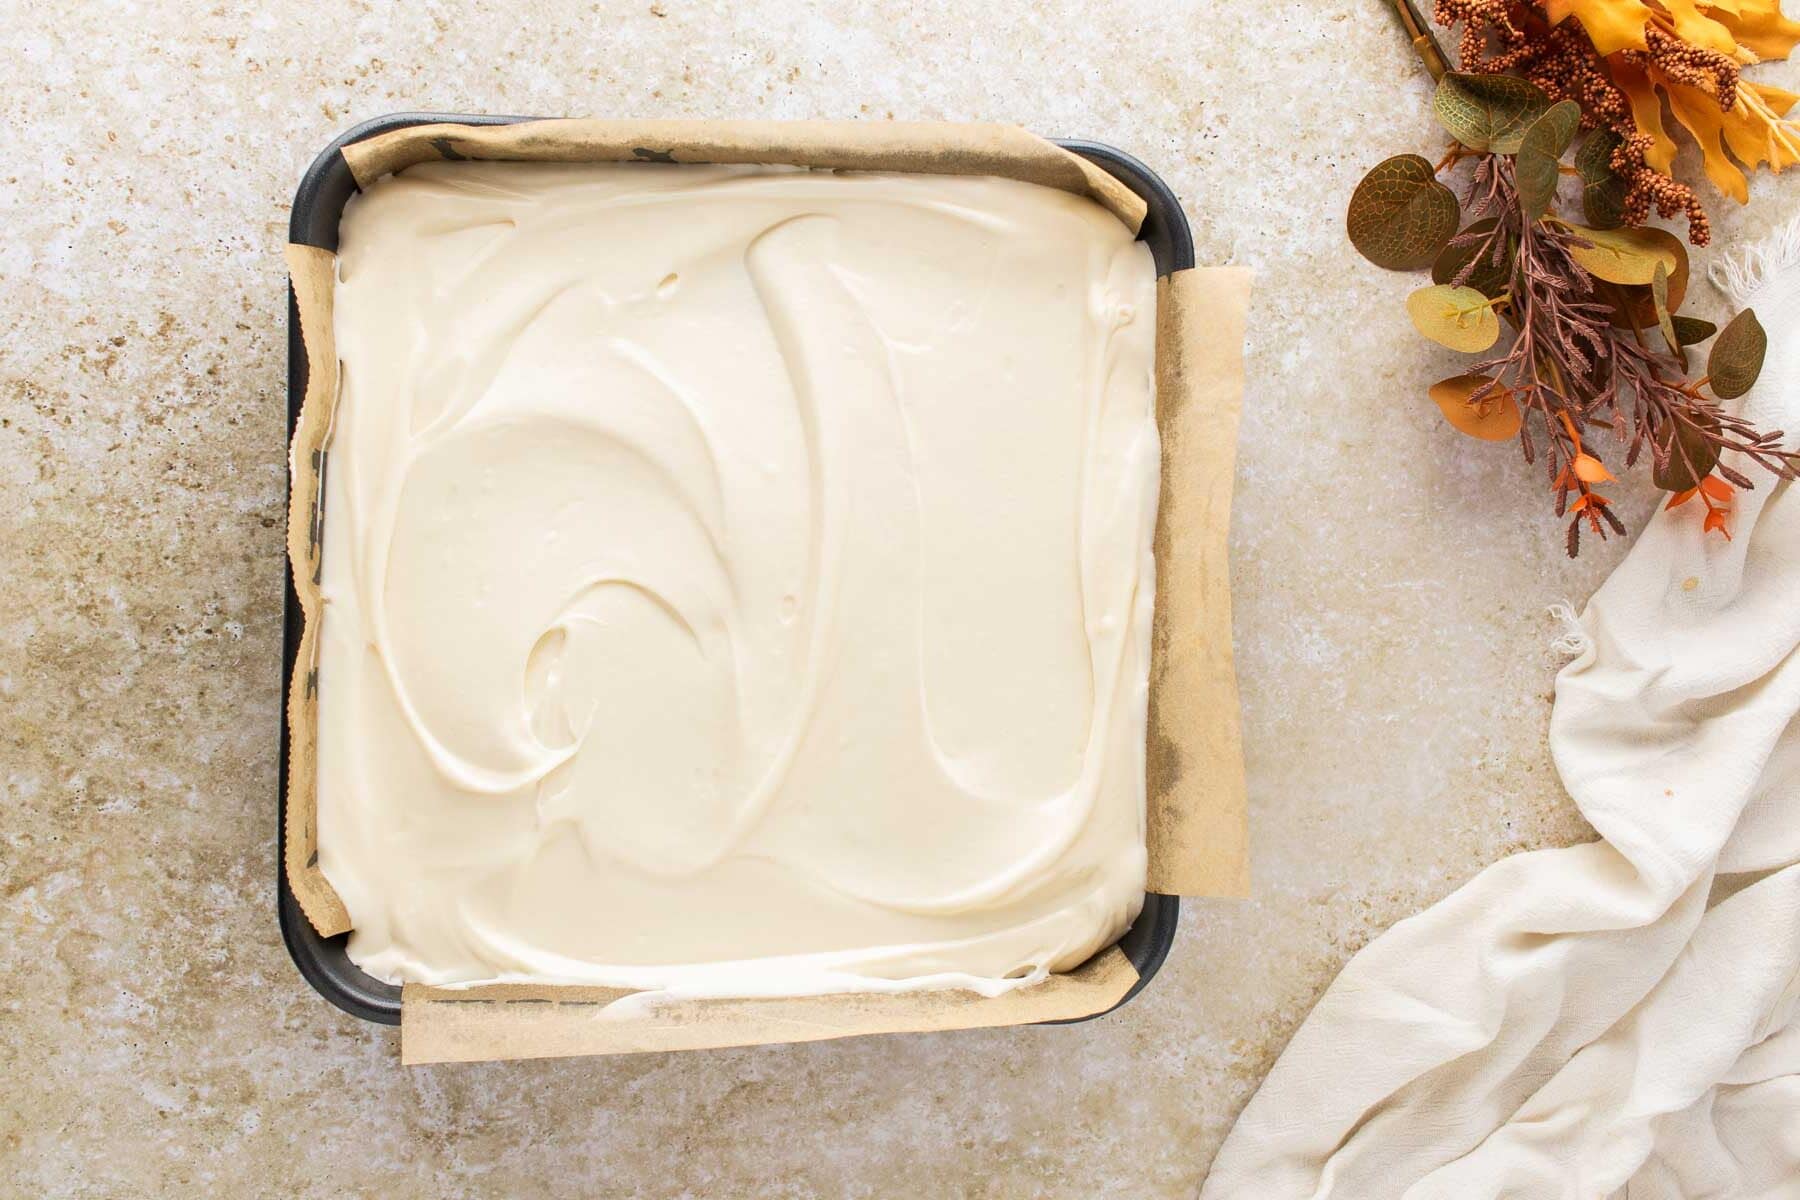
Step 8 | Serve
Lightly dust the tops with ground cinnamon or nutmeg before slicing and serving and enjoy!
Variations & Substitutions
- Swap the pan for a muffin tin. Divide the batter among lined muffin cups and bake for about 18 to 20 minutes for pumpkin cupcakes with cream cheese frosting instead of bars.
- Try maple cream cheese frosting. Swap the vanilla extract in the frosting for maple extract, or add a tablespoon of pure maple syrup, for a cozy fall twist.
- Adjust the spice blend to taste. If you don’t have pumpkin pie spice on hand, you can bump up the cinnamon slightly and add a pinch more nutmeg and ginger instead.
- Add mix-ins to the batter. A handful of chopped pecans or walnuts folded into the batter adds a nice crunch against the soft bars.
- Double the recipe for a crowd. This recipe scales up well in a 9×13-inch pan if you need more bars for a potluck or holiday table. Just add a few extra minutes to the bake time.
Gluten-Free Pumpkin Bars
This pumpkin bars recipe is one of the easiest ones to make gluten-free. Swap the all-purpose flour for a 1:1 gluten-free baking blend. Personally, I like Bob’s Red Mill 1:1 or King Arthur Measure for Measure. Measure it the exact same way, cup for cup, and you’re good to go.
A few things to keep in mind:
- Let the batter rest for 15-20 minutes before baking. Gluten-free flours soak up moisture a little slower than wheat flour, so a short rest helps the batter hydrate fully and bake up more evenly.
- Keep an eye on the bake time. Gluten-free bars can sometimes bake a few minutes faster, so start checking for doneness around the 22 to 22-minute mark instead of waiting the full 25 to 30.
- Double-check your other ingredients too. Baking powder, baking soda, and vanilla extract are usually naturally gluten-free, but it’s always worth a quick label check if you’re baking for someone with celiac disease.
The cream cheese frosting needs zero changes. It’s naturally gluten-free as written, so you can frost these exactly like the original recipe.
Recipe Tips
- Line your pan with parchment paper. Leave a little overhang on the sides so you can lift the whole slab of bars right out once they’ve cooled. It makes slicing so much neater than trying to dig bars out of the pan with a spatula.
- Use room temperature eggs. A cold egg straight from the fridge won’t blend as smoothly into the oil and sugars, and you can end up with a slightly uneven batter. Just set it out for about 20 minutes before you start.
- Don’t overmix once the flour goes in. Stir just until you don’t see dry streaks anymore. Overmixing develops the gluten in the flour and can leave you with denser, tougher bars instead of that soft, tender bite.
- Cool the bars completely before frosting. I know it’s tempting to frost them warm, but the cream cheese frosting will melt right into a puddle on warm cake. Give them a good hour on the counter, or pop the pan in the fridge to speed things along.
- Soften your cream cheese and butter fully. Cold cream cheese leaves lumps in your frosting no matter how long you beat it. Set both out ahead of time so they’re soft to the touch before you start mixing.
What to Serve With Pumpkin Bars with Cream Cheese Frosting
Pumpkin bars are rich enough to stand on their own, but they’re even better as part of a whole cozy fall spread. If you’re setting out a dessert table for a get-together, these pair beautifully alongside other easy fall sweets like my Fresh Apple Cake or some Chocolate Covered Pretzel Pumpkins so everyone can pick their favorite. A warm cup of coffee or spiced chai would be a great accompaniment, too!
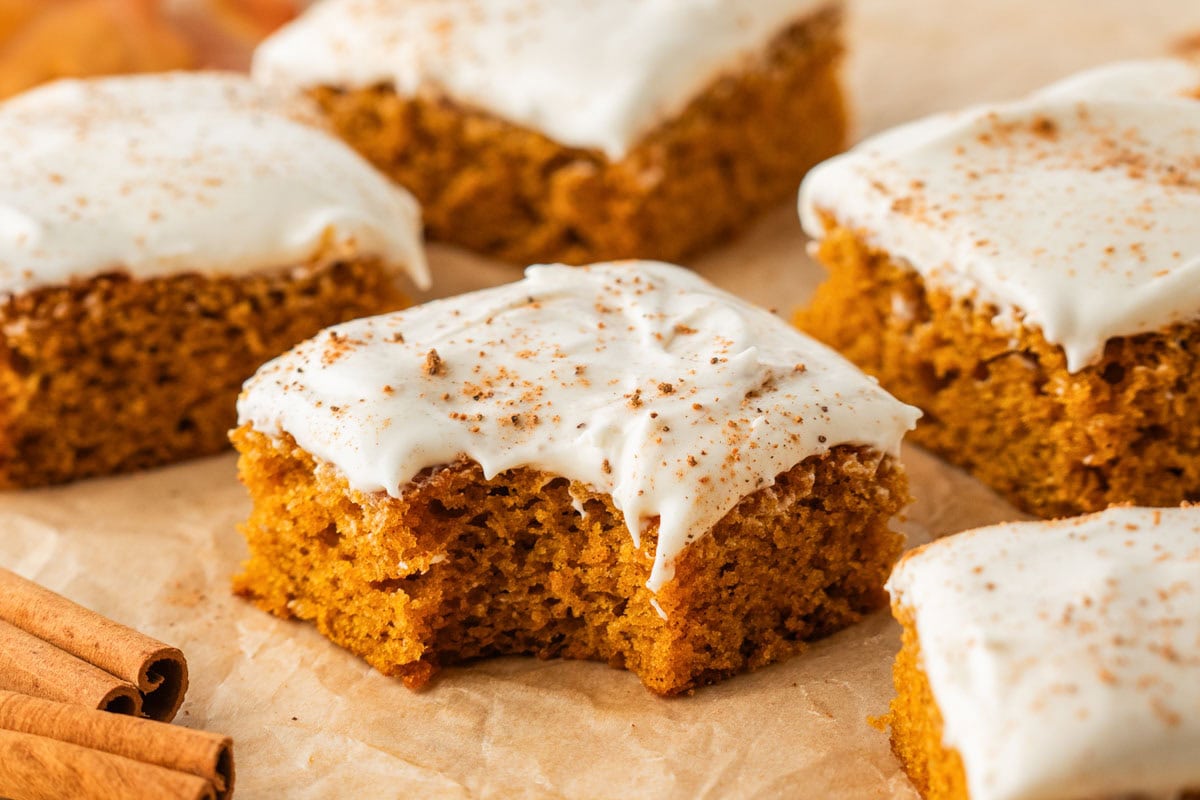
Storage & Make-ahead Tips
Storage: Keep the cream cheese frosted pumpkin bars covered in the refrigerator for up to 5 days, since the cream cheese frosting needs to stay chilled. Let them sit at room temperature for about 15 to 20 minutes before serving so the frosting softens back up.
Freeze: Freeze the unfrosted bars in an airtight container for up to 2 months. Thaw them overnight in the refrigerator, then make and spread the frosting fresh before serving.
Make Ahead: Bake the pumpkin bars a day in advance and store them covered at room temperature, then frost them the next day. The frosted bars also hold up well made a day ahead in the fridge, which makes this a great dessert for a busy holiday menu.
Frequently Asked Questions
The real secret is not overmixing the batter once the flour goes in and letting the bars cool completely before frosting. Those two steps are what keep them soft and moist instead of dense or melty on top!
Pumpkin cake is typically taller, baked in a round or bundt pan, and served in wedges, while pumpkin bars are baked in a shallow pan, sliced into squares.
This usually means the batter was overmixed once the flour was added, or a bit too much flour was packed into the measuring cup. Spoon and level your flour and stir just until combined.
More Fall Dessert Recipes to Try
Hungry for more easy, home-cooked, delicious recipes?
Sign up for my free recipe club to get family-friendly recipes in your inbox each week! Find me sharing daily meal-time inspiration on Pinterest, Facebook, and Instagram.
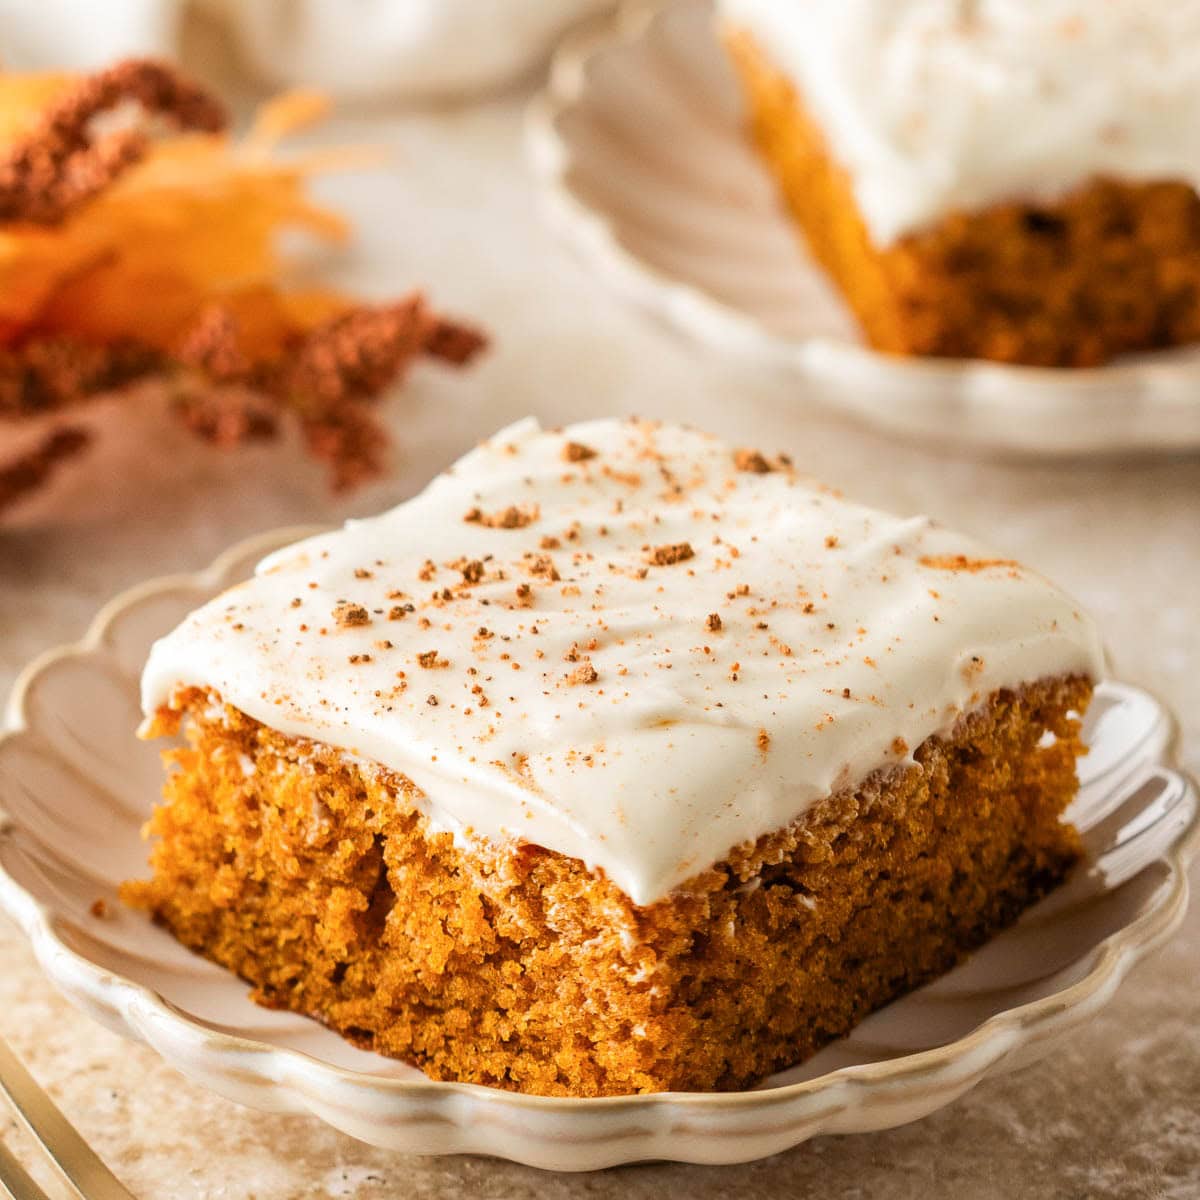
Cream Cheese Frosted Pumpkin Bars

Click Stars To Rate
Ingredients
- 1 cup all-purpose flour
- 1 teaspoon baking powder
- ½ teaspoon baking soda
- ½ teaspoon salt
- 1 teaspoon ground cinnamon
- ½ teaspoon pumpkin pie spice
- ¼ teaspoon ground ginger
- ¼ teaspoon ground nutmeg
- ½ cup light brown sugar - packed
- ¼ cup granulated sugar
- ⅓ cup vegetable oil
- 1 large egg - room temperature
- 1 teaspoon vanilla extract
- ¾ cup canned pumpkin purée
- 8 ounces cream cheese - softened
- ¼ cup unsalted butter - softened
- 2 cups powdered sugar
- 1 teaspoon vanilla extract
- Ground cinnamon
Instructions
- Preheat the oven to 350°F (180°C). Line a 9×9-inch baking dish with parchment paper, leaving a little overhang on the sides for easy removal.
- In a medium bowl, whisk together the flour, baking powder, baking soda, salt, cinnamon, pumpkin pie spice, ginger, and nutmeg.
- In a large mixing bowl with a hand mixer, mix the brown sugar, granulated sugar, vegetable oil, egg, vanilla, and pumpkin purée until smooth.
- Add the dry ingredients to the wet ingredients and mix just until combined. Do not overmix.
- Spread the batter evenly into the prepared baking dish.
- Bake for 25–30 minutes, or until a toothpick inserted into the center comes out clean or with a few moist crumbs.
- Allow the bars to cool completely before frosting.
- In a medium mixing bowl with a hand mixer, beat the softened cream cheese, vanilla extract, and butter until smooth and creamy.
- Add the powdered sugar gradually and beat until light and fluffy.
- Spread the frosting evenly over the cooled pumpkin bars.
- Lightly dust the tops with ground cinnamon or nutmeg before slicing and serving.
Notes
- Use canned pumpkin purée, not pumpkin pie filling. They are not the same and pie filling will throw off the sweetness and texture.
- Don’t overmix the batter once the flour is added, or the bars can turn out dense instead of soft.
- Let the bars cool completely before frosting so the cream cheese frosting doesn’t melt or slide off.
- For the cleanest slices, chill the frosted bars for 20–30 minutes before cutting, and wipe your knife clean between cuts.
- Store leftovers covered in the refrigerator for up to 5 days, since the cream cheese frosting needs to stay chilled.
Want to Save this Recipe?
By submitting this form, you consent to receive emails from Soulfully Made.
Nutrition
Soulfully Made is not a dietician or nutritionist, and any nutritional information shared is an estimate. If calorie count and other nutritional values are important to you, we recommend running the ingredients through whichever online nutritional calculator you prefer. Calories and other nutritional values can vary quite a bit depending on which brands were used.
