


This post may contain affiliate links. Please read our disclosure policy.
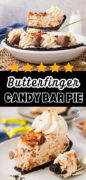
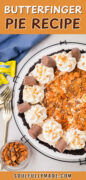
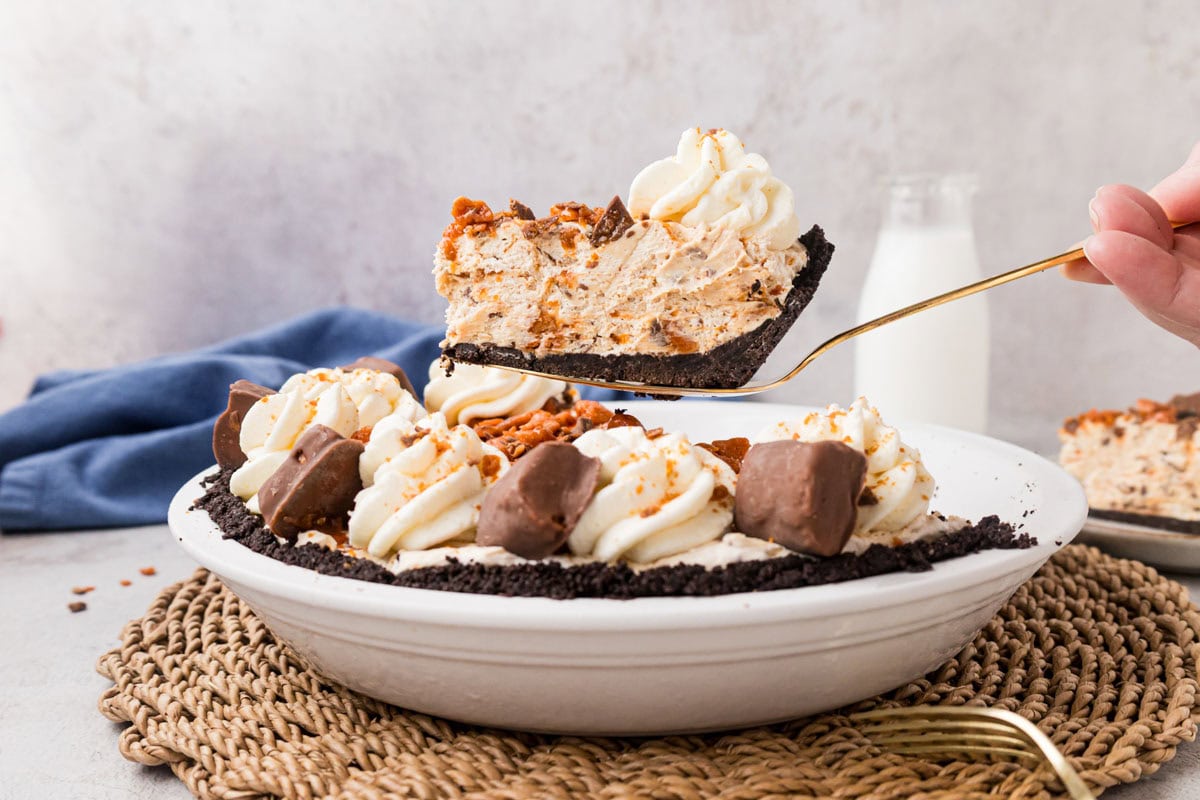
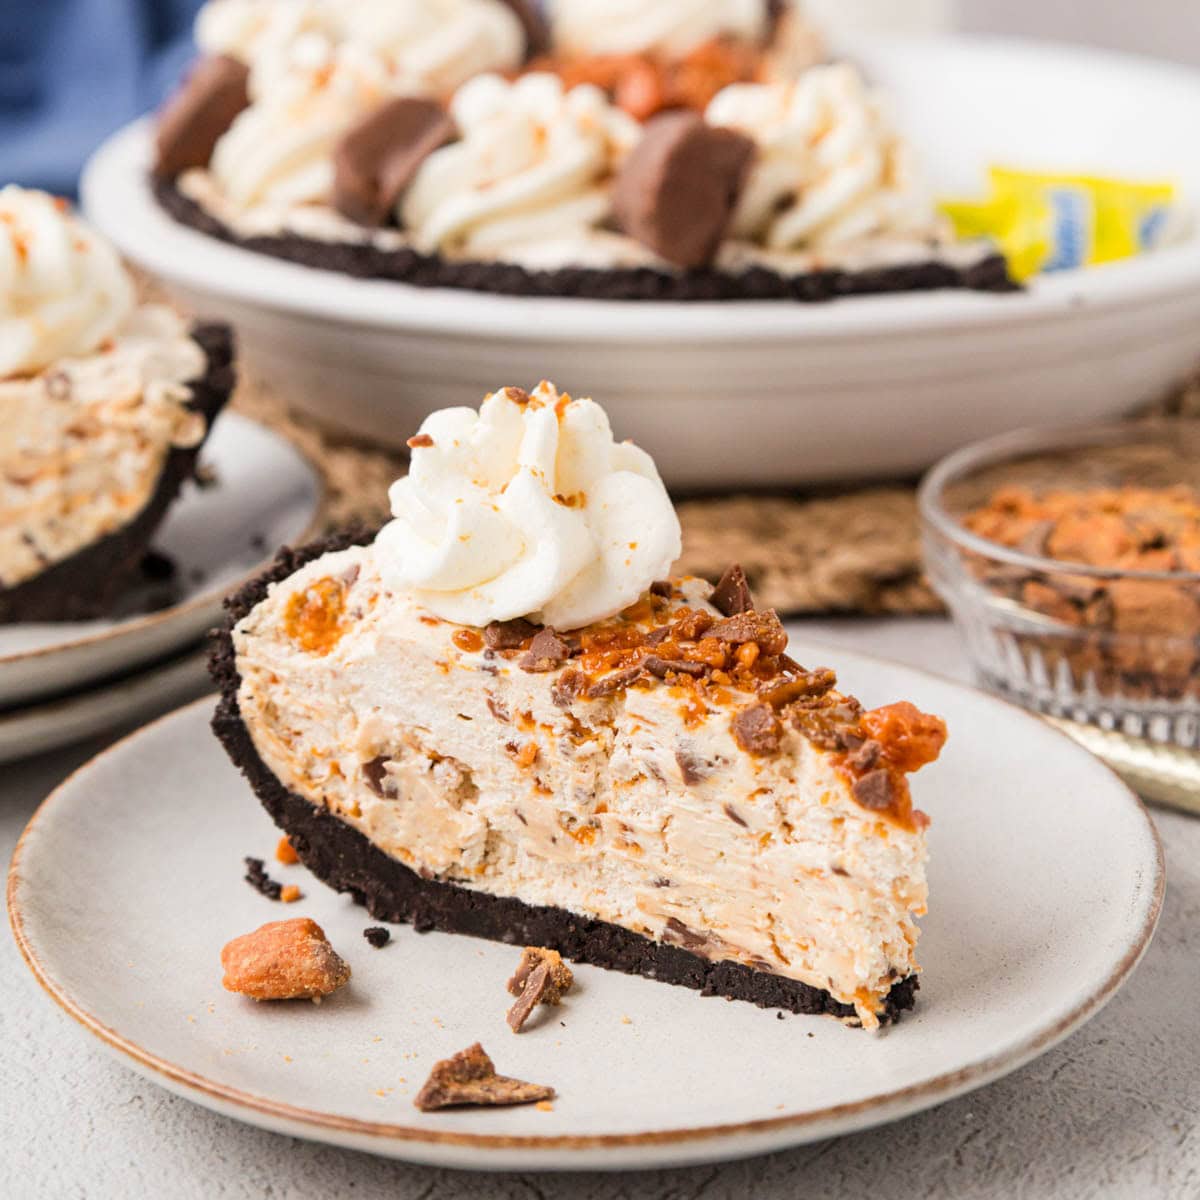
This No-Bake Butterfinger Pie is pure candy-bar heaven! A fluffy cream cheese and peanut butter filling is packed with crispy, flaky Butterfinger pieces and spread into a chocolate Oreo crust. Saving the bigger candy chunks for the top is the little trick that gives every slice that irresistible crunch!
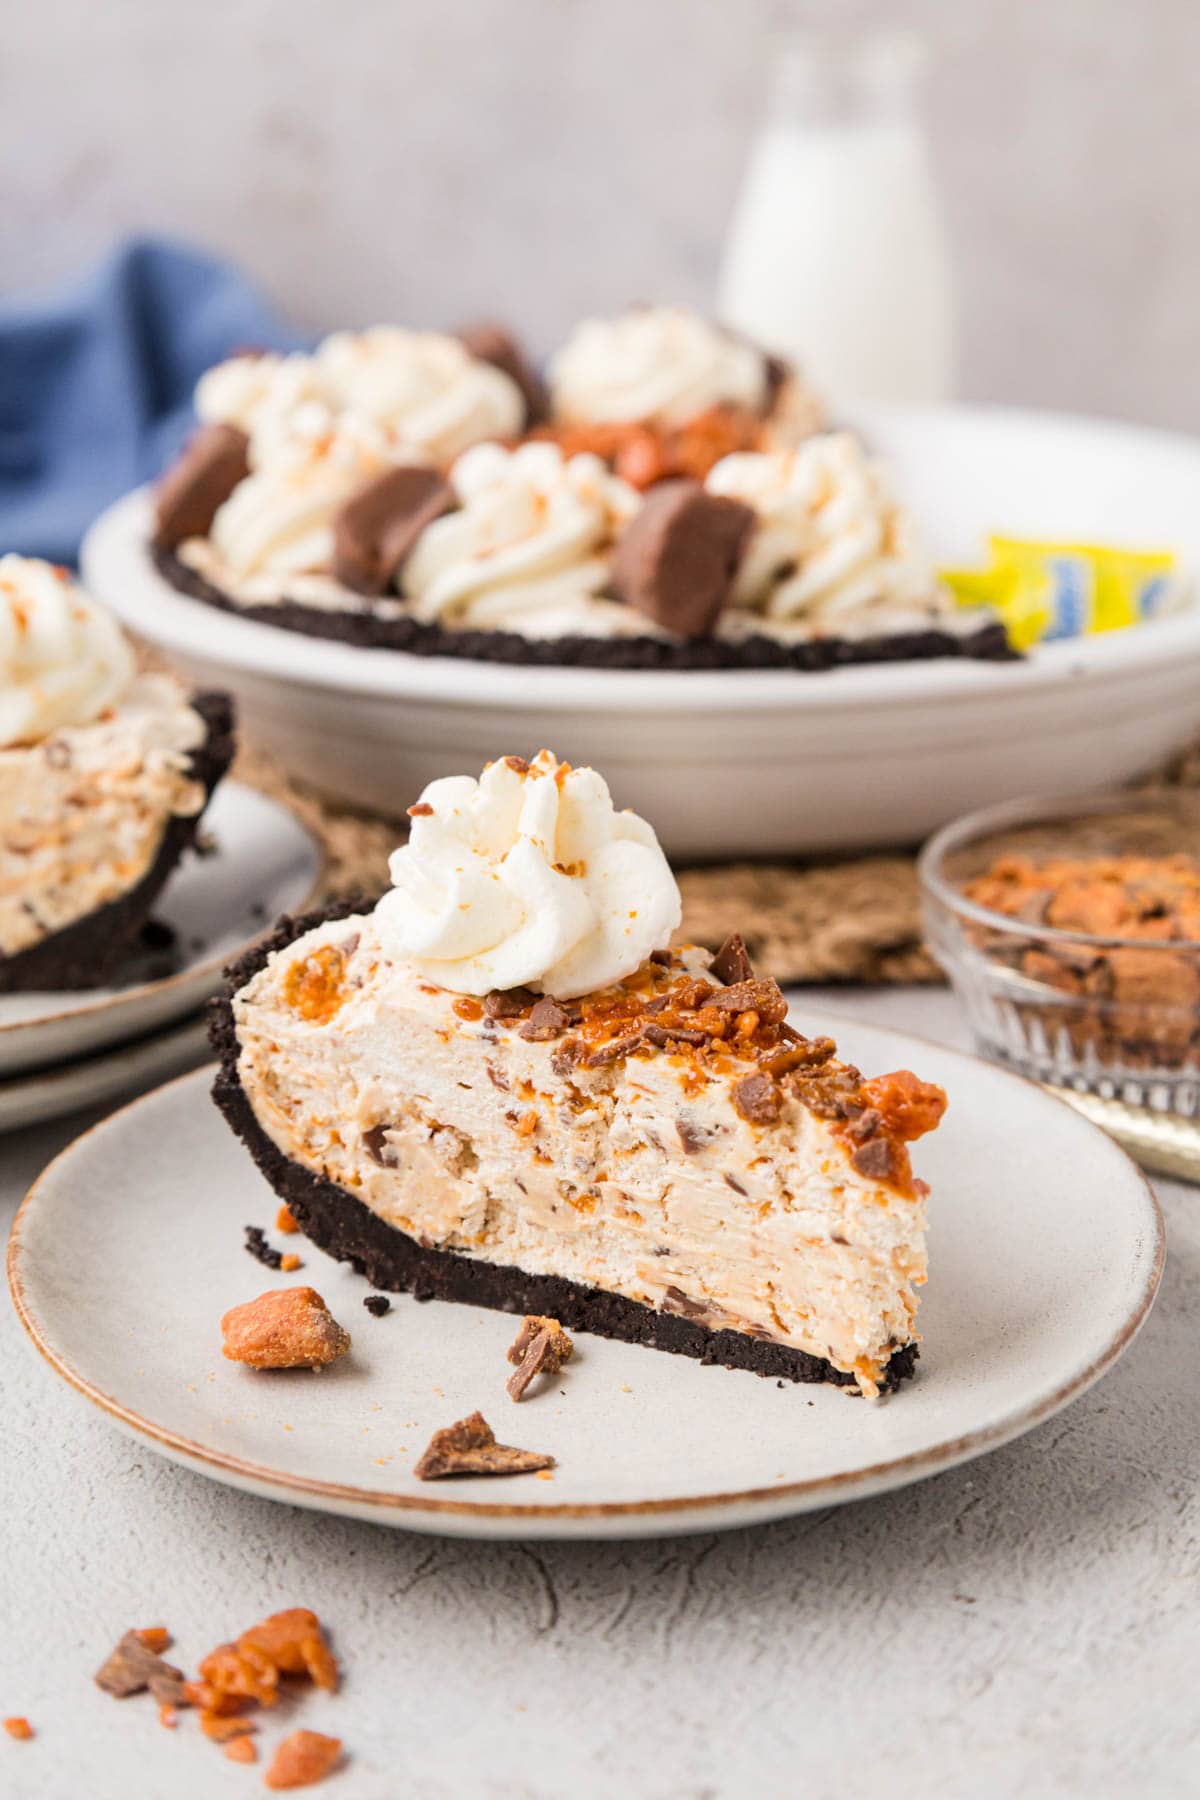
When I’m hosting, a no-bake pie is my best friend. The oven is busy, the stovetop is full, and I can tuck this one in the fridge the night before and forget about it until dessert. It’s the same easy method I use for my No-Bake Peanut Butter Cup Pie: cream cheese and peanut butter beaten until fluffy, sweetened with powdered sugar and lightened with Cool Whip, so it sets up sliceable but still feels light as a cloud.
And personally, I have a slight obsession with Butterfingers. They have a crispy, flaky peanut butter center that stays crunchy against the creamy filling, so you get creamy and crunchy in every bite! Pile it all into my homemade Oreo Pie Crust (or a store-bought one, no judgment here), and you’ve got an easy yet seriously delicious dessert!
Why This is the Best Butterfinger Pie

❥ No bake means no stress. The only appliance you need is a hand mixer. The fridge does all the setting for you.
❥ Just 15 minutes of hands-on time. Beat, fold, spread and chill. It’s easy enough for beginner bakers and kids who like to help.
❥ Creamy meets crunchy. The fluffy peanut butter filling and crispy Butterfinger pieces are a perfect match. Every forkful has a little of both.
❥ Made to make ahead. It actually needs to chill, so you can make it the day before your party. That’s one less thing to do on the big day.
❥ Fits lots of pans. Use an 8-, 9- or 10-inch pie dish, springform pan or square pan. You can even scale it up for a 9×13 crowd-size dessert.
Nikki
My Signature Fall Dinner Dishes!
FREE EMAIL BONUS: My greatest hits: bold, cozy, and brag-worthy.n
Nikki’s Top Tips Before You Start
- Soften the cream cheese all the way. Let it sit on the counter for at least 30 to 45 minutes, or longer, before mixing. Cold cream cheese leaves little lumps in the filling that no amount of beating will fix.
- Beat the cream cheese and peanut butter first. Whip them together until light and fluffy before adding anything else. This step gives the filling its smooth, airy texture.
- Fold, don’t stir or beat, the Cool Whip. Use a rubber spatula and gentle folding motions to work it in. Beating knocks the air out, and you’ll end up with a dense, flat filling.
- Crush the Butterfingers in two sizes. Keep the pieces you fold into the filling smaller, and save ⅓ to ½ cup of bigger chunks for the top. The larger pieces on top look prettier and give you more crunch.
- Give it the full 4 hours to chill. The filling needs time in the fridge to firm up so it slices cleanly. Overnight is even better if you’re making it ahead.
Ingredients
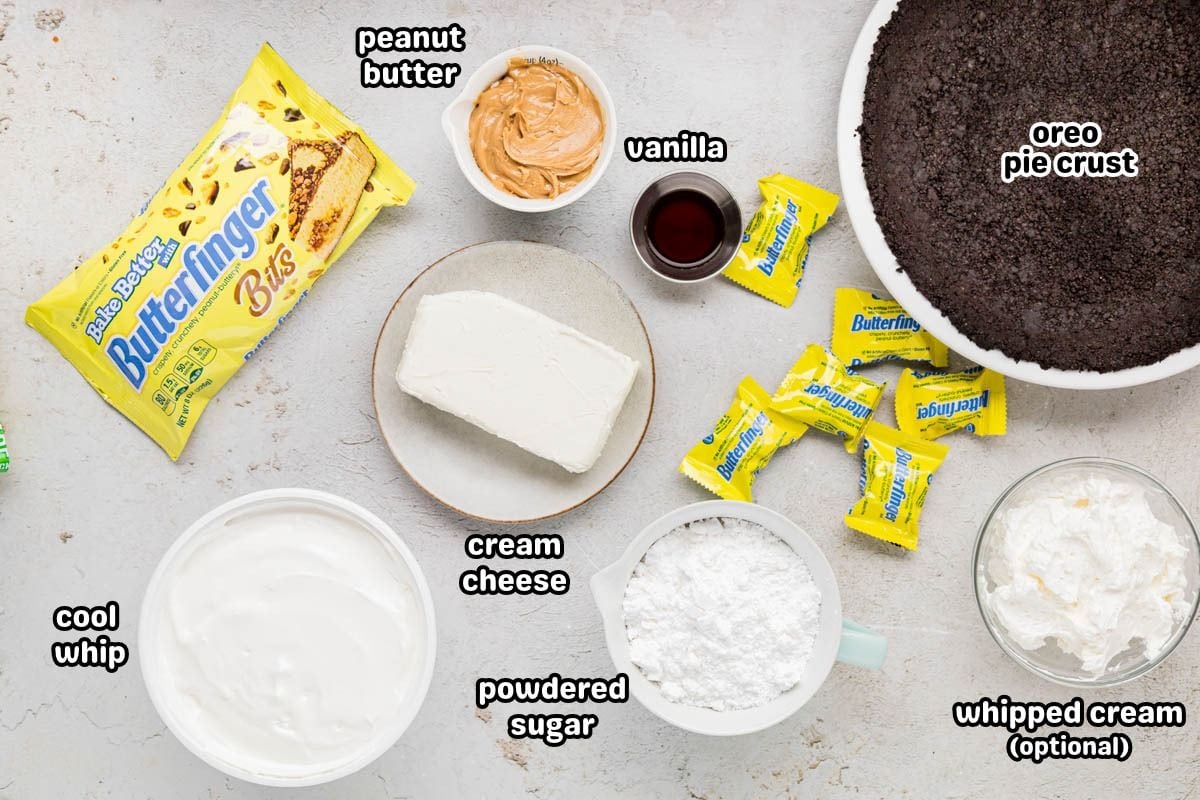
- Cream cheese: Softened to room temperature. Use full-fat brick cream cheese, not the spreadable tub kind, so the filling sets up firm.
- Creamy peanut butter: Use a classic creamy peanut butter like Jif or Skippy. Natural peanut butter can separate and make the filling oily.
- Vanilla extract: Rounds out the sweetness and makes the peanut butter flavor pop.
- Powdered sugar: Sweetens the filling without any grittiness. Sift it if it’s lumpy.
- Butterfinger bits: You can buy a bag of Butterfinger baking bits, or a 12.5-ounce bag of fun-size Butterfingers, crushed. Save ⅓ to ½ cup for the top.
- Cool Whip: One 8-ounce container, thawed in the fridge. It keeps the filling light and helps it hold its shape.
- Pie crust: One Oreo pie crust or chocolate graham cracker crust. Homemade or store-bought both work great.
- For topping (optional): Whipped cream and mini Butterfinger bars for a pretty, party-ready finish.
How To Make Butterfinger Pie
✱ Below are step-by-step photos and instructions. For the complete recipe, along with ingredient amounts, scroll down to the recipe card.
Step 1 | Beat the Base
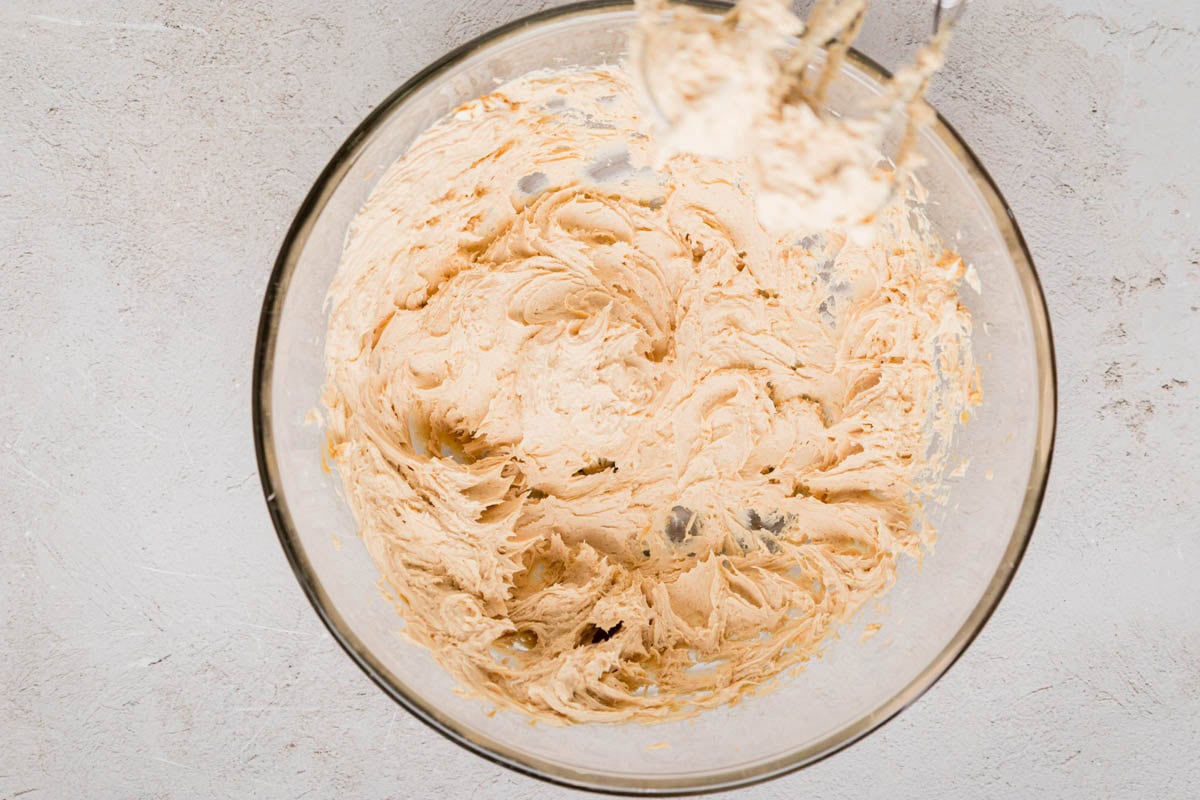
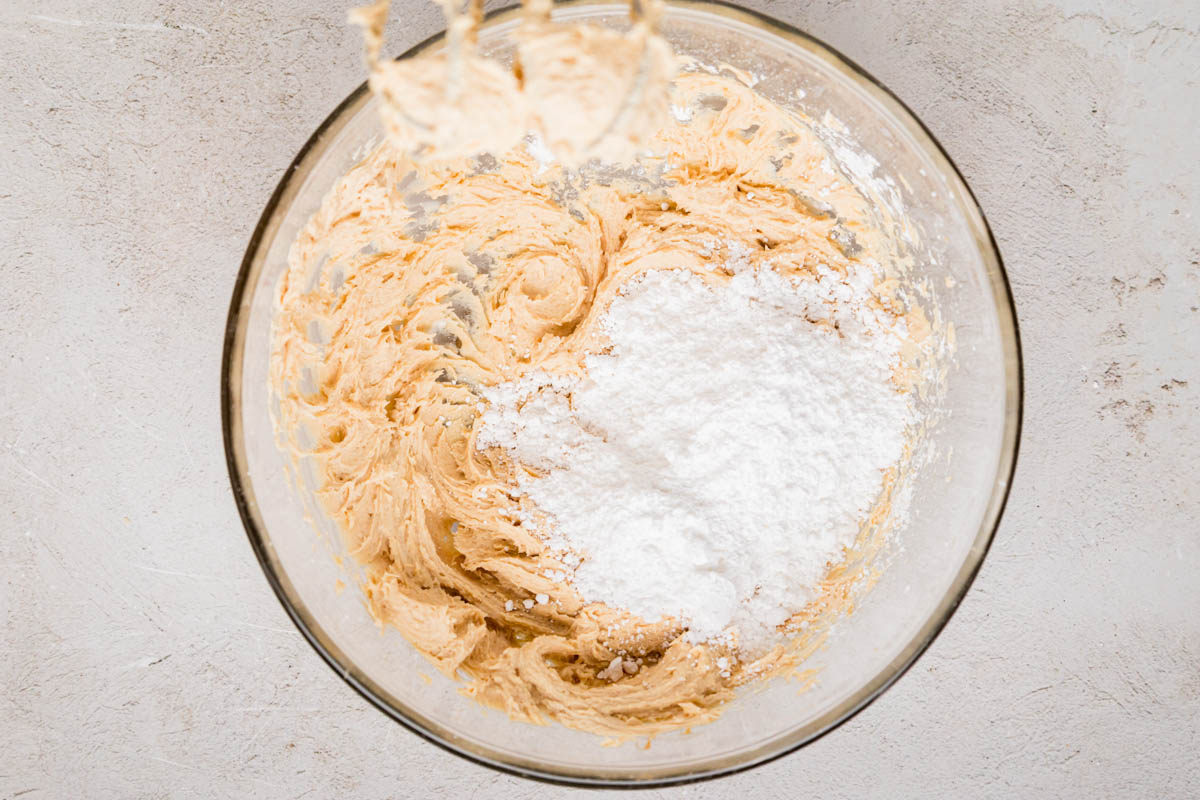
In a large mixing bowl, beat the softened cream cheese and peanut butter with an electric mixer until light and fluffy. Add the vanilla and beat until smooth. Add the powdered sugar and beat until smooth.
Step 2 | Add the Candy
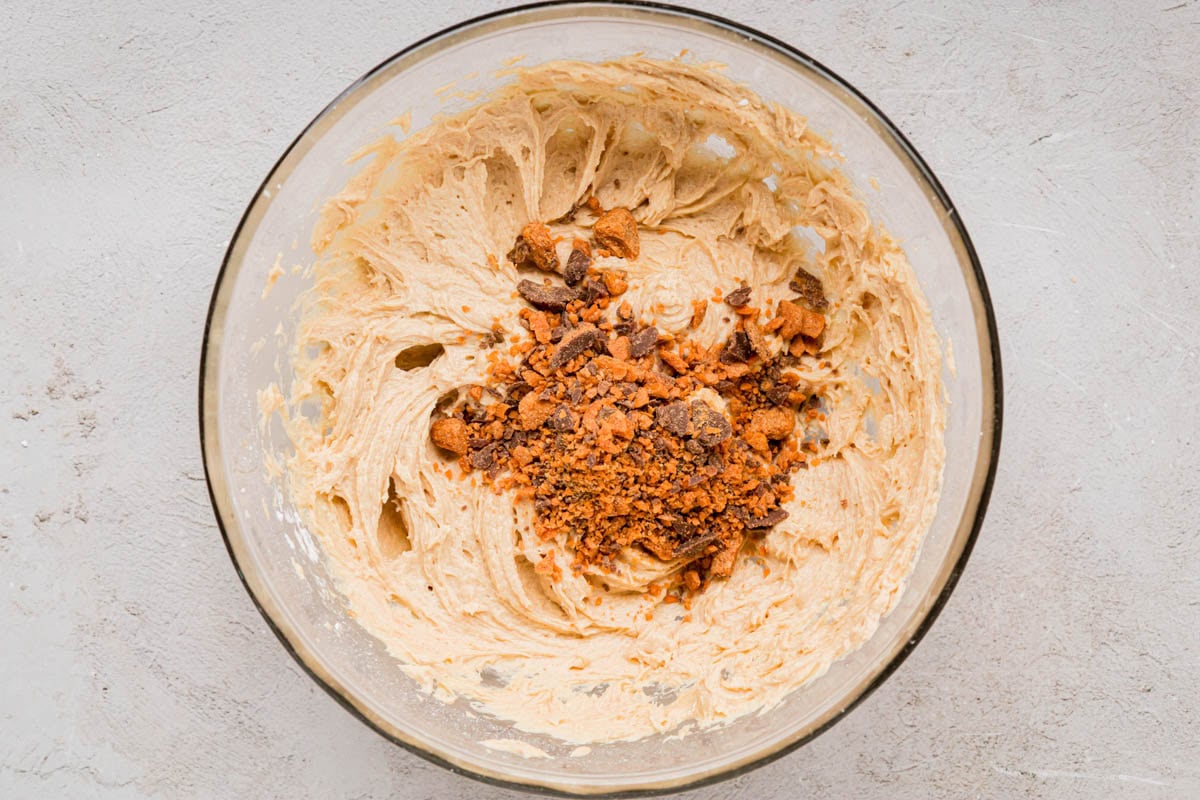
Fold in the crushed Butterfinger bits, keeping ⅓ to ½ cup set aside for the top.
Step 3 | Fold in the Cool Whip
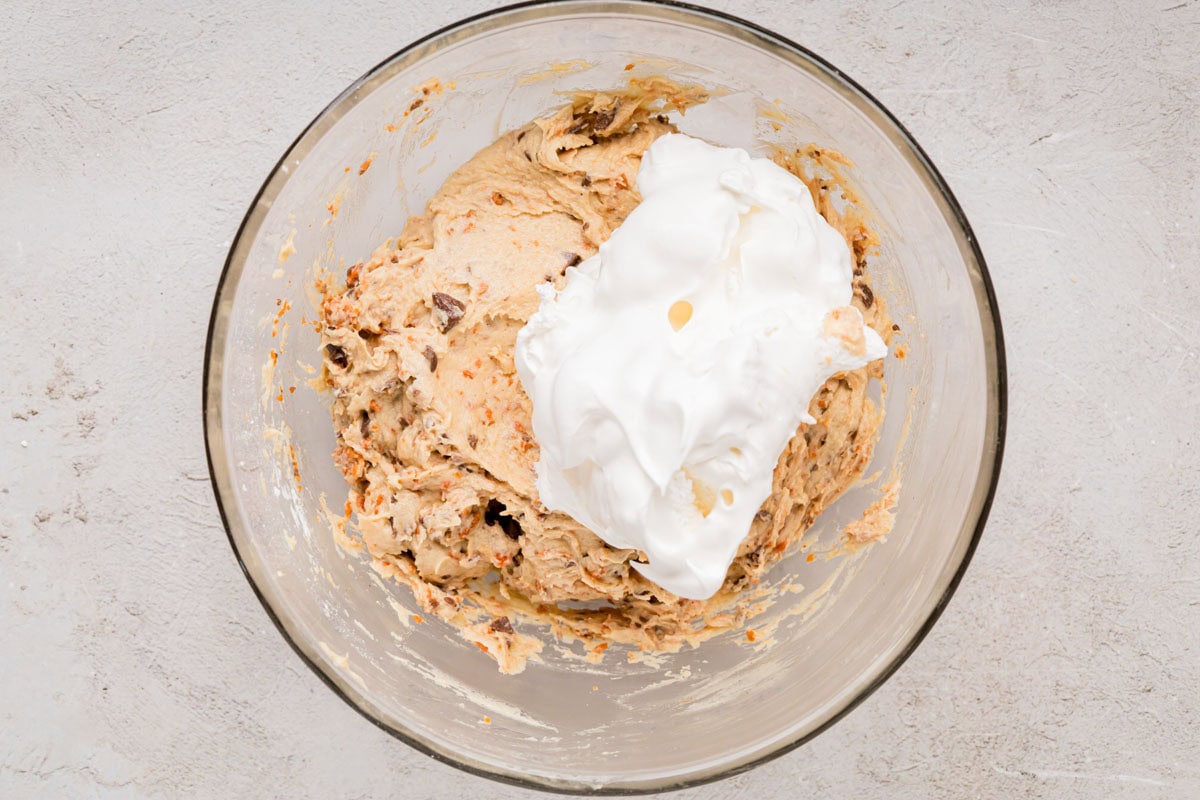
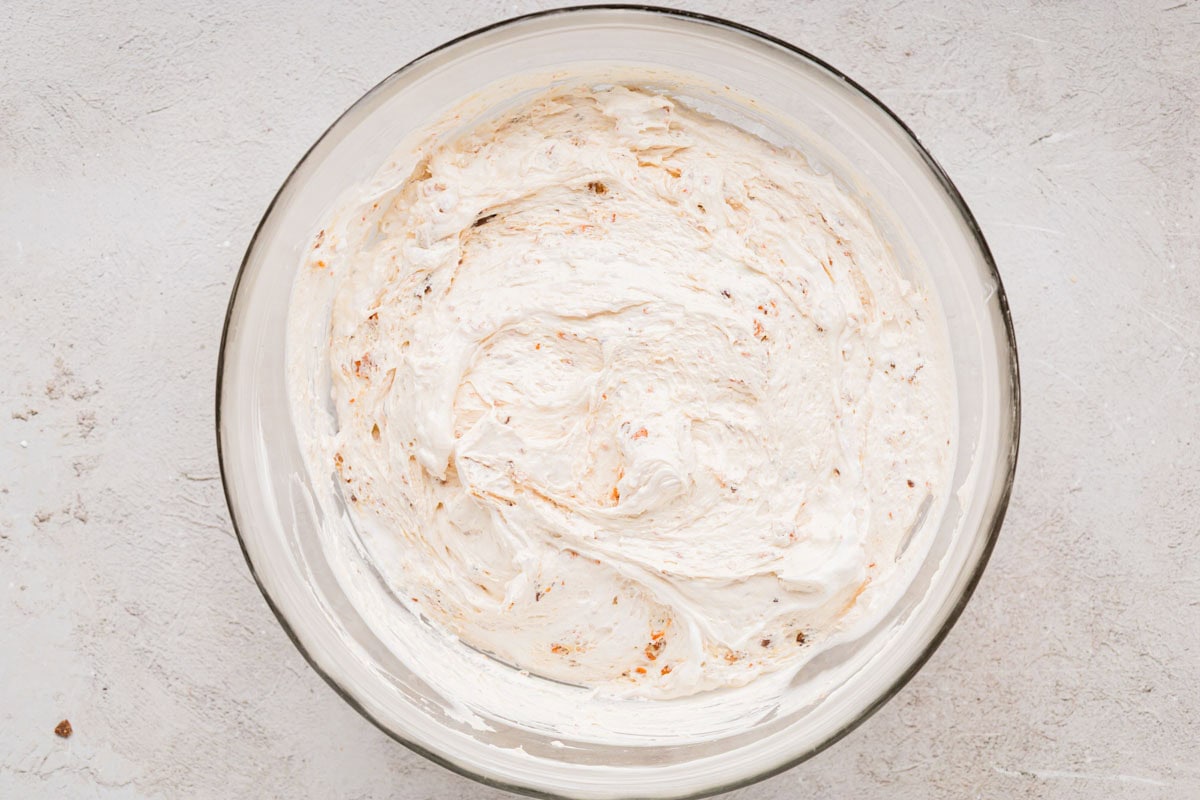
Gently fold in the Cool Whip with a rubber spatula until no streaks remain.
Step 4 | Fill the Crust
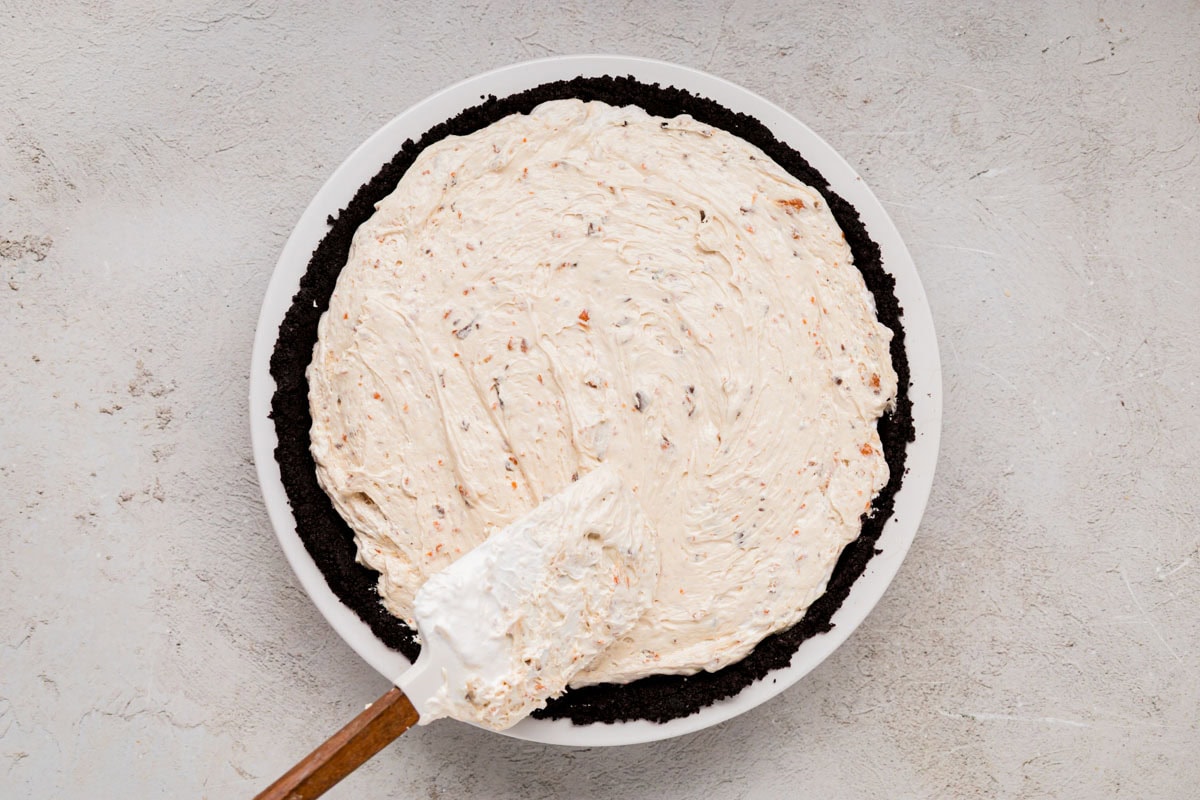
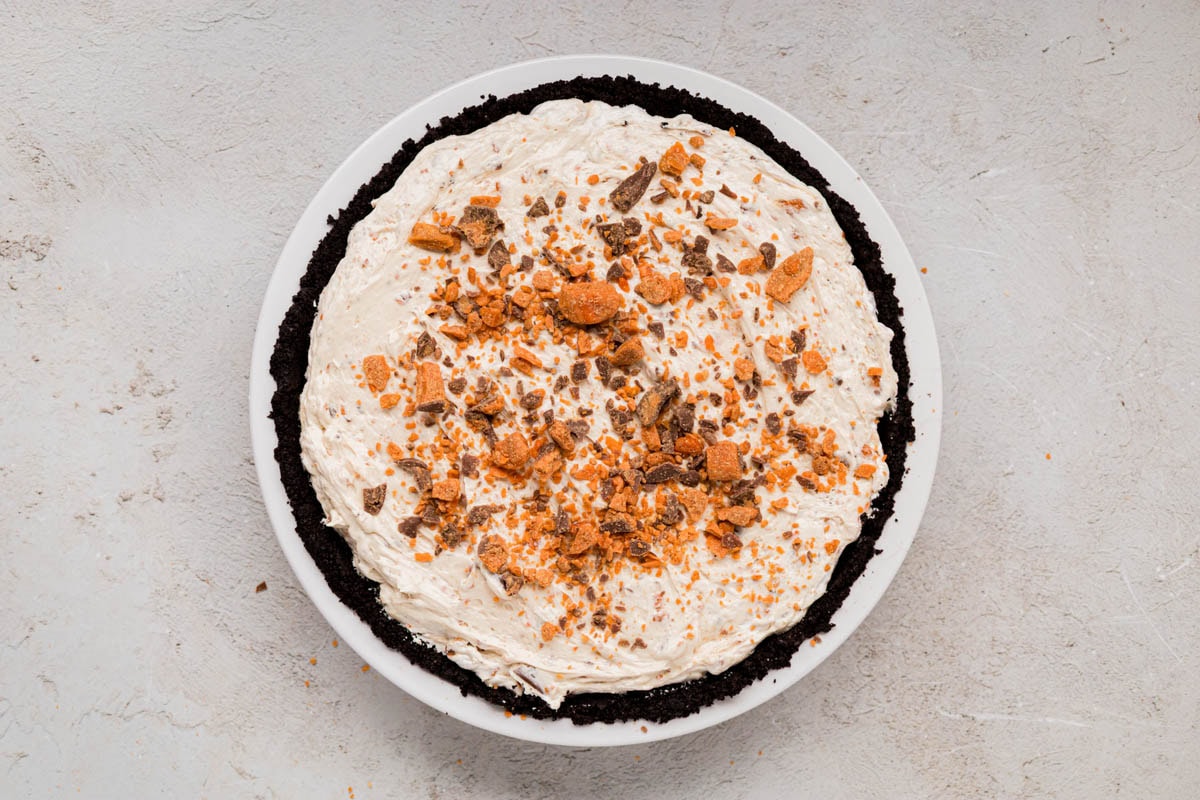
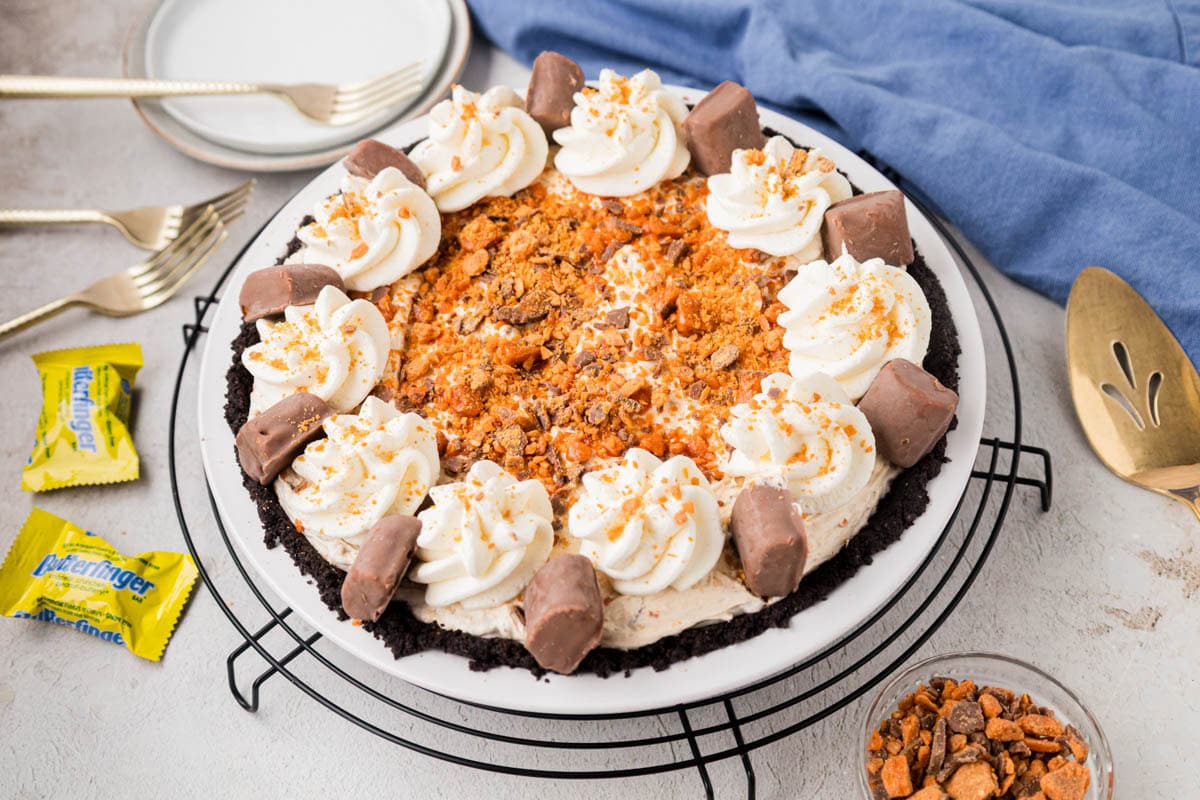
Spread the filling evenly into the crust and sprinkle the reserved Butterfinger pieces on top.
Step 5 | Chill, Garnish and Serve
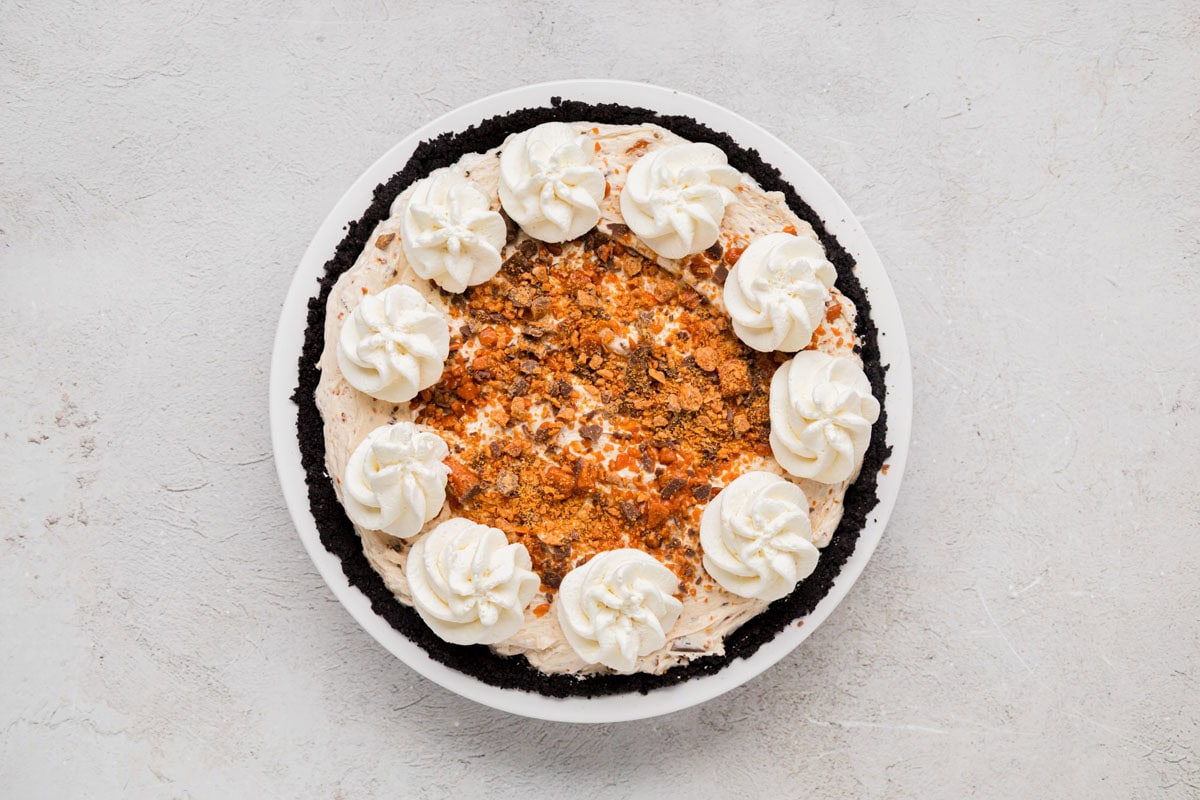
Refrigerate for at least 4 hours, or overnight, until set. Pipe whipped cream around the edge and add mini Butterfinger bars around the chopped candy in the center, if you like.
Variations & Substitutions
- Swap the candy bar. Chopped Reese’s cups, Heath bars or Snickers all work in this same filling. If you love Reese’s, try my No-Bake Peanut Butter Cup Pie.
- Use homemade whipped cream. Swap the Cool Whip for about 3 cups of stabilized whipped cream. It’s a little softer, so plan to serve the pie well chilled.
- Make a 9×13 pan. Make 1½ times the filling and press a crust of 30 Oreos and 8 tablespoons of melted butter into the pan. It’s perfect for potlucks and church suppers.
- Make mini pies. Press Oreo crumbs into lined muffin cups, add a scoop of filling and top with Butterfinger pieces. They’re easy to grab at a party, no slicing needed.
- Add a drizzle. Finish slices with a drizzle of chocolate syrup or caramel sauce for an extra-indulgent dessert.
Gluten-Free Butterfinger Pie
This butterfinger pie can easily be made gluten-free with a few label checks. Regular Oreos contain wheat, so use gluten-free Oreos (or another gluten-free chocolate sandwich cookie) for the crust, or buy a certified gluten-free crust.
Always check the label on your Butterfingers, Whipped Topping, and vanilla extract, since ingredients and manufacturing can change, and choose products labeled gluten-free if you’re baking for someone with celiac disease.
Recipe Tips
- Freeze the candy bars before crushing. Cold Butterfingers shatter into clean pieces instead of smashing into dust. Pop fun-size bars in the freezer for 15 minutes, then crush them in a zip-top bag with a rolling pin.
- Slice with a hot knife. Dip a sharp knife in hot water and wipe it dry between each cut. You’ll get clean, bakery-style slices every time.
- Pipe the whipped cream right before serving. Whipped cream looks freshest and holds its shape best when it’s added just before the pie hits the table. If you’re making the pie ahead, wait to garnish.
What to Serve with Butterfinger Pie
No-bake Butterfinger pie is the sweet ending to just about any gathering. Bring it to a summer cookout alongside my Cookout Side Dishes, or set it on the holiday dessert table next to Pecan Pie Brownies.
Making a whole no-bake dessert spread? Add my No-Bake Fireworks Oreo Cheesecake Bars. A cup of hot coffee or a glass of cold milk on the side doesn’t hurt either!
Make-Ahead and Storage Instructions
Make Ahead: Make the pie up to 2 days before serving and keep it covered in the fridge. Add the whipped cream and mini Butterfingers the day you serve it.
Storage: Cover the pie tightly with plastic wrap or a pie cover and refrigerate for up to 4 days. The Butterfinger pieces on top will soften a little over time, so it’s at its crunchiest within the first day or two.
Freeze: Wrap the chilled pie (without the whipped cream garnish) in plastic wrap and foil and freeze for up to 1 month. Thaw in the fridge for a few hours, or serve it partially frozen for an icebox-pie treat.
Frequently Asked Questions
At least 4 hours in the fridge. For the cleanest slices, chill it overnight.
Yes. Freeze it without the whipped cream topping for up to 1 month. Thaw in the fridge or serve it partially frozen.
The cream cheese was probably too cold. Let it soften for at least 30 to 45 minutes, and beat it with the peanut butter until completely smooth before adding anything else.
More Easy Dessert Recipes
Hungry for more easy, home-cooked, delicious recipes?
Sign up for my free recipe club to get family-friendly recipes in your inbox each week! Find me sharing daily meal-time inspiration on Pinterest, Facebook, and Instagram.
Butterfinger Pie (No-Bake Recipe)

Click Stars To Rate
Ingredients
- 8 ounces cream cheese - room temperature
- ½ cup creamy peanut butter
- 2 teaspoons vanilla extract
- 1 ½ cups powdered sugar
- 8 ounces bag butterfinger bits - (or 12.5 ounce bag fun sized crushed) , reserve ⅓ to ½ cup for the top. I like the some of topping pieces a little larger than inside
- 8 ounces frozen whipped topping - thawed (cool whip)
- 1 Oreo Pie Crust - or chocolate graham cracker crust, can use storebought
- whipped cream
- mini butterfinger bars - optional
Instructions
- Place cream cheese and peanut butter in a large mixing bowl until light and fluffy. Add vanilla and beat with an electric mixer until smooth.
- Add the powdered sugar and beat until smooth.
- Fold in the crushed Butterfinger bits.
- Add in Cool Whip and gently fold until incorporated.
- Spread the Butterfinger filling in the crust. Then, sprinkle with the reserved Butterfingers on top.
- Refrigerate for at least 4 hours before serving.
- Garnish with pipped whipped cream and mini Butterfingers for an extra beautiful presentation around the chopped Butterfingers in the middle of the pie (optional).
Notes
- Well-softened cream cheese: Let the cream cheese sit at room temperature for at least 30 to 45 minutes (or more) before mixing for a smooth, lump-free filling.
- Fold, don’t stir or beat: Use a rubber spatula to gently fold in the Cool Whip so the filling stays light and airy.
- Pan size: Use an 8-, 9- or 10-inch pie dish, cake pan, springform pan or square pan. It’s not enough for a 9×13-inch pan. For a 9×13-inch dessert, make a crust with 30 Oreos and 8 tablespoons butter, and make 1½ times the filling.
- Storage: Cover and refrigerate for up to 4 days. To freeze, wrap the pie without the whipped cream garnish and freeze for up to 1 month; thaw in the fridge before serving.
Want to Save this Recipe?
By submitting this form, you consent to receive emails from Soulfully Made.
Nutrition
Soulfully Made is not a dietician or nutritionist, and any nutritional information shared is an estimate. If calorie count and other nutritional values are important to you, we recommend running the ingredients through whichever online nutritional calculator you prefer. Calories and other nutritional values can vary quite a bit depending on which brands were used.
