
This post may contain affiliate links. Please read our disclosure policy.
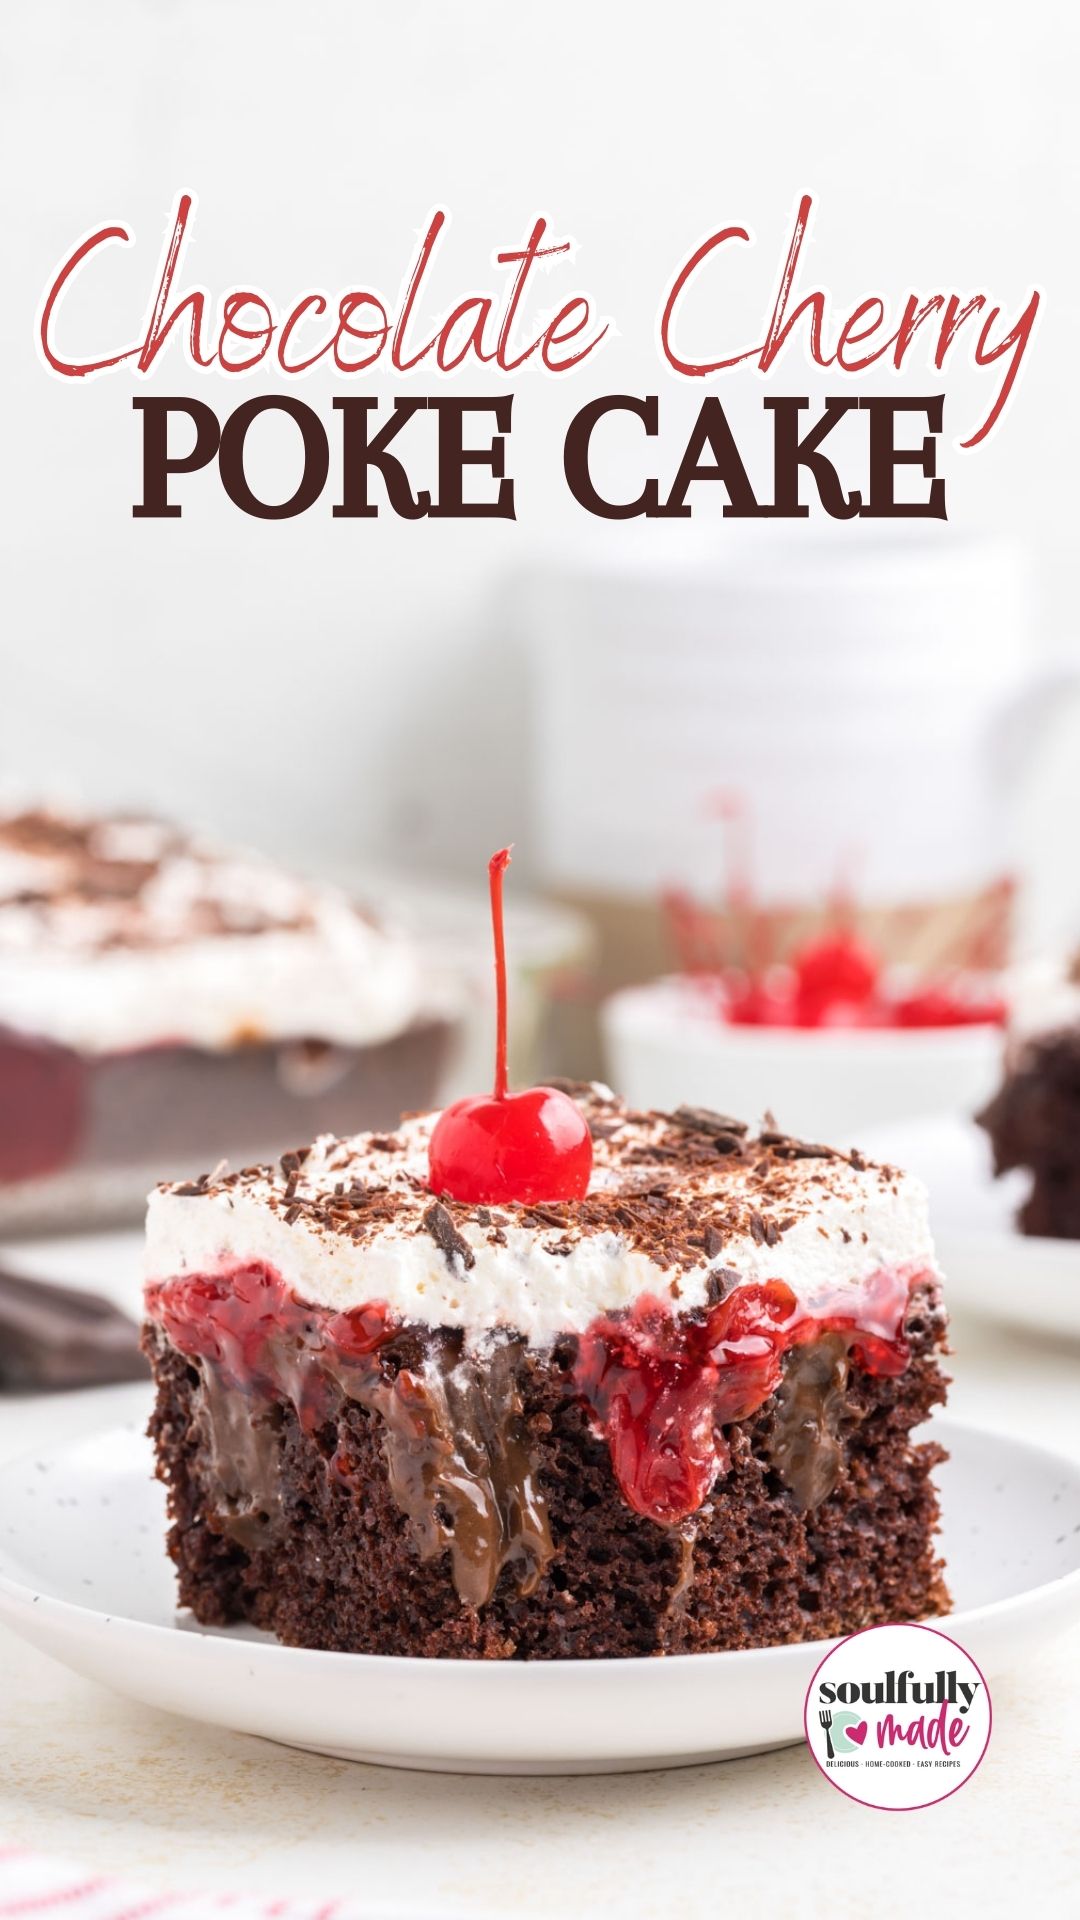
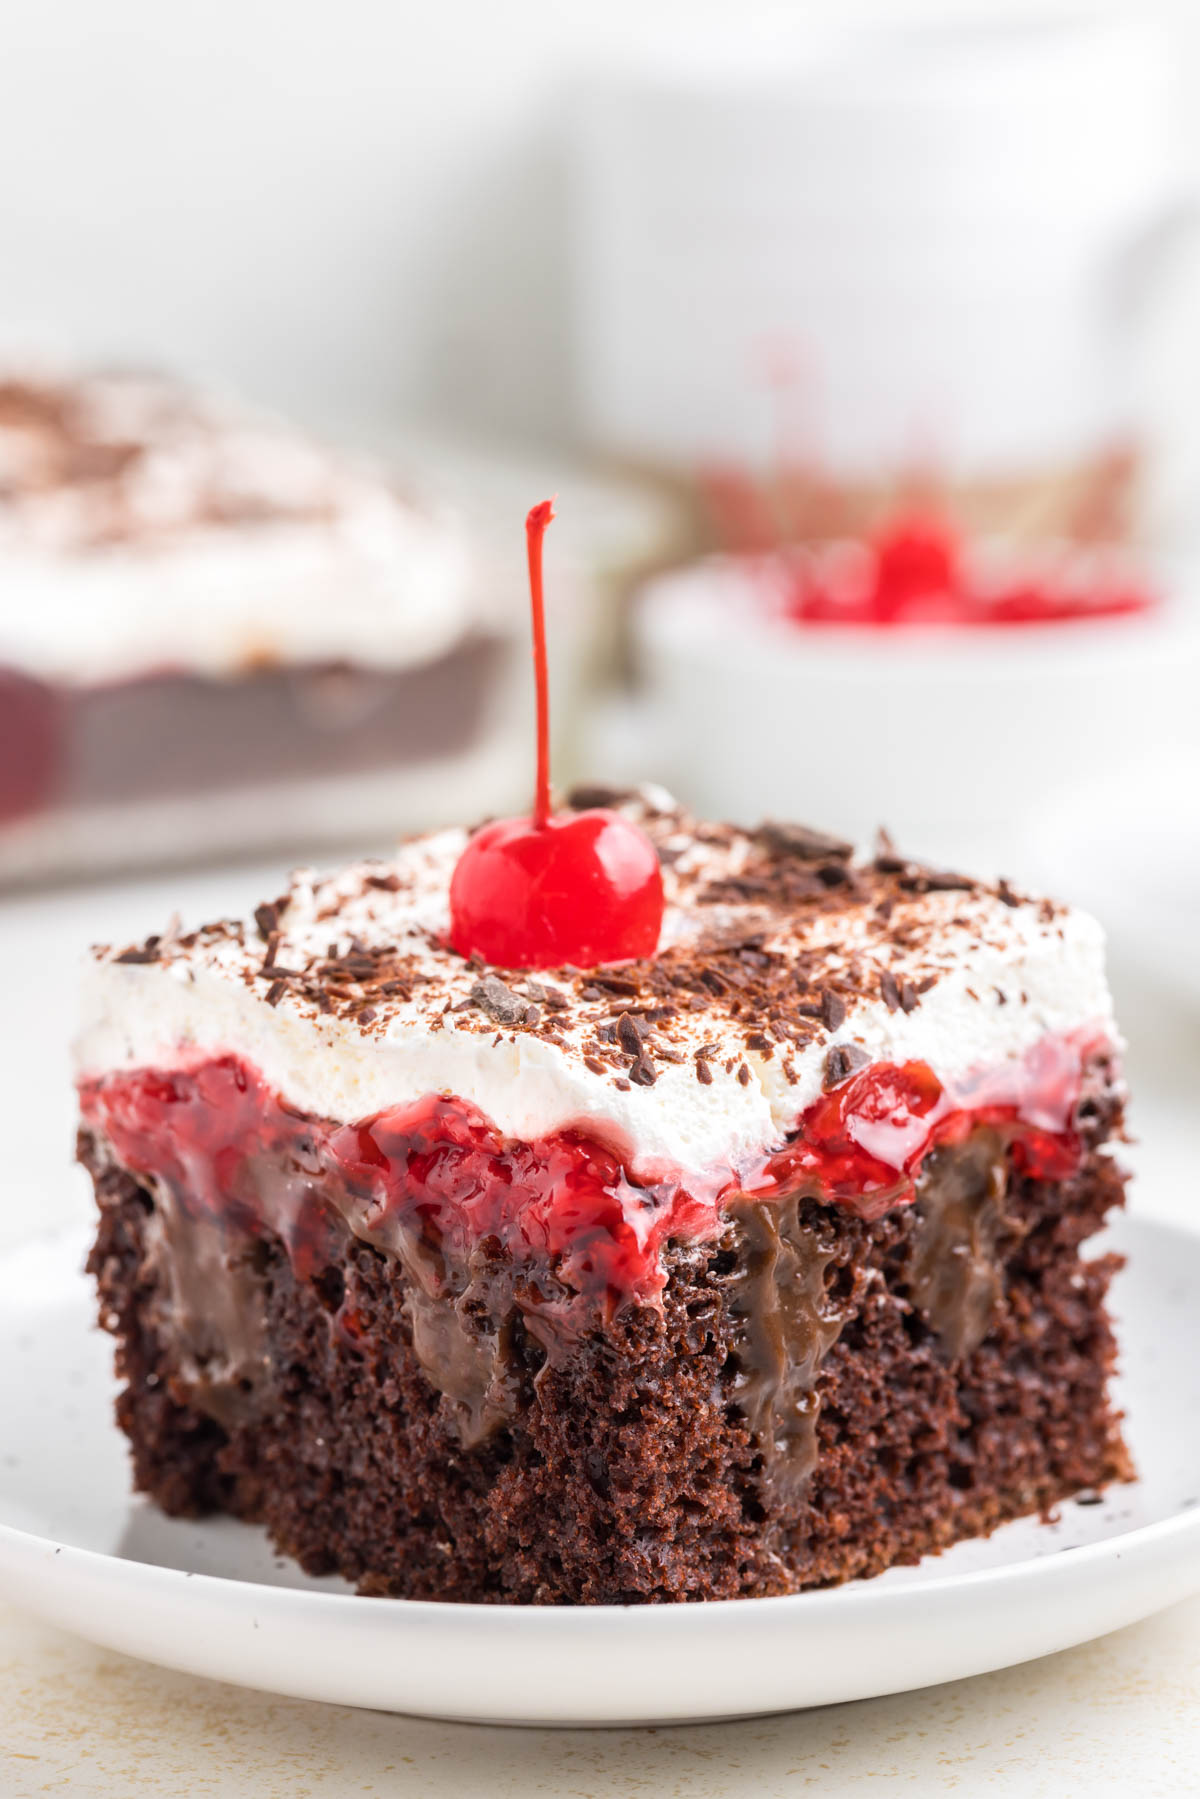
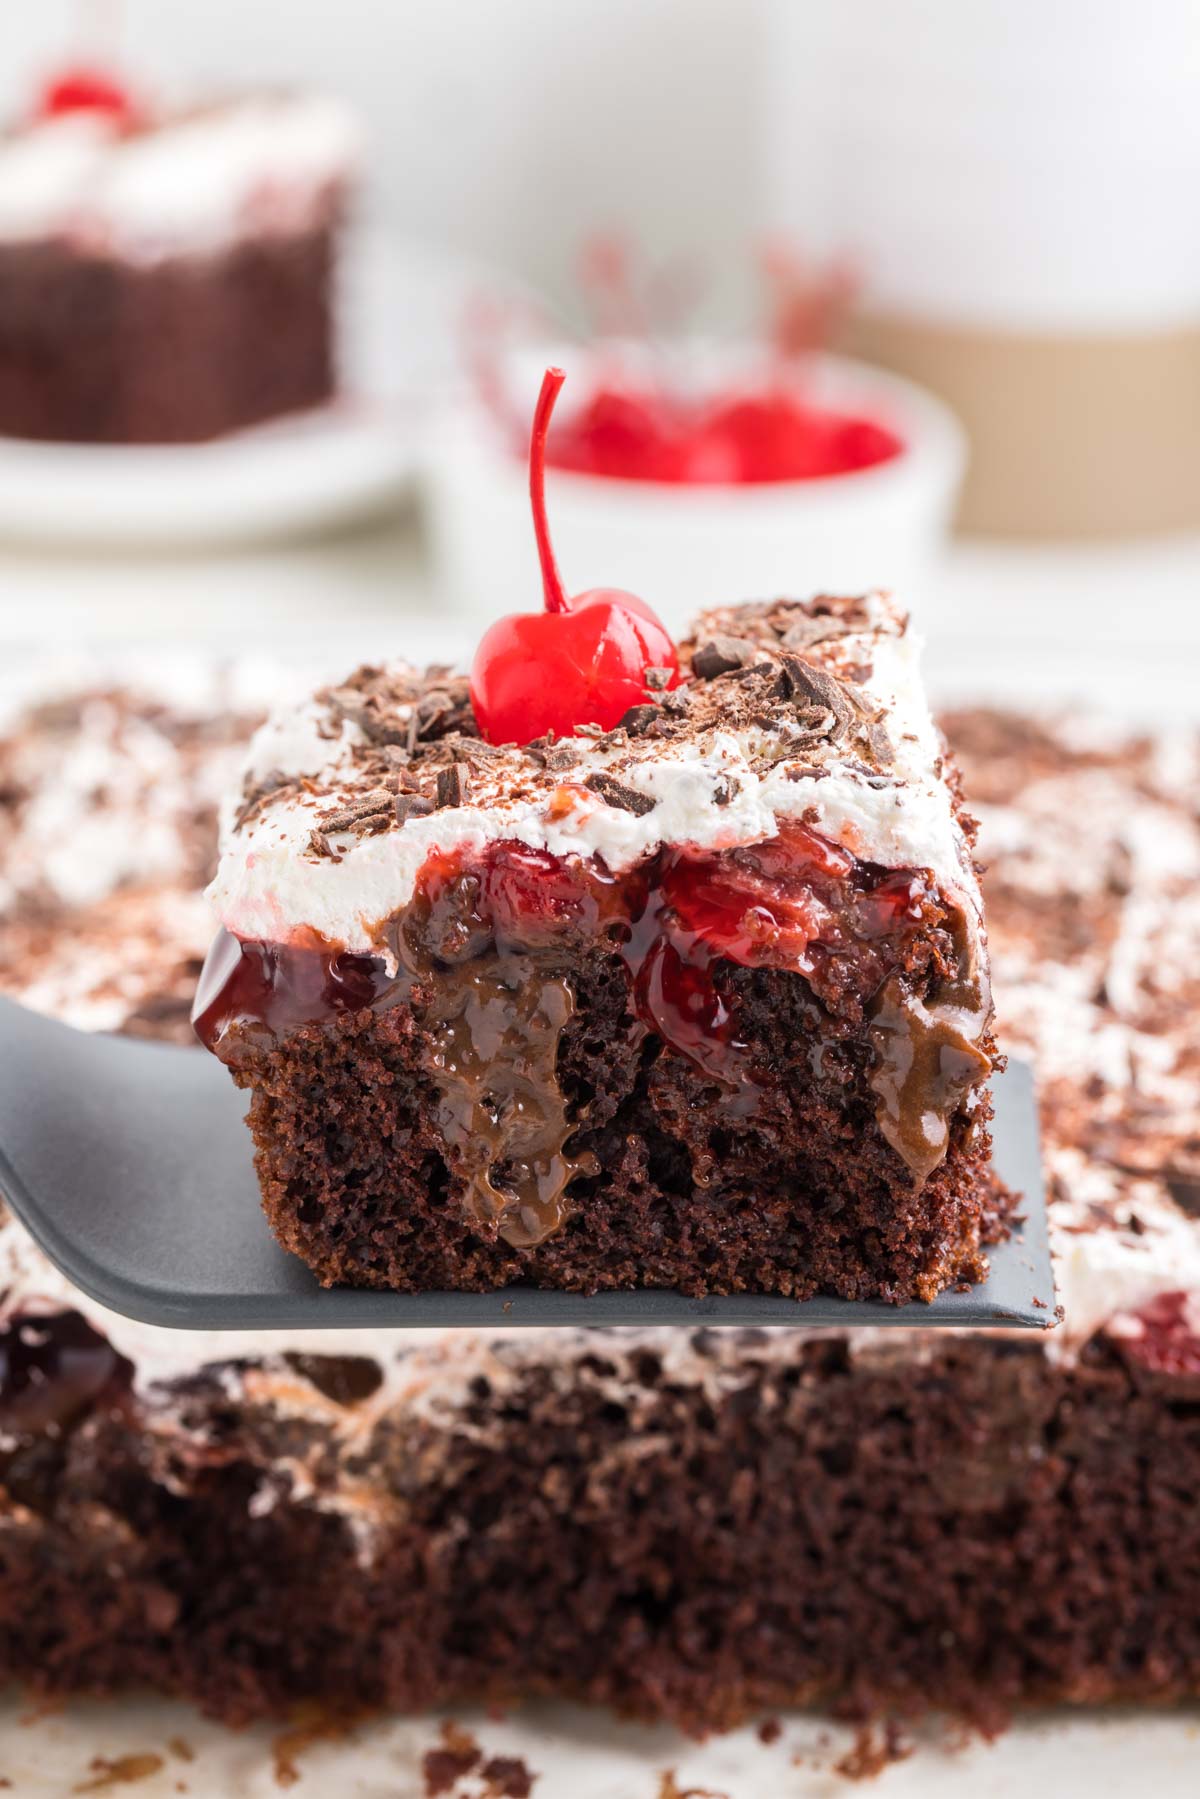
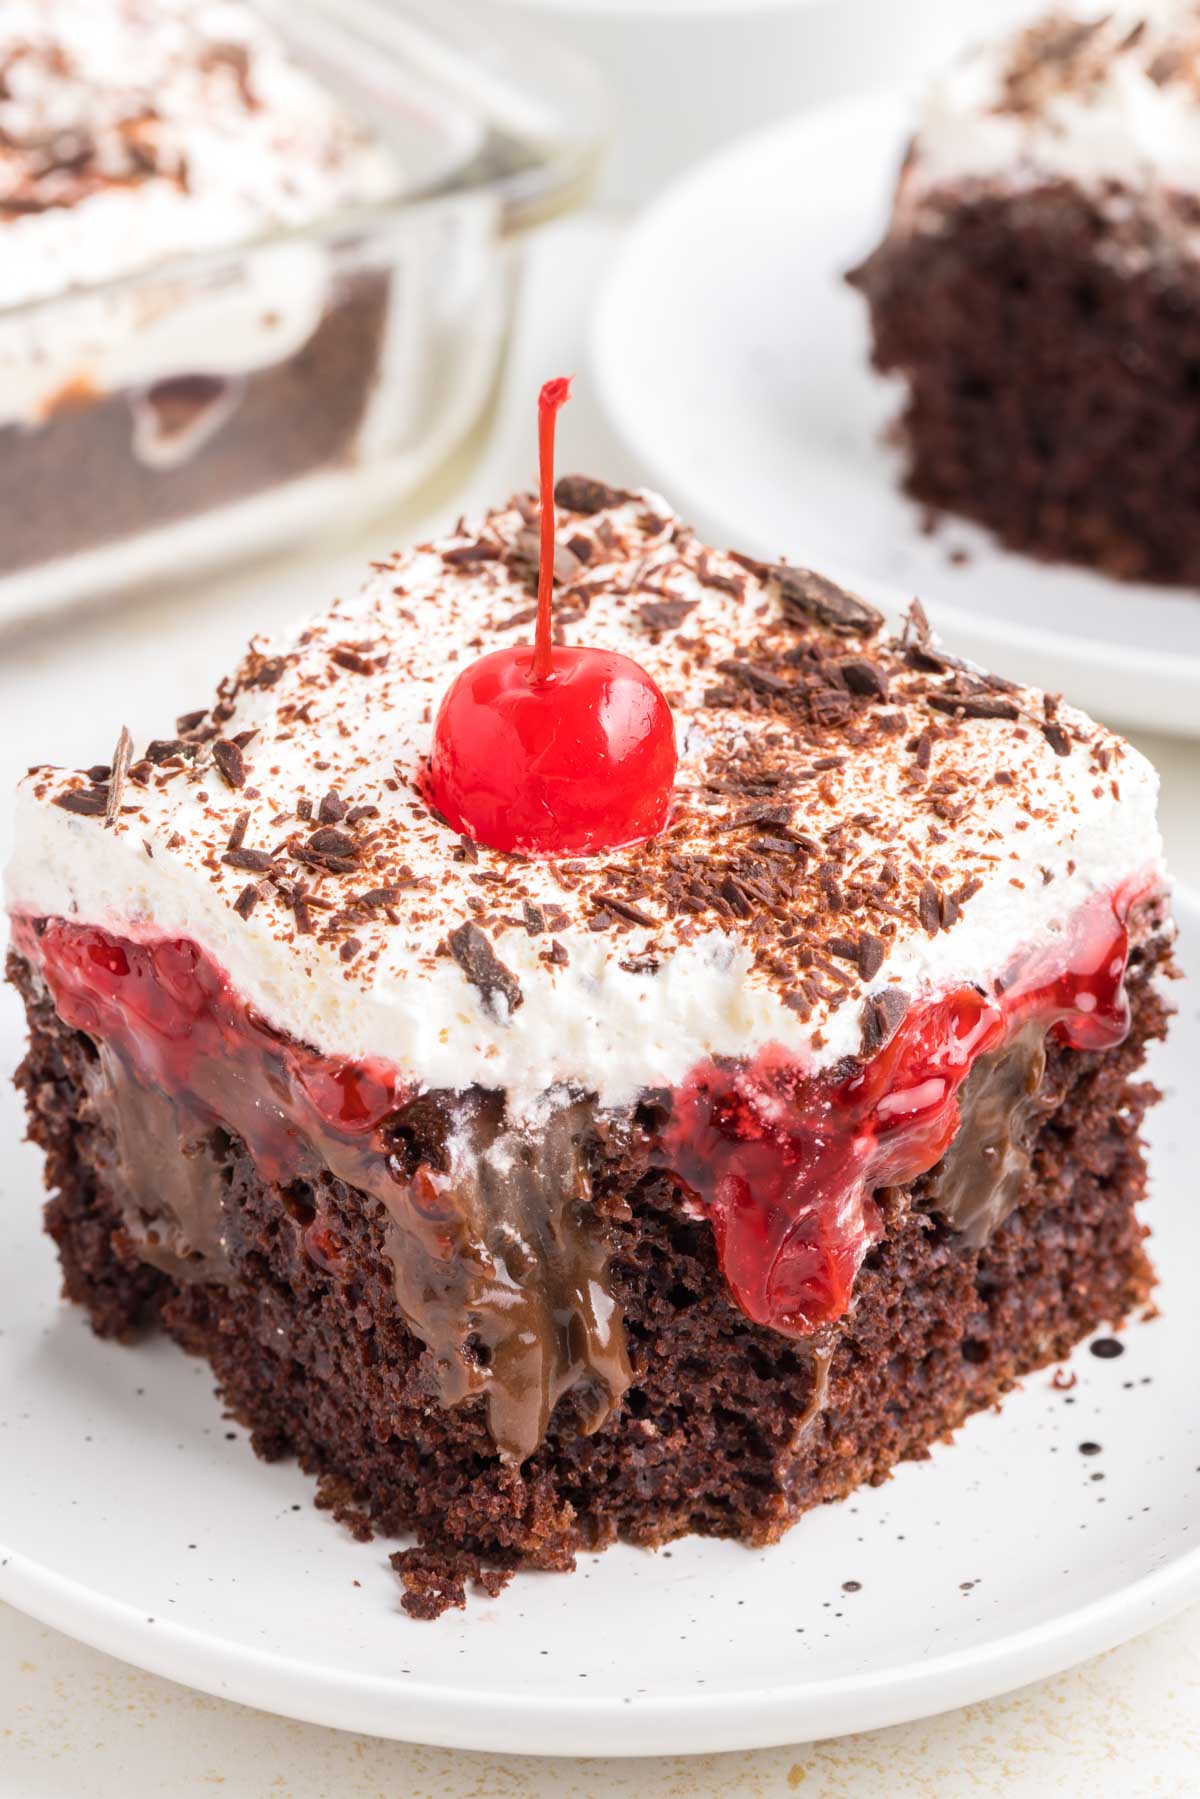
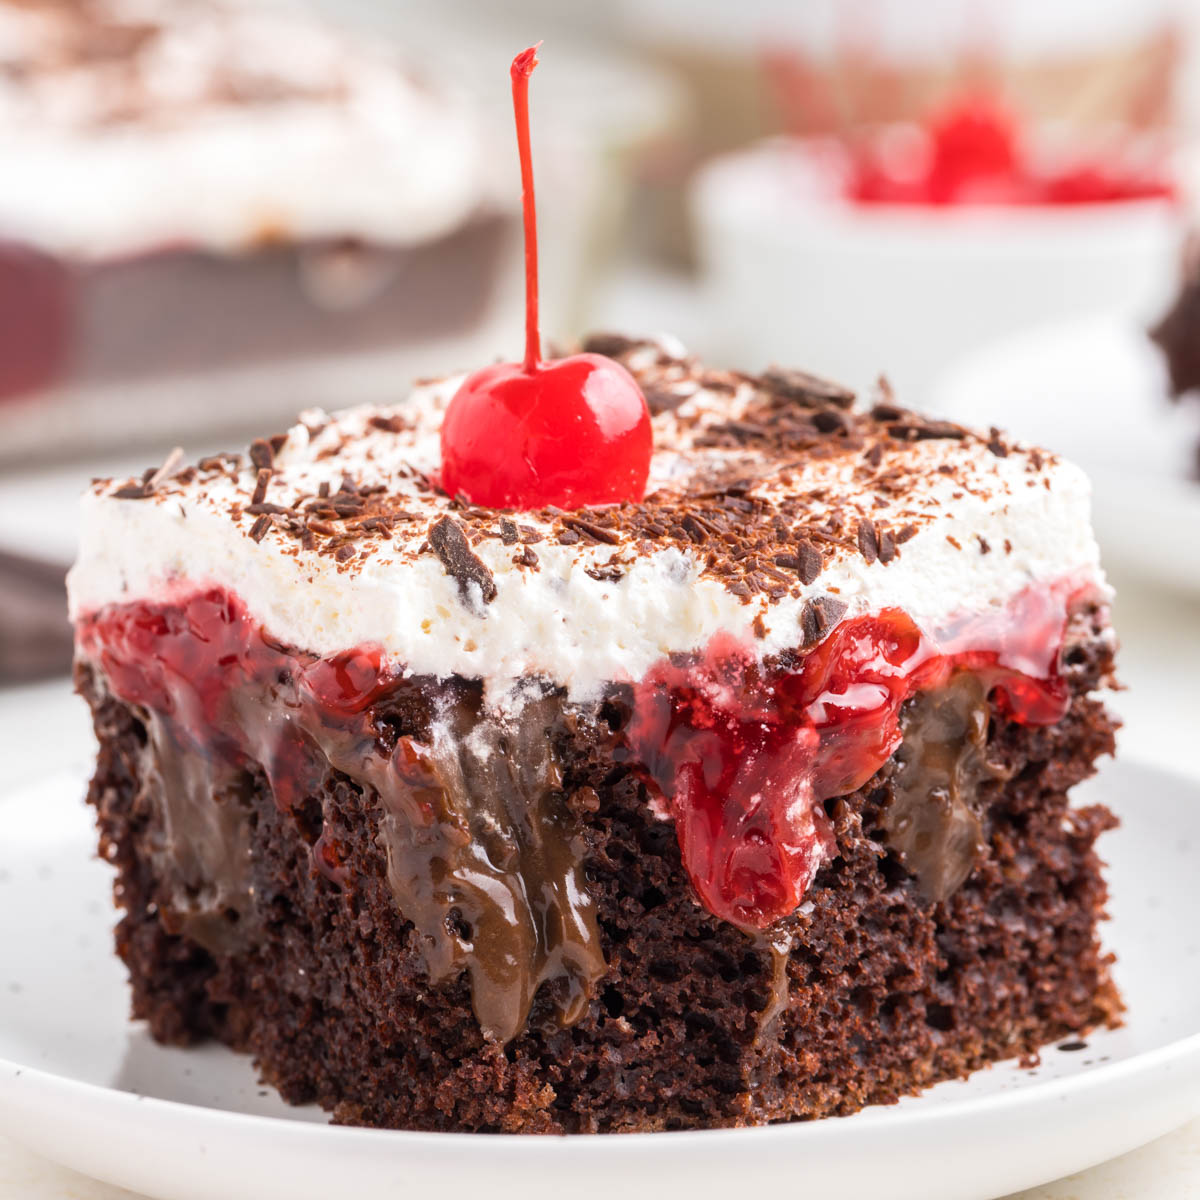
This Black Forest Poke Cake is filled with decadent layers of chocolate cake, silky chocolate pudding, tart cherry pie filling, and a creamy layer of whipped topping. With simple ingredients and effortless prep, this poke cake transforms a popular layer cake into quick and easy no-fuss deliciousness!
Why We Love This Recipe!
- Simple Ingredients: This easy black forest poke cake recipe calls for boxed cake mix, instant chocolate pudding, canned pie filling, and frozen whipped topping, making the cooking process hassle-free! Just combine, bake, assemble, and chill!
- Perfectly Balanced: Moist chocolate cake, rich chocolate pudding, tangy and sweet cherry pie filling, and creamy whipped topping combine to make a delicious balance of dreamy flavors!
- Crowd-Pleasing Dessert: Cater to everyone’s preference with this simple yet impressive mix of flavors– fruity, chocolatey, creamy, and more chocolate goodness! It’s a chocolate-loaded dessert perfect for a weekend potluck or upcoming holiday.
I love a simple dessert that gives you made-from-scratch flavor, like today’s easy four-layer cake.
The “cherry on top” of this recipe? It’s made with no fuss (or even less) in just 35 minutes. Then, one hour to chill in the fridge, and you have a moist and decadent dessert!
If you’re craving more cherry masterpieces with basic ingredients, check out more of my easy desserts, like ooey-gooey Cherry Pineapple Dump Cake and flaky, buttery Air Fryer Cherry Hand Pies.
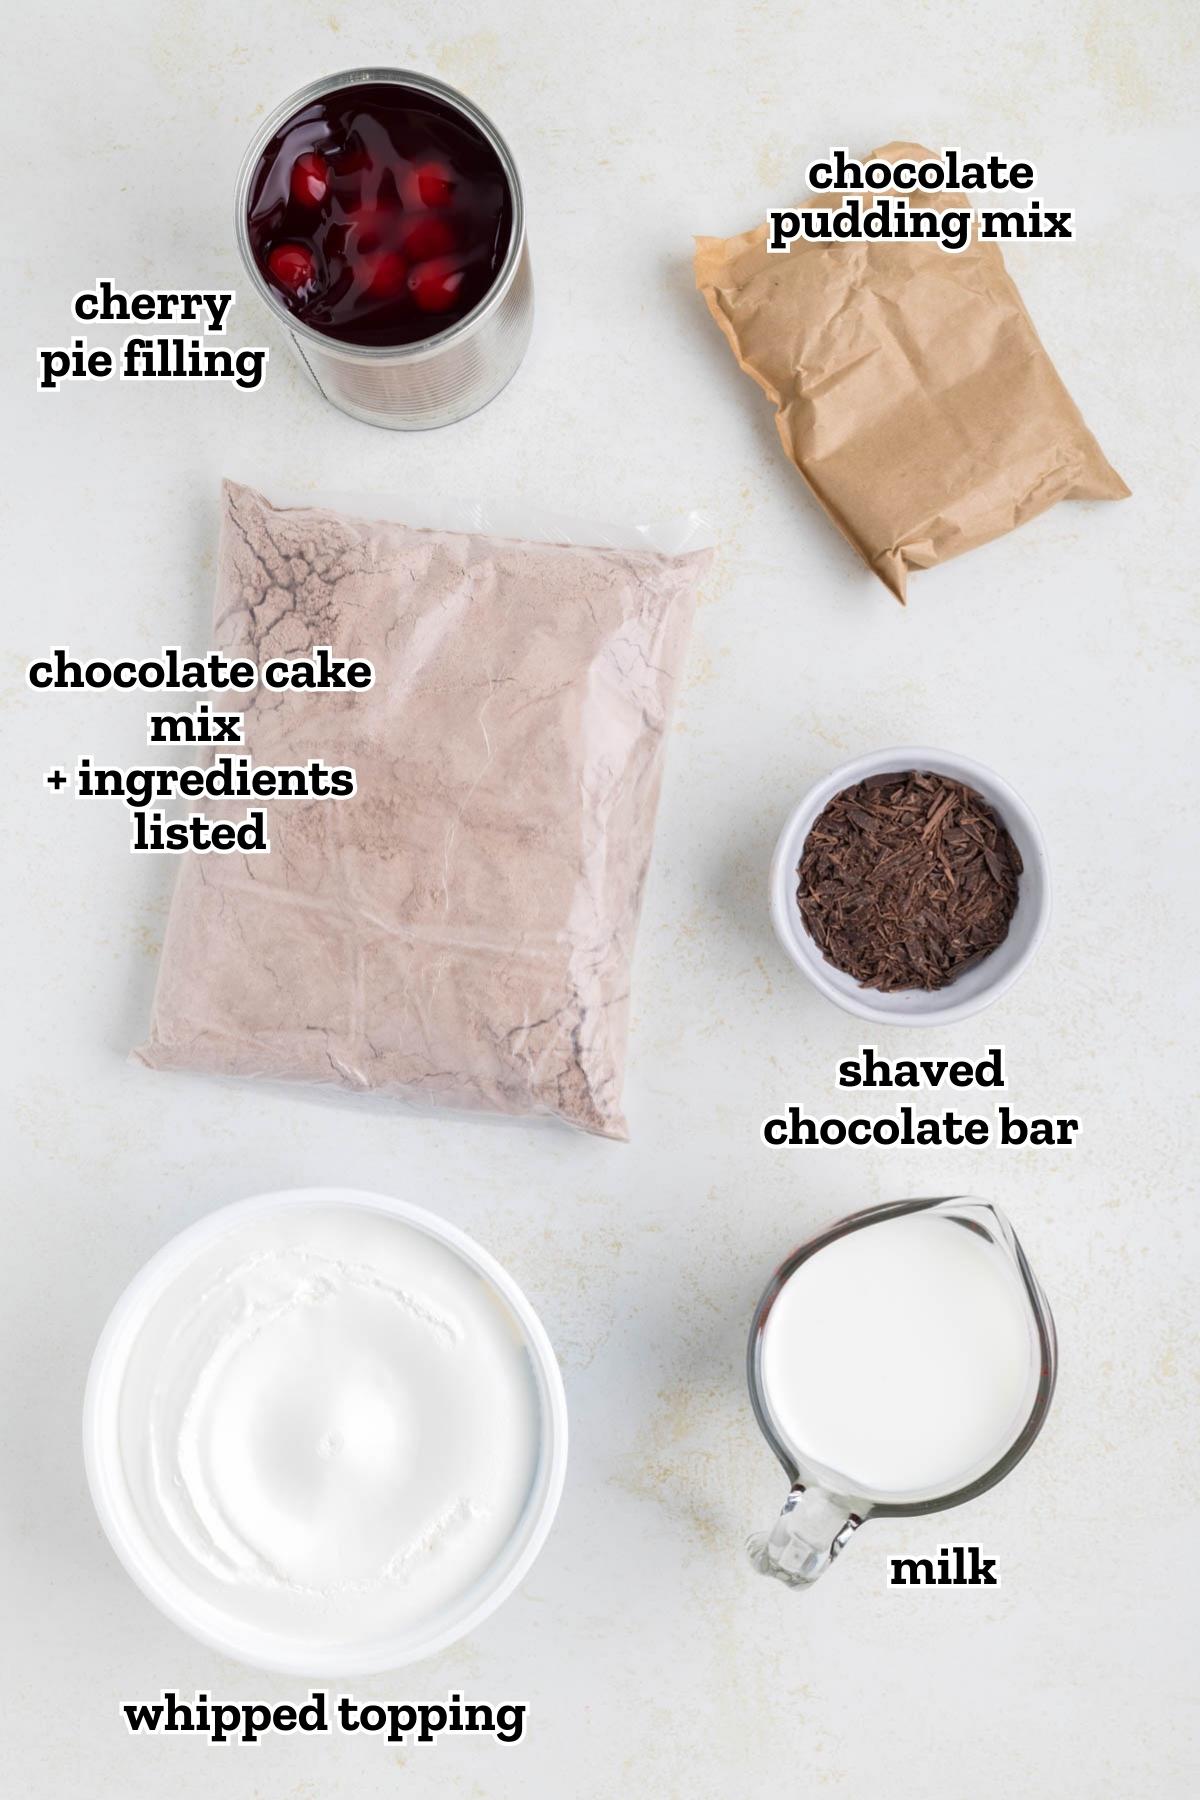
Ingredient Notes
Variations and Substitutions
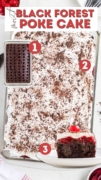
How To Make Chocolate Cherry Poke Cake
✱ Below shows step-by-step photos and instructions. For the complete recipe, along with ingredient amounts, scroll down to the recipe card.
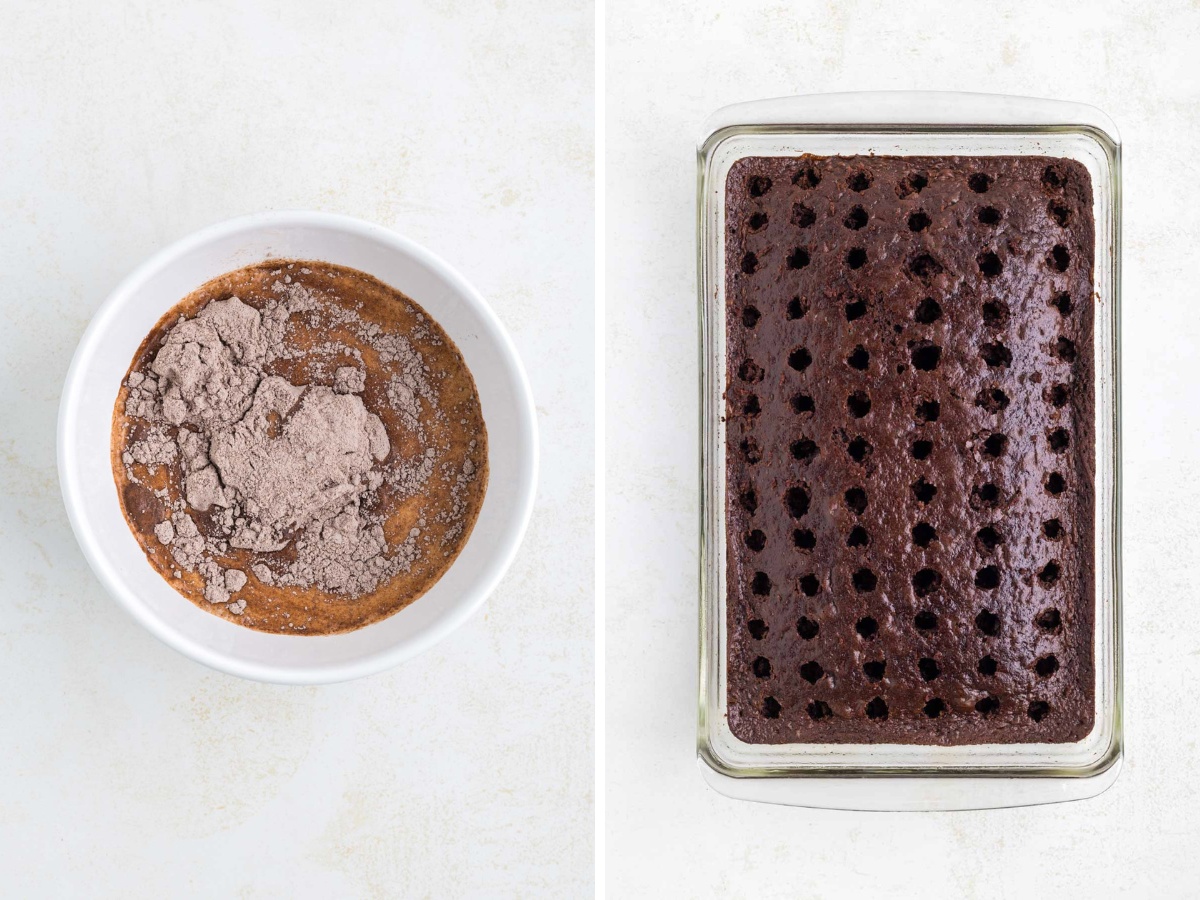
Step 1 | Bake cake and poke holes
Here we go! Start by gathering the ingredients noted on the box cake mix and baking the cake in a preheated oven according to the directions on the packaging.
Once it is finished cooking, remove the hot dish from the oven and cool the cake while it’s still in the pan. (Do not take it out of the pan!) Once the cake is cool, use the round end of a wooden spoon to poke holes in the top of the cake, like in the picture below.
Note: Each hole should be around an inch apart to get the perfect balance of the cake and filling.
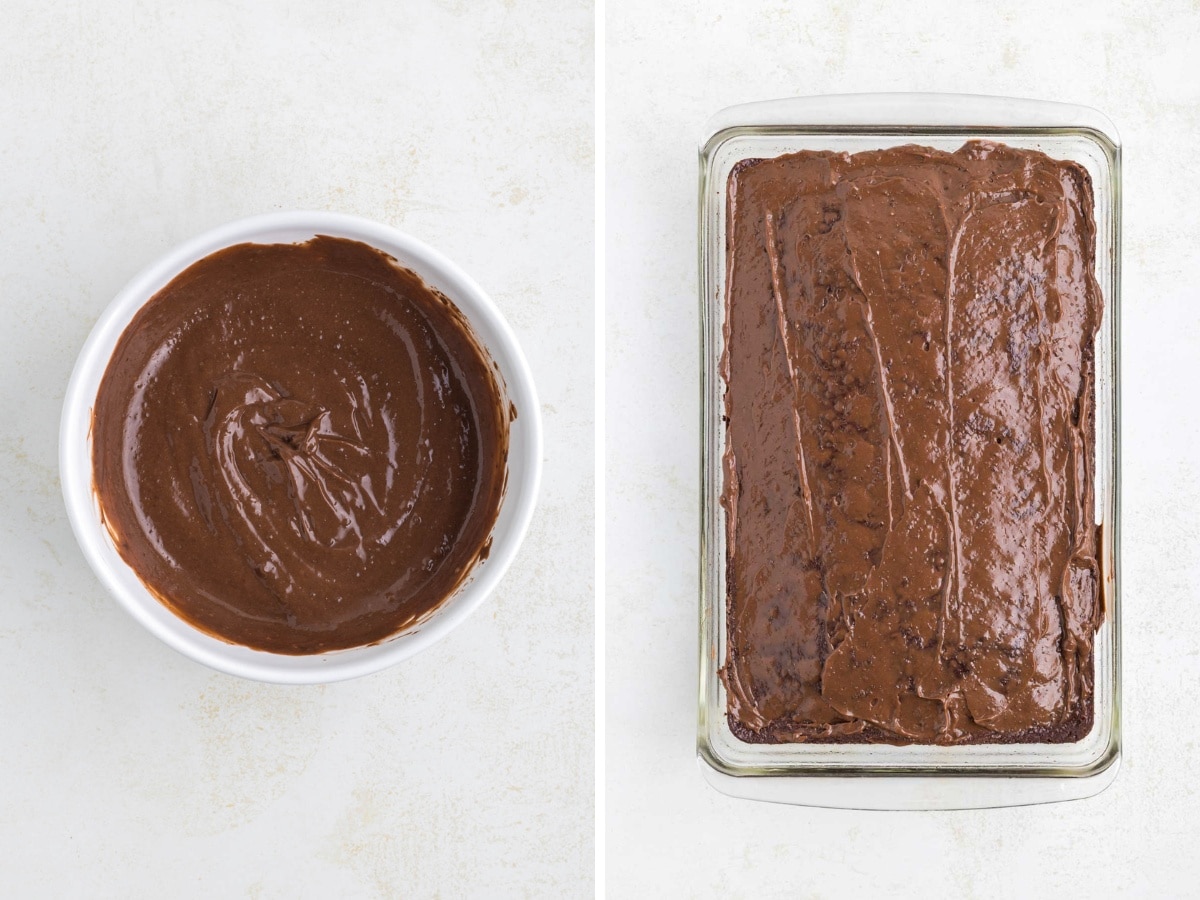
Step 2 | Mix pudding and spread on cake
Meanwhile, let’s get the pudding ready. Whisk together the pudding mix and milk in a medium bowl. When it’s nice and thick, pour the chocolate pudding over the cooled cake, spreading it with a rubber spatula to cover the surface evenly.
Use the spatula to gently press the pudding into the holes.
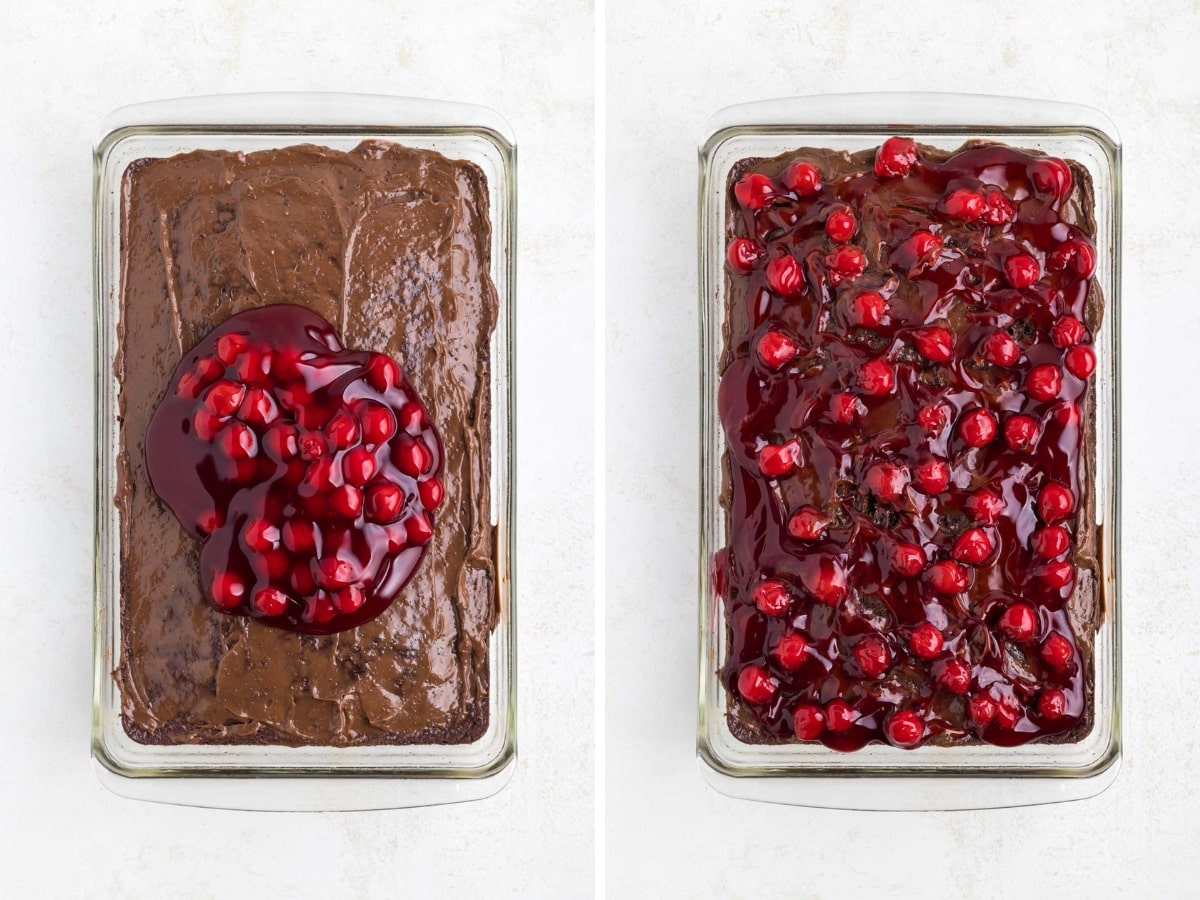
Step 3 | Add the pie filling
Time for the fruity layer. Carefully spread the cherry pie filling right over top of the pudding layer.
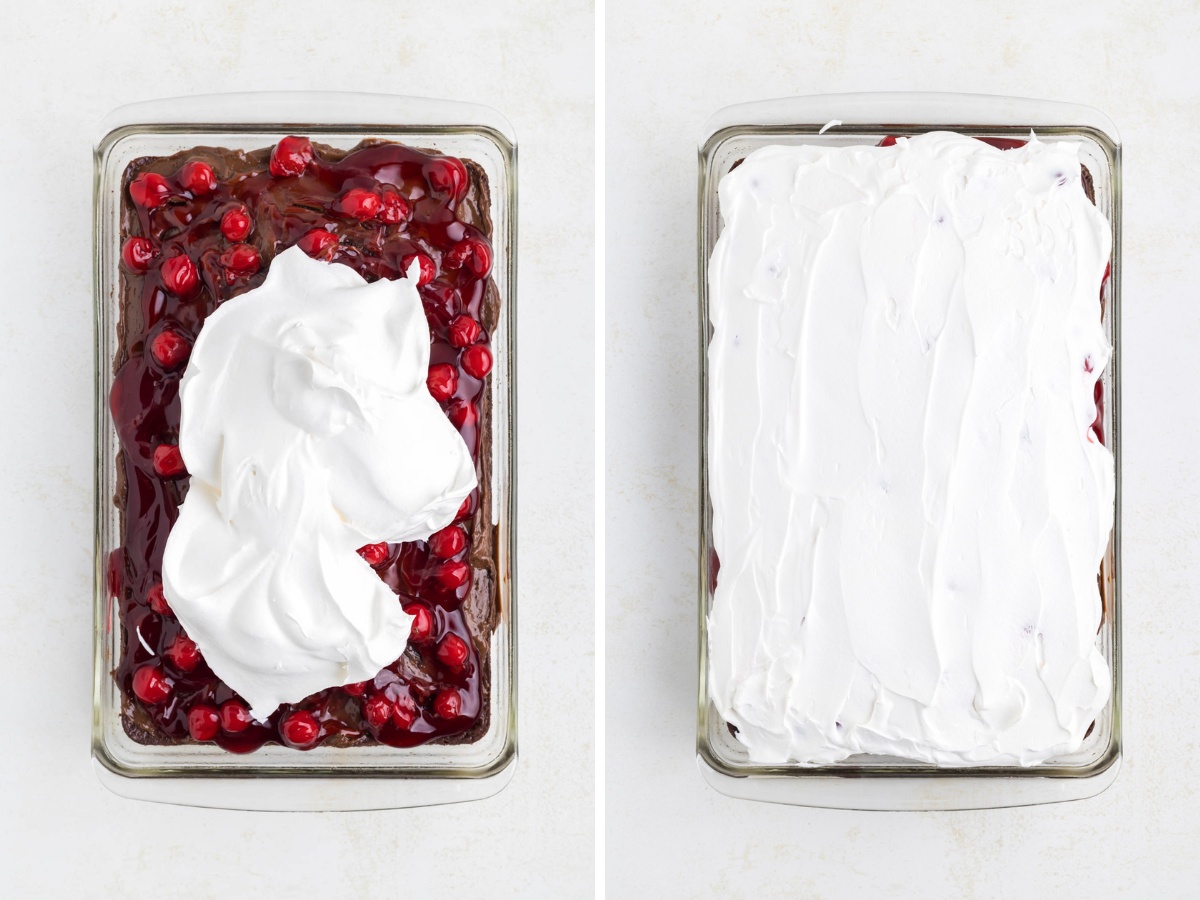
Step 4 | Spread whipped topping and chill
Finally, gently spread the whipped topping over the cherry pie layer. Then, place the cake in the refrigerator to chill for at least one hour, allowing the pudding to set and the flavors to meld.
Don’t rush the process! Perfection takes time.
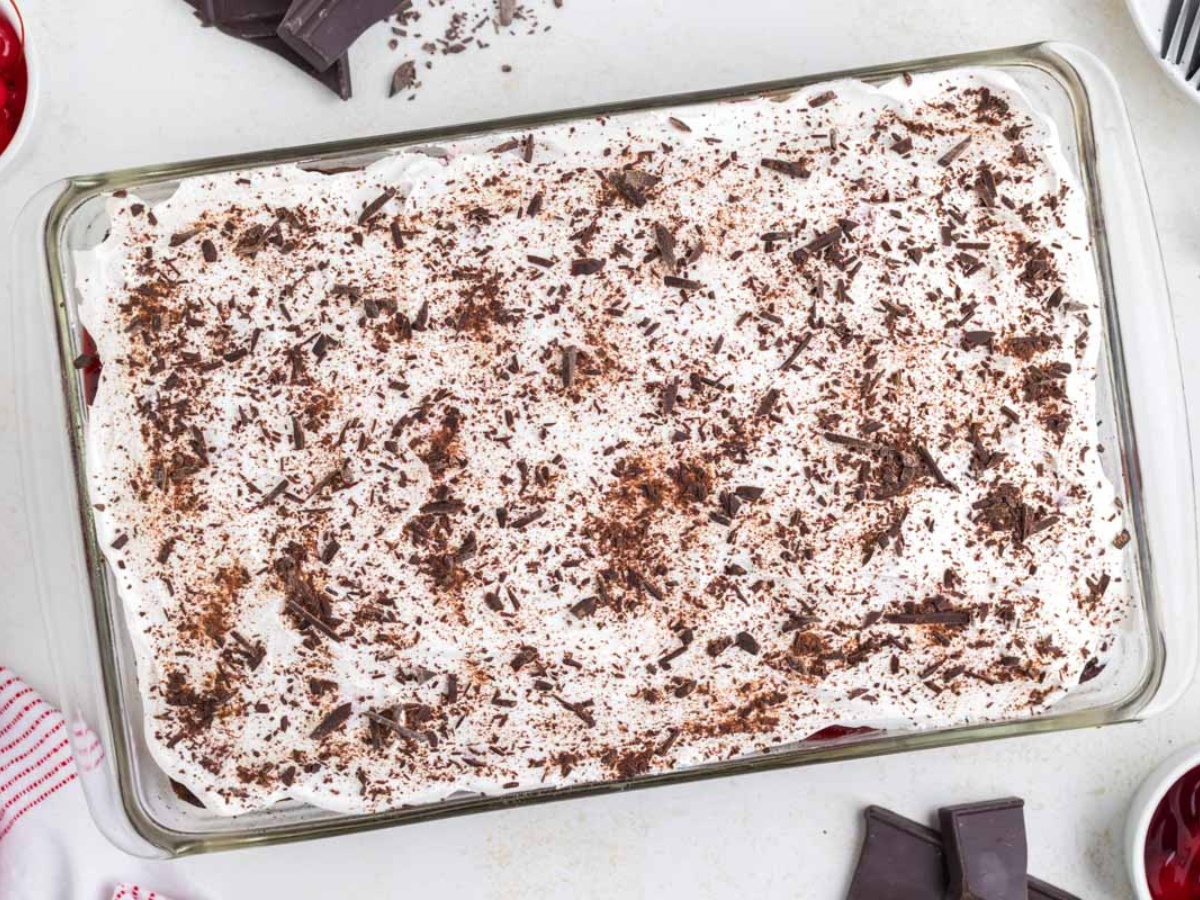
Step 5 | Add toppings and serve!
When the gorgeous layers are ready to serve, sprinkle the cake with shaved or chopped chocolate and garnish with maraschino or fresh cherries if desired.
Then, slice with a warm knife and enjoy!
Tips
- Cake Pan Size– While you can generally use any size or shape of baking dish, I like using a classic 9×13-inch pan for this recipe.
- Thaw Whipped Topping– Don’t forget to set a container of frozen whipped topping in the refrigerator the night before you start the recipe so it’s thawed and ready to spread! If you miss this step (I’ve been there), try leaving the topping on the countertop at room temperature for at least half an hour. Or use the microwave defrost setting (or low setting), with 20 to 30-second increments, stirring between heating, until it’s fluffy, smooth, and spreadable.
- Avoid Overmixing- Be careful not to overmix the cake batter to produce a fluffy and tender crumb instead of a dense and tough texture.
- Cool before poking holes and layering. For the best results, let the cake cool for at least 30 minutes poking the holes. If you poke it fresh out of the oven, it will be too soft and make it messy. You also want the cake completely cooled before adding the pudding and whipped topping so they don’t melt.
- Warm Knife– For those perfectly cut slices of this ooey gooey cake, dip your knife in warm water, then slice. And be sure to wipe the knife off between cuts. That way the knife glides easily through the goodness.
Recipe FAQs
Traditionally, black forest cake is made of several layers of chocolate cake, cherry filling, and whipped cream and is often garnished with more whipped cream, maraschino cherries, and rich chocolate shavings. Alcohol or cherry liqueur is also a common ingredient.
Today’s recipe is almost exactly like the classic chocolate cherry cake but made poke-cake-style! In other words, it’s a simplified version of the traditional recipe combined with the signature poke cake trait of holes in the top and pudding to bring extra moisture and a gooey bite.
The certain reasoning behind the name of this cake recipe has yet to be discovered. Some relate it to the Black Forest mountain range in Germany, but it more likely comes from the specialty liquor of the area made from tart cherries.
Sure! In fact, it is a great idea since gluten-free cakes are often dryer than regular flour cakes. Use a gluten-free chocolate cake mix and ensure the pie filling, whipped topping, and pudding are certified gluten-free. If they aren’t labeled gluten-free, find a certified product to make the gluten-free poke cake safe for those with allergies or intolerances.
Storage & Make Ahead
How to Store Finished Poke Cake: Store finished or leftover poke cake by keeping it in the refrigerator for up to 4 days in an airtight container. Honestly, it tastes better as it sits.
Prep Cake Ahead: To prep further ahead of time, you can bake the cake and store it at room temperature for up to 2 days. When you’re ready to serve, poke the holes and add the fillings (you could also prep pudding ahead of time) and toppings. Then chill for the best flavor before serving.
More Easy and Delicious Poke Cake Recipes
- Snickers Poke Cake
- Hot Chocolate Poke Cake
- Coconut Cream Poke Cake
- Oreo Brownie Poke Cake
- Lemon Pudding Poke Cake
- Pina Colada Poke Cake
Hungry for more easy, home-cooked, delicious recipes?
Sign up for my free recipe club to get family-friendly recipes in your inbox each week! Find me sharing daily meal-time inspiration on Pinterest, Facebook, and Instagram.
Black Forest Poke Cake
Click Stars To Rate
Ingredients
- 1 box chocolate cake mix (plus ingredients on the box) - (15.25 ounce cake)
- 1 box instant chocolate pudding mix - (3.4 ounce)
- 1 ½ cups cold whole milk
- 1 can cherry pie filling - (21 ounces)
- 8 ounces frozen whipped topped - thawed
- ⅓ cup chopped semi-sweet chocolate
Instructions
- According to the package directions prepare the cake, in a 9×13-inch pan. Cool the cake in the pan.
- Once the cake has cooled, poke holes, using the round handle of a wooden spoon, in the cake every inch or so.
- In a medium bowl, whisk together the pudding mix and milk until it thickens.
- Pour the pudding over the cake and spread it into an even layer with a rubber spatula while gently pressing it into the holes.
- Spread the cherry pie filling over top of the pudding layer.
- Then spread the whipped topping over the cherry pie layer. Place in the refrigerator and chill for at least one hour to allow the pudding to set and the flavors to meld.
- When ready to serve, sprinkle the cake with the chopped chocolate and garnish with cherries if desired. Slice and enjoy.
Notes
- Cake Pan Size– While you can generally use any size or shape of baking dish, I like using a classic 9×13-inch pan for this recipe.
- Thaw Whipped Topping– Don’t forget to set a container of frozen whipped topping in the refrigerator the night before you start the recipe so it’s thawed and ready to spread! If you miss this step, try leaving the topping on the countertop at room temperature for at least half an hour. Or use the microwave defrost setting (or low setting), with 20 to 30-second increments, stirring between heating, until it’s fluffy, smooth, and spreadable.
- Avoid Overmixing- Be careful not to overmix the cake batter to produce a fluffy and tender crumb instead of a dense and tough texture.
- Cool before poking holes and layering. For the best results, let the cake cool for at least 30 minutes poking the holes. If you poke it fresh out of the oven, it will be too soft and make it messy. You also want the cake completely cooled before adding the pudding and whipped topping so they don’t melt.
- Warm Knife– For those perfectly cut slices, dip your knife in warm water, then slice. And be sure to wipe the knife off between cuts. That way, the knife glides easily through the layers.
Want to Save this Recipe?
By submitting this form, you consent to receive emails from Soulfully Made.
I made this for dessert and it was so good! My whole family loved it!
Really easy and good
Only I use real whipping cream on the top just before serving
Oh man, I have to make this happen soon! 🙂 I just love a good poke cake, and this one looks fantastic.
This was everything a gourmet dessert should be, and then some! Turned out perfectly light, fluffy and decadent; easily, a new favorite recipe!
Thank you so much!
I have never made a richer chocolate cake in my life. This thing is just so moist and chocolaty. Perfect!
Thank you, Beth!
I love a black forest gateaux but would never have the time to make it. This cake has all the flavours and none of the stress. Perfect.
Thank you for making it. So glad to hear you enjoyed this easy version!