

This post may contain affiliate links. Please read our disclosure policy.
This graham cracker pie crust recipe uses just 3 ingredients and makes the same buttery crust whether you bake it or leave it in the fridge to set, no separate recipes to keep straight. It comes together in one bowl in under 10 minutes, and once you learn the one trick that keeps it from cracking apart at the edges, you’ll never look at a store-bought crust the same way again.
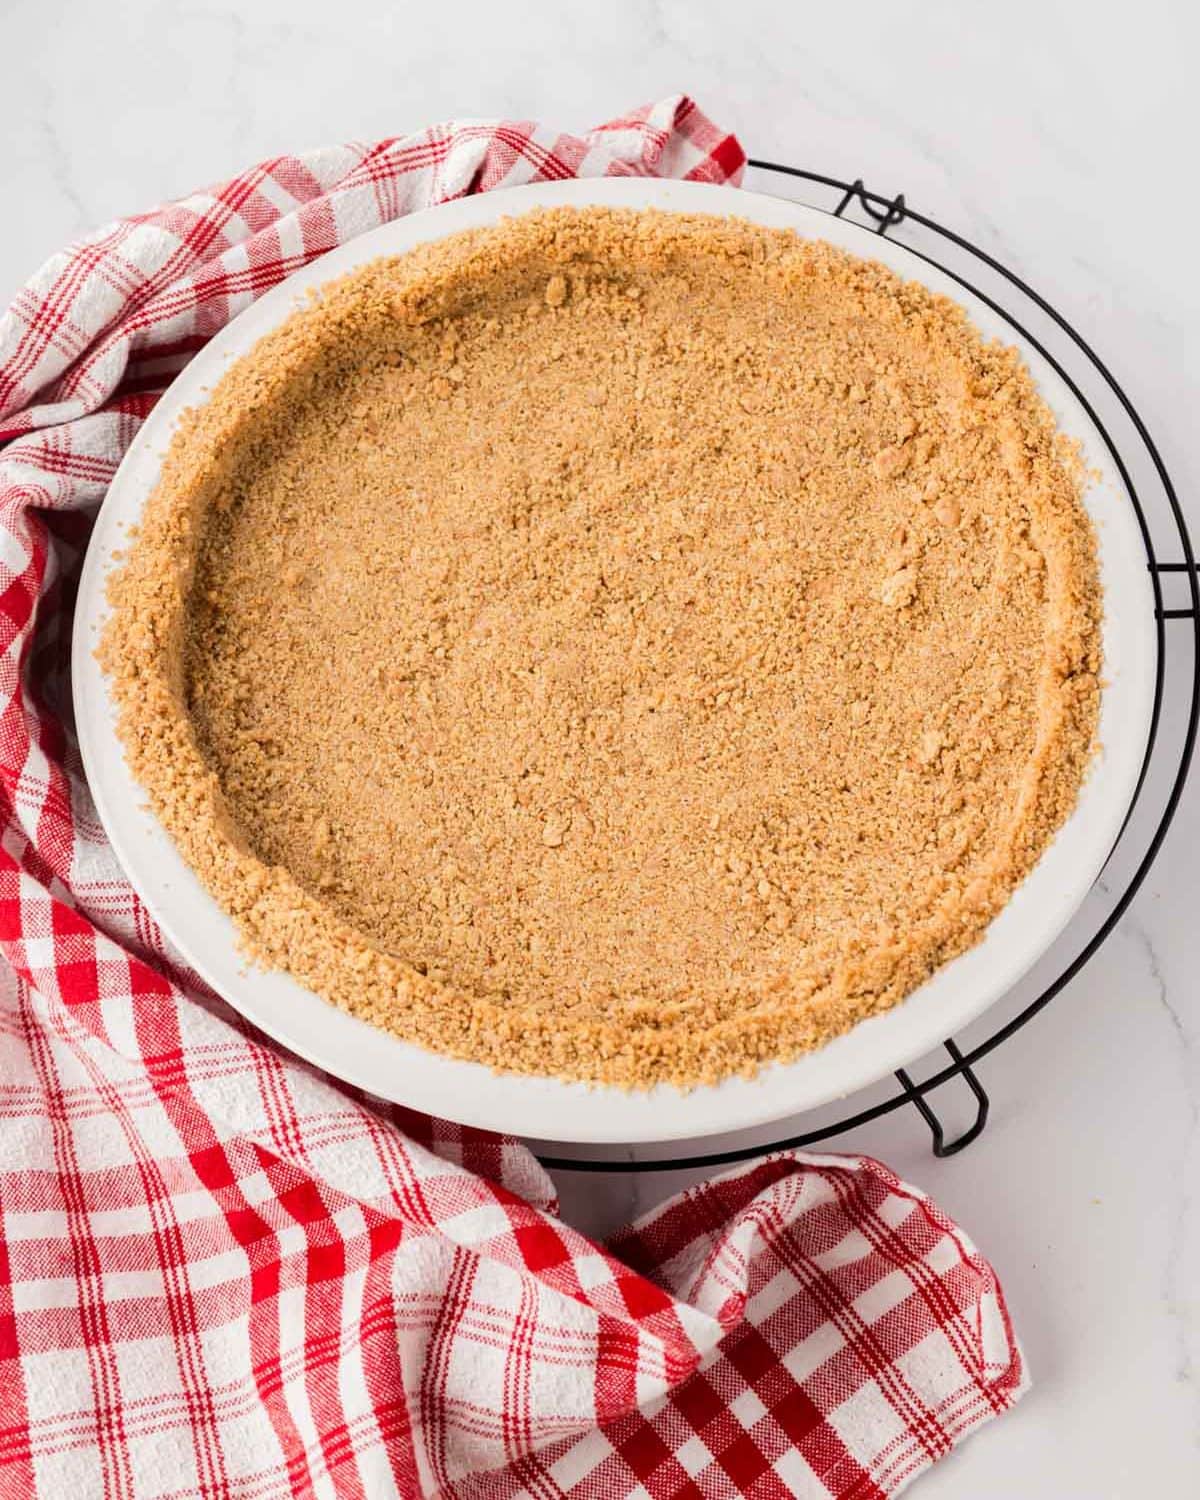
I learned to make this crust as a teenager, pressing them into pie pans for a church fundraiser. One of the ladies in the kitchen showed me a trick that changed everything: run a spoon around that bottom edge where the crust meets the sides before it bakes. Before that, mine cracked right along that seam every time I sliced into a pie. Decades later, I still do it exactly the same way, and I’ve never had a crust break apart on me since.
If you’ve ever had a crust crumble apart the second you cut into it, you’re not doing anything wrong, you’re probably just missing that one step. It takes an extra thirty seconds, and it’s the difference between a crust that holds its shape and one that falls apart on the plate.
Why you’ll love this Graham Cracker Pie Crust Recipe!

- ❥ Versatile: This crust has endless possibilities! Pies, no-bake desserts, cheesecake, and tart crusts too.
- ❥ Easy Recipe: This really is a crust anyone can make. A few ingredients and you are on your way to a delicious pie crust.
- ❥ No-Bake Graham Cracker Crust or Baked Graham Cracker Crust: The same recipe can be used for either.
Now, I get the convenience of those pre-made pie crusts, and I have been known to pick them up from time to time. But with this recipe, you can whip up your own graham cracker crust in no time.
It has better flavor and is easy to make ahead of time, too! Here’s all you will need to get started.
My Signature Fall Dinner Dishes!
FREE EMAIL BONUS: My greatest hits: bold, cozy, and brag-worthy.n
Ingredients to This Recipe for Graham Cracker Crust
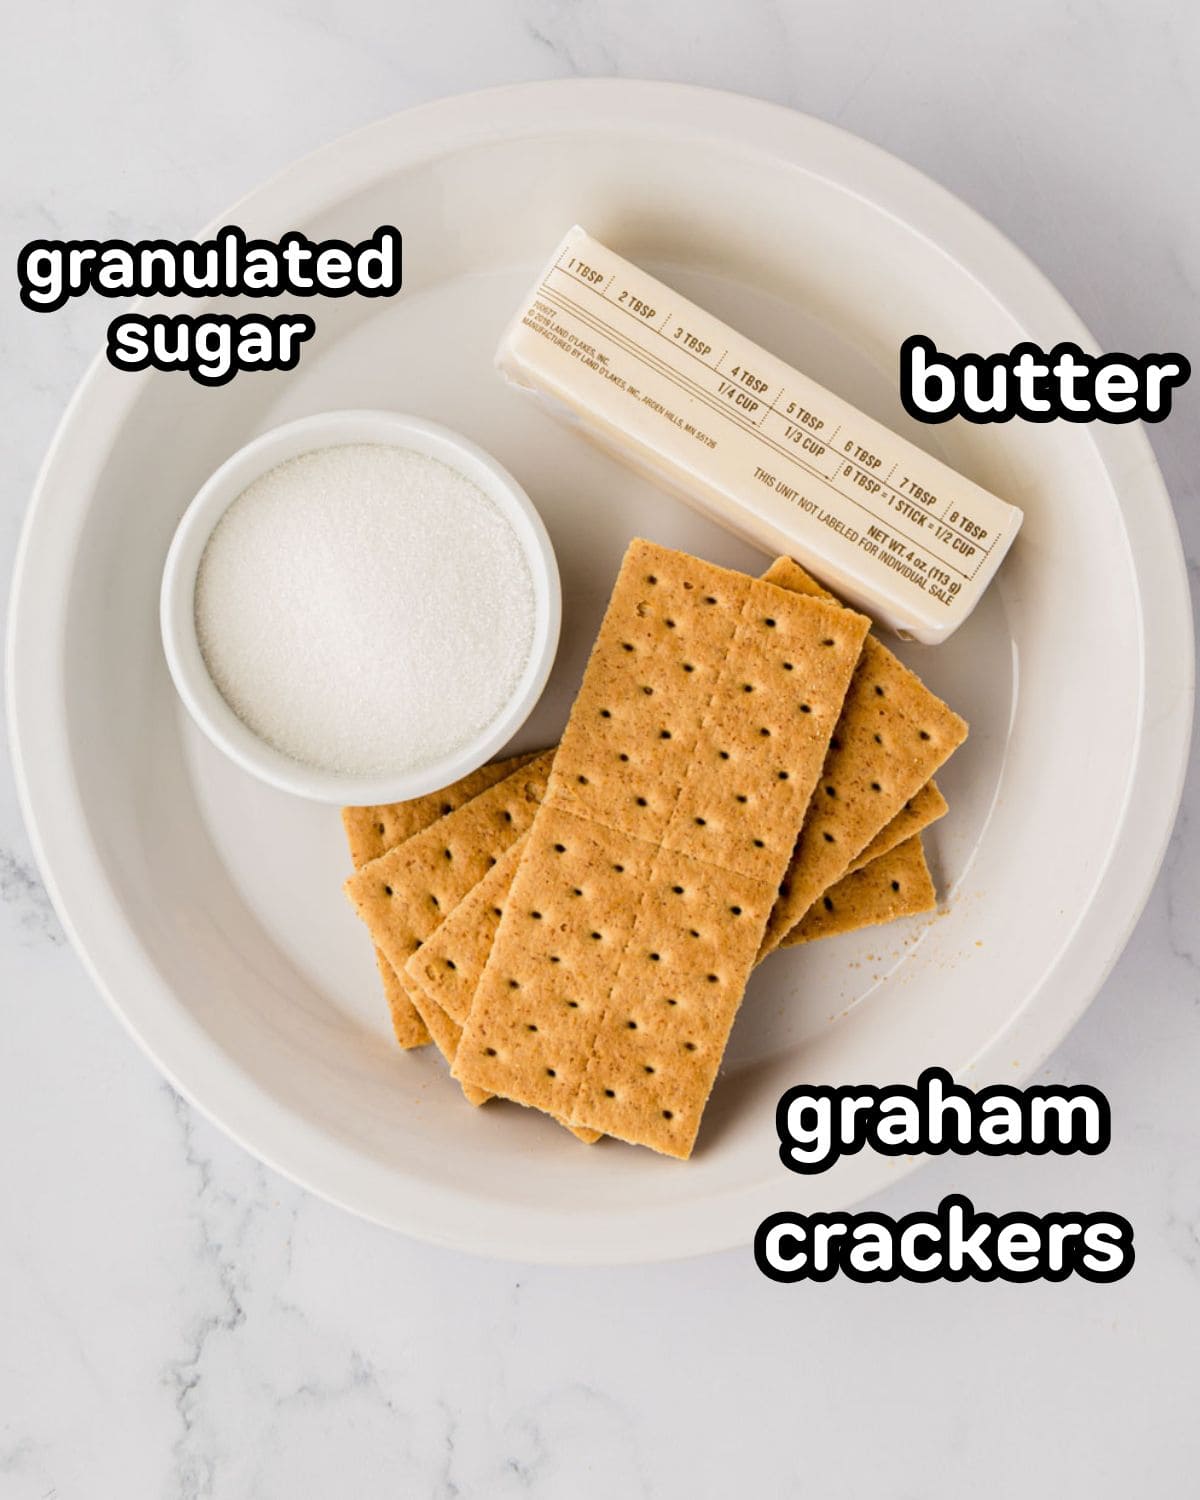
- Graham Cracker Sheets: Any graham crackers you like can be used. I love the Honey Maid brand. They have a wonderful consistency and flavor. You can also purchase already crushed graham crackers in the baking aisle of the grocery store.
- Sugar: White granulated sugar is most commonly used and what I use for this recipe. Sugar acts as a binding agent along with butter to hold the crumbs together.
- Butter: Salted or unsalted butter will work. If I am not using salted butter I add a pinch of kosher salt to the mixture.
- Salt (optional): Just pinch for flavor. If you are using salted butter you will omit it. You can also leave this off altogether if you prefer not to add salt.
How to Make Graham Cracker Crust
✱ Below shows step-by-step photos and instructions. For the complete recipe, along with ingredient amounts, scroll down to the recipe card.
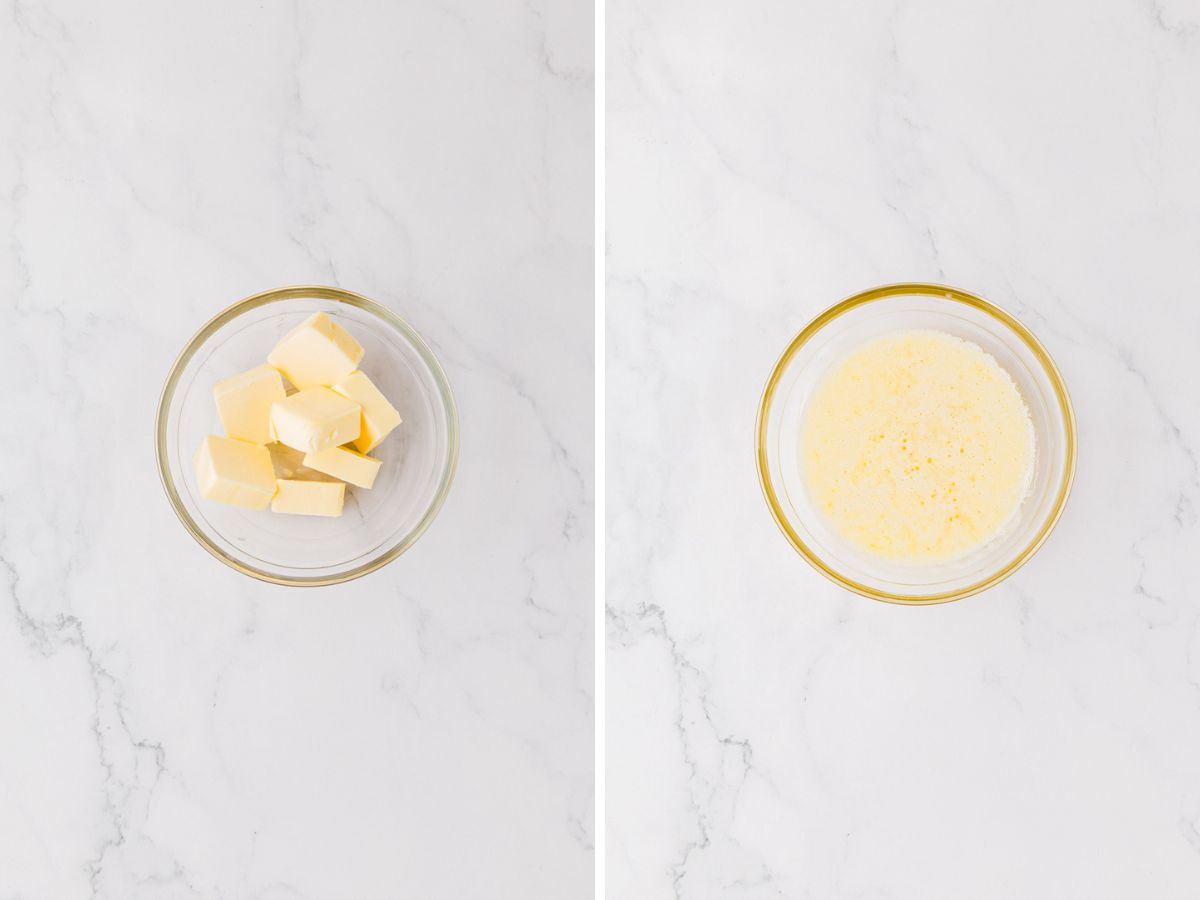
Step 1 | Melt Butter
Melt the butter in a small microwave-safe bowl or a small pot over medium-low heat.
Step 2 | Crush Graham Crackers
First, finely crush the graham crackers. You can do this by using a food processor or blender to grind them up.
You will need about 10-12 cracker sheets (Different brands have different-sized sheets), which will make 1 ½ cups of graham cracker crumbs.
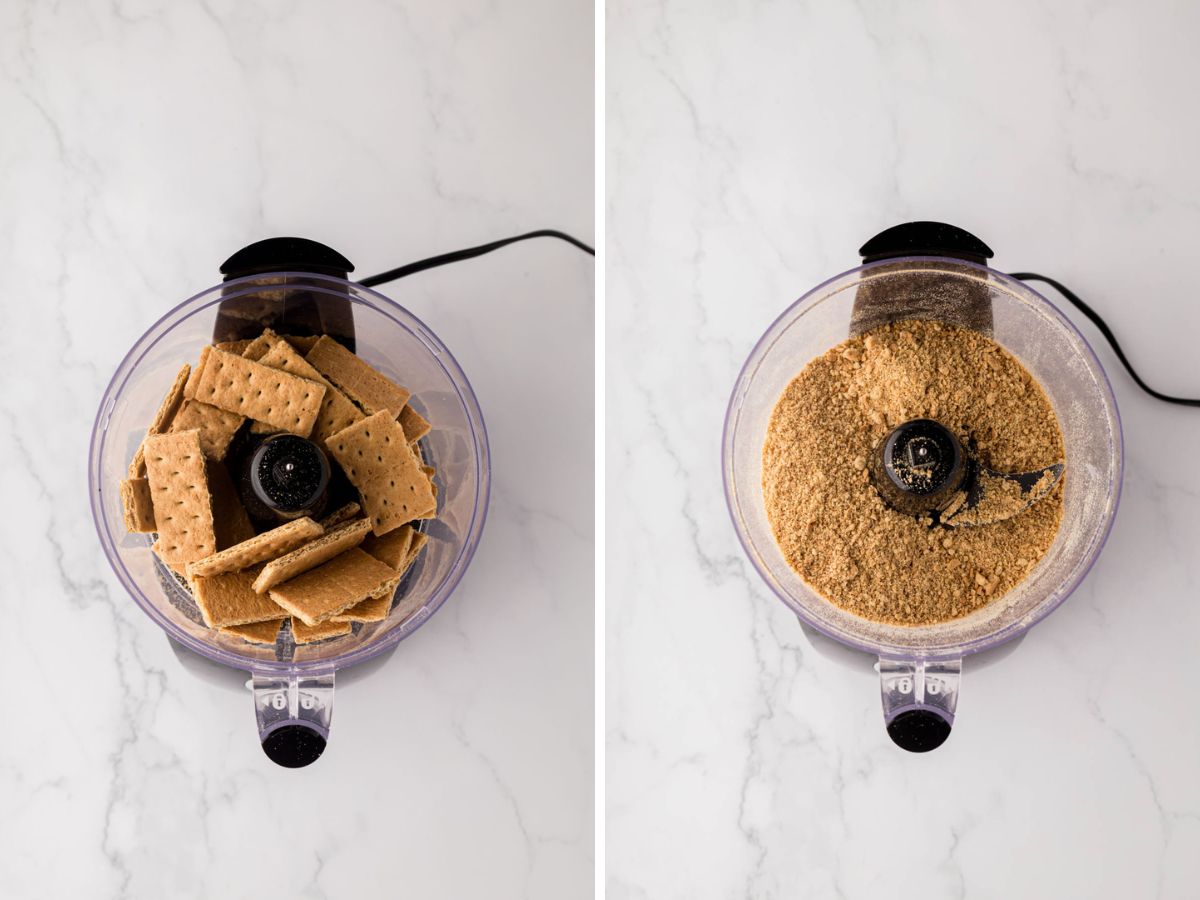
If you don’t have a food processor (or don’t want to pull it out), you can also crush them by placing them in a zip-top plastic bag and crushing them with a rolling pin, mallet, or even a heavy can will do the trick.
Step 2 | Add in Sugar and Melted butter
Next, pour the sugar (and pinch of salt – if not using salted butter) and melted butter into the food processor. (or add them into a bowl with the crushed graham crackers, if crushed by hand).
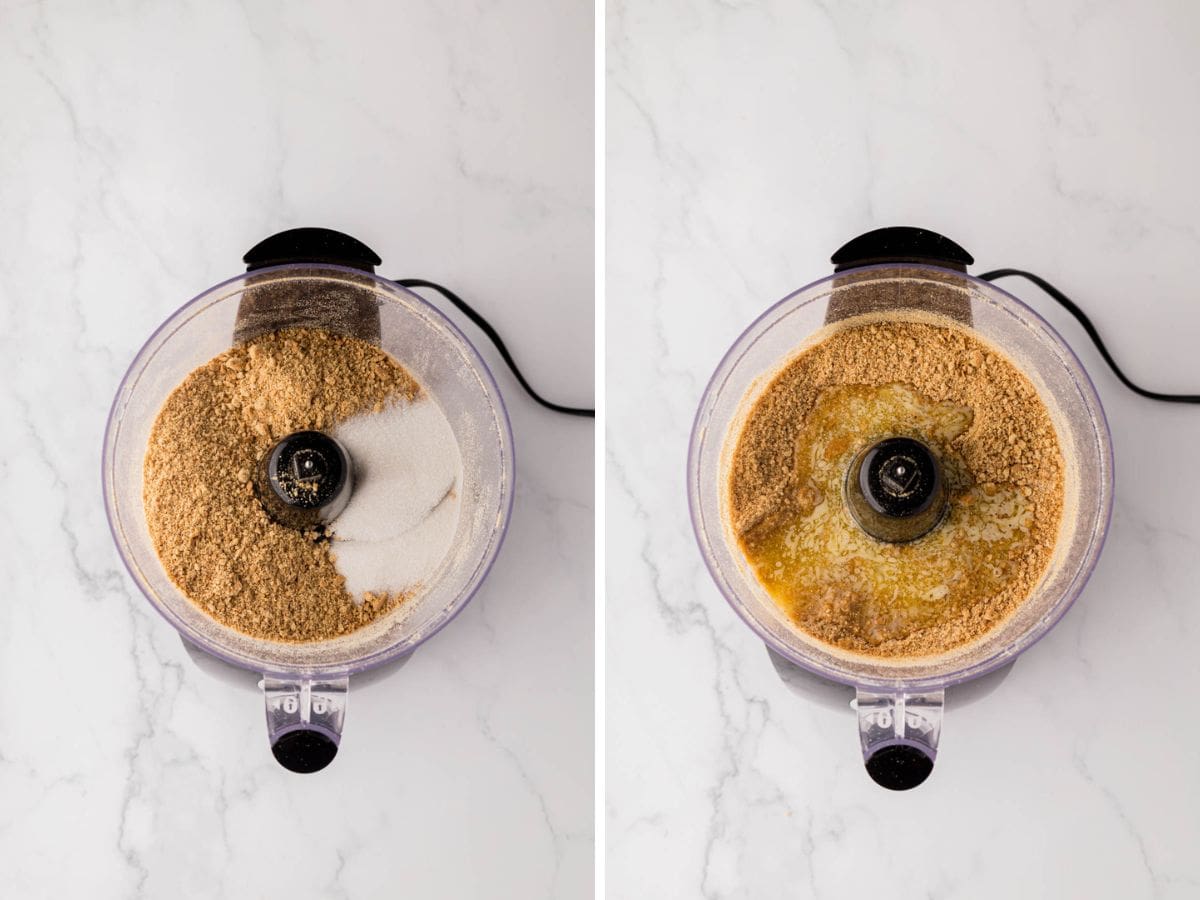
TIP: For an even deeper flavor, try using brown sugar instead of granulated sugar.
The butter acts as the glue that will hold the crust together! And butter makes everything taste better anyway – right?
Step 3 | Pulse or Mix the Graham Cracker Crumb Mixture
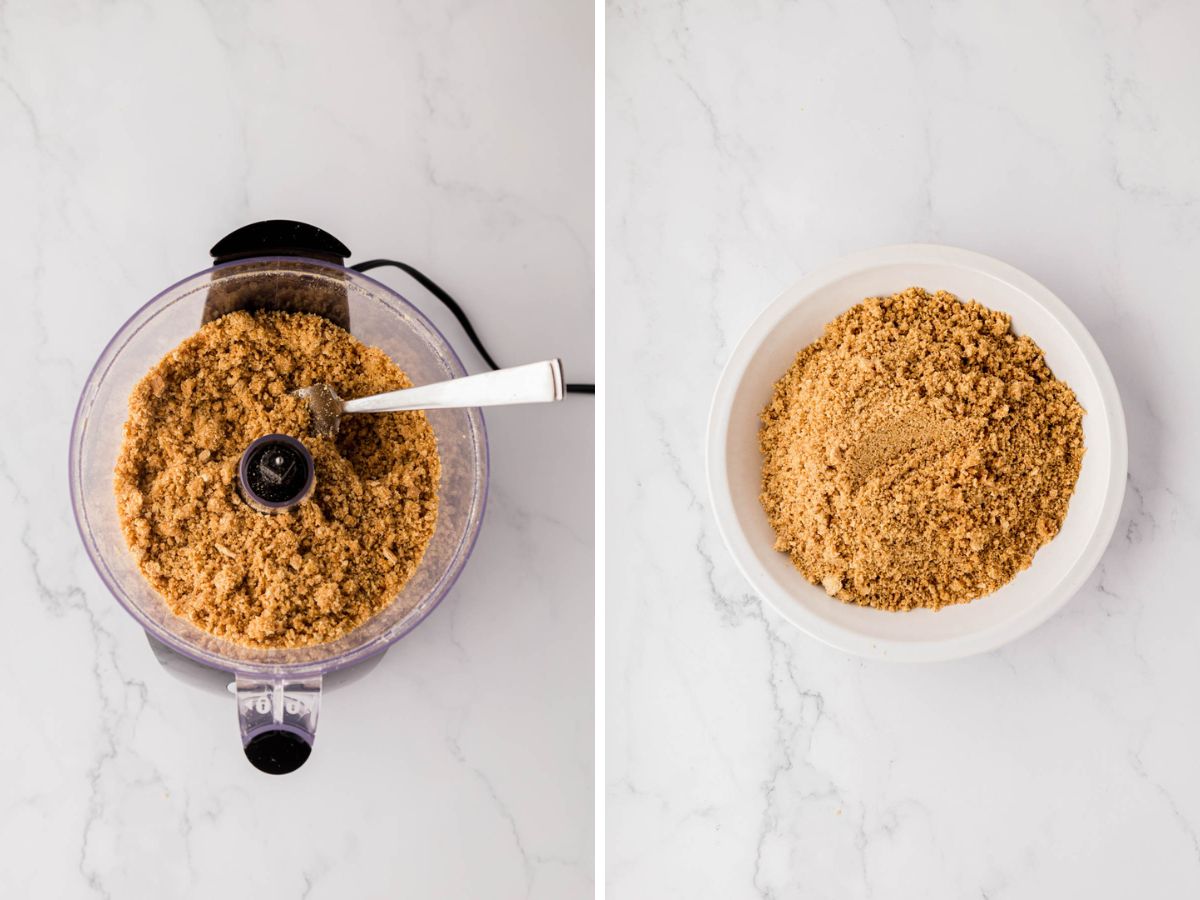
Pulse until just combined, and it looks like wet sand.
You can also use a fork to toss and mix everything (if done by hand). I prefer a fork rather than a spatula or a spoon as it breaks everything up and really incorporates it together well.
Step 4 | Press into Pie Plate
Now, you are ready to transfer the mixture to the pie pan.
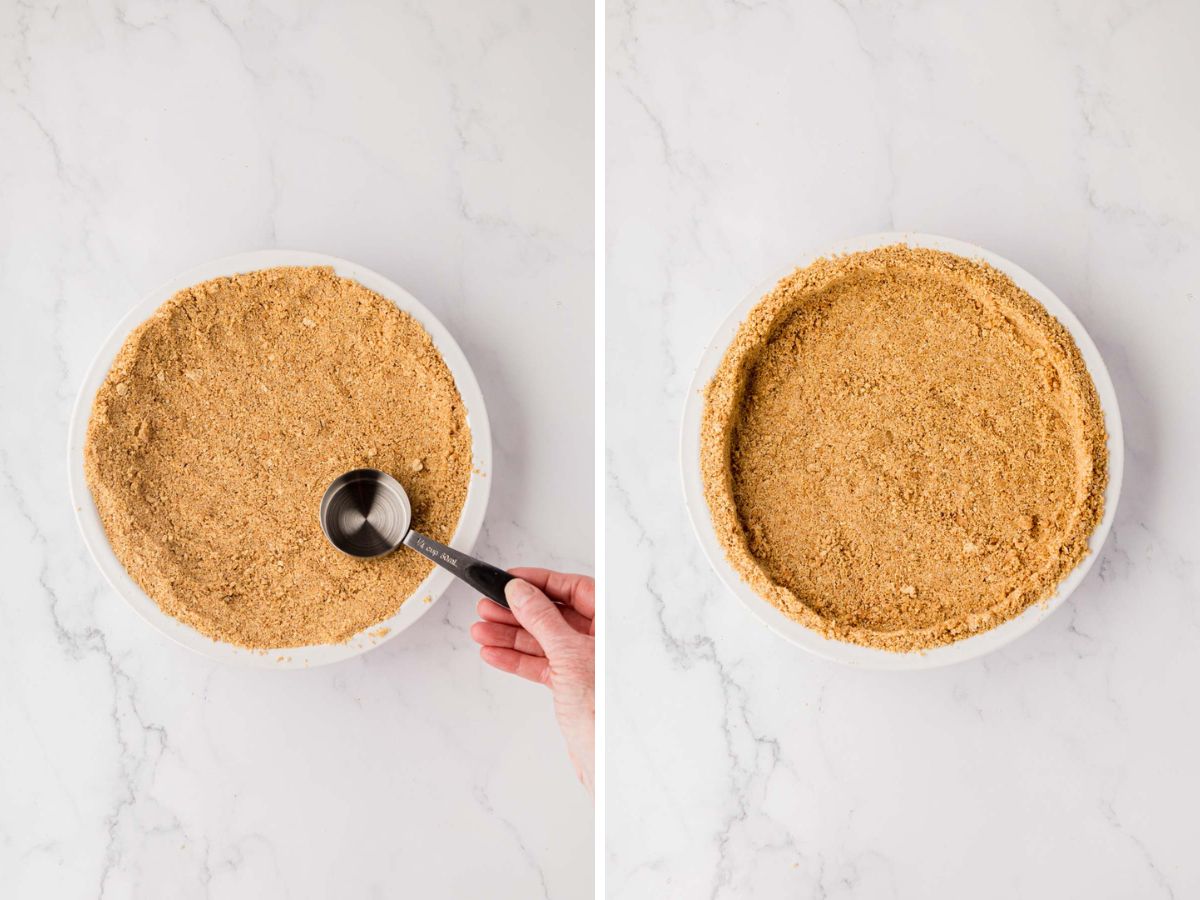
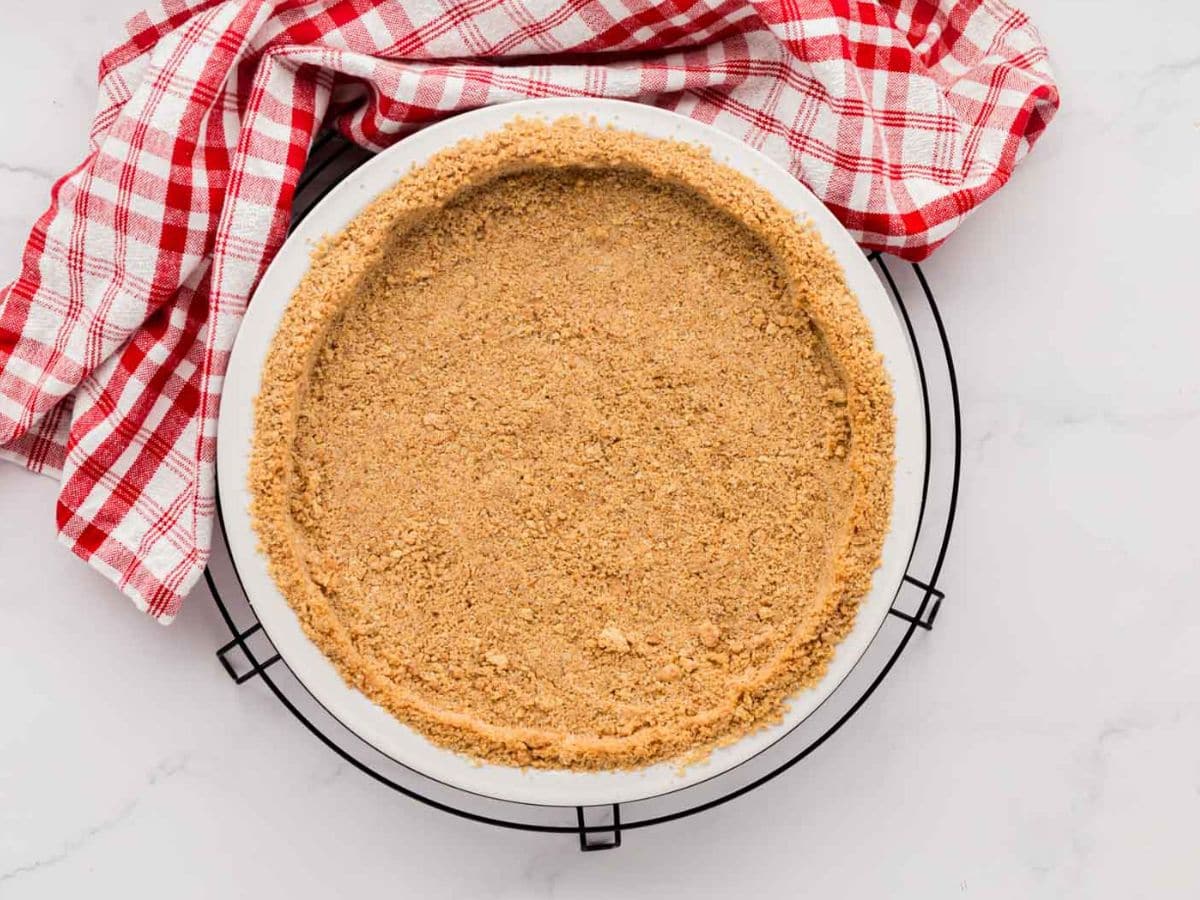
Press the mixture firmly into the bottom and up the sides of a 9-inch pie plate. It helps to use something flat, like the bottom of a measuring cup or a glass, to help press it in evenly.
Easy Graham Cracker Crust Substitutions and Variations
You can use this recipe with so many cookie or cracker variations. If you cannot find graham cracker crust you can use digestive biscuits. Also here are a few other delicious options to try:
- Chocolate Graham Crackers: A chocolate crust is really delicious in cookie butter, any nut butter, or peanut butter pie. It’s perfect for a chocolate pudding pie as well. It pairs great with cheesecake fillings or fresh fruits like strawberries or raspberries.
- Chocolate Wafer Cookies: These cookies are super crunchy and have a more intense chocolate flavor than the graham crackers.
- Vanilla Wafers: This also makes an amazing pie crust and really goes with any pie. If you love banana pudding you are sure to love this one!
- Oreo’s: Who doesn’t love an Oreo Cookie! If you want to use a sandwich cookie you can omit the sugar as the filling has plenty of sweetness.
- Ice Cream Cones: Ice cream pie calls for that sugar cone or waffle cone taste!
- Gingersnaps: These are perfect for holiday pies!
- Biscoff Cookie Butter Cookies: This is something to die for! You have to give this a try. It also goes nicely with hazelnut butter or any cream cheese pie or ice cream!
- Add in your favorite spices: Apple Pie, Pumpkin Pie, or Cinnamon all give the pie crust a little extra flavor.
- Nuts or Pretzels: Replace about ¼ to ½ cup of the crumbs with pecans, almonds, walnuts, or pretzels for an amazing addition.
Tips on How to Make Graham Cracker Crust
- For an even deeper flavor, try using brown sugar in place of granulated sugar. You can also use powdered sugar in place of granulated sugar for a smoother texture.
- If your mixture isn’t the right consistency: If it isn’t wet or binding together enough, you may not have enough butter. Just add a little more butter. If it’s too wet (you may have too much butter). Then, you will want to add a few more crushed graham crackers. You are looking for a wet sand-like texture.
The big decision: do you want a no-bake graham cracker crust or a baked graham cracker crust? Both are delicious, and each has its own time and place.
A baked graham cracker crust bakes the crust into a deeper golden color, letting the sugar intensify in flavor as it heats up in the oven. It will be a little firmer and crunchier in flavor!
Don’t want to turn on the oven in the heat of the summer, or just want the convenience of a no-bake crust in this recipe? You still get an amazing-tasting pie crust that is crisp and crumbly, with that buttery, sweet taste!
Either way, you cannot go wrong!
No-Bake Graham Cracker Crust
If you are making a no-bake pie/dessert, chill this pie crust for at least 2 hours before filling it. Chilling the crust before adding your no-bake filling solidifies the melted butter/sugar mixture. This will ensure your crust is compact and won’t fall apart.
Baked Graham Cracker Crust
If you are making a baked pie/dessert, I usually pre-bake for 8-10 minutes at 350°F. Or pre-bake this crust per your recipe’s directions. Let cool completely on a wire rack. Then, fill the crust and continue with your recipe.
This homemade graham cracker crust mixture will make enough crust to fill a 9-inch pie pan and is enough crust for a 10-inch pie plate as well, standard or deep dish.
You can use this recipe for a springform pan or even a tart pan. If you want to add more crust or have an even thicker crust, add about 1 tablespoon of butter for every ¼ cup of crumbs you add to the mixture.
This classic recipe is sure to be your favorite graham cracker crust!
How to Serve Graham Cracker Pie Crust
This crust works as the base for just about any pie or no-bake dessert you’d fill a pie plate with. Pudding pies, cheesecakes, ice cream pies, cream pies- whatever filling you’ve got planned, this crust holds up under it.
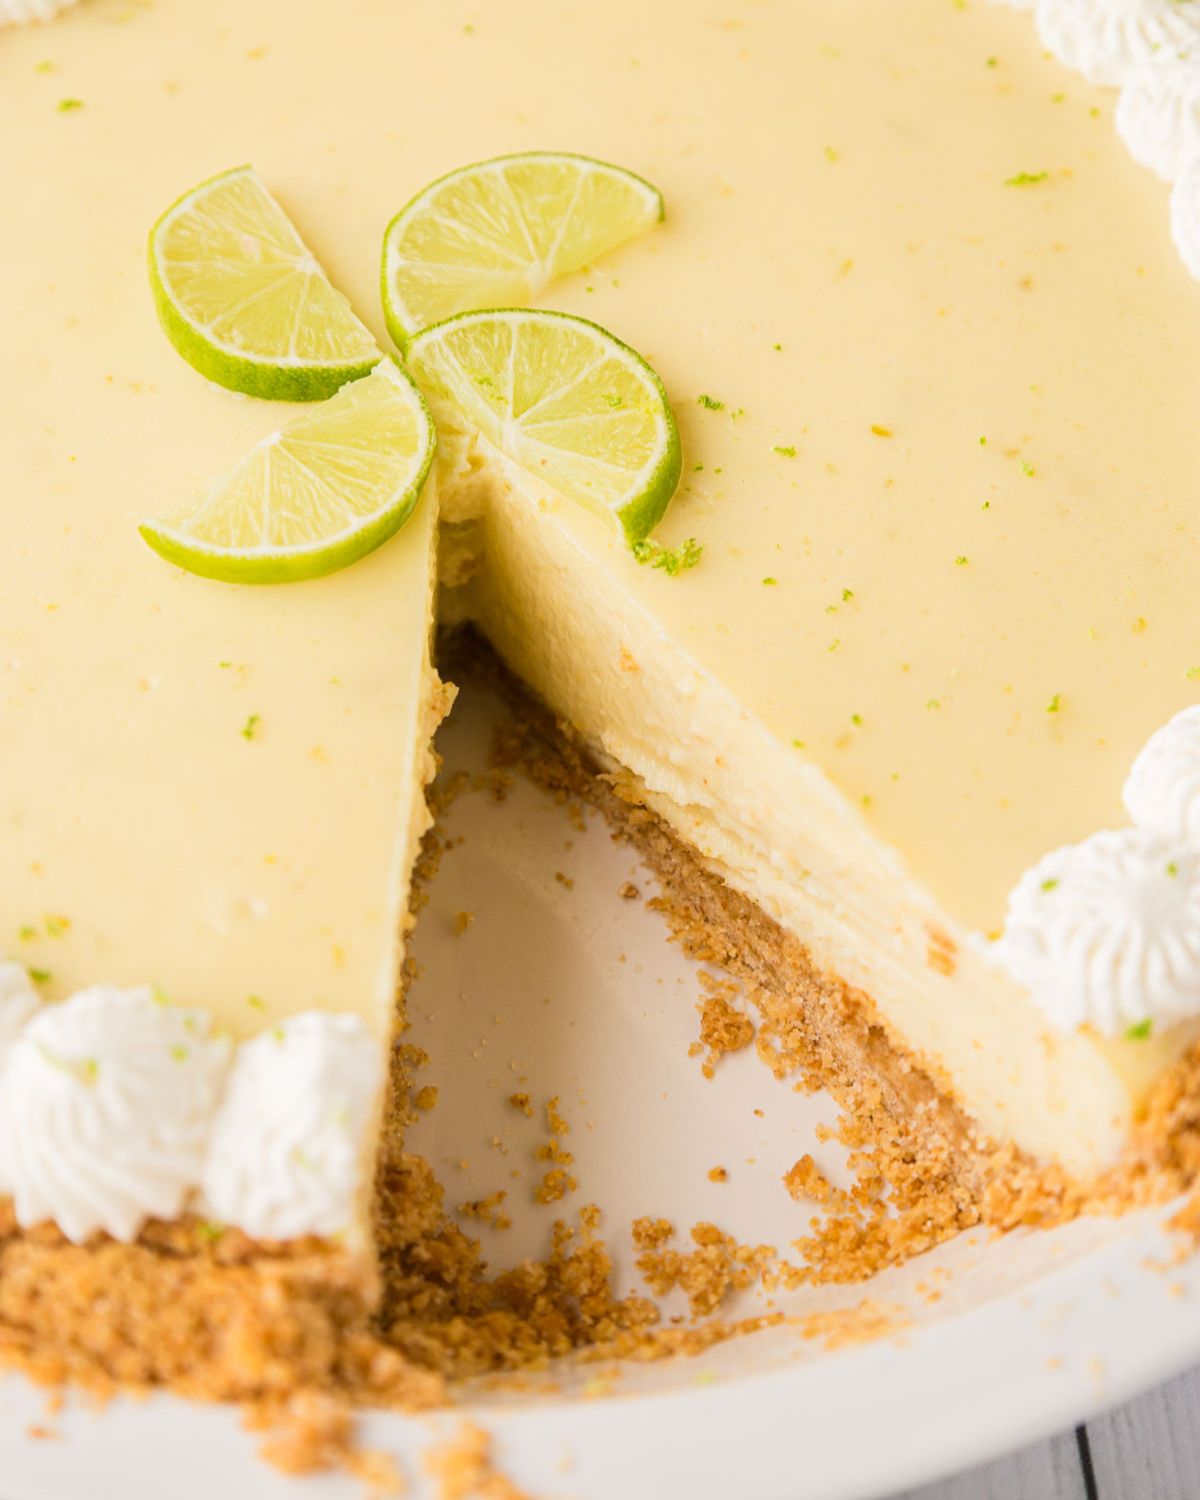
It’s the crust I reach for with a key lime pie, lemon icebox pie, or strawberry jello pie, and it works just as well pressed into jars for something like my key lime mason jar pie. A blueberry cheesecake pie or classic cheesecake is another good match.
How to Store Homemade Graham Cracker Crust
Make-Ahead & Freezing Instructions:
Make this ahead and store it in the refrigerator for a few days before using it in your recipe. Just cover with foil, plastic wrap, or a pie cover while storing.
This recipe is very freezer-friendly! Freeze the prepared crust in a freezer-safe pan, then wrap it in freezer-safe plastic wrap and foil for up to 3 months. Thaw the crust before using it in your recipe.
Graham Cracker Pie Crust Recipe FAQ’s
A conventional 9-inch pie will be cut into 6 standard slices. If you have a thicker pie or one that is really dense, you can get 8 slices.
Measure the pie pan from inside rim to rim to find the width, then from the bottom to the rim to determine the depth. If the depth is 1¼ to 1½, it is a standard-depth pie dish. Anything taller will be considered a deep-dish pie pan.
Make sure not to press down too much; use that measuring cup or glass with firm but not too firm pressure. You can also spray or butter your dish lightly if you would like to help keep it from sticking.
Yes, you can. Place them in mini pie pans or a cupcake tin. Bake for about 5 minutes at 350°F for a sturdier crust, if desired.
Yes, just be sure to use gluten-free graham crackers.
Dessert Recipes You Will Love:
Hungry for more easy, home-cooked, delicious recipes?
Sign up for my free recipe club to get family-friendly recipes in your inbox each week! Find me sharing daily meal-time inspiration on Pinterest, Facebook, and Instagram.
Graham Cracker Pie Crust Recipe

Click Stars To Rate
Ingredients
- 1 ½ cups graham cracker crumbs - (about 10 to 11 full sheets of graham crackers)
- 6 Tablespoons butter - (salted or unsalted), melted
- ¼ cup granulated sugar
- pinch salt - (optional), if using unsalted butter
Instructions
- If you’re starting out with full-sheet graham crackers, you can use a food processor or blender to crush them up. You can also crush them in a zipped top bag with a rolling pin.
- In the food processor, pulse the graham cracker crumbs and sugar (a pinch of salt if using) and melt the butter together until combined.If doing this by hand, use a fork to mix until combined.The mixture should be the consistency of wet sand.
- Pour the mixture into an ungreased pie dish. This crust will fit into a 9 – 10 inch pan standard or deep dish.
- Using medium pressure, press the crust into the pie dish. Don’t press the crust down with a heavy hand—doing that can make it tough once it’s baked. Just pat it down gently until it’s no longer crumbly. Tip: a small, flat-bottomed measuring cup or small glass works great to press and smooth out the bottom, but go easy with it. Use a spoon and run it around the bottom edge where the crust meets the sides. That little rounded corner trick helps keep the crust from crumbling when you slice into it.
- For a no-bake dessert, cool the crust completely or use your recipe's instructions. You can freeze for 20 -30 minutes to speed up the process.
- For a baked dessert, I usually pre-bake for 8-10 minutes at 350°F. Or pre-bake this crust per your recipe’s instructions.
Notes
Make-Ahead & Freezing Instructions:
Make this ahead and store it in the refrigerator for a few days before using it in your recipe. Just cover with foil, plastic wrap, or a pie cover while storing. This recipe is very freezer friendly! Freeze the prepared crust in a freezer-safe pan and wrap with freezer-safe plastic wrap and foil for up to 3 months. Thaw the crust before using it in your recipe.Want to Save this Recipe?
By submitting this form, you consent to receive emails from Soulfully Made.
Nutrition
Soulfully Made is not a dietician or nutritionist, and any nutritional information shared is an estimate. If calorie count and other nutritional values are important to you, we recommend running the ingredients through whichever online nutritional calculator you prefer. Calories and other nutritional values can vary quite a bit depending on which brands were used.

This is perfect for my gluten-free diet, and I can use my gluten-free graham crackers to make this delicious crust!
This is so much better than store-bought!
I’ve never tried it baked, I must try that. Thanks for the tips.
I just love a good homemade graham cracker crust! Perfect for all of those fall and upcoming holiday pies. 🙂
This was so much easier than I thought it would be, and way better than a store bought version! Dessert was a delicious success, indeed!