



This post may contain affiliate links. Please read our disclosure policy.
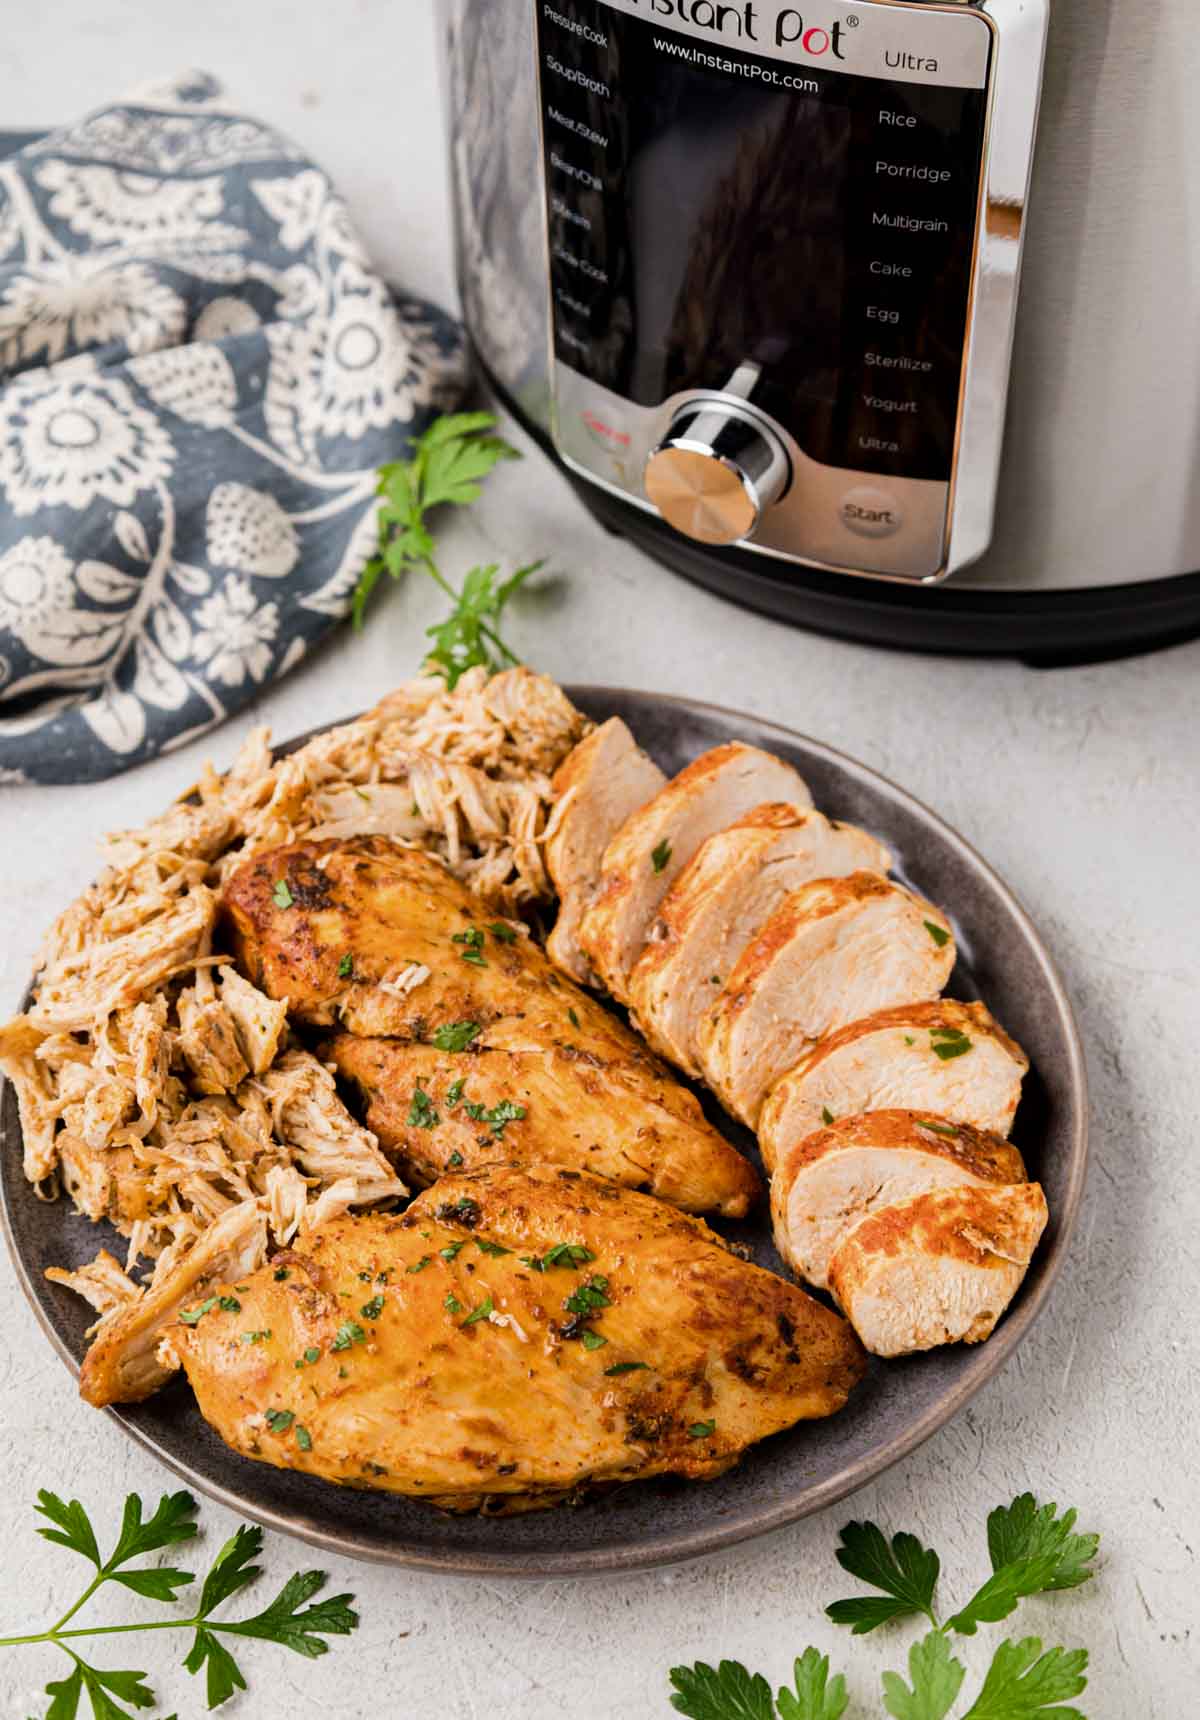
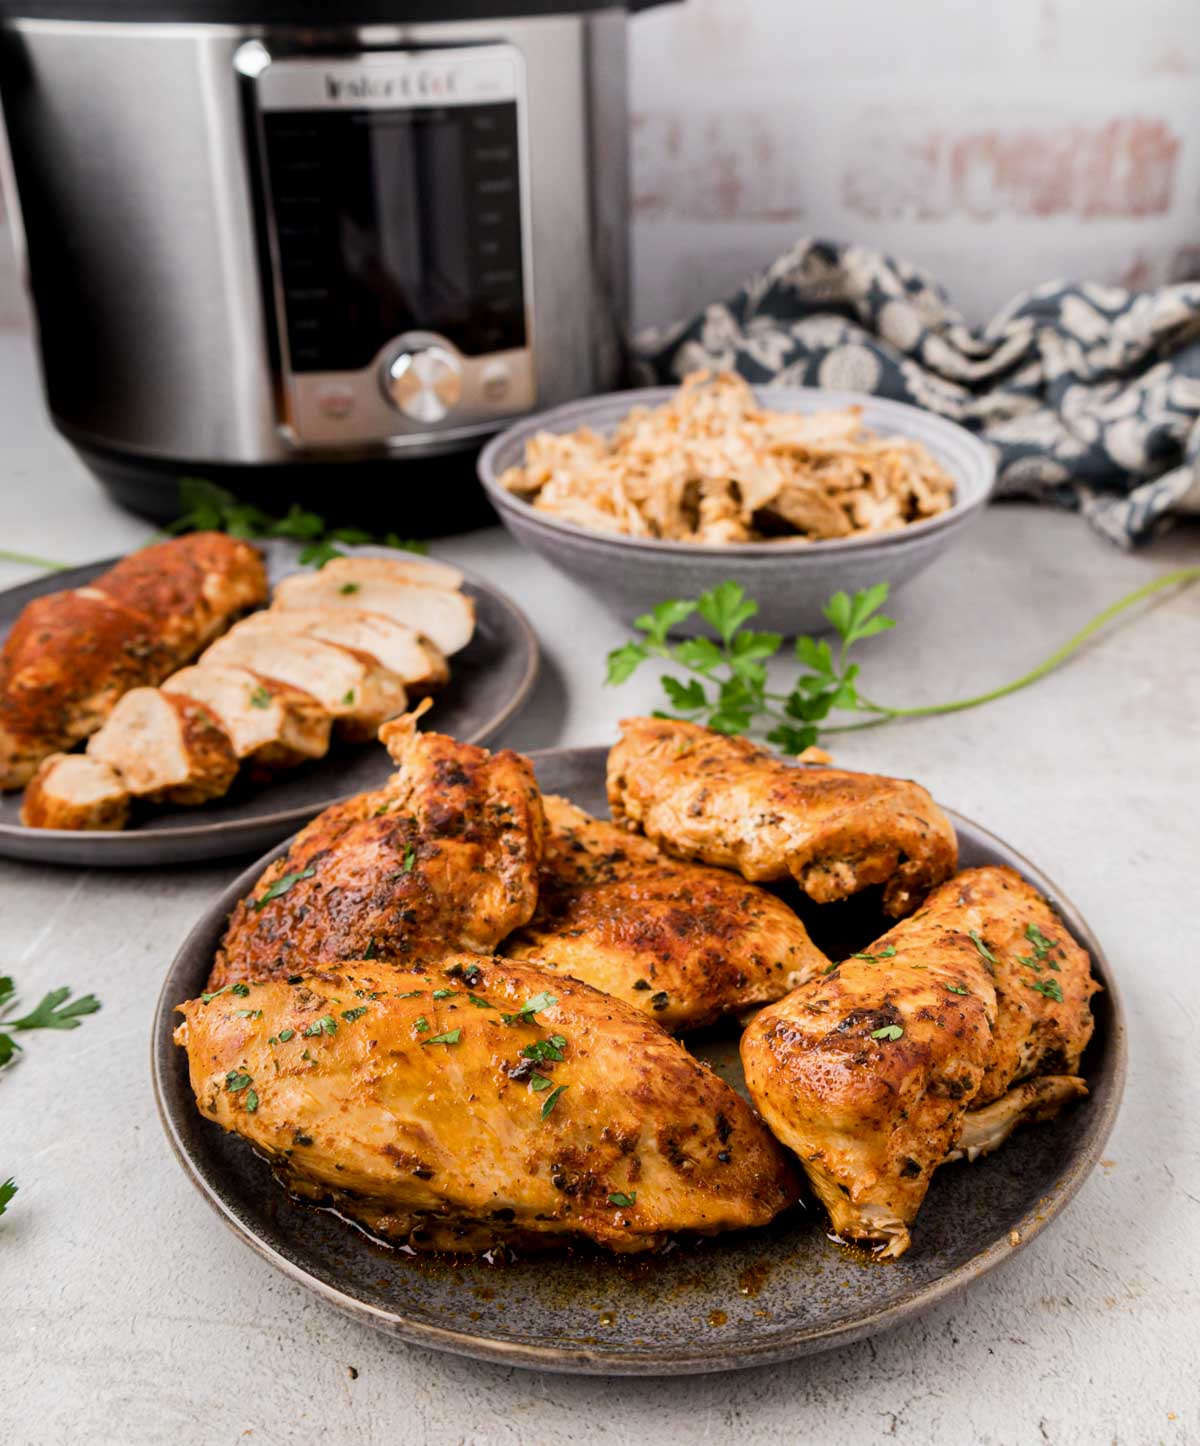
If you’re tired of bland, boring chicken breasts, this Instant Pot Chicken Breasts recipe is about to become your go-to. A simple blend of seasoned salt, paprika, oregano, and parsley gives the chicken real flavor. Serve it straight up for dinner, slice it over a salad, or shred it into tacos and casseroles; this one recipe handles all of it.
I’ll be honest, between forgetting to grab a rotisserie chicken on my grocery haul and forgetting to thaw a package from the freezer, I forget something for dinner more often than I’d like to admit. One afternoon my son and I got home from picking him up from school, and he reminded me I’d promised him my Ritz Chicken Casserole for dinner, except the chicken was still a rock-solid block in the freezer. I wasn’t about to break that promise, so straight from frozen, it went into the Instant Pot.
That night is the reason this recipe lives on repeat in my kitchen now, frozen or not. Rotisserie chicken forgotten again? Freezer chicken frozen solid? Fresh chicken sitting right there in the fridge? It doesn’t matter. This is the recipe I reach for either way, and it has saved more promises and more last-minute trips to the store than I can count. It’s also become one of my favorite meal prep tricks for the week ahead.
What You Will Love About This Instant Pot Chicken Breast

This recipe is here to make dinner one less thing to worry about! Here’s why it’s become a staple in my kitchen.
- ❥ It’s quick. From start to finish, you’ll have dinner on the table in under 30 minutes, even with the time it takes to come to pressure.
- ❥ It’s packed with flavor. A blend of seasoned salt, paprika, oregano, and parsley means you’re never stuck with bland, boring chicken. Swap the broth for apple, orange, or pineapple juice to take the flavor even further.
- ❥ It’s basically hands-off. Once the lid is on, you can walk away and let the Instant Pot do all the work, no standing over the pot or checking a thermometer every few minutes. The only exception is if you opt for a quick sear first; that part takes a couple of extra minutes to flip the chicken and get some color on it before the pot takes over.
- ❥ It cooks straight from frozen. Forgot to thaw your chicken again? No problem, this method works whether your chicken breasts are fresh, thawed, or frozen solid.
- ❥ It comes with a built-in gravy option. A quick cornstarch slurry turns the pot juices into gravy right in the same pot- no extra pans, no extra dishes.
- ❥ It’s perfect for meal prep. Shred it, slice it, or serve it whole. This chicken stays juicy and tender enough for tacos, salads, sandwiches, or alongside your favorite sides all week long.
Tools You’ll Need for Instant Pot Chicken Breast
- I test my recipes in a 6-quart Instant Pot Duo or Ultra. That is why you need 1 cup of liquid. Check your brand requirements if you use another brand or an 8-quart model.
Ingredient Notes
- Chicken breasts: Boneless, skinless breasts work best here so the seasoning coats evenly and the trivet holds them in a single layer.
- Chicken broth, water, or juice: Broth gives the most flavor, but water works in a pinch, and pineapple, apple, or orange juice adds a subtle sweetness if that’s the direction you want to take the dish.
- Seasoned salt: I use Lawry’s, which already brings a mix of salt and spices to the party, so taste yours before adding extra plain salt since blends vary in how salty they run.
- Paprika: Adds color and a mild, warm flavor without heat, and it’s what gives the chicken that golden look once it’s seared or cooked.
- Dried oregano: A little goes a long way here, and it’s what rounds out the seasoned salt with a more herby, savory note.
- Dried parsley: Mostly for color and a fresh, mild background flavor, this one is easy to adjust up or down without changing the dish much.
- Cracked black pepper: Cracked gives a little more texture and bite than fine ground, so if you only have fine pepper on hand, use a bit less.
- Cornstarch (optional): Only needed if you’re making the quick gravy from the pot juices; it’s what thickens the liquid into something spoonable.
My Signature Fall Dinner Dishes!
FREE EMAIL BONUS: My greatest hits: bold, cozy, and brag-worthy.n
How to Make Pressure Cooker Chicken Breast
✱ Below shows step-by-step photos and instructions. For the complete recipe, along with ingredient amounts, scroll down to the recipe card.
Step 1 | Season the Chicken
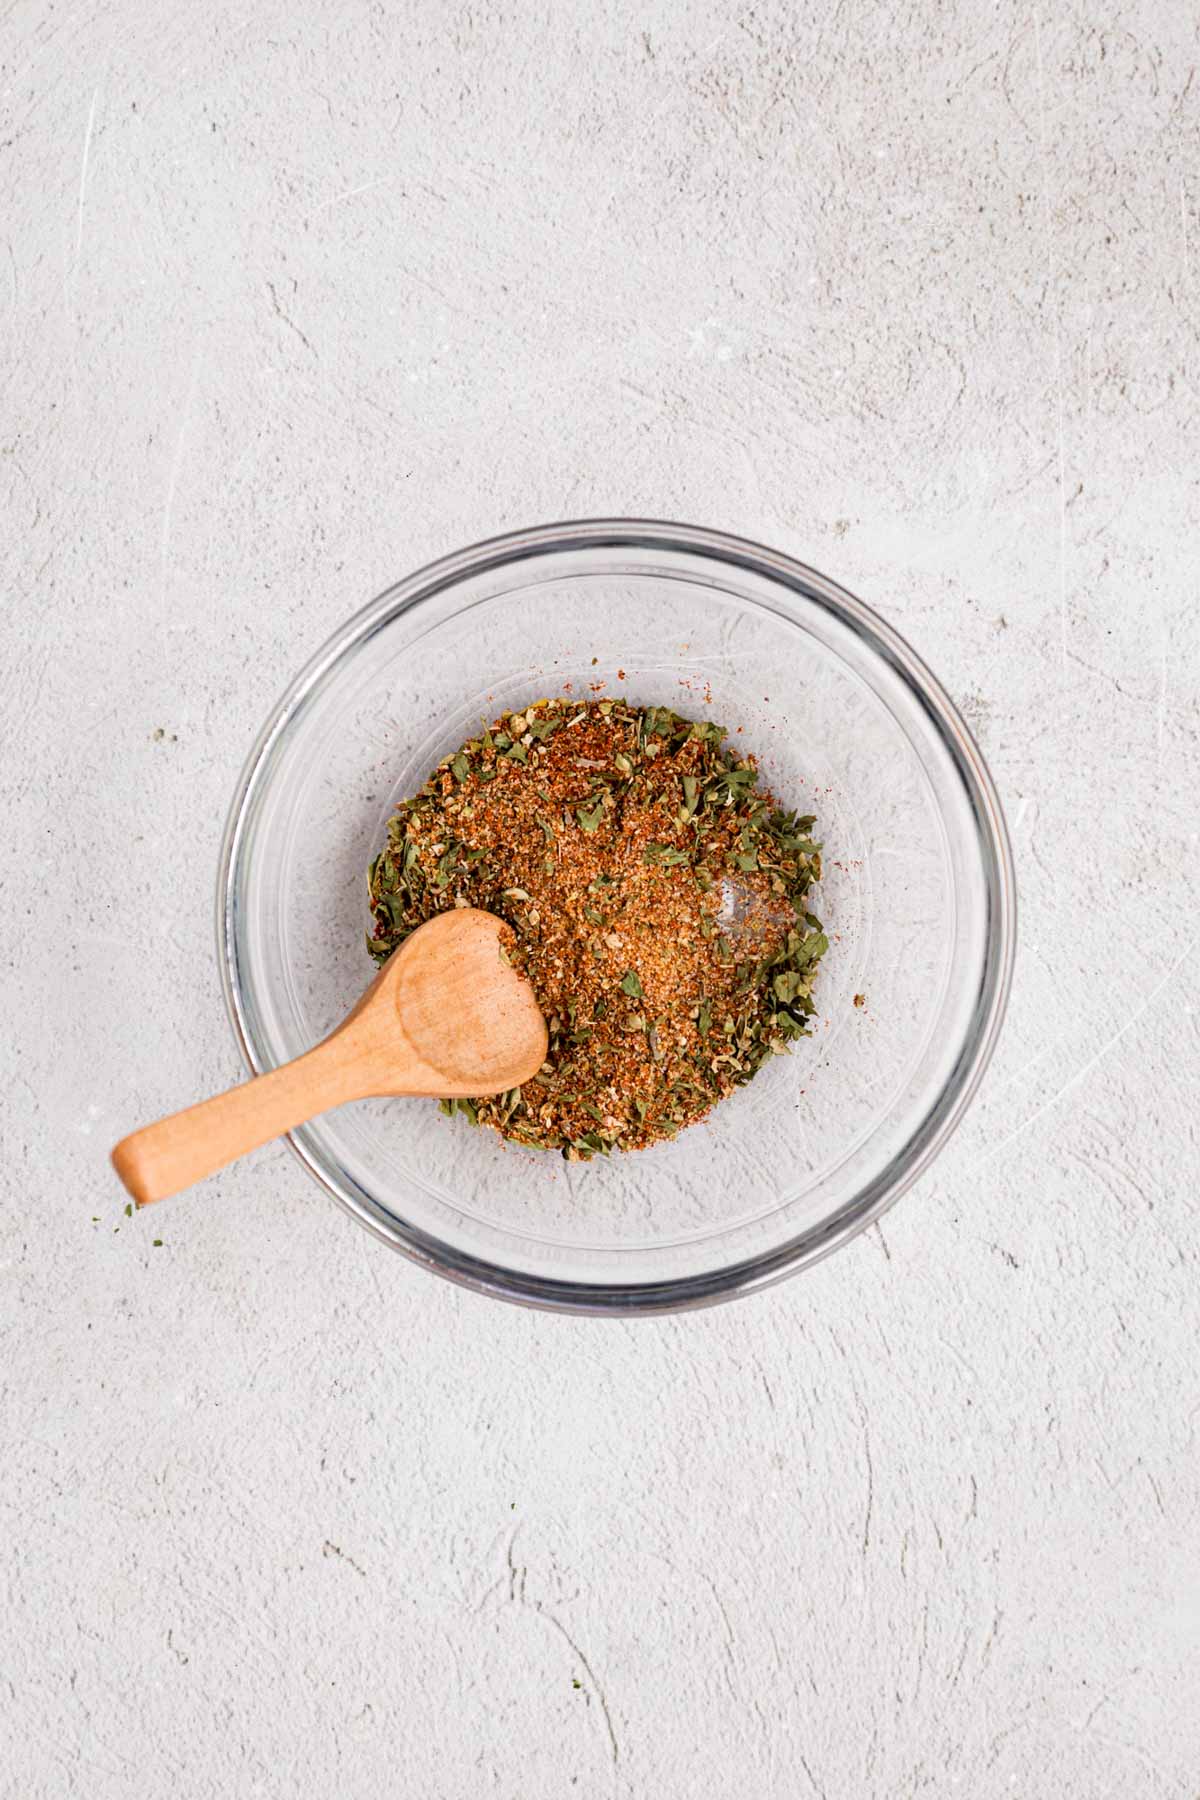
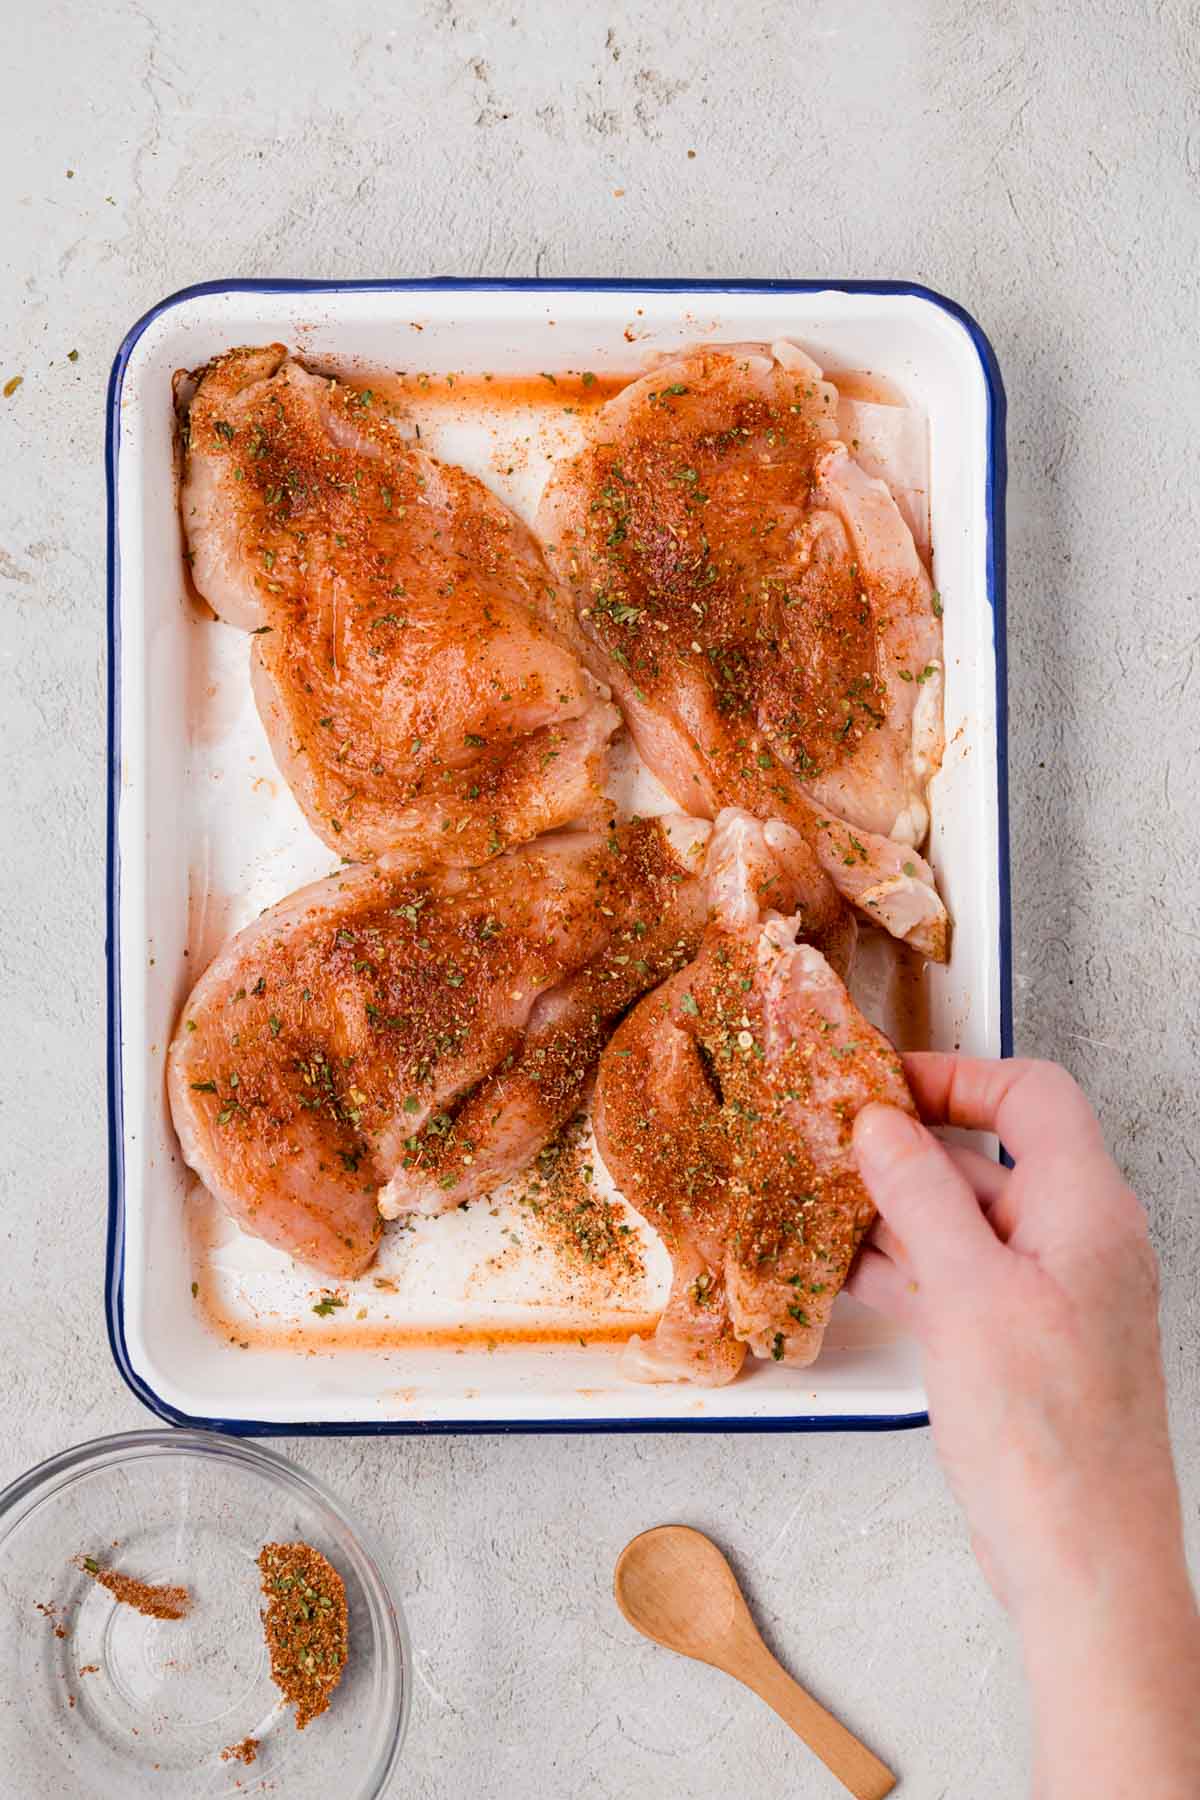
In a small bowl, stir together the seasoned salt, black pepper, paprika, oregano, and parsley until well combined. Sprinkle the mix over both sides of the chicken breasts, then rub it in with your hands so it really sticks. Don’t be shy about it, you want every inch coated.
Step 2 | Brown the Chicken (Optional)
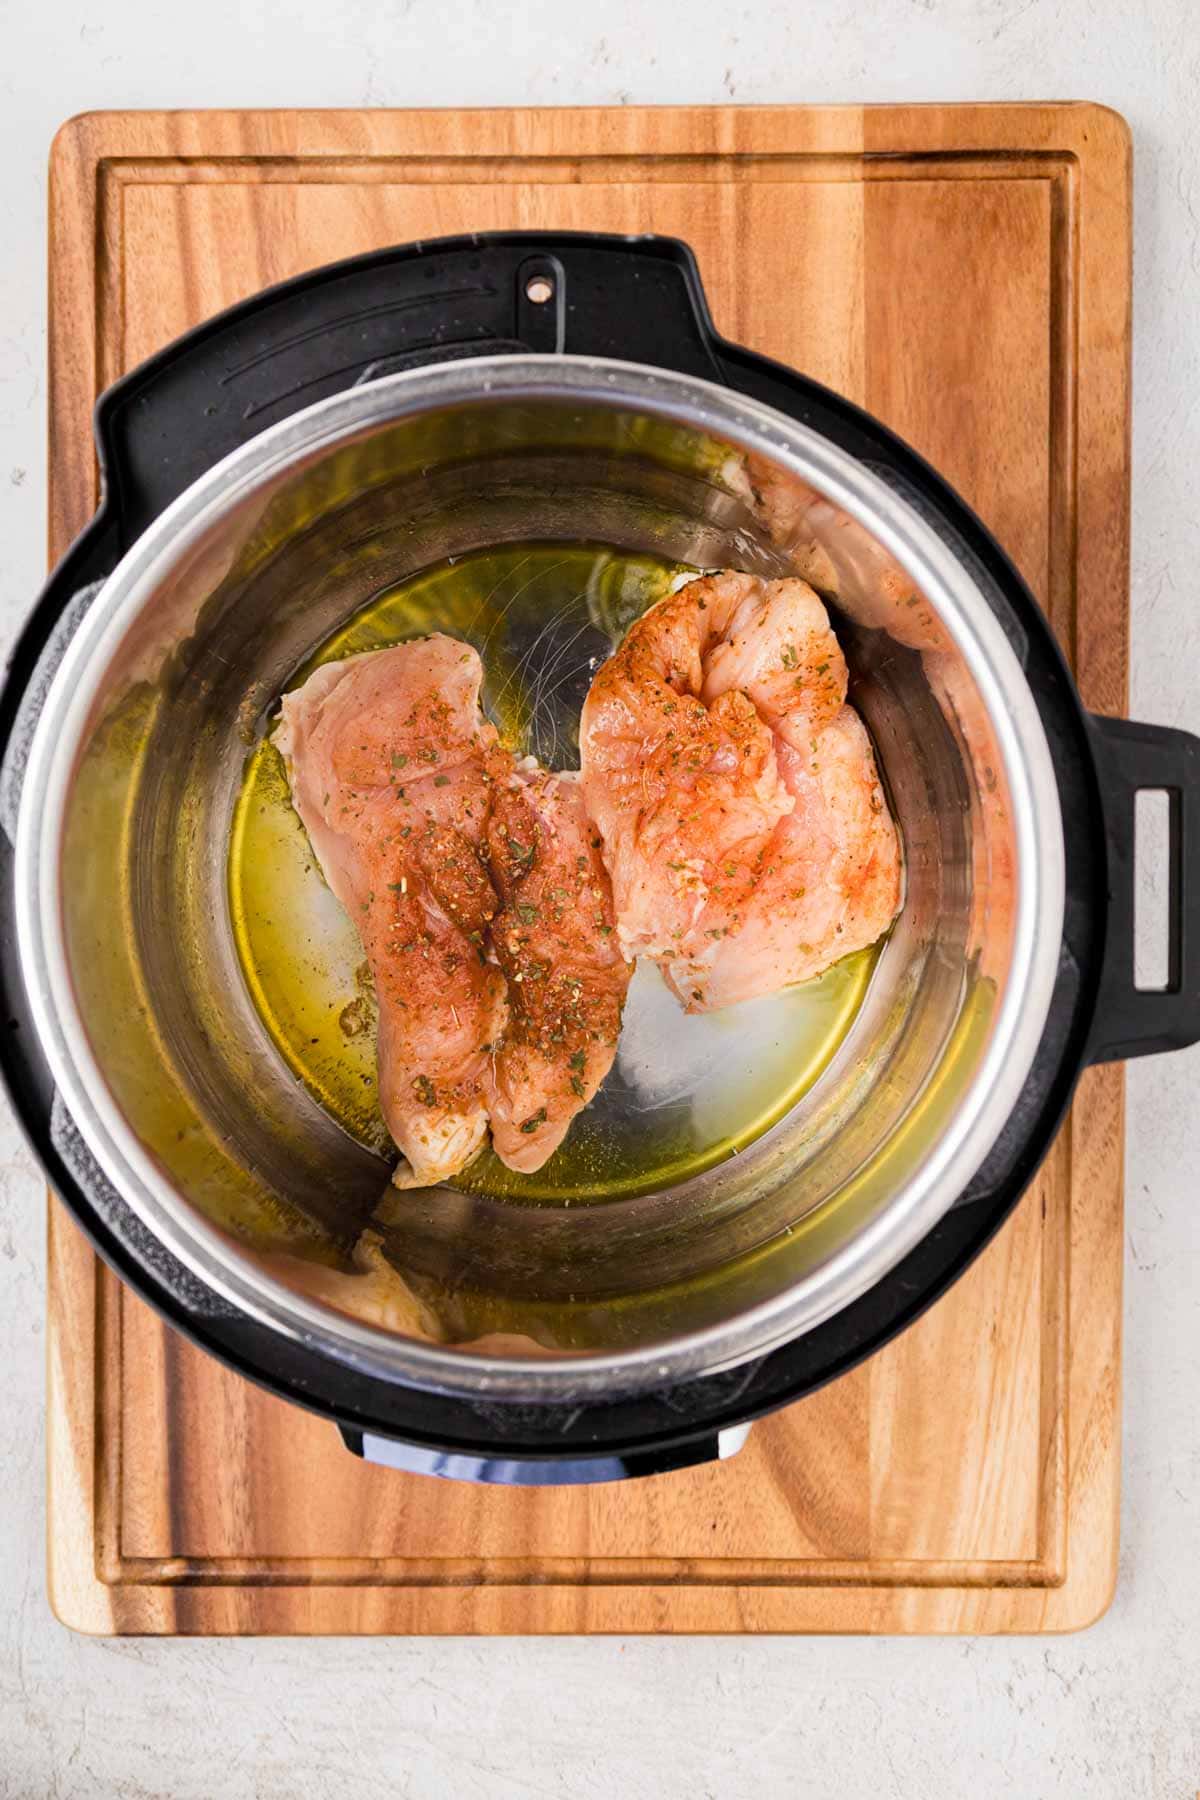
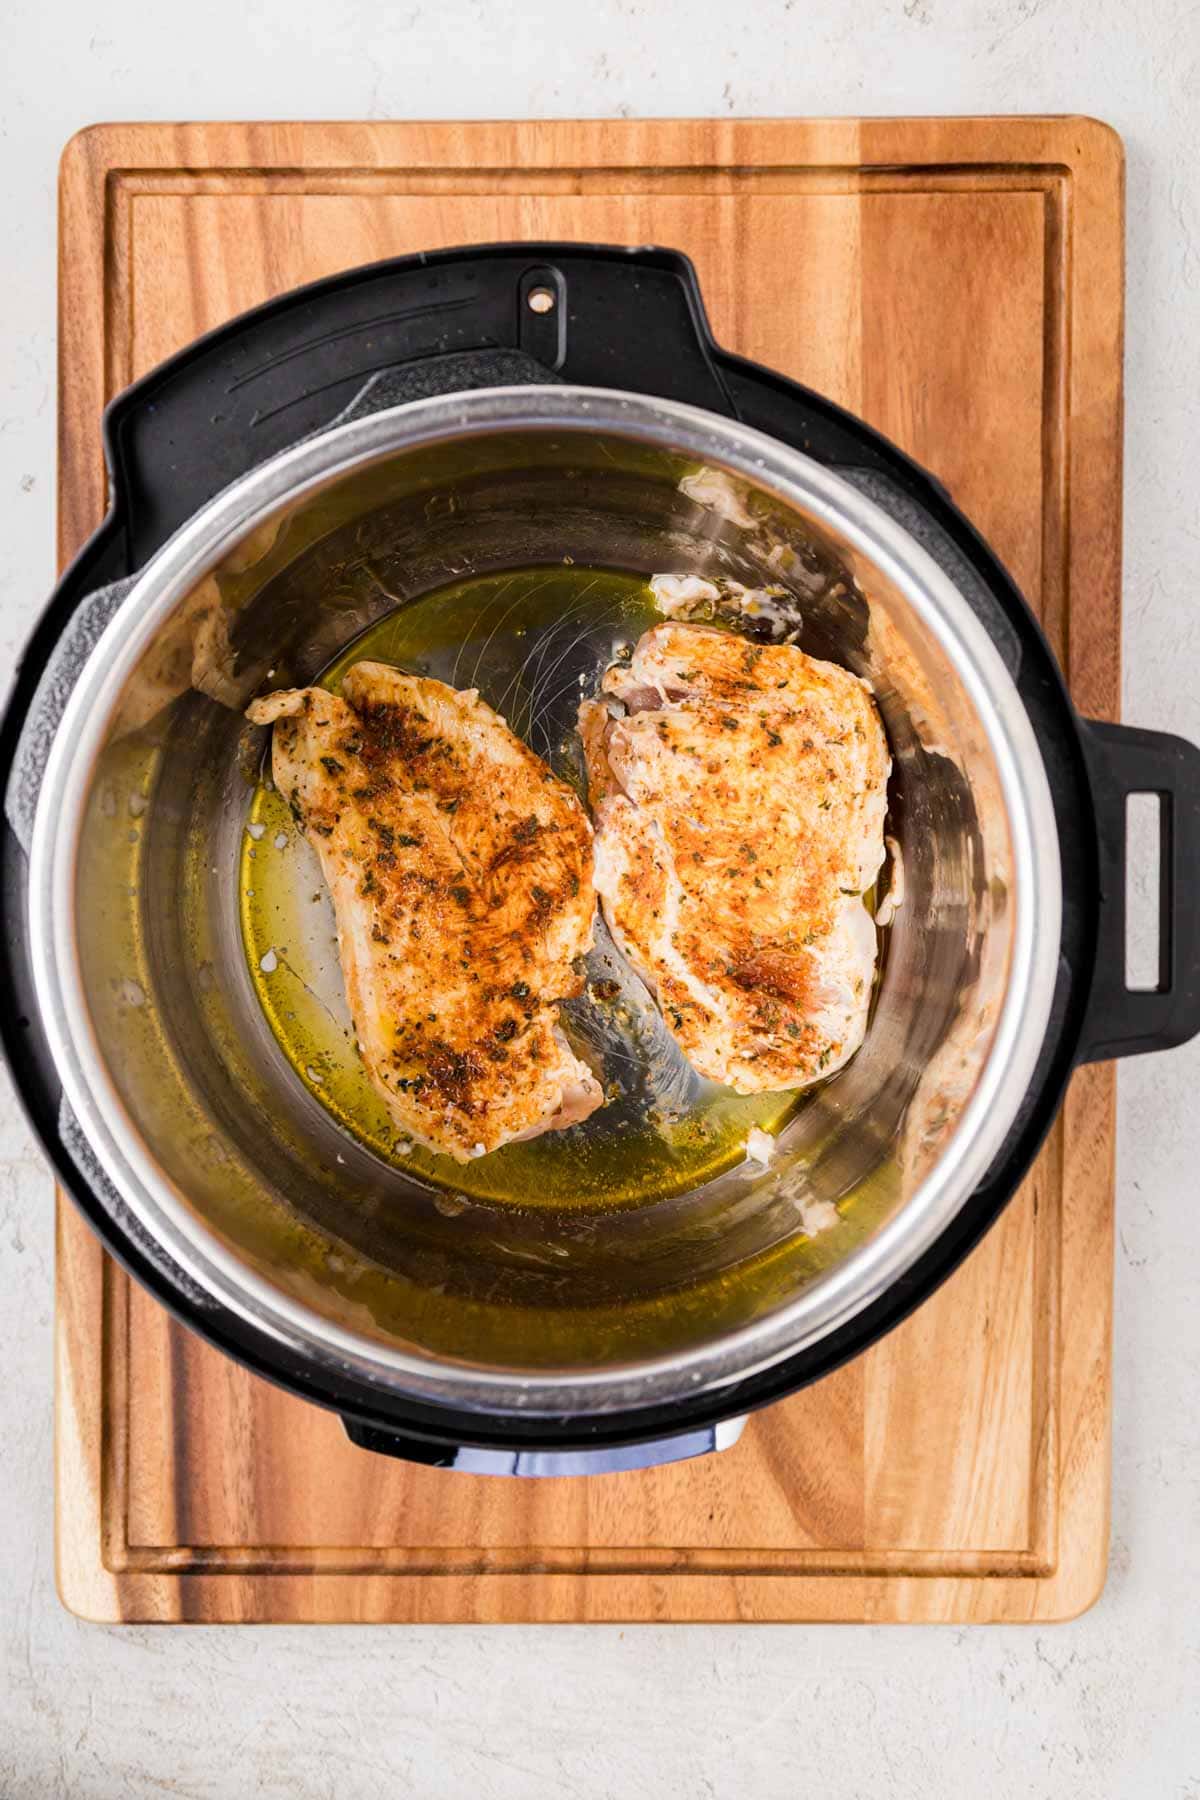
If your chicken is thawed and you want extra flavor, set the Instant Pot to sauté and add a little olive oil. Brown the chicken for about 2 minutes per side, working in batches so you don’t crowd the pot.
Pull the chicken out and set it aside on a plate once it’s browned. This step isn’t required, but if you’ve got the extra few minutes, it adds a nice depth of flavor, especially if you’re planning to serve the chicken whole or sliced.
Step 3 | Add the Broth
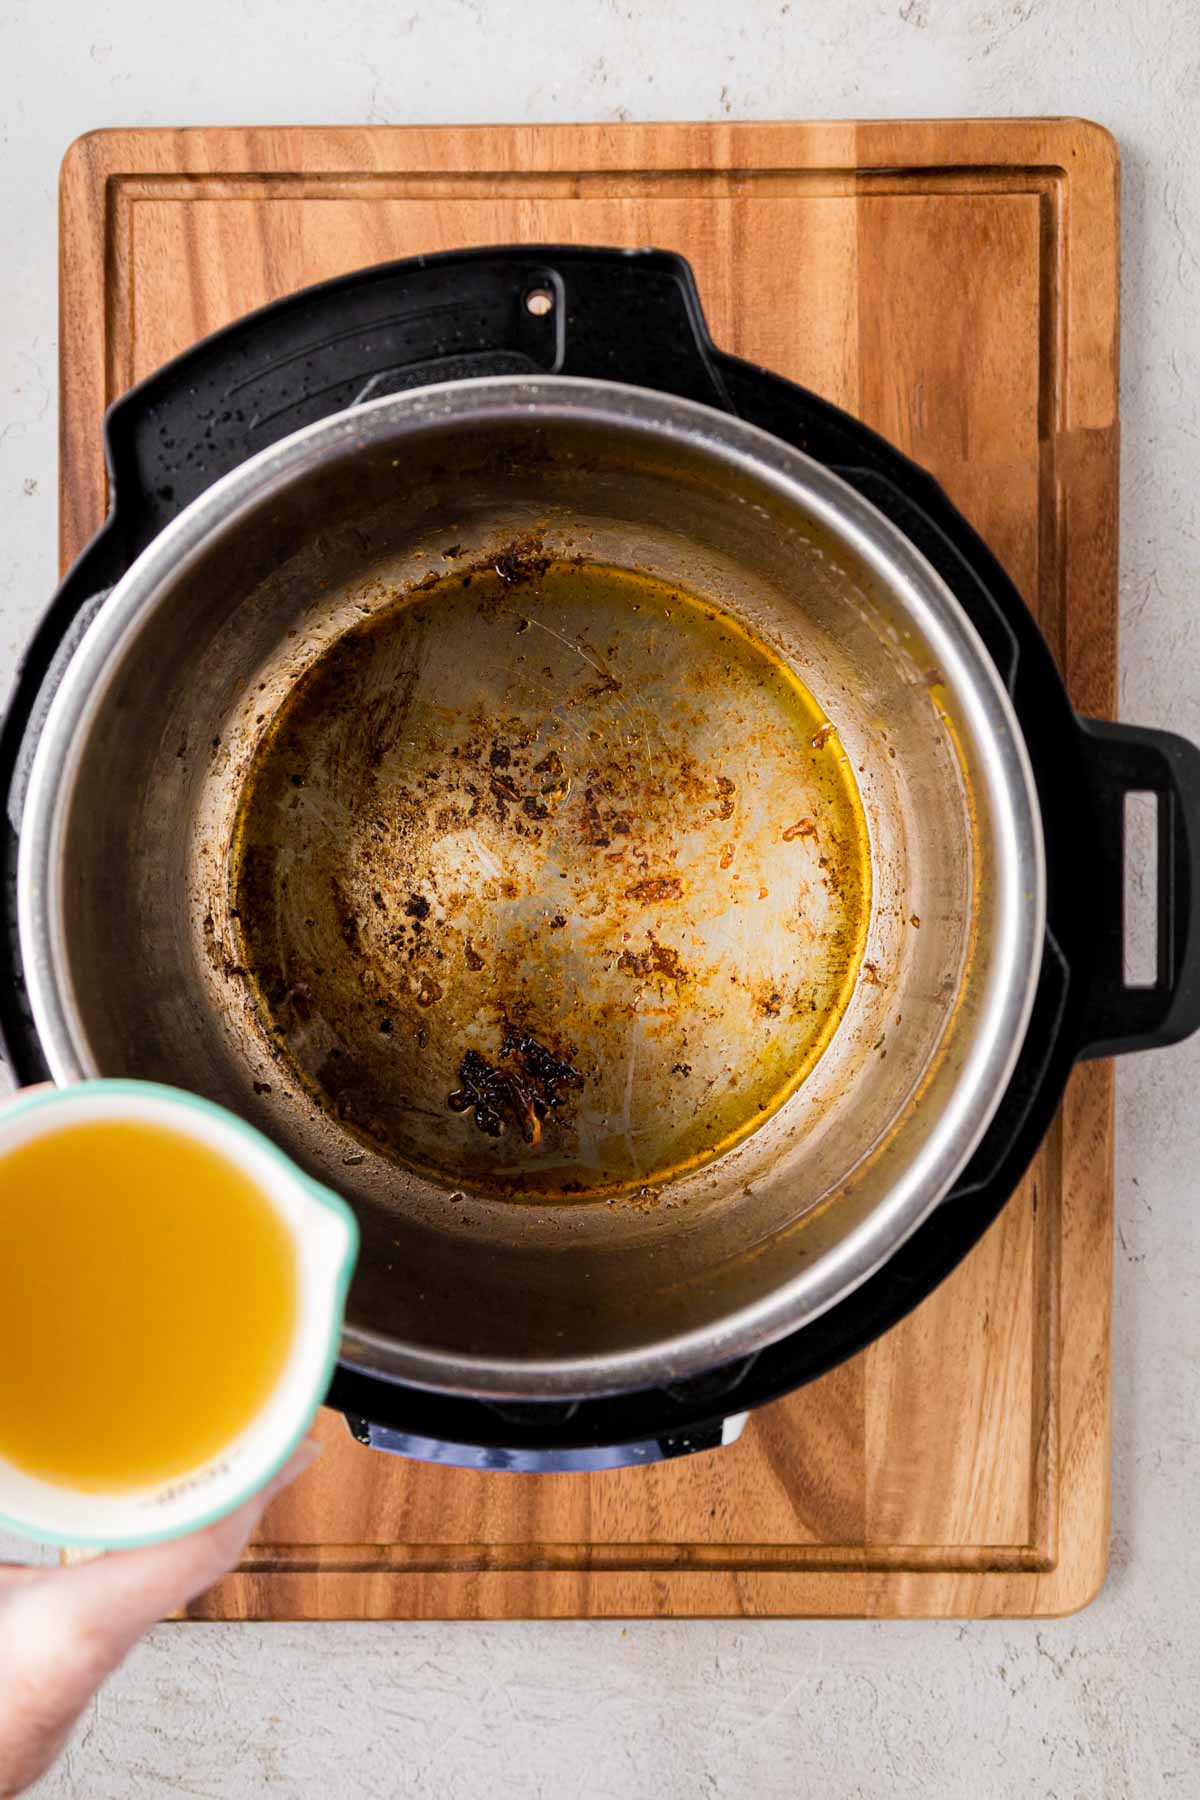
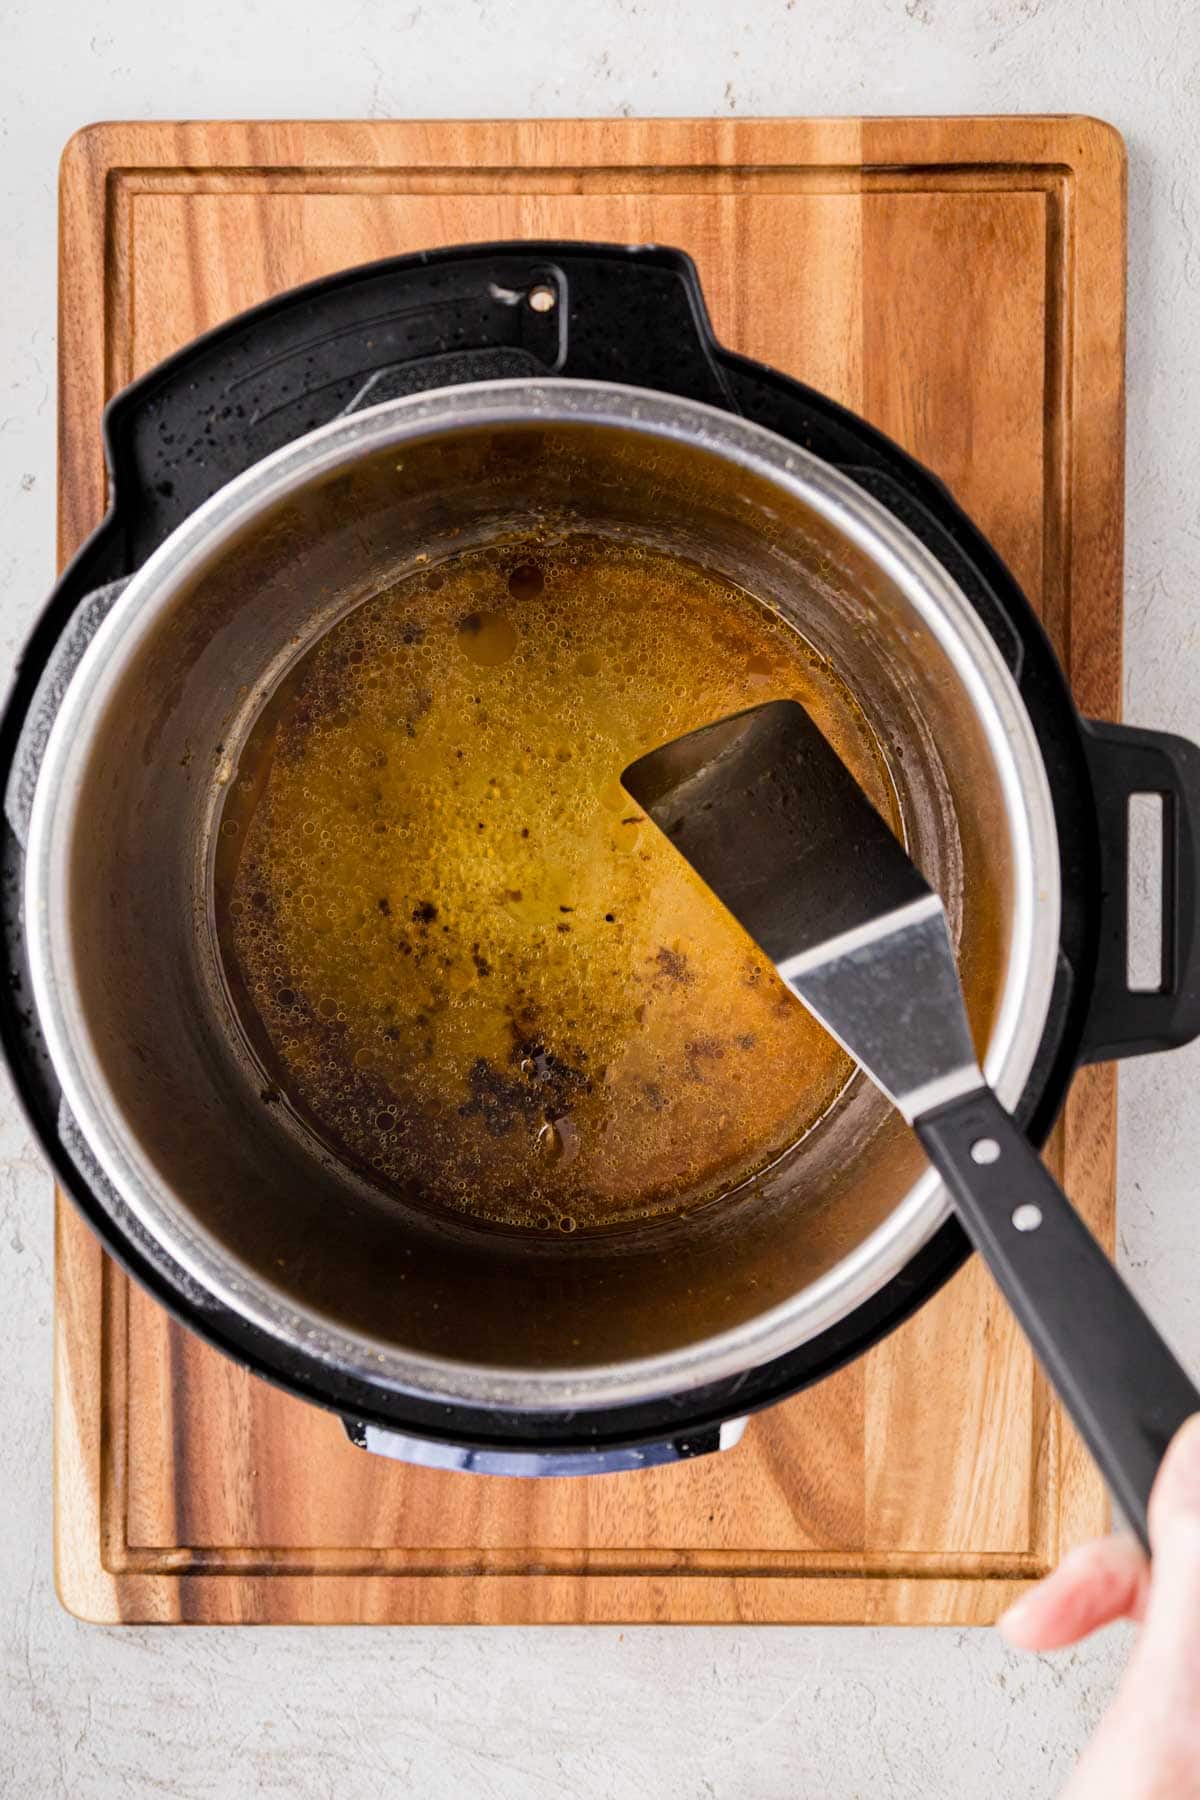
Switch the Instant Pot off, then add your cup of liquid to the bottom of the inner pot: broth, water, pineapple, apple, or orange juice, whichever direction you’re taking the flavor.
If you browned the chicken, scrape up any browned bits stuck to the bottom of the pot first. Don’t skip this part; leftover bits stuck to the bottom can trigger a burn notice once pressure cooking starts.
Step 4 | Pressure Cook
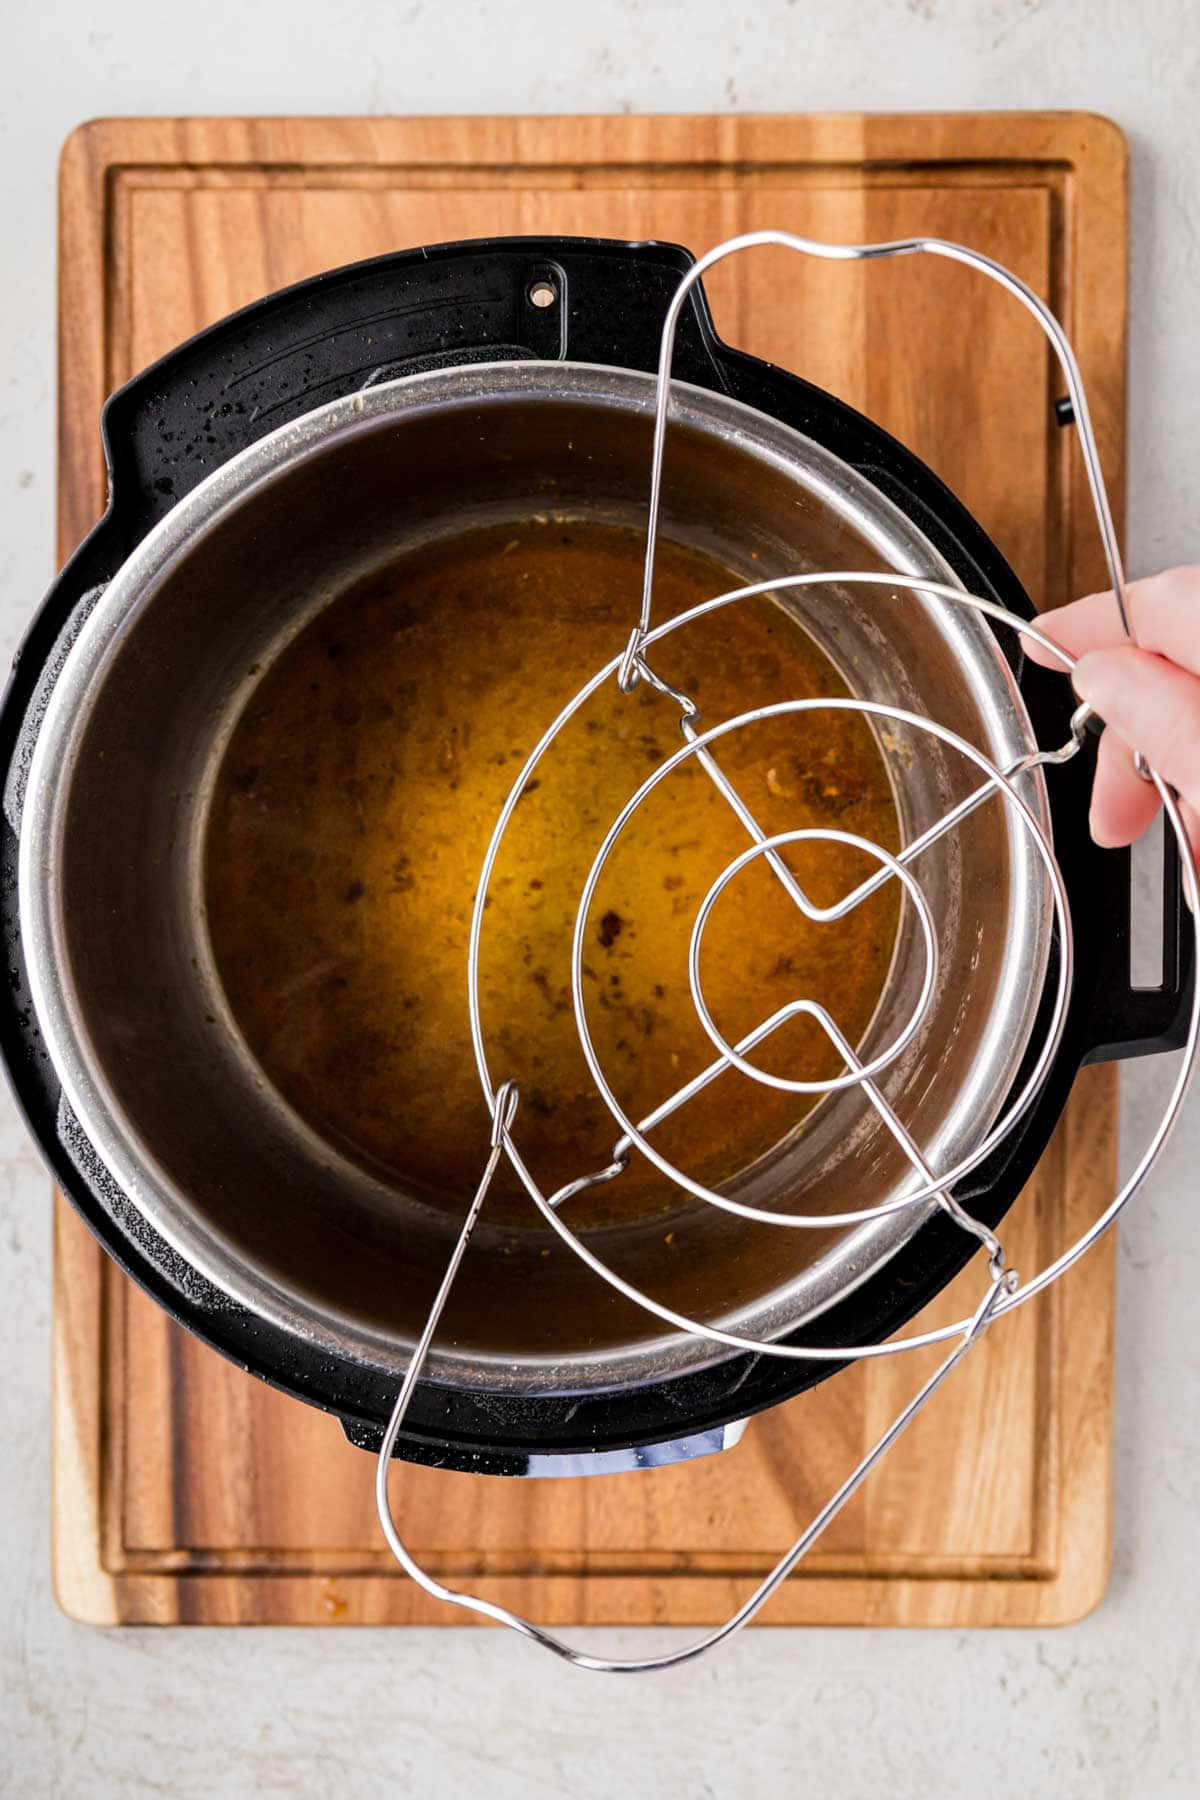
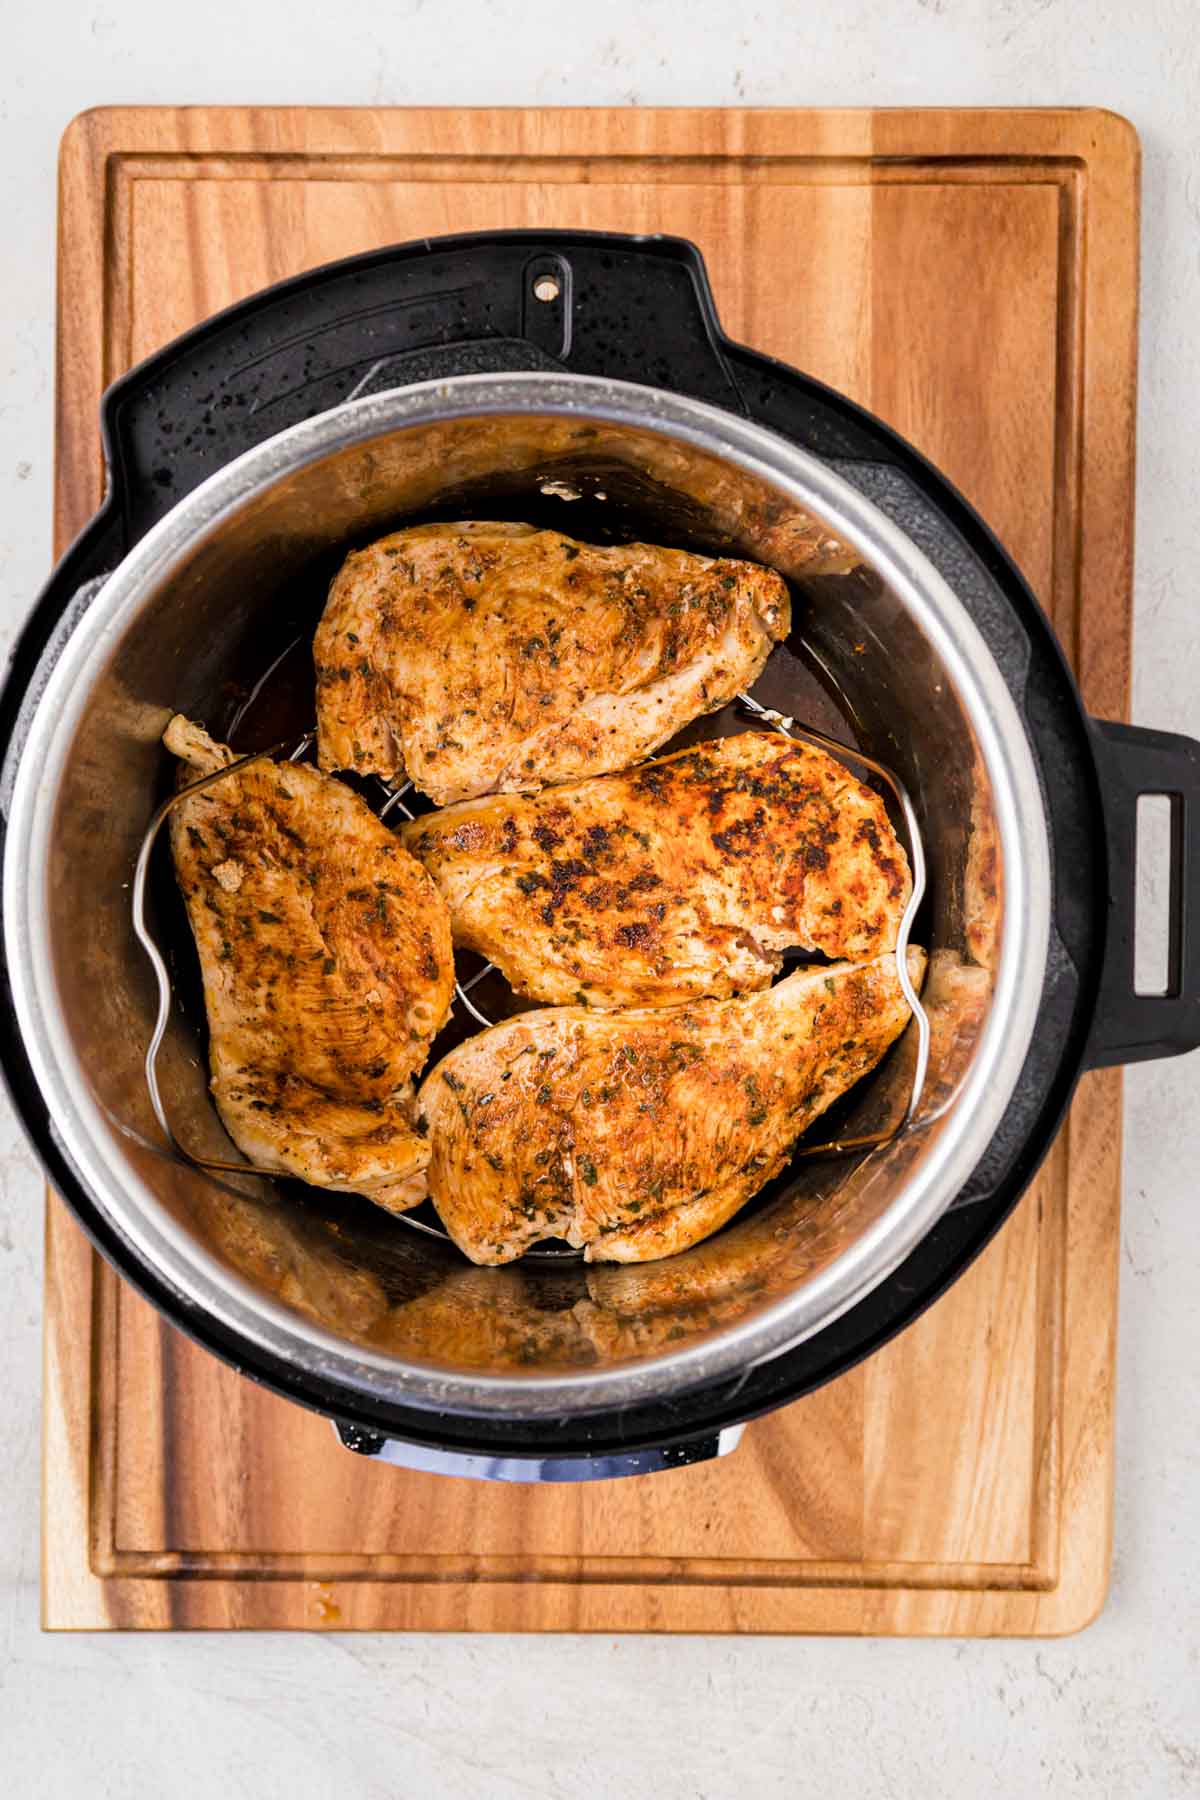
Place the trivet in the Instant Pot and arrange the chicken on top in a single layer; try not to stack the pieces.
Lock the lid and turn the valve to sealed.
If you want to skip the browning process, add the broth directly to the pot, place the trivet inside, and then place the raw seasoned chicken on the trivet.
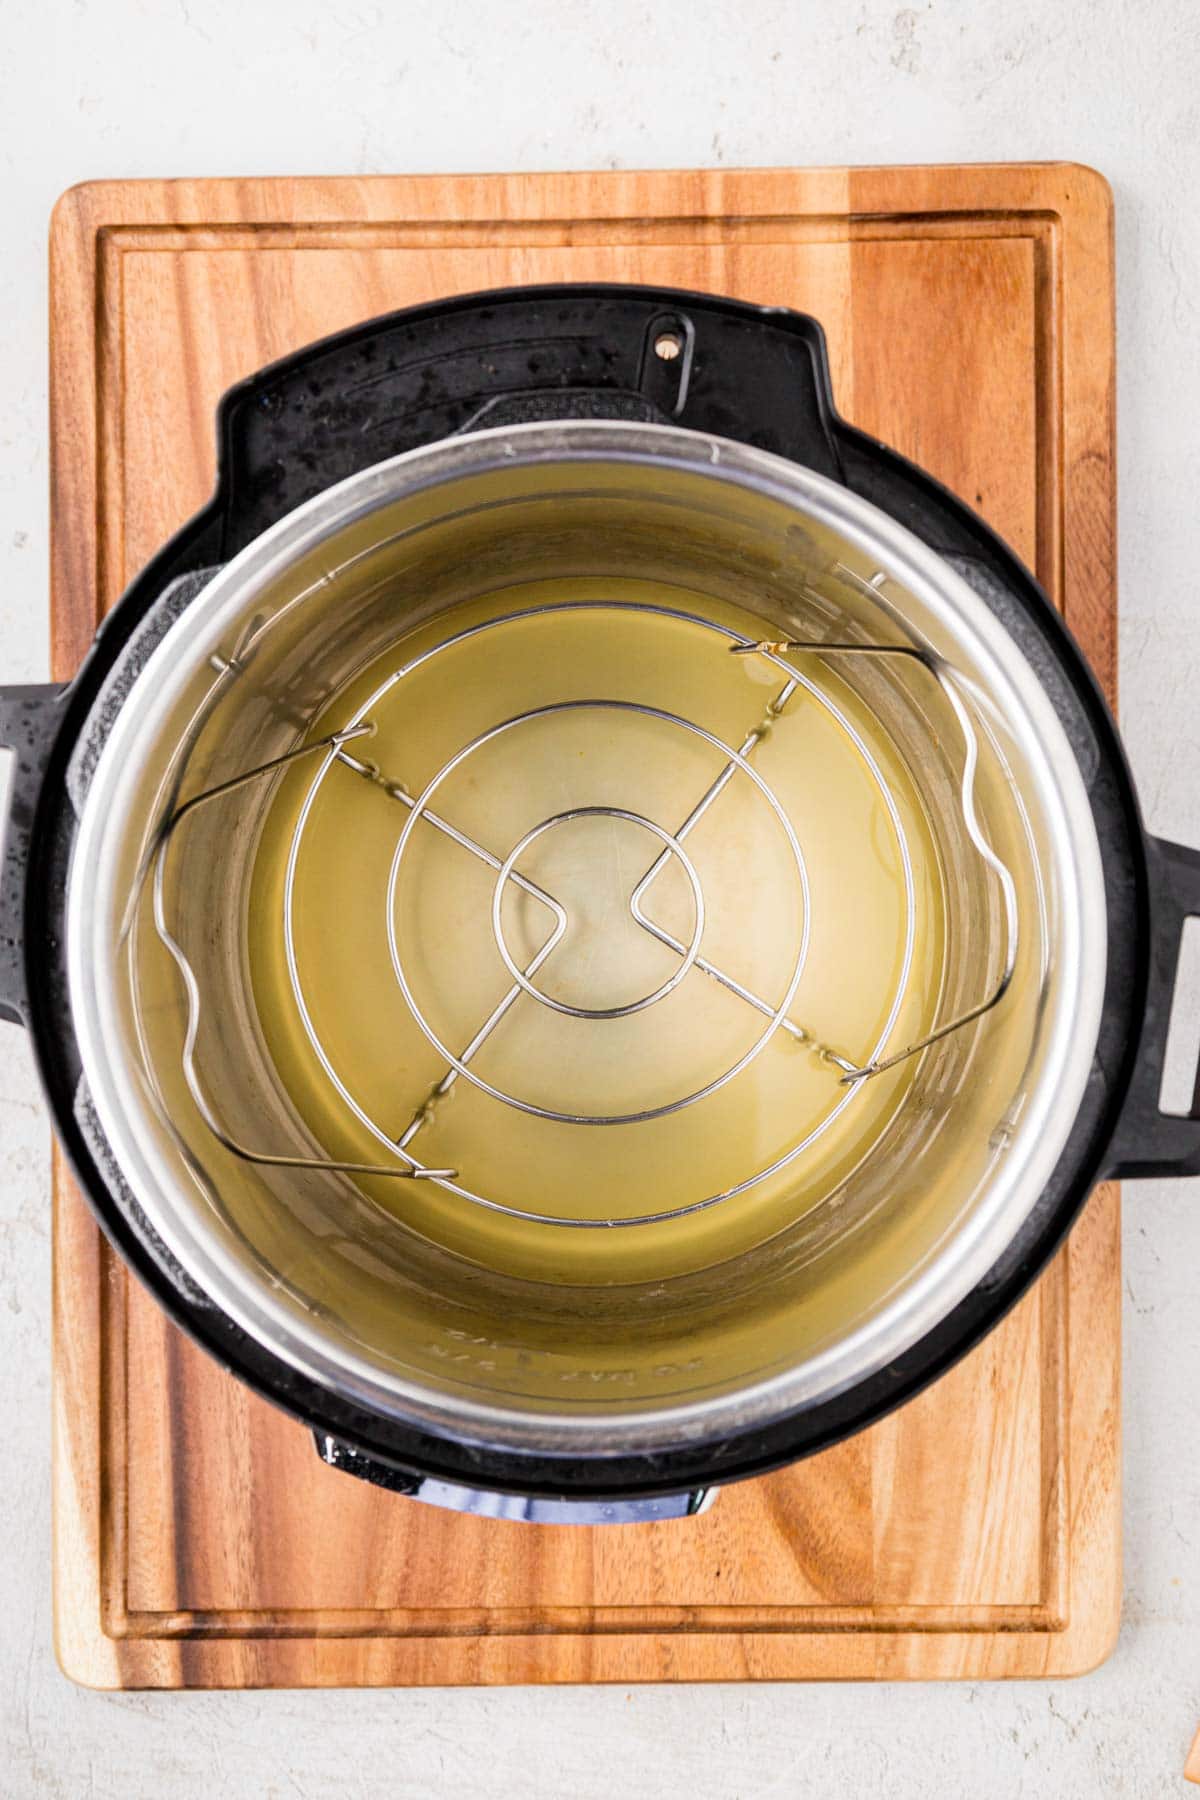
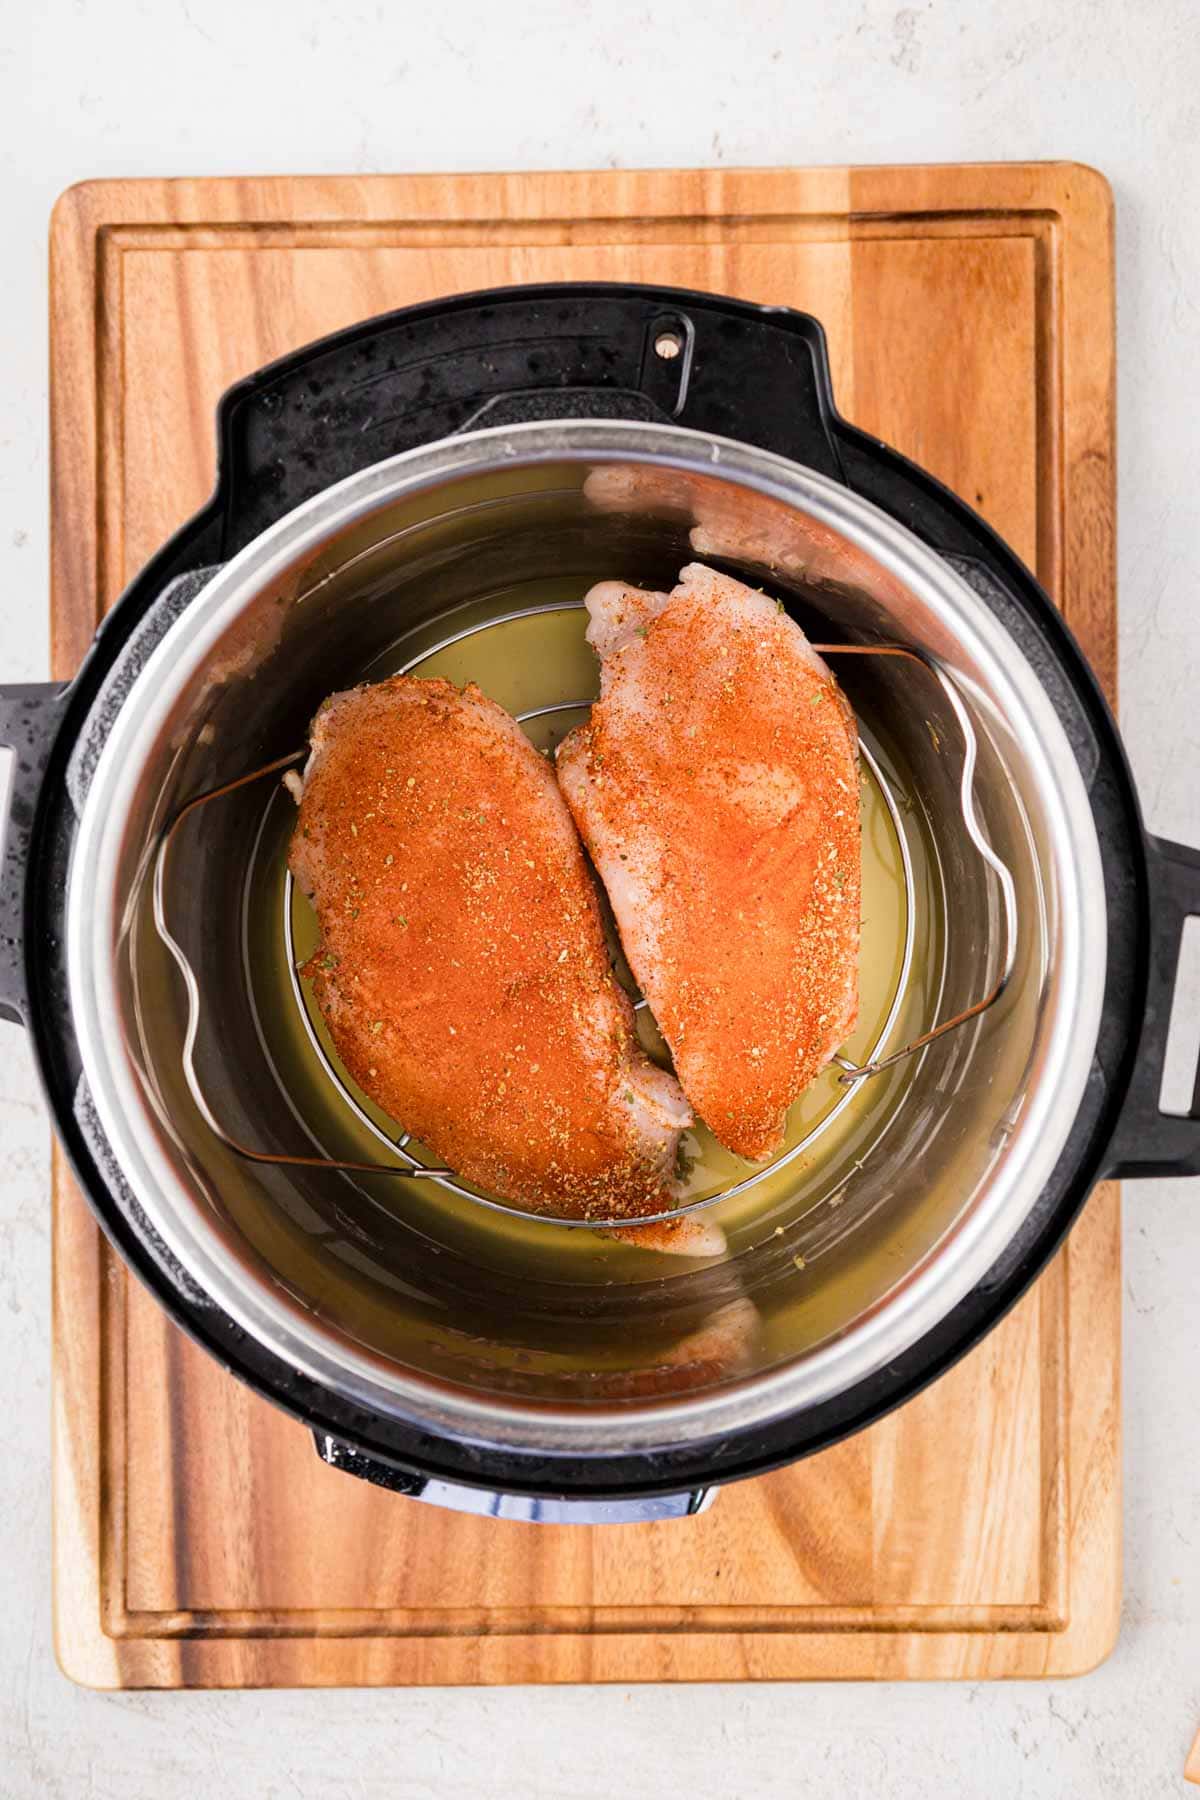
Cook fresh or thawed chicken for 6 to 8 minutes and frozen chicken for 10 to 12 minutes, adjusting for the exact size of your breasts using the cook time chart below.
Step 5 | Release the Pressure
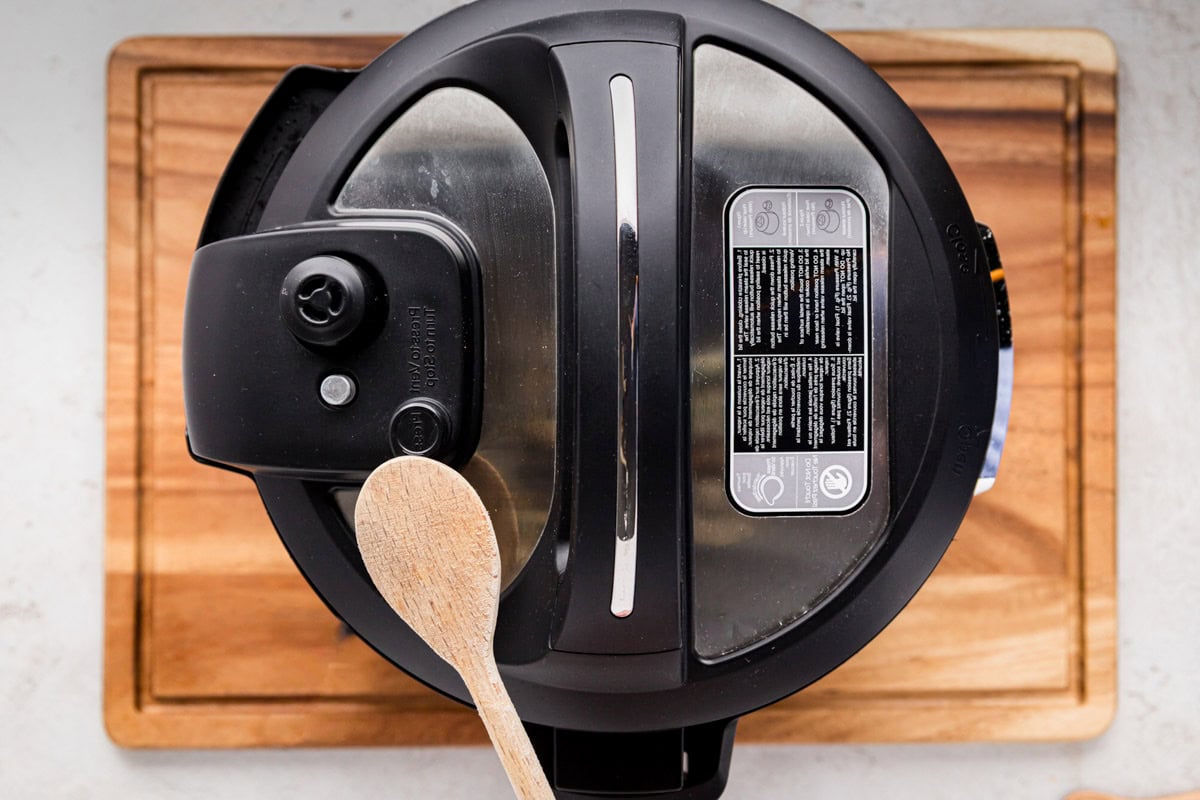
Once the timer beeps, let the pressure release naturally for 5 minutes, then finish releasing the pressure by opening the seal with a wooden spoon or tongs.
Step 6 | Rest the Chicken
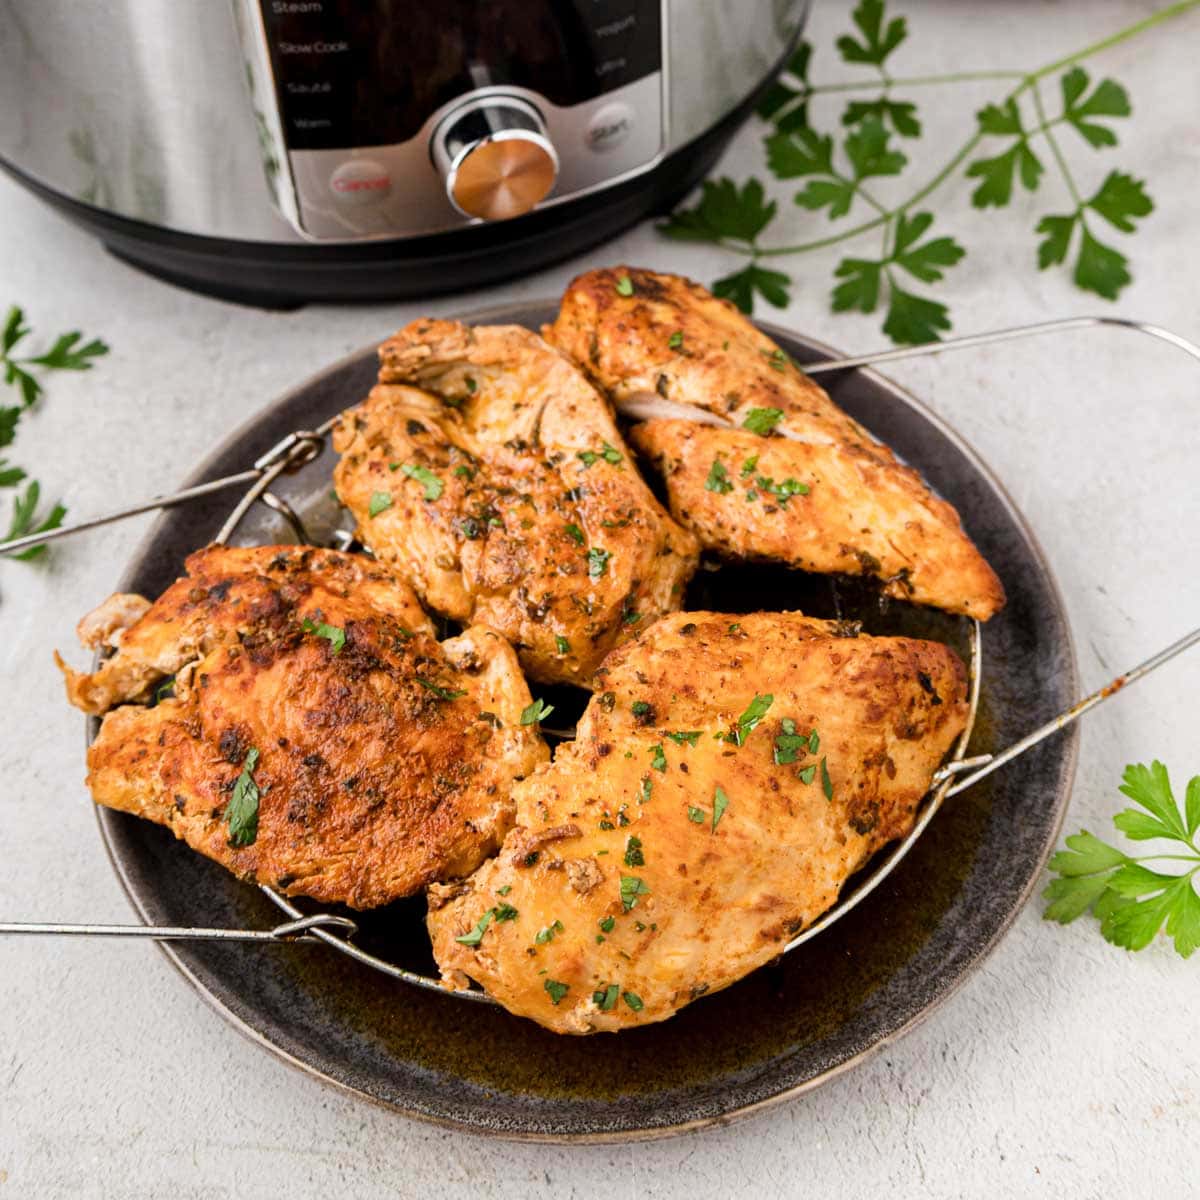
Remove the chicken and the trivet, then let the chicken rest for 5 to 10 minutes before you dig in. That rest matters; it’s what keeps all that juice inside the chicken instead of running out the second you slice it.
Step 7 | Finish and Serve
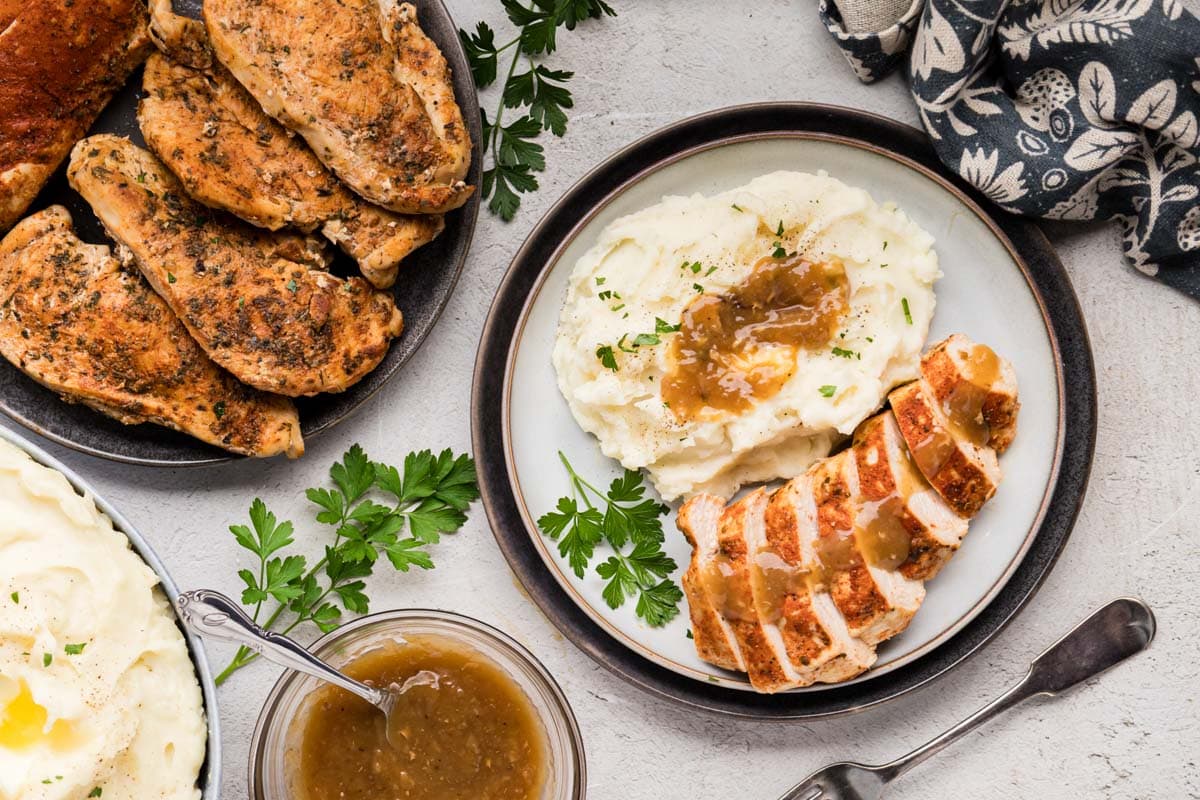
Instant Pot Chicken with Gravy
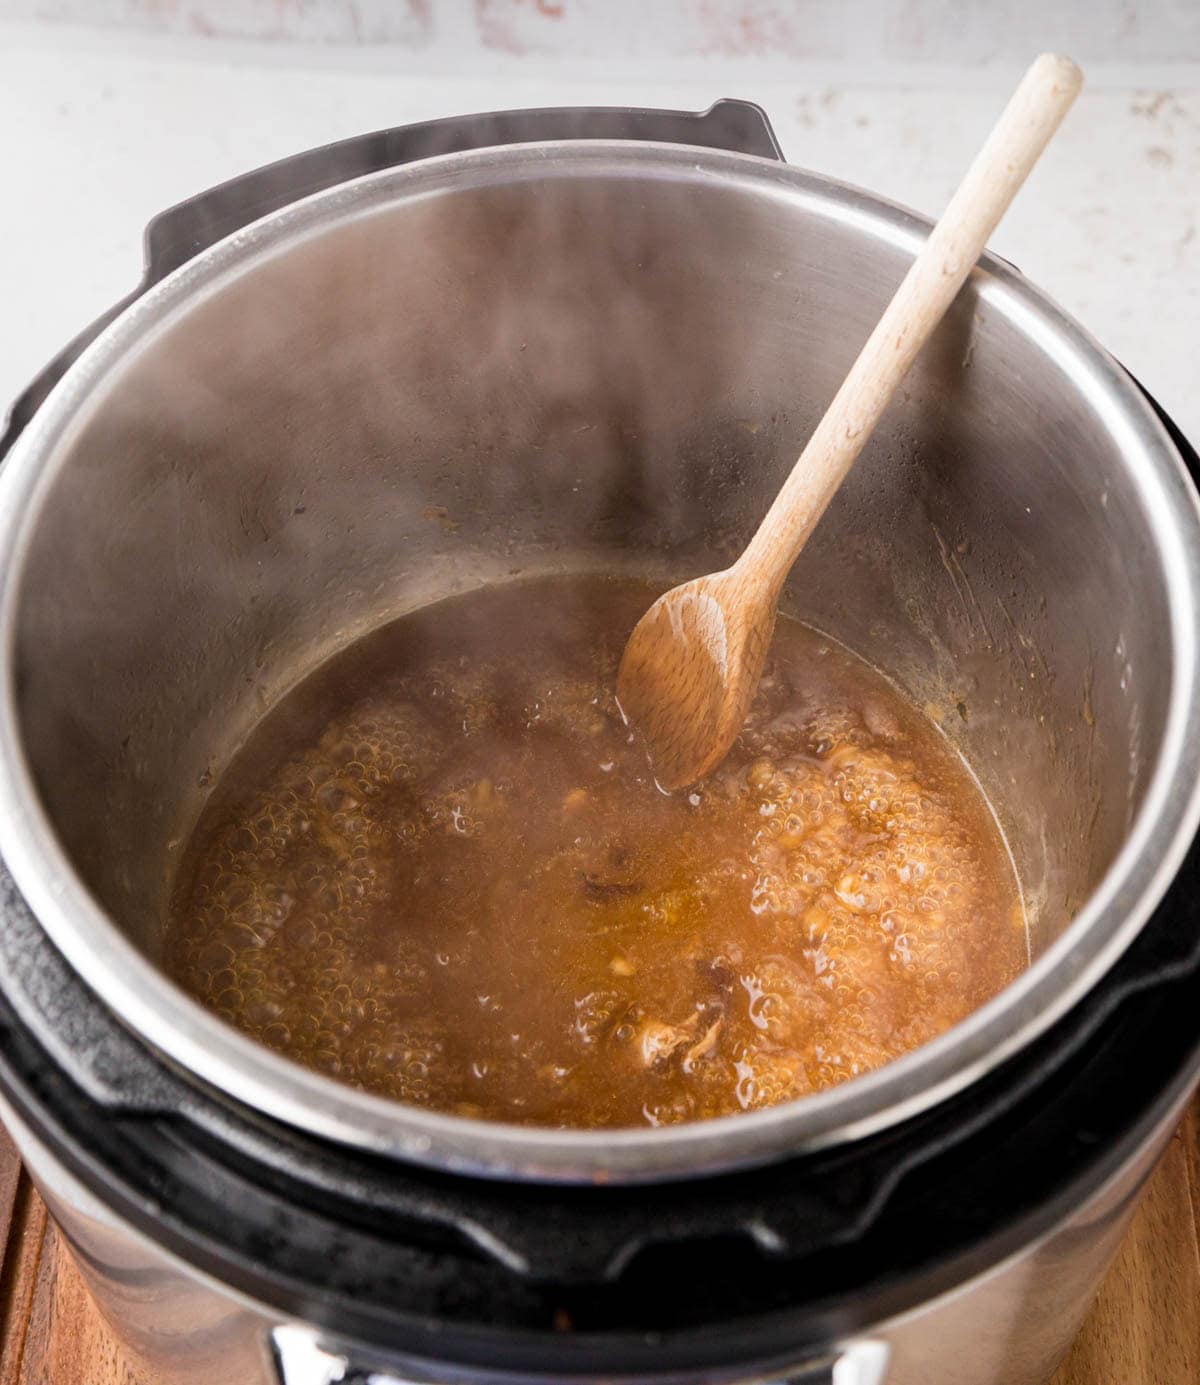
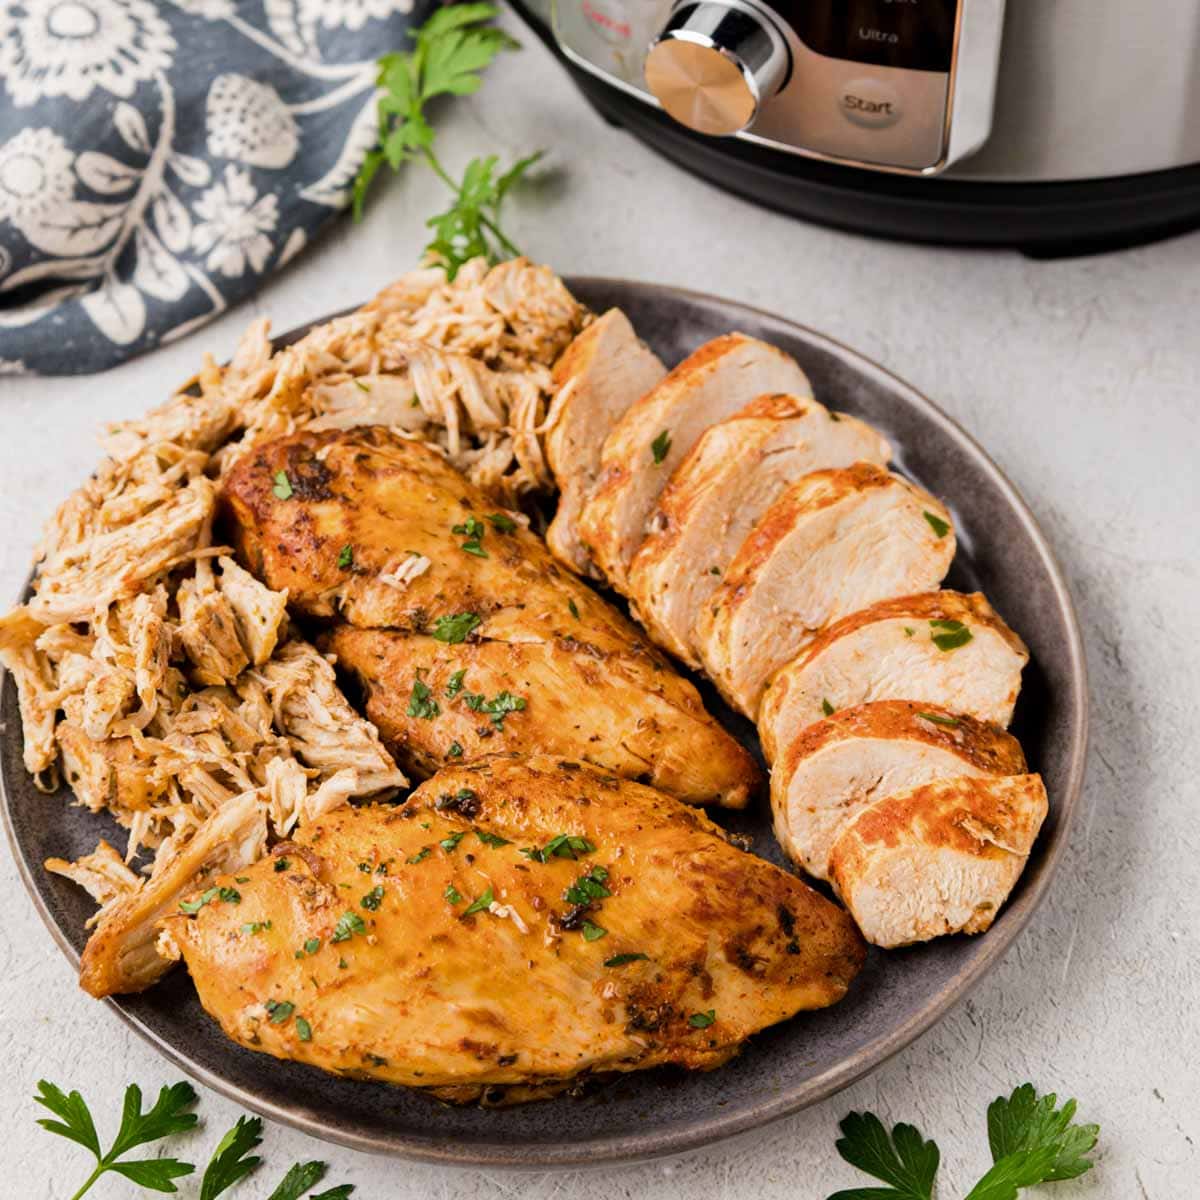
Want gravy? Set the Instant Pot back to sauté, whisk together the water and cornstarch to make a slurry, then stir it into the pot juices. Let it simmer for 2 to 3 minutes until it thickens up, then serve it right over the chicken. Not making gravy? Just baste the chicken with the juices from the pot to keep it moist and flavorful.
Shredded Instant Pot Chicken
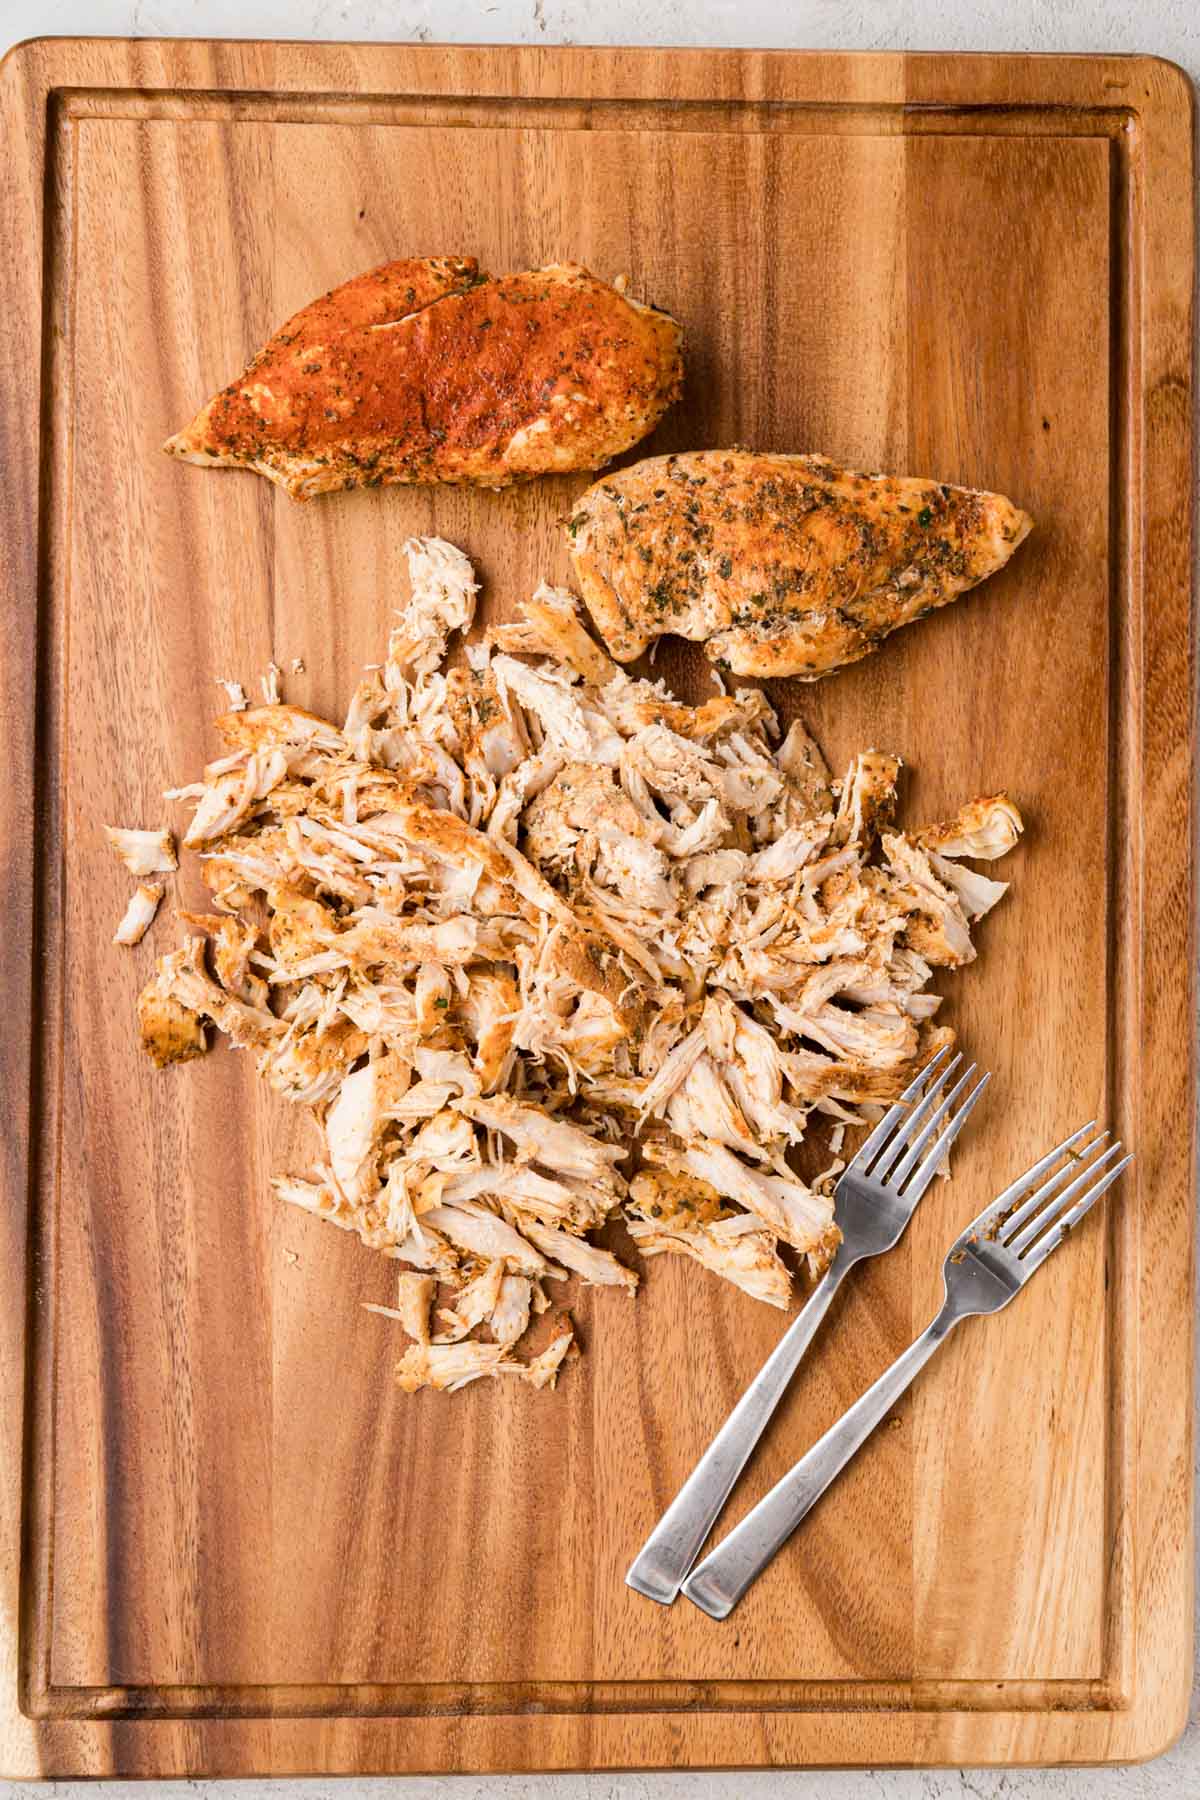
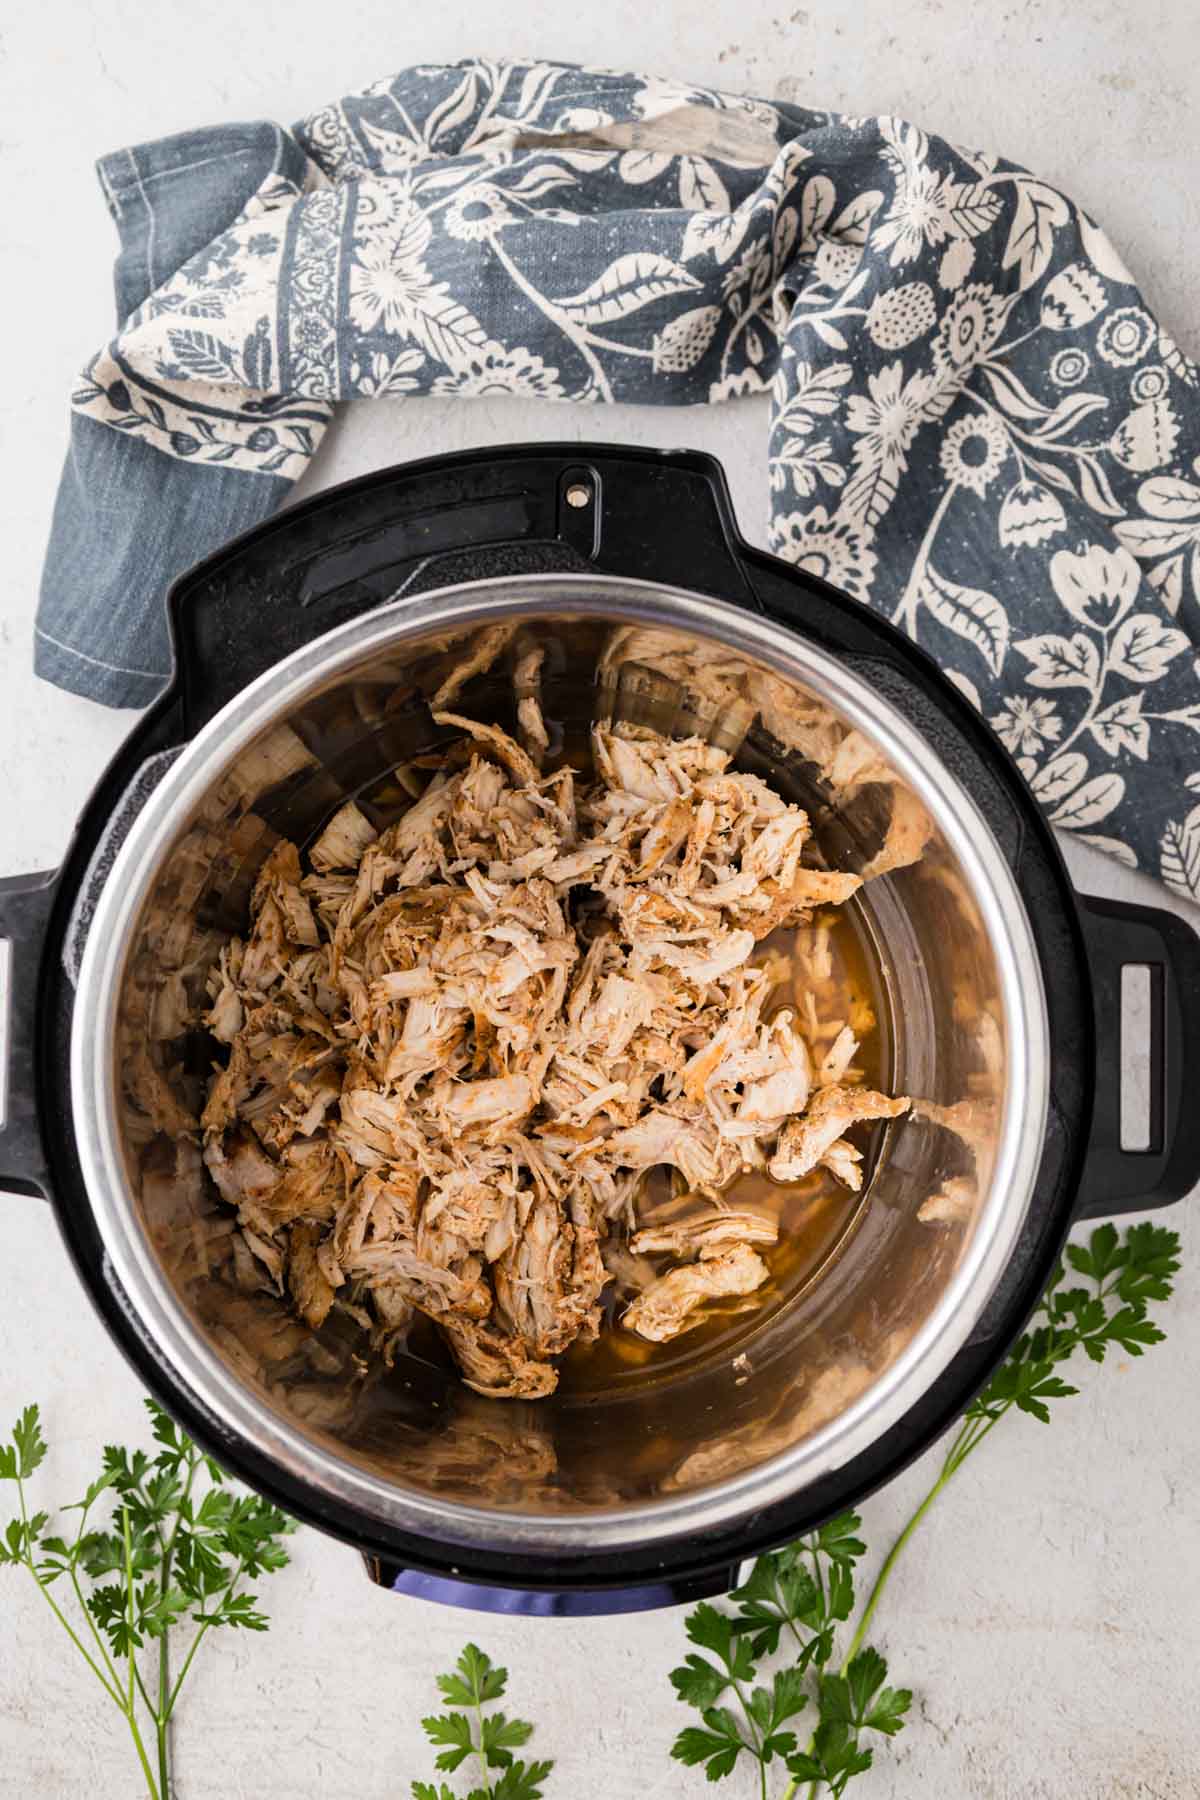
Reserve the cooking juices, then shred the chicken with two forks or a hand mixer. Add back as much of that reserved juice as you like to keep the shredded chicken moist.
Do I Need to Adjust Cook Times for Different-Sized Chicken Breasts?
The answer is YES! If you buy individually frozen or organic chicken breasts, they are often about 6 ounces, and nowadays the conventionally packaged chicken breasts are much larger. So the best way to determine is by figuring out how many ounces each breast weighs. Just take the total weight of your package and divide it by the number of breasts in the package.
Cooking Time Rule of Thumb:
- 6-ounce breast: 6 minutes for fresh / 10 minutes for frozen
- 8-ounce breast: 7 minutes for fresh / 11 minutes for frozen
- 10-ounce breast: 8 minutes for fresh / 12 minutes for frozen
Each will need a 5-minute natural release time.
When is the Chicken Fully Cooked?
Chicken should reach an internal temperature of 165℉ to be fully cooked and safe to eat. The best way to check is with an instant-read meat thermometer.
Place the thermometer into the center or thickest part of the chicken breast. If it reads 160℉, it will come to full temp as it rests. If it isn’t, put it back in the IP and put the lid back on. The heat created when pressure cooking should be enough to get it to the right temperature.
If you don’t have a thermometer, make sure there’s no pink left in the breast and that all juices run clear when slicing.
Variations and Substitutions
- Italian: Swap the oregano and parsley blend for 1 teaspoon Italian seasoning plus a pinch of garlic powder, and use chicken broth as your liquid. This one is great sliced over pasta or added to a chicken parmesan-style dish.
- Taco or Mexican: Trade the seasonings for 1 to 2 tablespoons taco seasoning. Shred the chicken afterward for tacos, burrito bowls, or nachos.
- Lemon pepper: Use 1 tablespoon lemon pepper seasoning in place of the seasonings. Add salt depending on whether your lemon pepper contains it. A squeeze of fresh lemon after cooking brightens it up even more.
- Cajun or Creole: Swap in 1 to 2 teaspoons Cajun or Creole seasoning. This one has some heat, so ease up if you’re cooking for picky eaters or little ones. Add salt to taste depending on whether your Cajun seasoning contains it.
- Ranch: Replace the seasoning with a 1-ounce packet of dry ranch seasoning mix, and salt and pepper to taste, since ranch packets already carry plenty of salt.
Gluten-Free Instant Pot Chicken Breast
Lawry’s Seasoned Salt doesn’t carry a gluten-free label, and we’ve personally used it without any issues, but that’s not the same as a certified guarantee. If you want to be certain, swap in a certified gluten-free seasoned salt instead. As always, check labels on every ingredient, including your broth, since some brands add gluten-containing thickeners or flavorings.
You can also use a blend of salt, pepper, paprika, turmeric, and cornstarch to replace seasoned salt, or just use salt and black pepper to taste.
Recipe Tips
- Browning is optional, but worth it if you have the time. It won’t make or break the recipe, but if you’re serving the chicken whole or sliced instead of shredded, that browned crust adds real flavor you’d otherwise miss.
- Scrape the pot before you pressure cook. If you brown the chicken, get every bit of that stuck-on browning off the bottom before you seal the lid. Skip this and you risk the Instant Pot throwing a burn notice partway through cooking.
- Separate frozen chicken before it goes in the pot. I buy chicken in large value packs and freeze the breasts individually, wrapped in parchment or freezer paper and stored together in one big freezer bag. If you end up with a package that’s frozen solid together, just set it in a bowl of cold water until the pieces break loose. Cooking chicken that’s frozen into one clump leaves you with unevenly cooked meat, some parts done, some parts not.
- I like using the trivet, especially when I’m not shredding the chicken. Keeping the chicken up out of the liquid means it stays nicely colored instead of getting pale from sitting in the broth. If you’re shredding it anyway, or just want one less thing to wash, you can skip the trivet and cook the chicken straight in the liquid instead.
- Let the chicken rest before you cut into it. Five to ten minutes out of the pot keeps the juice locked inside instead of running out all over your cutting board the second you slice it.
- Match your cook time to the size of your chicken breasts, not a flat number. A 6-ounce breast and a 10-ounce breast are not the same cook, so use the size chart instead of guessing one time for everything in the pot.
Tips for Shredding Instant Pot Chicken Breast
- Once cook time is finished, remove the lid and pour broth (cooking liquid) into a bowl or large measuring cup. Pour about 1/2 of the liquid back into the inner pot.
- Shred with a handheld mixer on medium speed in the inner pot, or use two forks if you don’t have a hand mixer or want large chunks or shreds. You can also pour into a stand mixer bowl (if you don’t have a handheld), if you desire, and use the paddle attachment to shred.
Serving Instant Pot Chicken Breasts
- Whole Breast: You can add various seasonings when cooking to get the desired taste you love.
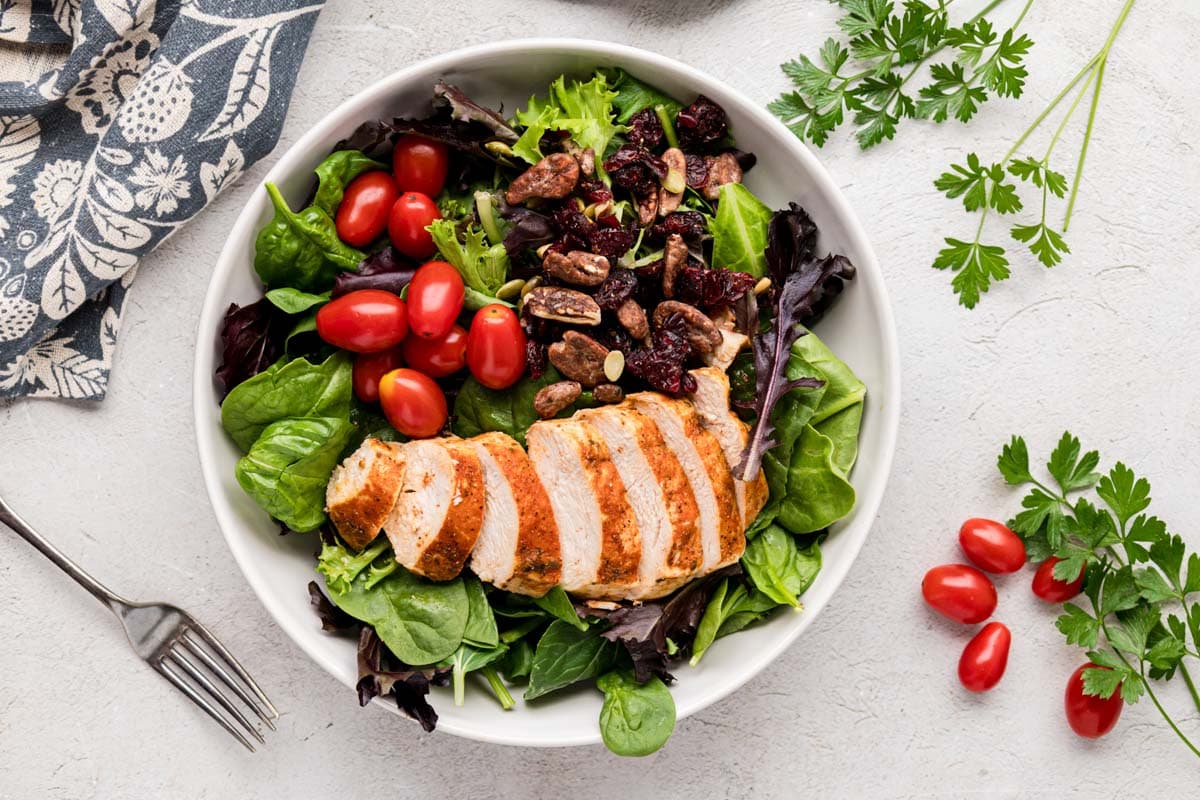
- Sliced, Cube, or Dice the Chicken: Use this as a topper for salads, sandwiches, meal prep for your protein, casseroles like this Hot Chicken Salad Casserole, or make a delicious Chicken Salad with Grapes and Pecans.
- Shredded: This is great for sandwiches, tacos, salads, dips, casseroles, etc.
How to Store Pressure Cooker Chicken Breast
- Fridge: Cooked chicken keeps safely in the refrigerator for 3 to 4 days.
- Freezer: Frozen cooked chicken holds for 3 to 6 months. Thaw it in the refrigerator overnight before using.
- Freezing shredded chicken: If you’re planning to freeze shredded chicken specifically, shred it first, then freeze. It’s easier to portion and thaw already shredded than it is to freeze whole and shred later.
- Portioning: Store it in individual or recipe-sized portions so it’s ready to grab. Most of my recipes calling for cooked chicken use 1 to 2 cups, so portioning it out that way saves a step later.
Pressure Cooker Chicken Breasts FAQs
This recipe is written and tested for boneless, skinless chicken breasts, so that’s what I’d recommend sticking with for the best results. Bone-in breasts need more cook time and I’d suggest using a trivet with them, so the timing here won’t translate directly. If you want to try bone-in, add several extra minutes of pressure-cooking time, and always check that the chicken has reached a safe internal temperature before serving.
Yes, and I’d definitely encourage it! This recipe uses a blend of seasoned salt, paprika, oregano, and parsley, but feel free to swap in whatever seasonings you love; check the Variations section above for a few of my favorite directions. Since the chicken cooks in liquid, you can also change up the flavor by swapping the broth for something like apple, orange, or pineapple juice.
I recommend a 6-quart Instant Pot Duo or Ultra for this recipe. The 1 cup of liquid called for is specifically measured for that size. If you’re using a different-size pot, you may need to adjust the liquid amount accordingly.
No, you can cook the chicken straight in the liquid if you’d rather. I like using the trivet, especially when I’m not shredding the chicken, since it keeps the chicken up out of the juices. See Recipe Tips above for more on when I skip it.
You sure can, and it’s one of my favorite things about this method! Just add a few extra minutes of cook time compared to fresh or thawed chicken. The only thing to watch for is making sure the frozen breasts aren’t all stuck together in one big clump before they go in, so they cook evenly.
Recipes Using Instant Pot Chicken Breasts
Hungry for more easy, home-cooked, delicious recipes?
Sign up for my free recipe club to get family-friendly recipes in your inbox each week! Find me sharing daily meal-time inspiration on Pinterest, Facebook, and Instagram.
Instapot Chicken Breast

Click Stars To Rate
Ingredients
- 1 ½ – 2 teaspoons seasoned salt - or to taste
- ¾ teaspoon dried oregano - or to taste
- ¾ teaspoon dried parsley
- 1 ½ teaspoon paprika - or to taste
- ½ teaspoon cracked black pepper - or to taste
- 2 pounds boneless - skinless chicken breasts
- 2 tablespoons olive oil - or avocado oil, only needed if browning
- 1 cup chicken broth - water, or juice
- 1 tablespoon water
- 1 tablespoon cornstarch
Instructions
- Seasoning Chicken: In a small bowl, mix seasoned salt, black pepper, paprika, oregano, and parsley together until combined. Sprinkle the seasoning on both sides of the chicken, then rub the spices into the chicken breasts.
- Optional: Browning Chicken (see note): If you are using thawed chicken or if want to brown the chicken, set the Instant Pot to "sauté" and add olive oil. Brown chicken 2 minutes on each side, working in batches to avoid crowding pot. Remove chicken and set aside on a plate.
- Add Broth: Switch off the Instant Pot. Add 1 cup of liquid of choice to the bottom of the inner pot. Depending on the flavor you want, use chicken stock, water, pineapple, apple, or orange juice.If you browned the chicken, scrape any browned bits off the bottom of the Instant Pot (be sure to scrape off everything; otherwise, you may trigger the burn notice during pressure cooking).
- Pressure cook: Place trivet in Instant Pot. Arrange chicken on top (try not to stack if possible). Place the lid in the locked position and turn the valve to the sealed position.Pressure cook on HIGH (it will take about 10 minutes to come to pressure)FRESH or THAWED – Cook 6 to 8 Minutes**FROZEN – Cook 10 to 12 Minutes**See time chart below. Cook according to the size of the chicken breast.
- Pressure release: Once the cooking time is up, let the pressure naturally release for 5 minutes. Then do a "manual quick release" by opening the seal with a wooden spoon or tongs.
- Remove and Let Chicken Rest: Remove the chicken and the trivet. Then, let the chicken rest for 5 to 10 minutes.
- Finish/gravy: Set to"sauté". Combine water and cornstarch to make a slurry, then stir into the juices. Stir and simmer until slightly thickened (about 2-3 minutes). Then, serve with chicken. If not making gravy, baste chicken with juices from the pot to dress and moisten it.To shred: Reserve the juices, remove the chicken, and shred with two forks or a mixer. Then return to the instant pot or serving dish and add as much juice to the shredded chicken as you like.
Notes
Cooking Time Rule of Thumb:
6-ounce breast: 6 minutes for fresh / 10 minutes for frozen 8-ounce breast: 7 minutes for fresh / 11 minutes for frozen 10-ounce breast: 8 minutes for fresh / 12 minutes for frozen Browning Chicken is not necessary. It does add flavor, and I like to do this, especially if I am serving the chicken breast whole or sliced. If you prefer, you can cook the chicken in the cooking liquid and skip the trivet.Want to Save this Recipe?
By submitting this form, you consent to receive emails from Soulfully Made.
Nutrition
Soulfully Made is not a dietician or nutritionist, and any nutritional information shared is an estimate. If calorie count and other nutritional values are important to you, we recommend running the ingredients through whichever online nutritional calculator you prefer. Calories and other nutritional values can vary quite a bit depending on which brands were used.

Do you put the chicken breasts on a trivet? Or directly into the broth?
I place it directly on a trivet. You can place it directly in the broth if you would like.